


How to Refinish an Old Cutting Board Without Power Tools

Wooden cutting boards are a staple in the kitchen and take a lot of abuse. But when your board starts showing a lot of wear you can make it look like new again with some effort.
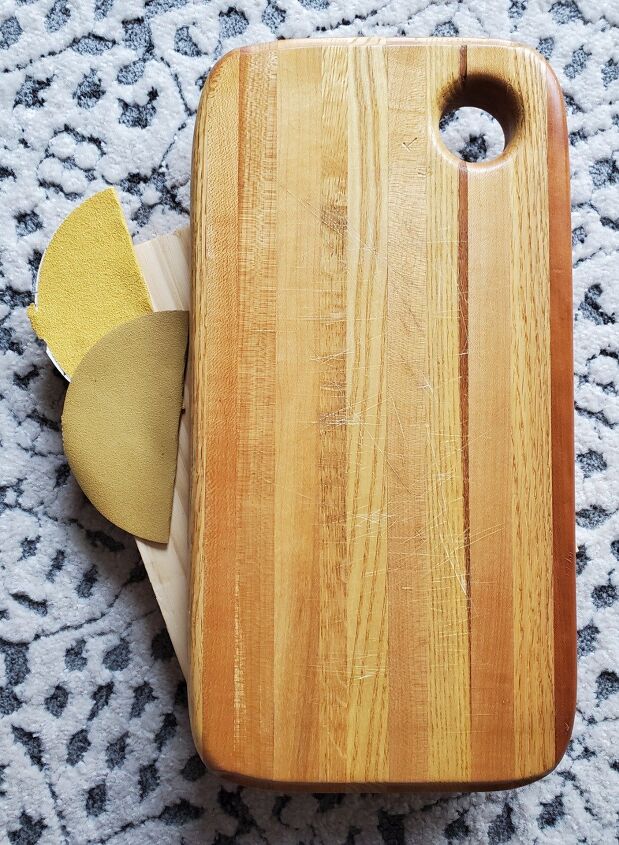
I bought a cutting board at my local thrift store that had been well used. I loved the shape and decided to refresh it. I'm going to do this project without power tools to show that with a little time you can make an old cutting board like new again.
Materials List:
- Old wooden cutting board that needs some love
- Sandpaper in a variety of grits
- Food grade butcher block oil and conditioner
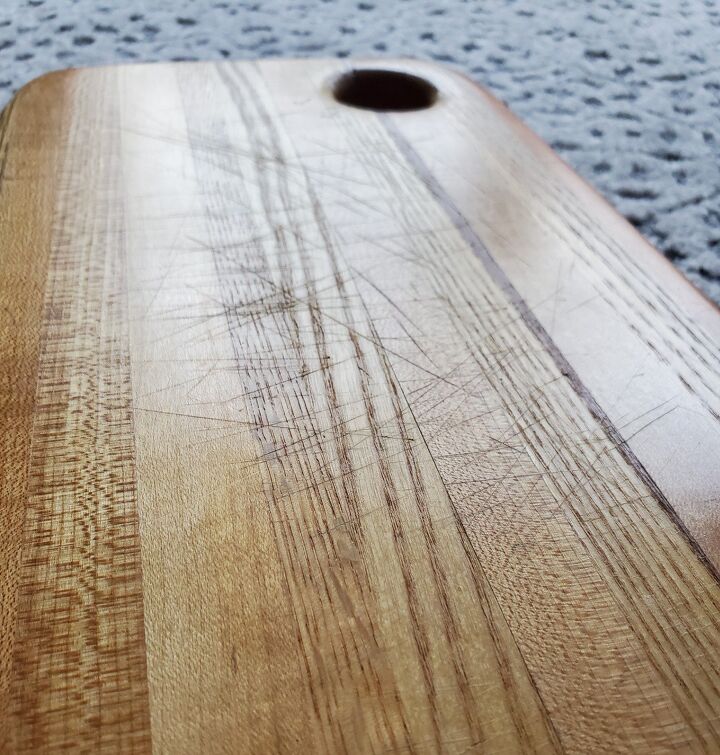
Here is a closer look at the cuts I'm looking to improve. I am hoping to remove all of them since only a few are deep...but anything is an improvement over what it is now.
NOTE- If you wanted to use power tools you could use an orbital sander and cut your sanding time down and you would be able to get all of the old cuts out of your board.
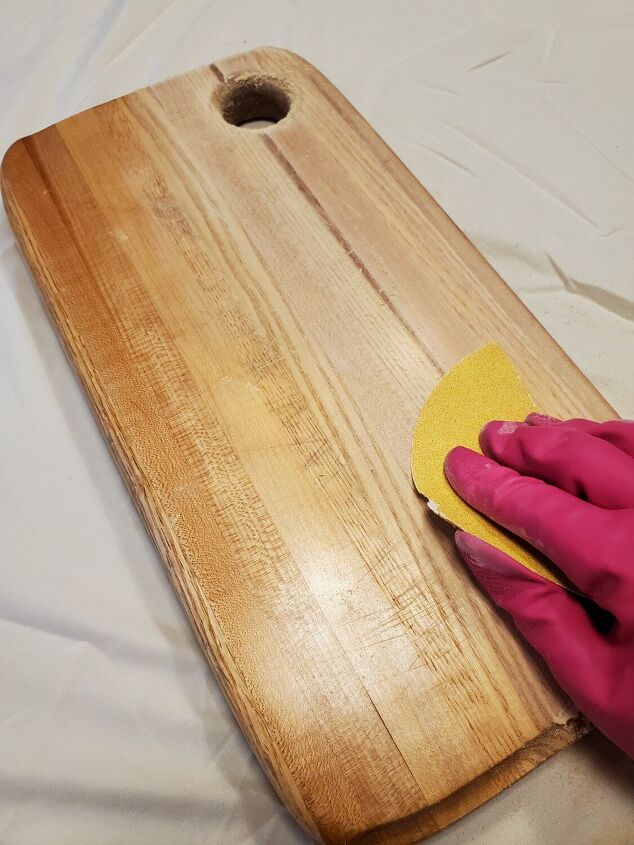
I started sanding with 80 grit sandpaper.
It took me an hour to sand the whole cutting board to the point I was happy with it.
This is how the board looks after finishing with the 80 grit sandpaper.
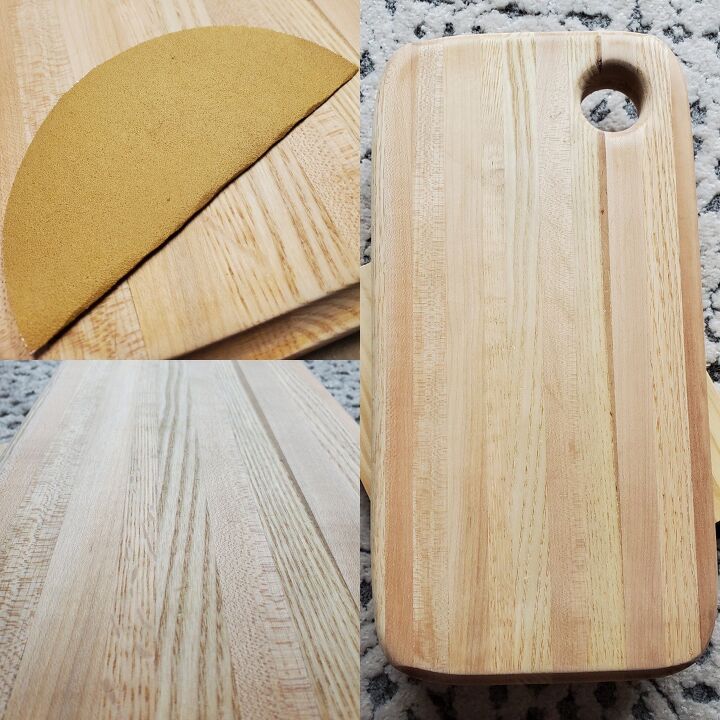
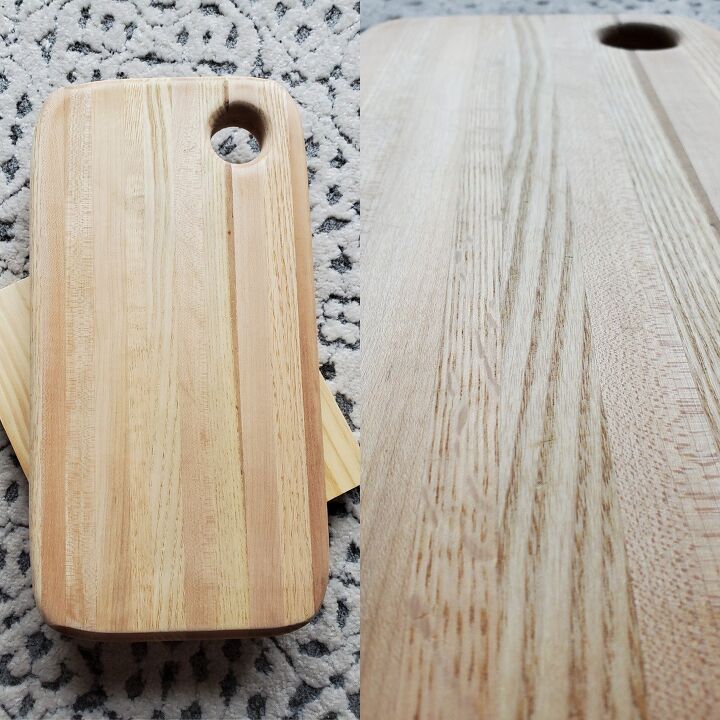
I moved to a finer 120 grit sandpaper. This is how it looks after about 30 minutes of sanding the whole board.
The cuts are mostly gone and the board is a lot smoother and I don't mind the few minor dark marks that you can still see. I think it adds character. There aren't any cuts left in the wood...just some dark markings.
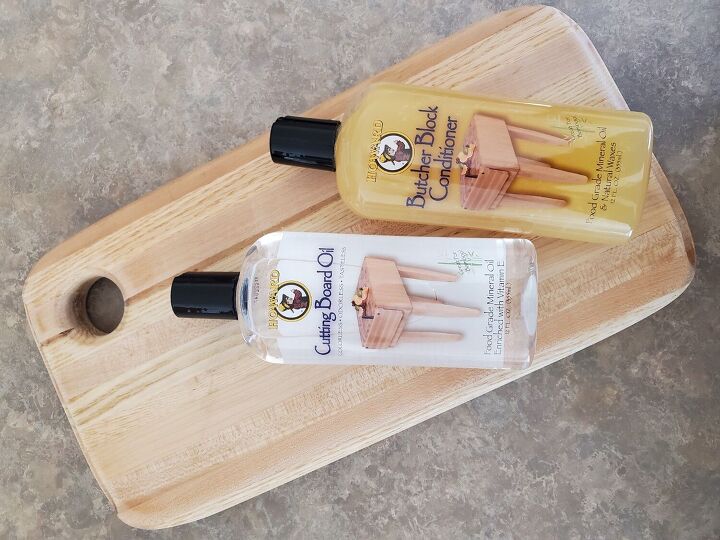
To protect my newly sanded and refreshed cutting board, I decided to go with a food grade oil and conditioner. I chose something I could pick up quickly at my local home improvement store.
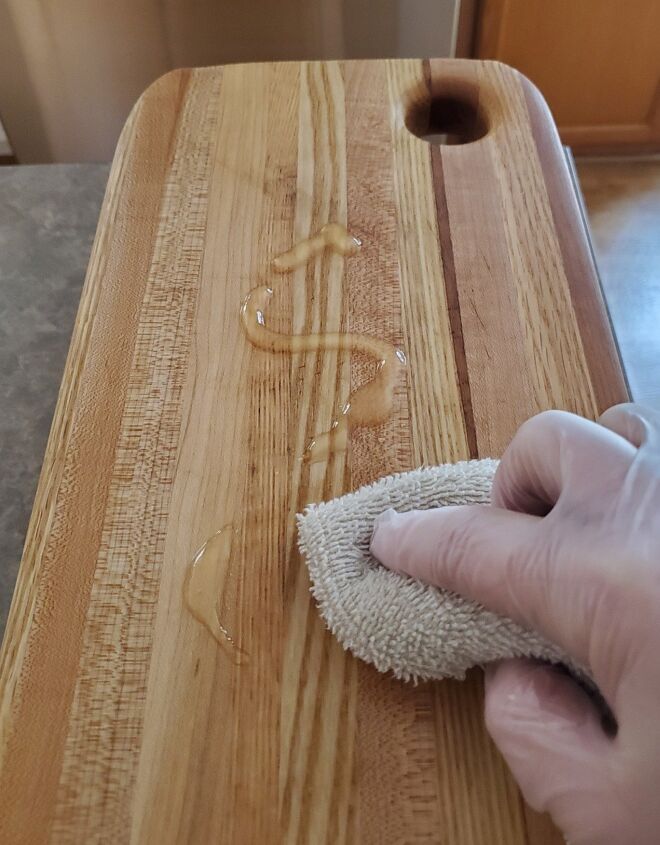
Make sure you wipe down your board with a clean cloth or paper towel before applying your oil.
NOTE- If you do some research you will see there are a lot of options to finish off your cutting board. Choose the best option for you.
Also, Amazon has a package deal on the brand I used that comes with a cutting board cleaner, oil, conditioner and application cloth.
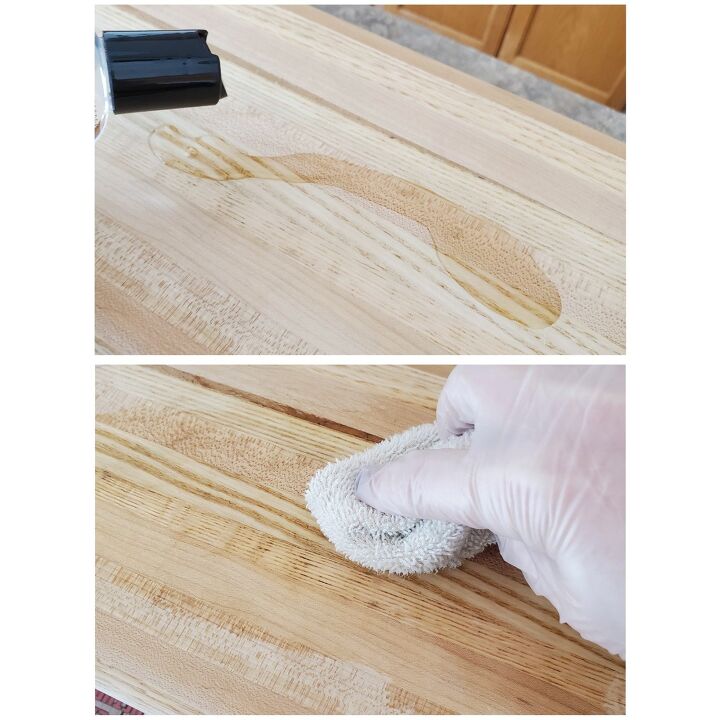
I followed the directions on the bottles and started with the oil. I used a clean cloth and applied one coat of oil to the whole board.
It was a gorgeous day so I set my board outside to dry for one hour before applying a second coat of oil. Once the sun went down I brought the board inside and left it to dry overnight (per the oil instructions).
TIP- Use mason jars to set your cutting board on when drying.
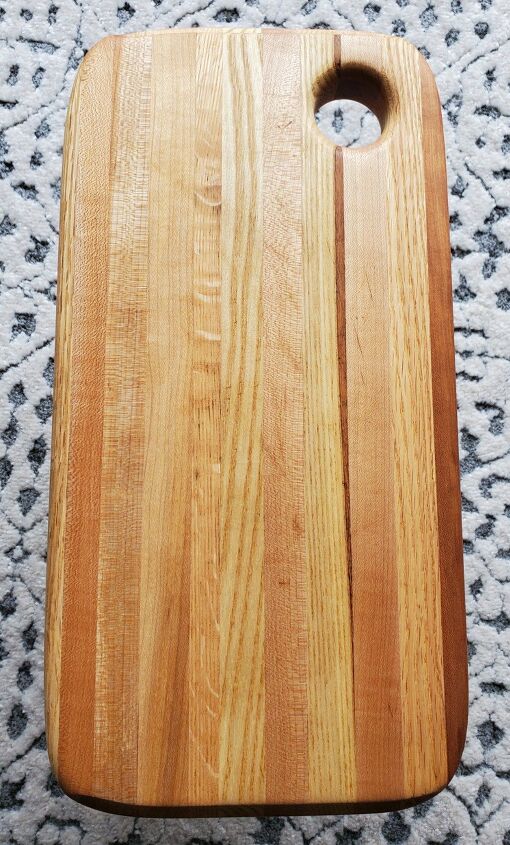
The next morning the board was dry and ready for the conditioner. This photo shows the board once the 2 coats of oil dried.
Following the directions on the bottle of conditioner, I applied a coat of conditioner with a clean dry cloth over the entire board and let it dry overnight.

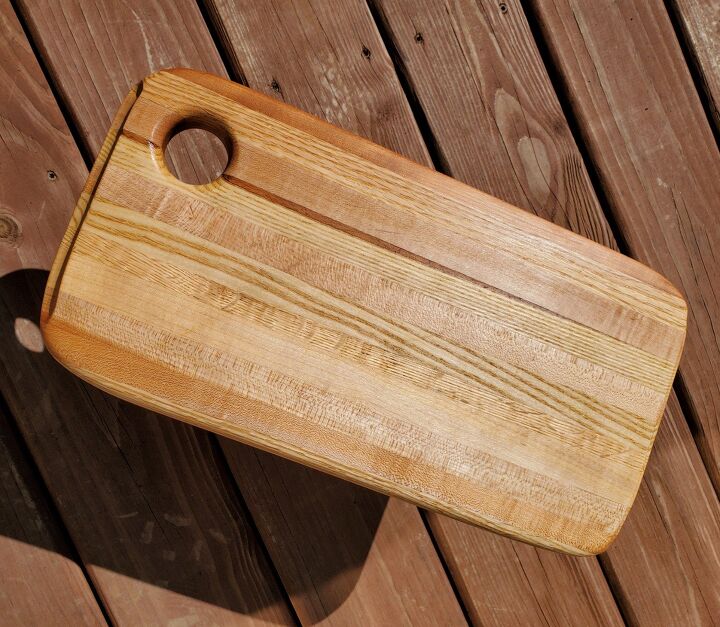
I love how the cutting board turned out! It's clean, smooth and refreshed.
This is a closer view of the dark marks I was referring to earlier. They are present, but the top photo shows there aren't any cuts or grooves in the board now.
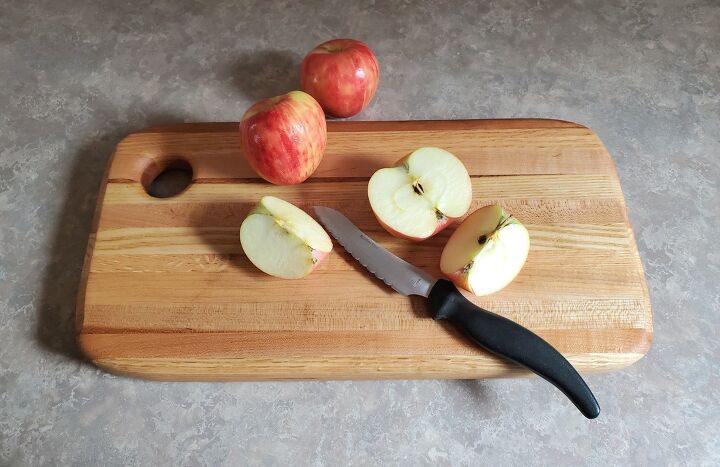
I love it! It's perfect!
Resources for this project:
See all materials


Comments
Join the conversation
-
Absolutely 👍
-
I have a variety of boards. I’ve gotten some real treasures second hand. I recently refreshed all of them. So satisfying!! Highly recommend this. Thank you for sharing.


Frequently asked questions
Have a question about this project?
What does the conditioner do that the food grade oil does not?
I wonder if this would work for bamboo cutting boards?
Nice and Fresh!! : )
Did you do the entire board or just the top and sides that are showing in the pics..? Wondering because you mentioned using mason jars to sit it while drying...kind of made me wonder.