


Laser Engraved Dollar Tree Blocks - Designs By Gaddis
Laser Engraved Dollar Tree Blocks
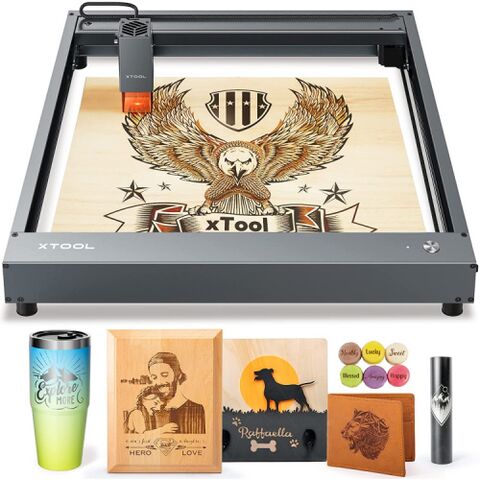
I recently purchased an Xtool D1 laser, and I have to say I love IT!
If you are looking for a fantastic laser for engraving and cutting, check out this XTOOL D1, which I found on Amazon. This is the machine I purchased, and can't get enough of it.
Enough about the machine; let's get on with the DIY!
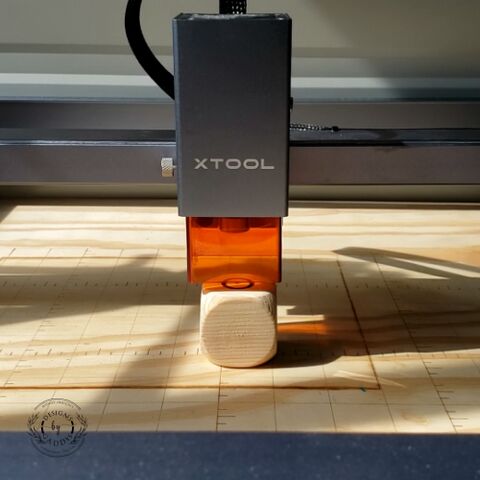
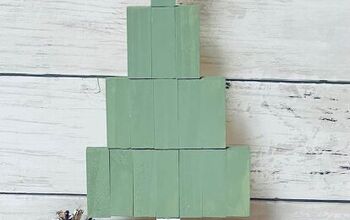
I used 4 Dollar Tree blocks, the new blocks that are a little smaller than the original ones and are shaped like marshmallows.

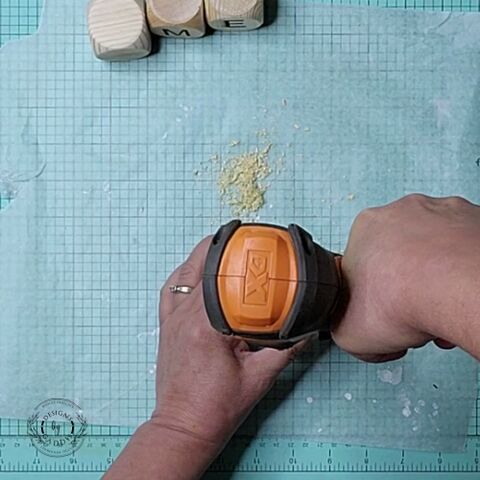
I placed the block under the laser and used the little kickstand on the side to set the distance of the laser from the block.
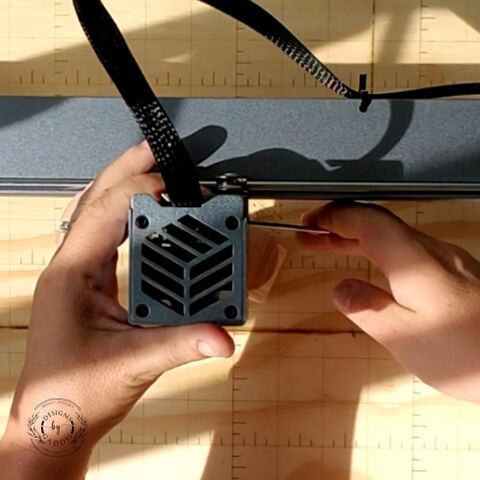
The XTool D1 Laser makes it simple to set the distance with the kickstand, and you don't have to worry about losing it because it is attached to the laser module.
I then moved the laser back to the home position.
I used Lightburn to create and size the letters for the word home. The XTool comes with its software, LightBox, but I have found that I can do much more with Lightburn.
And began engraving the blocks.
Once I had all four blocks engraved, I placed a small marker in the center of each block and used my drill to drill holes large enough for my string to go thru the hole.
I used Unicorn Spit stain and water to stain each block.
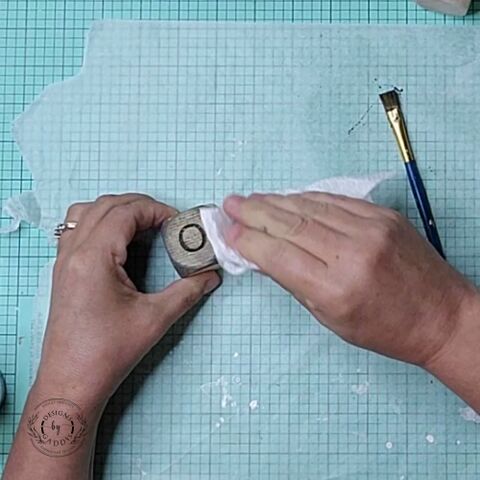
I also used Jolie Finishing Wax on the blocks to help seal and protect them.
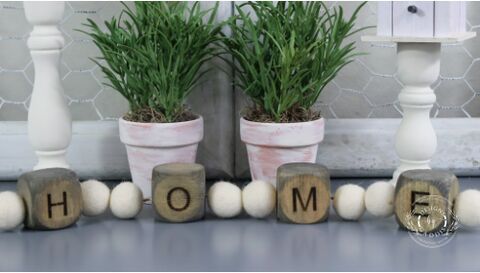
I strung the blocks, and some felt beads onto a piece of string and tied knots at the ends.
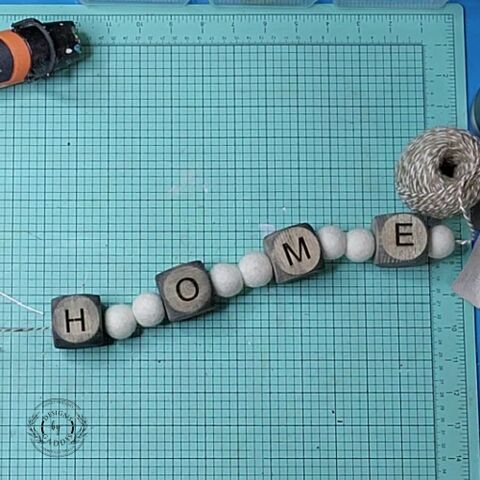
And look at how adorable.
Check out the video on my YouTube channel to see this fantastic XTool D1 project, along with four others.


Frequently asked questions
Have a question about this project?