


Layered Epoxy Resin Pour Art in White, Pink and Gold
How to make a Layered epoxy pour art with gold accent.
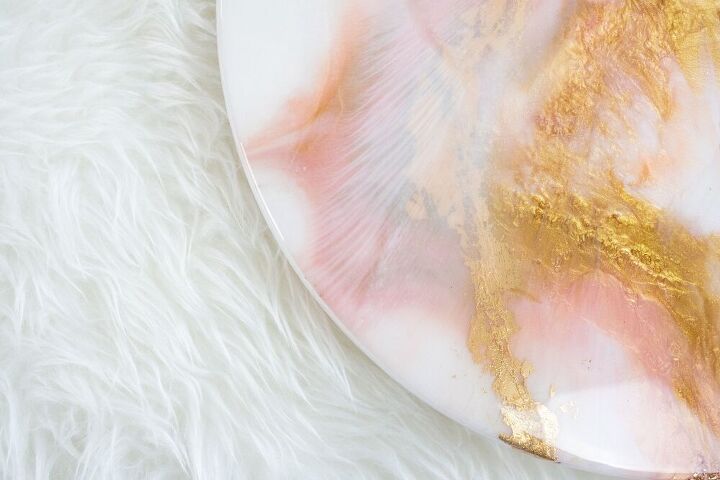
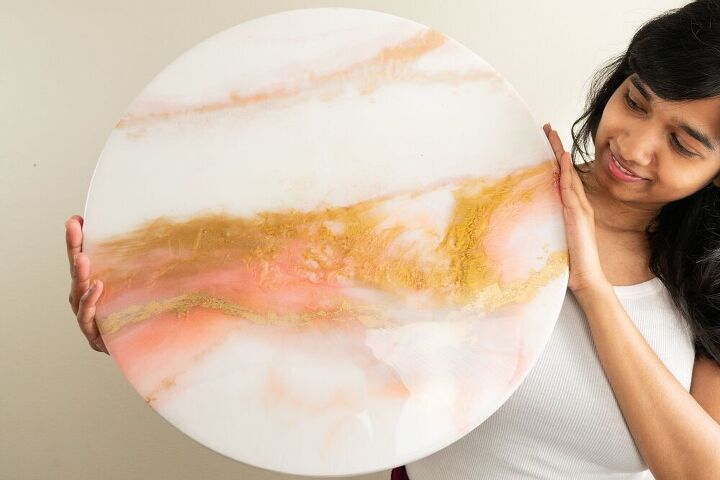
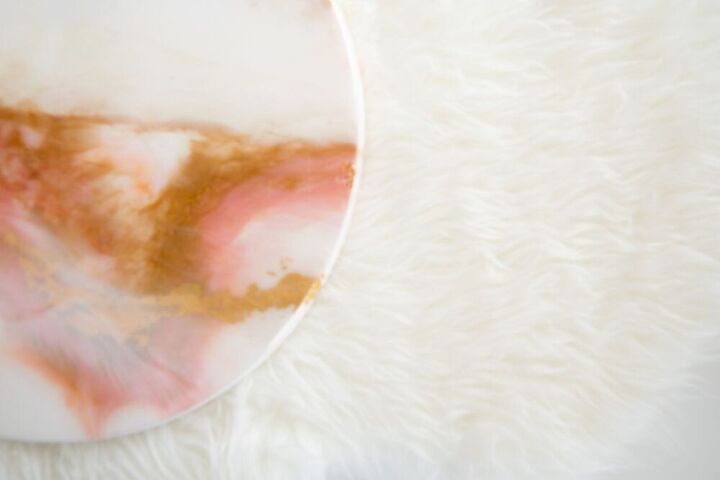
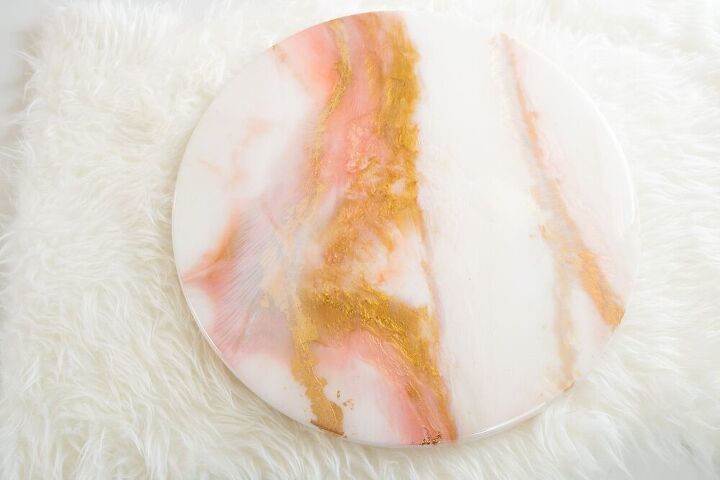
Absolutely loved making this Layered epoxy resin art in pink and gold. This can be used as a wall art or a wall clock base or a tray or table top.
Check out below video on how its done.
Check out my blog for more projects like this : https://www.thenomadstudio.com/diy-projects/
Subscribe to my youtube channel : https://www.youtube.com/user/nomadstudiovideologs
Follow me on Insta : https://www.instagram.com/thenomad.studio/
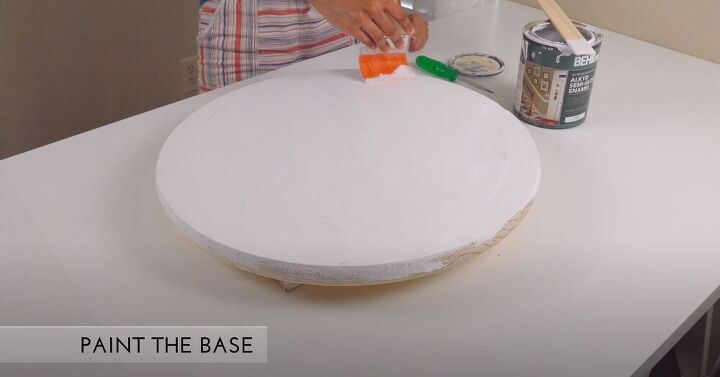
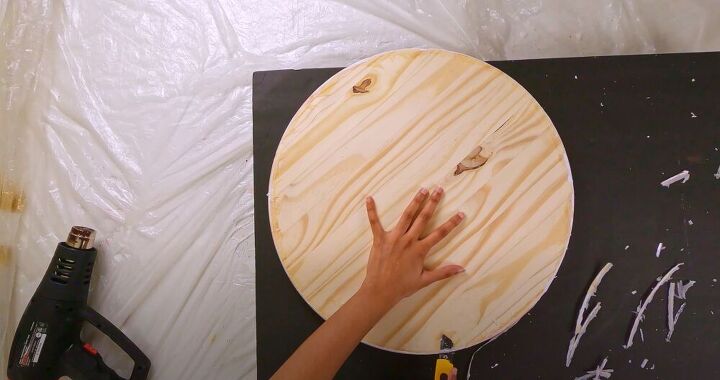
Seal the wood base with primer and paint white. This will make the base non porous.
On the rear, add painter's tape close the edge. This will catch the epoxy drip and will make the it easier to remove.
Before starting the pour, keep everything you need near you. Because, you have a window of less than 30 minutes to work on the design before it starts to harden. First set the board level and raised about 4 to 6 inches from table top or counter. Remember to keep plastic sheet underneath for protecting the table.
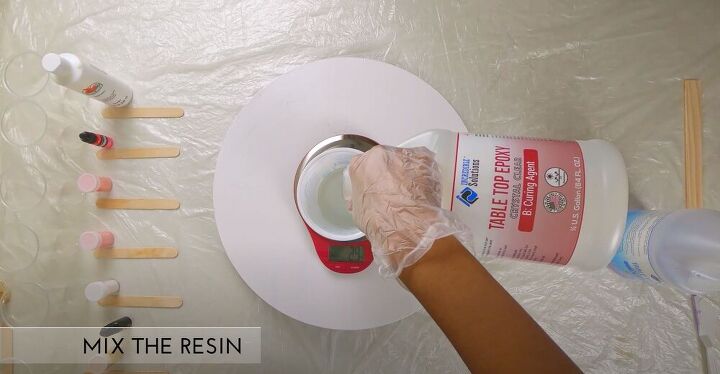
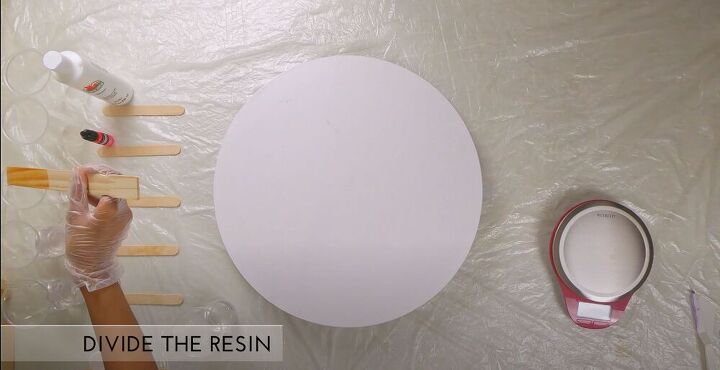
Mix the resin as per manufacturer specification. Mine was 1:1 (resin: hardener) ratio stirred for about 4 to 5 minutes. Once its thoroughly mixed, divide the resin to mix into the colors. I am using two shades of pink mica powder, pink transparent liquid pigment, gold mica powder and white acrylic to mix with resin.
The ratio of each color depends upon the amount of colors you want to use in your art piece.
First, add white and clear on the base in random pattern.

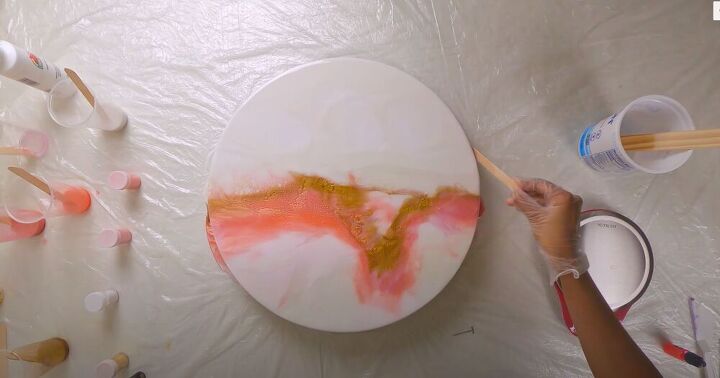
Then add colors one by one in any pattern you like.
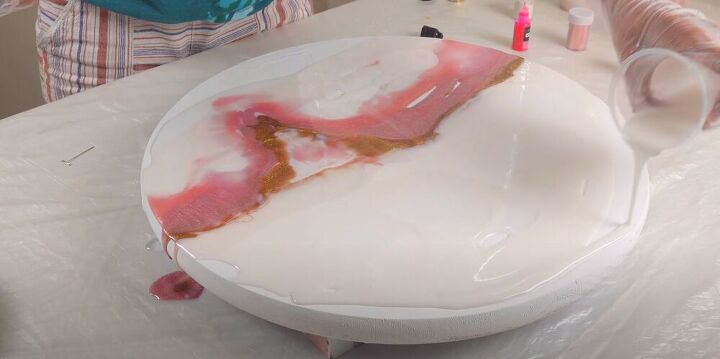
Spread the resin on the edges.
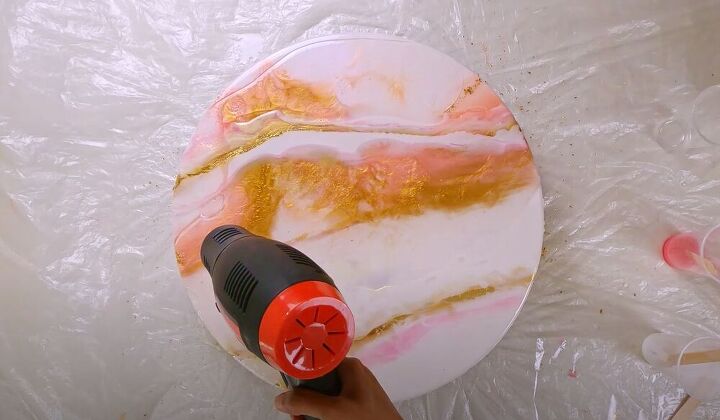
Apply heat using heat gun. This will release the air bubbles and make the resin more flowy.
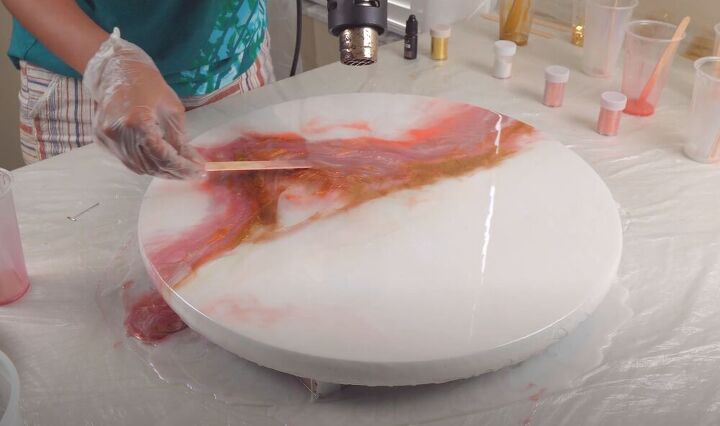

Play around with the colors by adding in pattern you like. It is so much satisfying to watch the bubbles pop and how the resin colors interact with each other creating beautiful patterns.
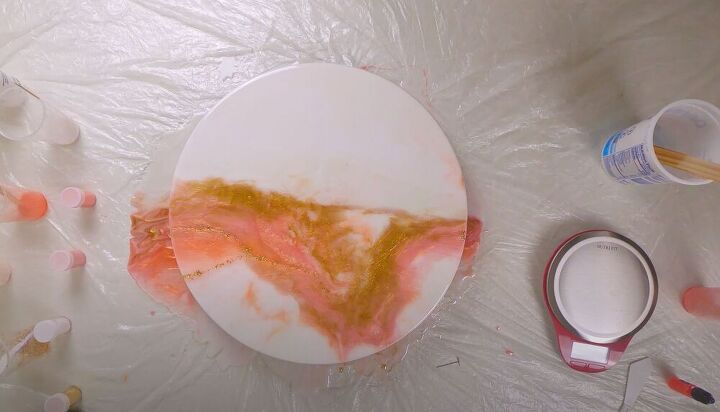
Once done, cover the art piece and let it cure for a day.
Next day, we are going to add more layers to it.
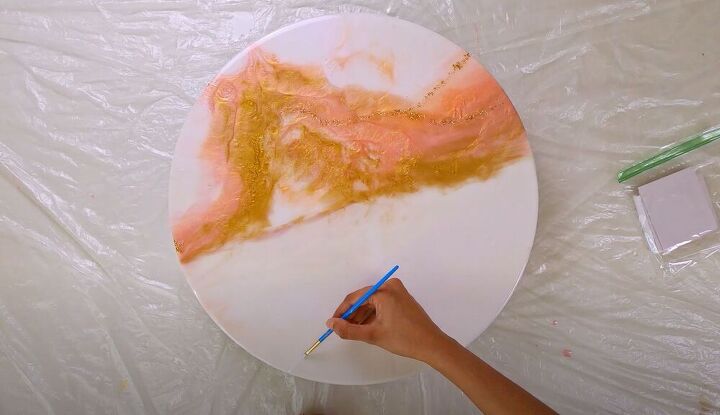
Next, we are going to add gold veins on the base. First, spread the glue with a thin brush.
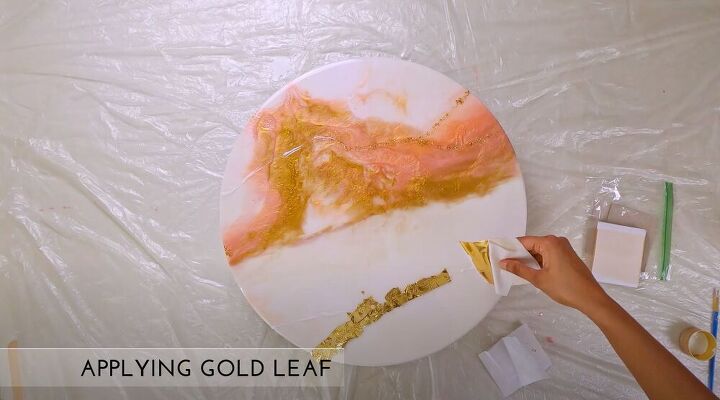
Then apply gold leaf on the glue veins.
After a minute, smudge the gold edges using a dry brush bristles.
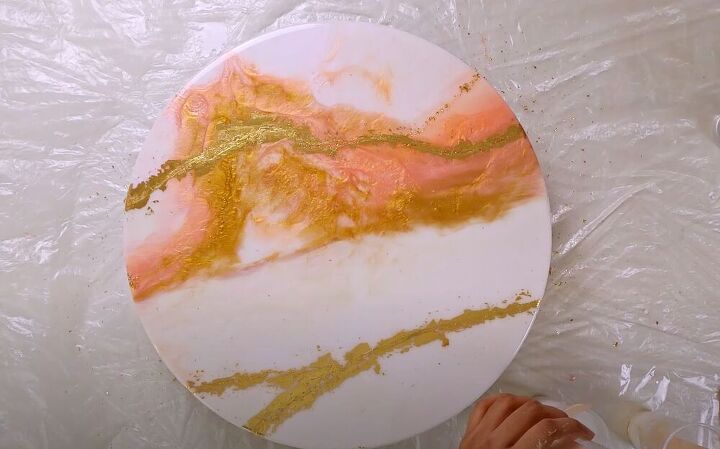
Once its dry, mix the resin again and divide into multiple parts for clear, white, pink and gold.
Apply the resin in layers in pattern you like.
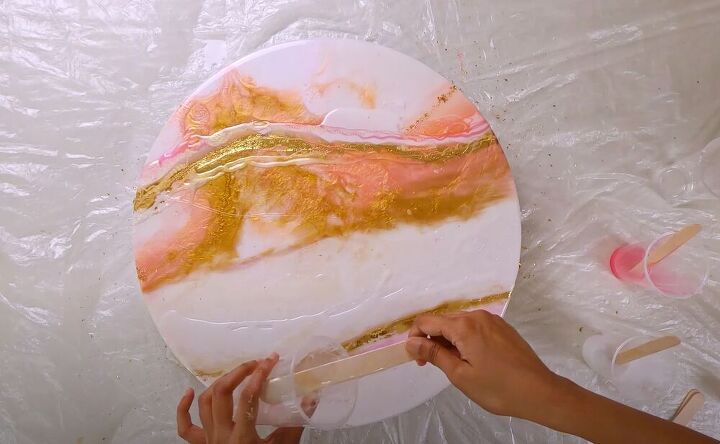
Just like the previous day, apply heat to pop the bubbles and spread resin on edges too.
Once you are satisfied with the pattern, cover it and let it cure for 2 days.
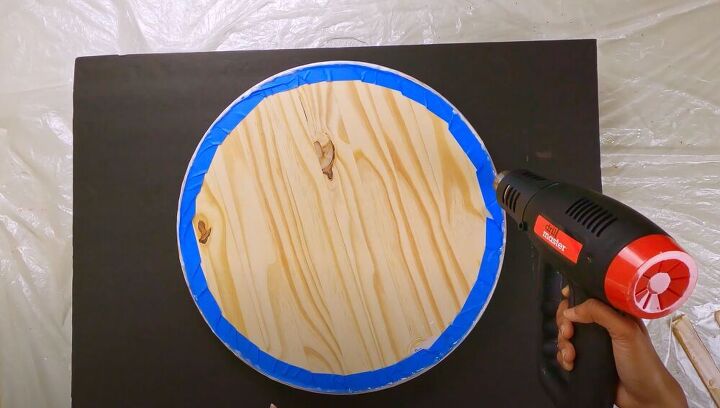
Time to remove the tape on the rear. If the tape is adamant, apply heat to release it easily.
If you still see the hardened resin on the edges, scrape it with utility knife.
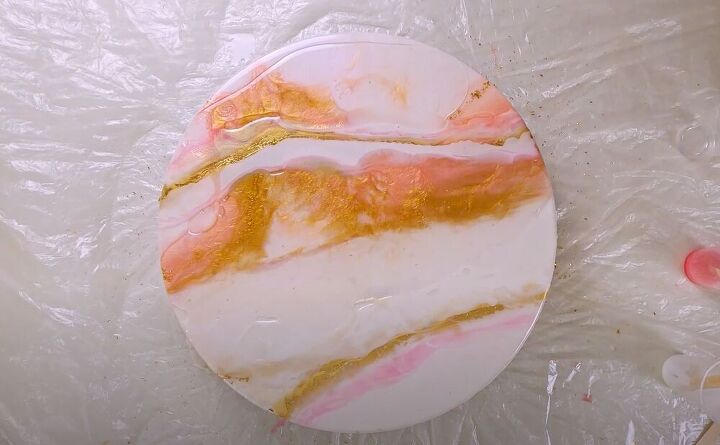
Here is the final product. This can be used as a wall art or a wall clock base or a tray or table top.

Comments
Join the conversation
-
So pretty, I have a clock that looks like this!


Frequently asked questions
Have a question about this project?
Where do you purchase mica powder?
You mentioned covering it while it cures. Please explain what you covered the epoxy with. What did you use that wouldn’t stick to the epoxy when it’s still wet? Does the covering touch the epoxy or just shield it?