


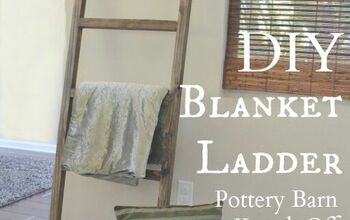
Make A Rustic Ladder For 7 Dollars!
1 Material
$7
1 Hour
Easy
Just popping on to give you the low down on my super easy rustic ladder for under 7 bucks. SEVEN BUCKS.
When we sell these to clients, we use a bit more of a beefier wood ( 2×4’s ), but I kind of like the more sleek modern look of 2×2’s. Not only that, they’re dirt cheap. You can buy 3 2×2’s needed for this project for 2.50 each
When we sell these to clients, we use a bit more of a beefier wood ( 2×4’s ), but I kind of like the more sleek modern look of 2×2’s. Not only that, they’re dirt cheap. You can buy 3 2×2’s needed for this project for 2.50 each
Below you will find the super easy tutorial that will take you under a hour to do.
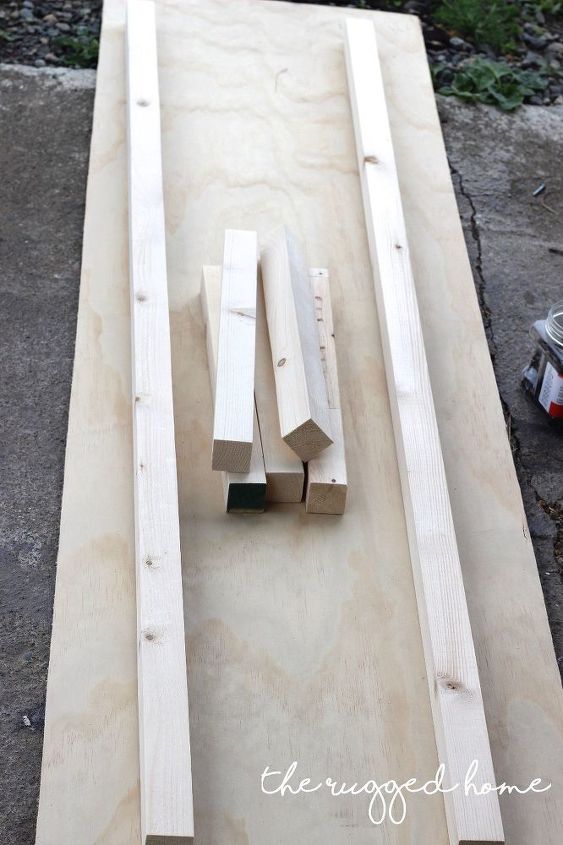
You will need:
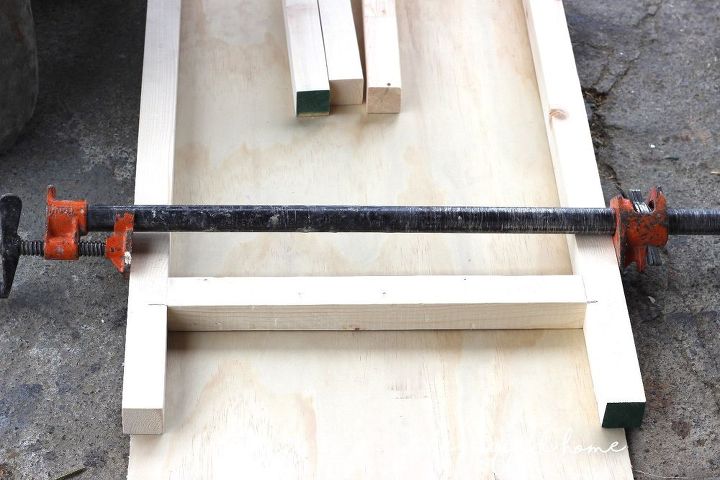
Now that you’ve made your cuts, lay your sides and rungs onto a flat surface. Our surface is kind of pitiful, but it’s all we have as we have as we have a lot of projects on the go right now.
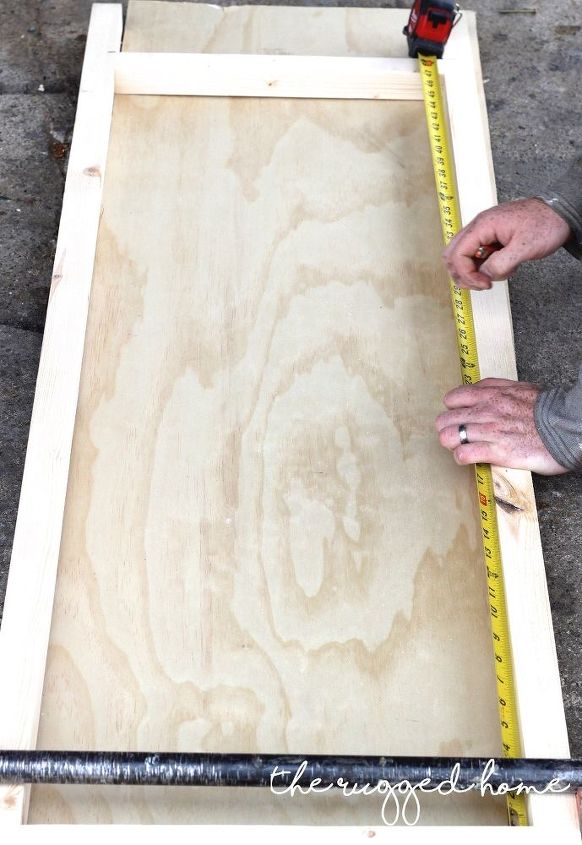
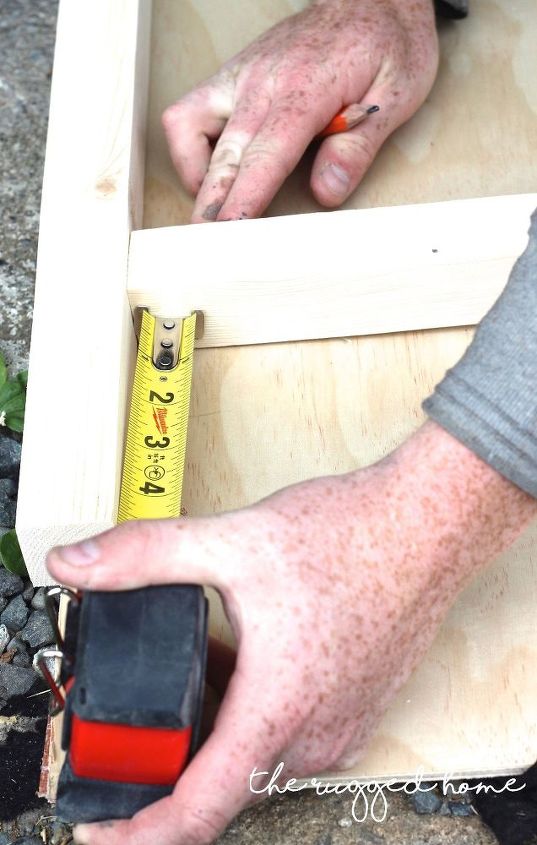
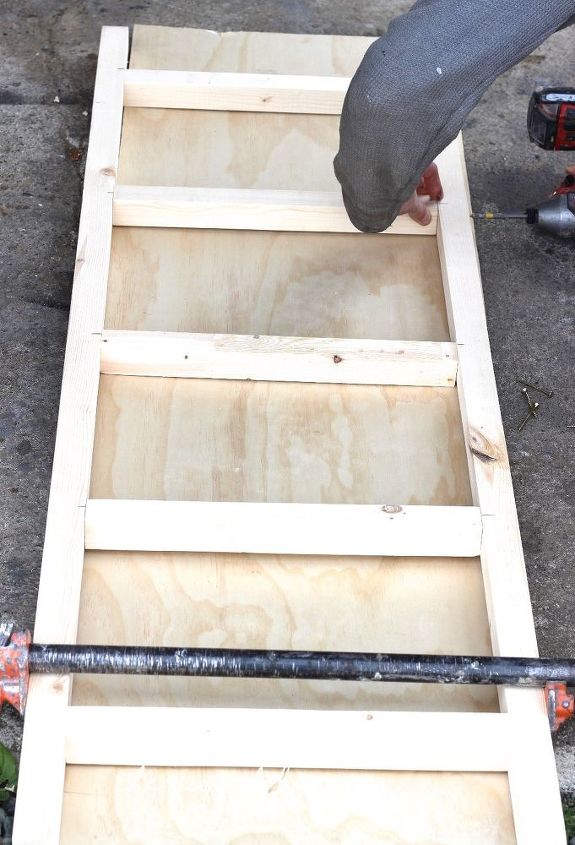
Once you’ve built one ladder, they are a pretty easy build. Now that you’ve screwed your top and bottom run on, you want to measure the distance between the first and second rung to gage where your middle rung will go.
Mark your measurements and put your rung smack dab in the middle.
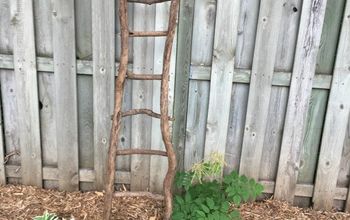
and… you built your first ladder! Woohoo, lets have a party!
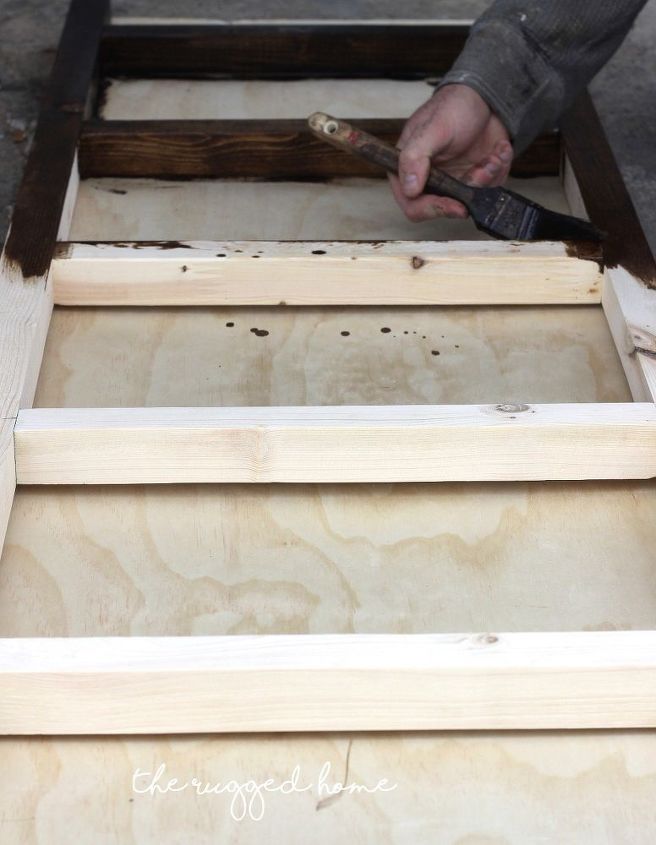
Next step is to do another mini sand & stain. I picked an Early American / Jacobean mix for my ladder.
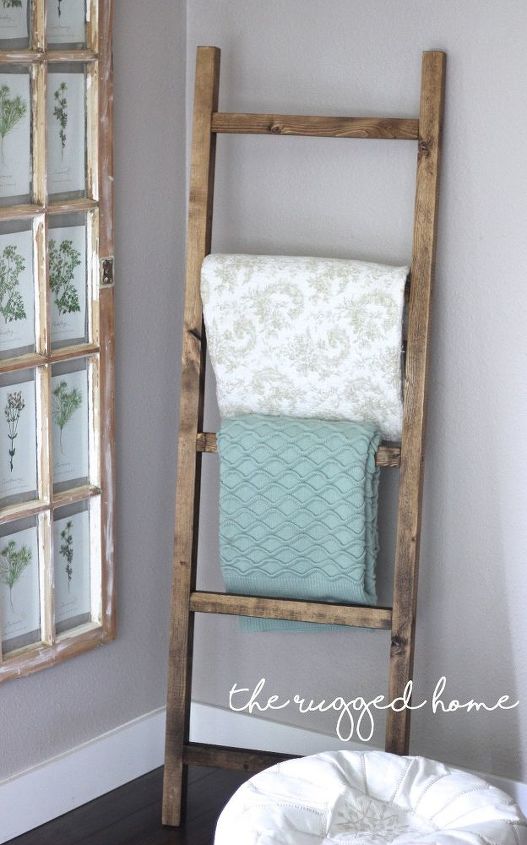
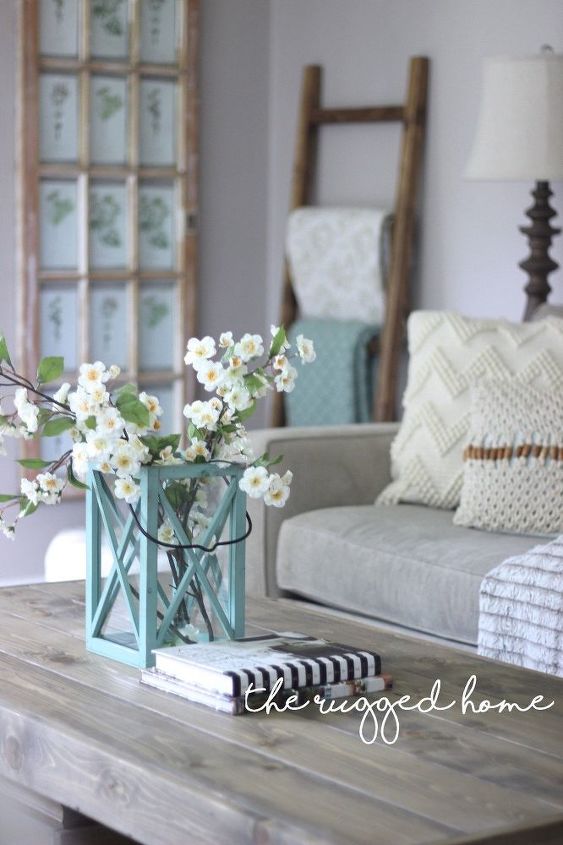
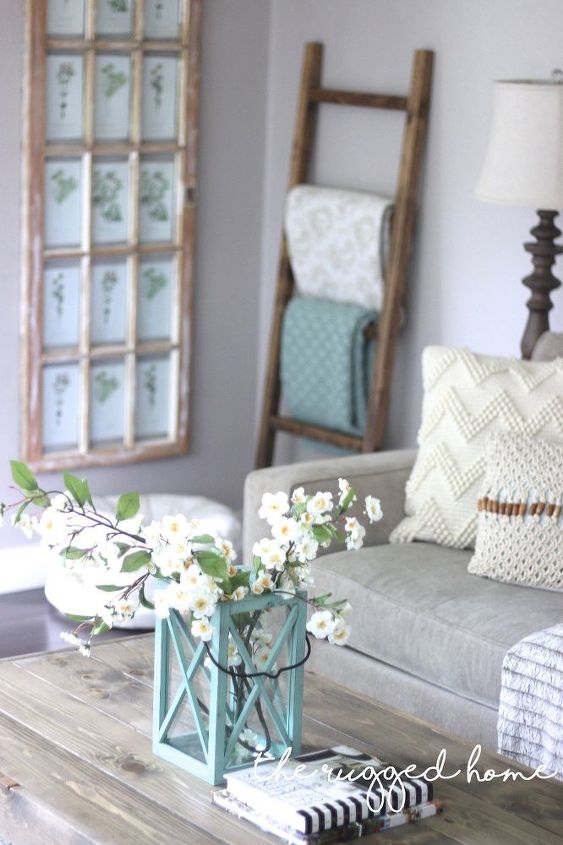
See how pretty this easy rustic ladder is? For only 7 dollars it sure has massive impact!

Want more details about this and other DIY projects? Check out my blog post!
Comments
Join the conversation
2 of 49 comments
-
i just bought two handmade quilts and i am SO going to do this! thanks for posting
-
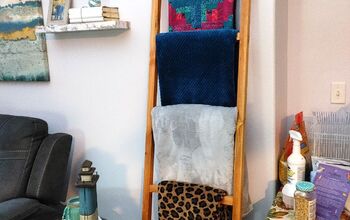
I just finished my ladder. I bought 3 of the prettiest 2x2's in the lumber yard. I cut 18" off of each upright board to make two of the rungs. I then cut three more from the 3rd board. I laid it all together to get an idea of the rungs spacing. I used wood glue and clamps and then 3" screws. As you said, measure, measure, measure. If I make more I think I'll make templates to make spacing easier and faster. I didn't stain the ladder I just brushed on a coat of polyurethane. It's light but sturdy. I love it! Thanks for your inspiration.


Frequently asked questions
Have a question about this project?
Hi! How much of each color stain (Early American & Jacobean) did you mix together to get this look?
I am in early midst of this project. Is there a certain angle you cut so the ladder rests against the wall? I'm hoping to take it back to the lumber yard and ask them to cut it as I don't yet have the correct angle
Could you show how you attached the rungs to the uprights please.