


How to Make an Outdoor Work Table Using 1x4's
I haven't been doing many craft projects in the past couple of years. My old work table was convert to a bar table at our outdoor sports bar. So I thought I'd just replace the top on another table that I had built and left sitting outside.
It just looked like it had been weather and the top needed to be replaced. But, OH NO, nothing is that simple in Georgia.
When I started removing the top of the table I realized it is now the home to thousands of termites. I HATE TERMITES!!!
So I had to rebuild a whole new table for me to start crafting again.
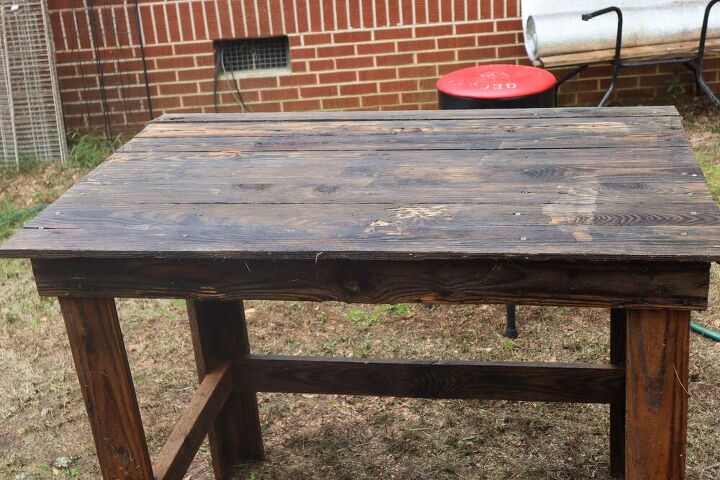
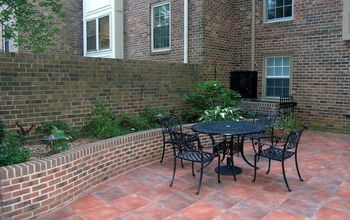
This is what the table looked like that I thought I could salvage. Just looked weathered and in need of a new top.
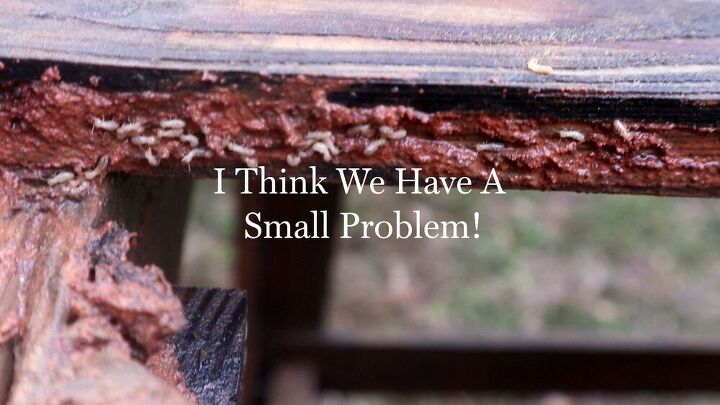
This is what I saw when I removed the first board from the top. I knew I had a problem. I called the Hubby over and he said "yep, you are going to have to build another one. This one needs to be burned".
And that is exactly what we did. As I tore the pieces off he put them in the fire pit and bye bye termites.
After tearing the entire table apart and burning it it was time to start on the new table.
I am a lucky lady, my hubby is a roofer so we have all these 1x4's that he gets for jobs but doesn't use or he brings wood home that he has torn off of jobs. So, I am lucky enough not to have to purchase wood for any project I do. I can usually find it in HIS wood stack.
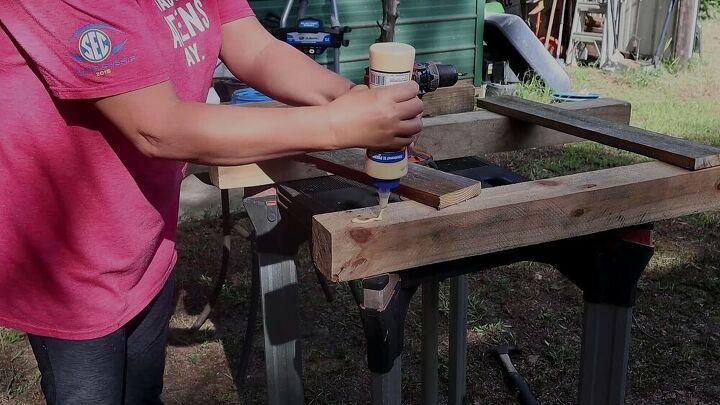
In the wood stack I found the pallet wood pieces that I thought would make great legs for my new work table.
I first applied wood glue and then used the nail gun to hold them secure.
I thought I was doing good until the Hubby came out and said is it square. I thought "Is it square, of course." LOL.
He's the actually square of the family, I just throw it together and hope it doesn't fall apart. 

Ok, so, we have been married 20 years and he knows me better than myself. He decided to show me once again how to make sure it was square. (I have built several larger pieces of furniture and he has to do this part EVERY time)
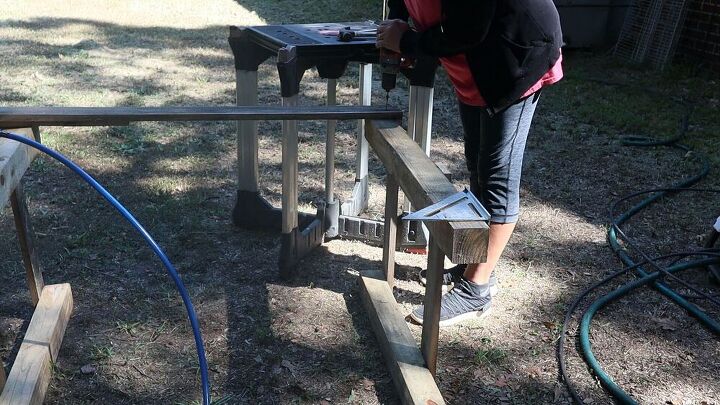
You may not be able to see him but the Hubs is standing there making sure I am doing this correctly. He keeps saying "you gotta make it square of it won't sit right." I know he's right but I just want to get this thing done. I've been working on it for the past 2 days. I should be done by now. Right?
So, we finally get it square and the base complete. He's happy, I'm happy. Now it's time for me to start the part I like best...cutting more wood.
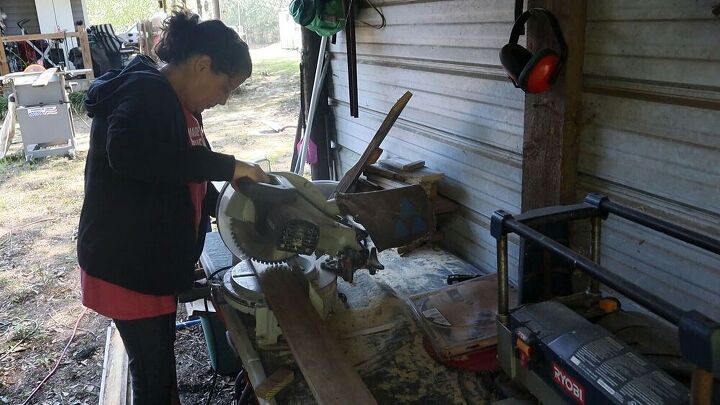
I used my miter saw to cut all the boards for the top.
Man, I love cutting with this saw!
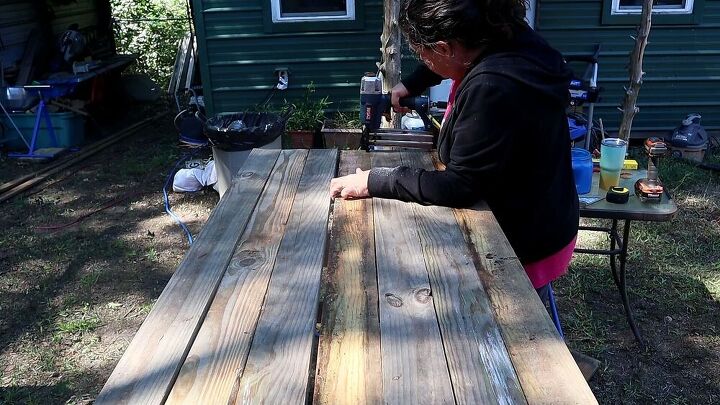
After I got all the boards cut it was time to nail them to the top. I used our nail gun to start with. I then used my screw gun to add screws to the top of the table.
Ok, I have to say this was my favorite part of this whole project.
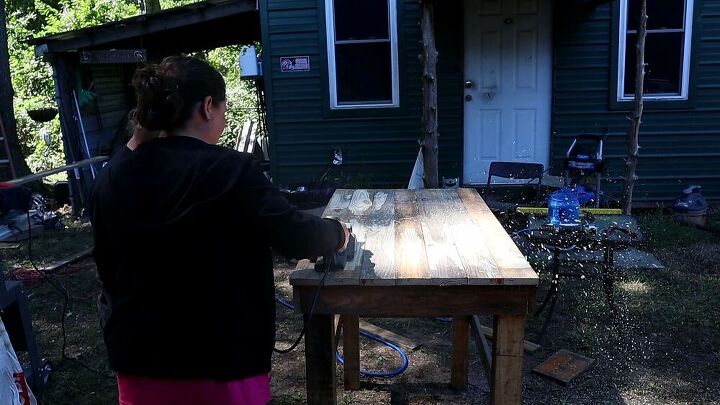
I have never used a plainer. The hubs walks up and says here try this, it will help you smooth it down. I was like "what is this". He says "a plainer". I was like a WHAT?
I didn't even know he had a plainer. That would have been great to have know a few years ago. But, ok, let's give it a try.
OMG! This thing was a savior. Some of the wood I had cut was a little warped and the plain made the entire top flat.
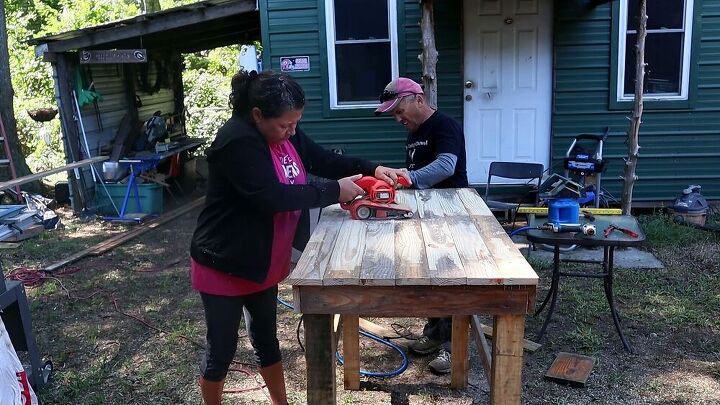
I love working with wood.
I love cutting it and I love sanding it.
I love watching the wood grain come out when you sand all the weathered areas off. I love the smell of wood. And I love feeling proud when I accomplish a big project.
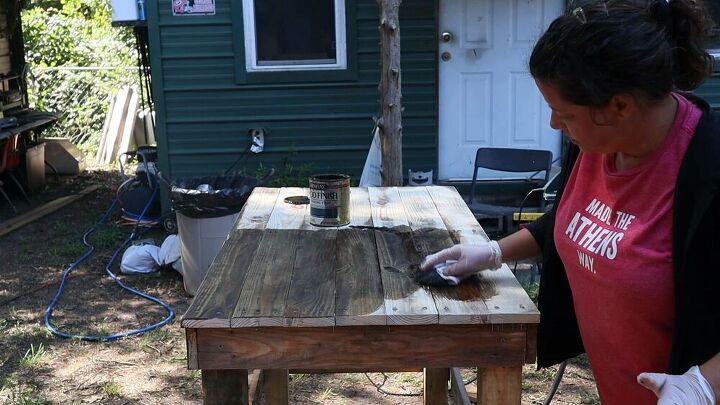
I know I said Step 7 was my favorite but this is my favorite, staining.
I applied stain to the entire table. I am always amazed at the wood grain when I stain something. It is beautiful to watch a plain piece of wood turn into something with so much character. Showing all it's beauty!
I don't know what it is about watching the wood grain show when you stain something but I just love it and think it is beautiful.
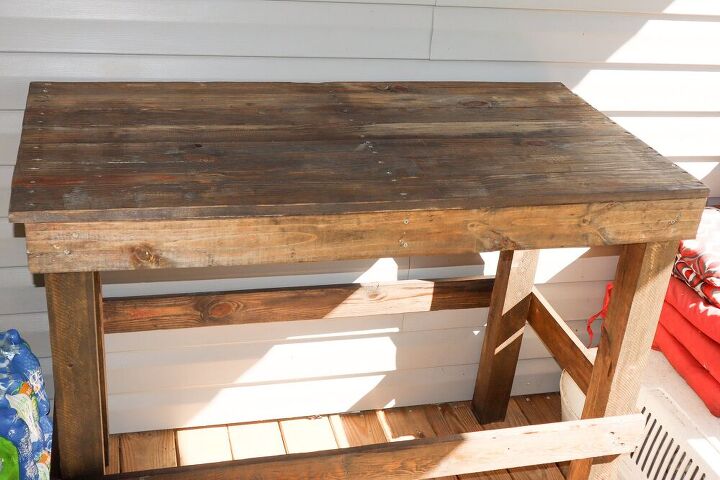
I know this isn't the best picture, the sun just didn't want to work with me. But, I love the way my new work table came out.
I added boards at the bottom to create a shelf to hold the wood I will be using in craft projects. I also have added a stool for me to sit on when I am sanding a project.
This is the perfect work area for me when I need to be doing things outdoors.


Frequently asked questions
Have a question about this project?