


I Built a Fire Table Out of a Recycled Wine Barrel and Wire Spool.

I wanted to surprise my family with a unique gift so I built an outdoor table from a recycled wine barrel and wire spool. The catch was I integrated a propane burner into the project to produce a fire table the whole family could enjoy on those cool nights. Follow along and you too can build something unique like this.
Hometalk Recommends!
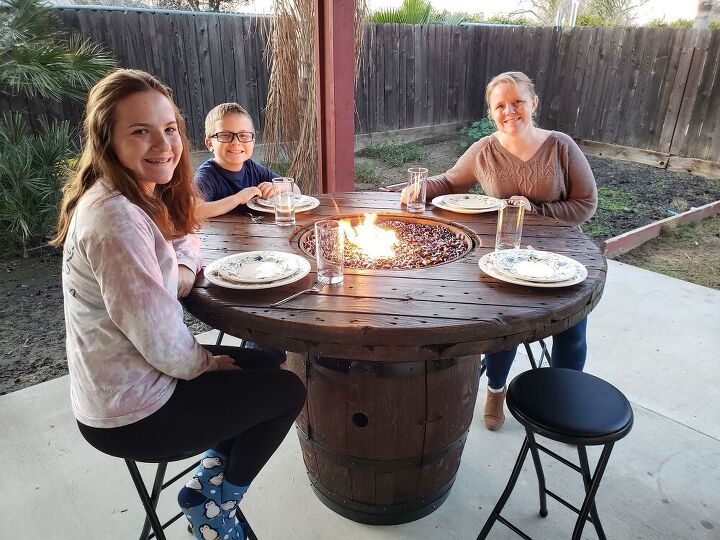
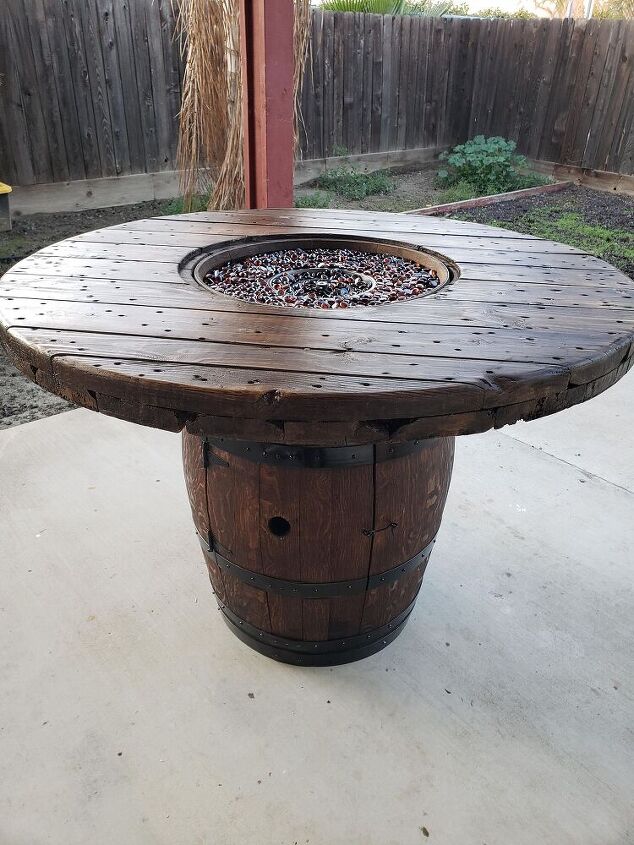
Here is the final project so that you have an idea of what we are going to build. Surprisingly the table is very sturdy and was almost impossible to tip. We have enjoyed many family meals on it and loved the atmosphere that it brings. This post is a bit long with a lot of pictures but I wanted you all to see the step by step process in case you want to give it a try.
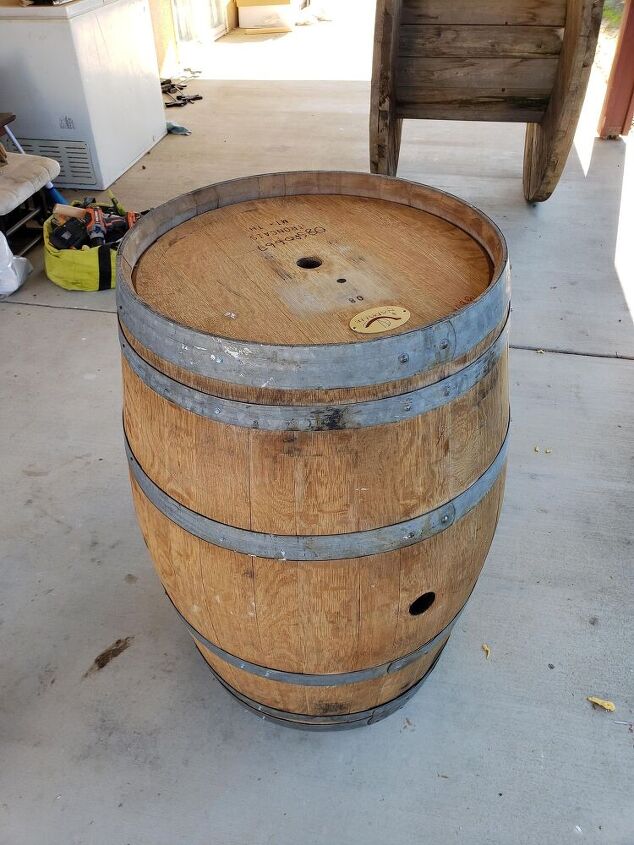
I found this wine barrel for sale online just a few minutes from my house. It was in rough shape but that's ok. With a little sanding and work, it's going to look amazing.
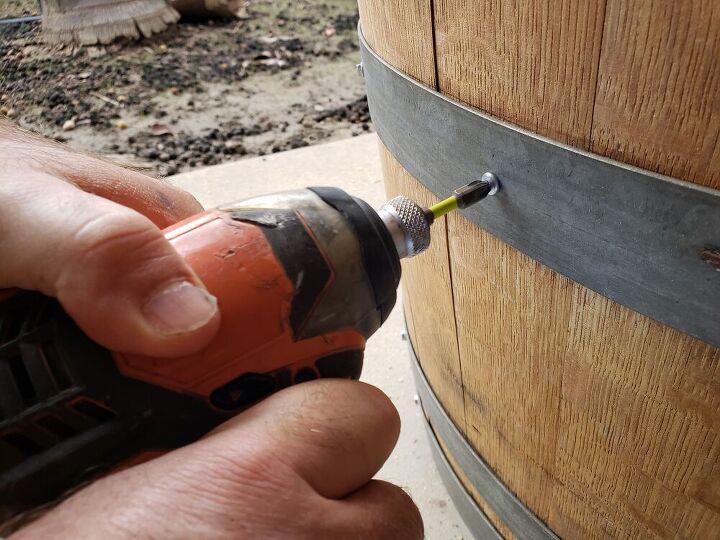
First thing to do is add screws to the metal bands around the barrel. This will keep the bands in place as we do the work and add strength. I used just 1 inch self tapping screws. Each wood slat on the barrel will need a screw.
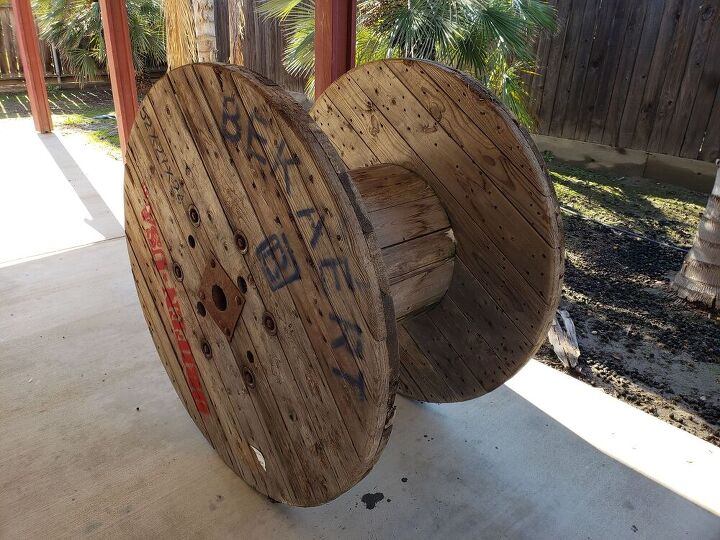
Now, over to the wire spool. I found this in a farmers field and loaded it up into my truck late at night (just kidding, I bought it off of him, promise). As you can see....it was out in that field a long time. First thing we need to do it take it apart.
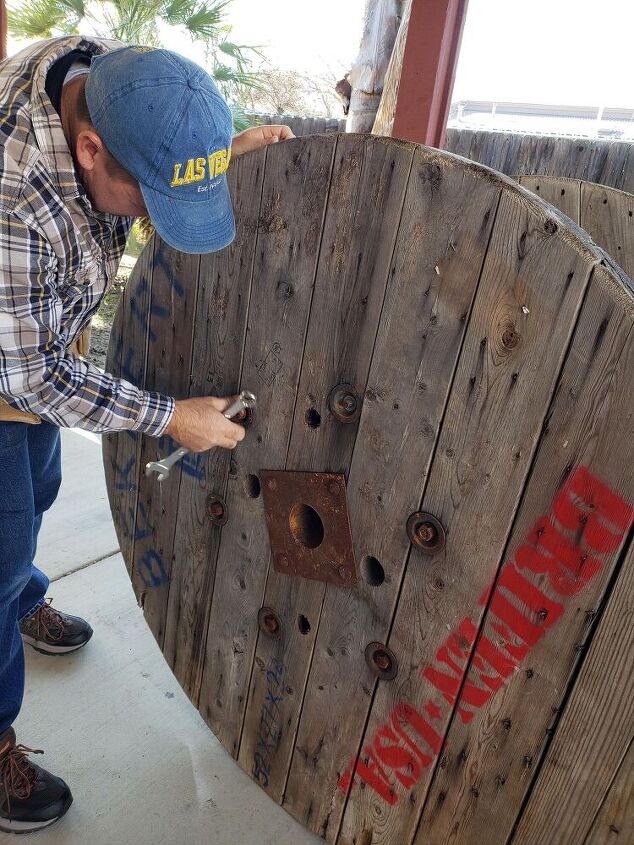
The spool is held together with long bolts with metal nuts on the end. Slow and easy I removed the bolts with a wrench.
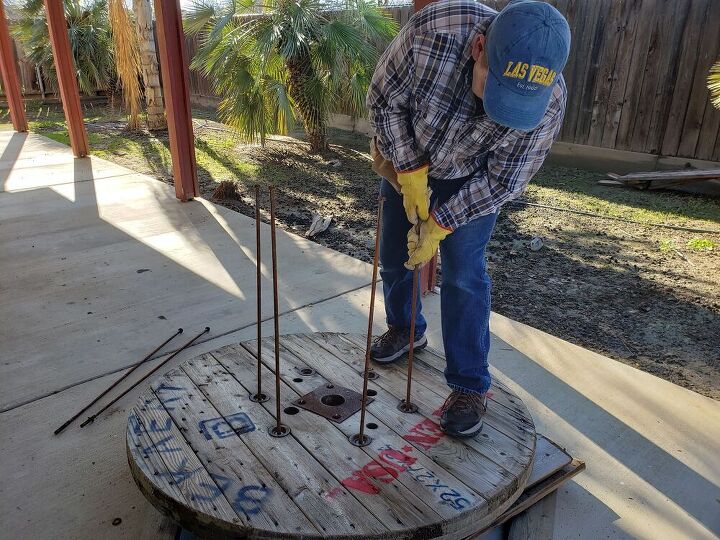
Here is what a wire spool looks like taken apart. Now, we had two round sections but only needed one. The other side can be saved for a later project.
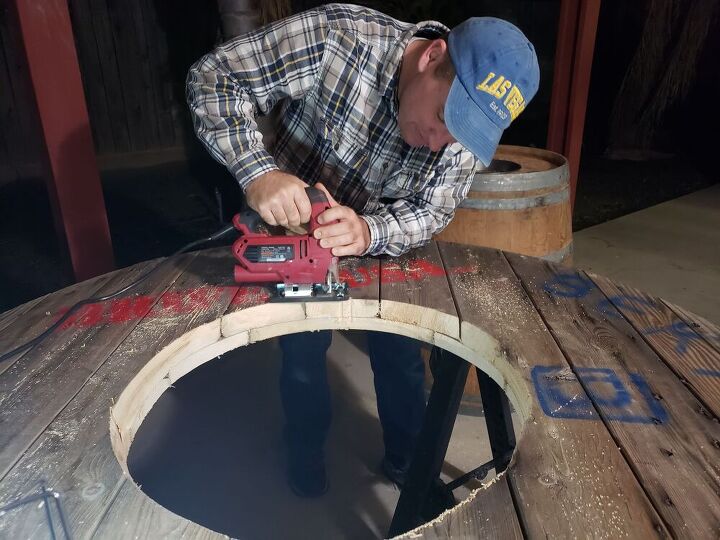
Here I test fitted the top on the barrel and marked it from underneath. Using a long jig saw blade I cut the best circle I could. What we are looking for is the table top to slide right over the top of the barrel and get stuck in place. So the perfect size hole is required. Not to big and not too small.
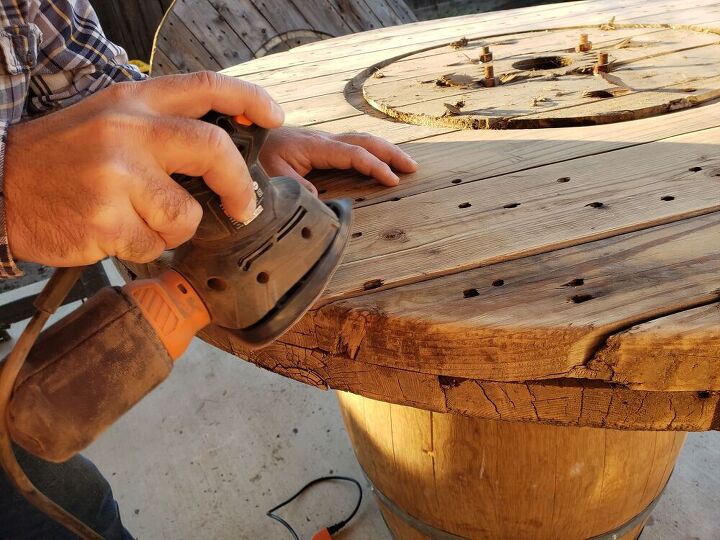
Oops, I got ahead of myself. Here is the picture of when I set it on the barrel to mark the hole and took the time to start sanding. And sanding I did. A LOT OF SANDING!!! I got all of the edges smooth and round. Started with 60 grit sandpaper and all the way up to 220. After all that I almost had to change my name to Sandy (get it? From all the sanding I did  )
)
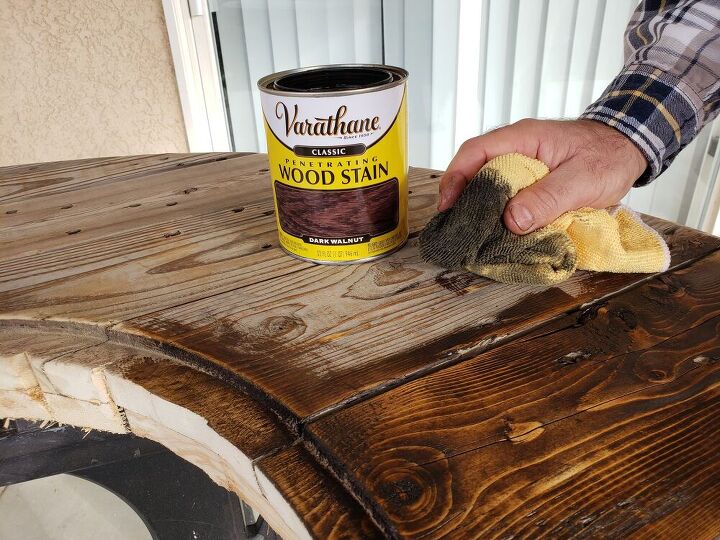
Now it was time for some staining. I went with a dark stain and used a towel. I find using a rag or cloth is much better than a brush. I can really get the stain in the hard to reach areas, especially the grooves on the spool top.
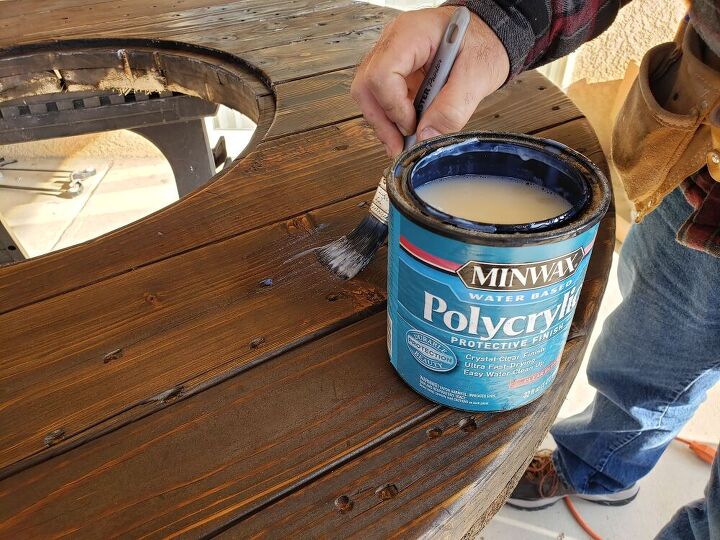
After the stain dried overnight I put on four (yes, 4!!!) coats of polyurethane. I wanted the table top as clean and washable as possible since we would be using it for meals. I now use water based Poly, easier to work with, dries faster, and clean up is a breeze.
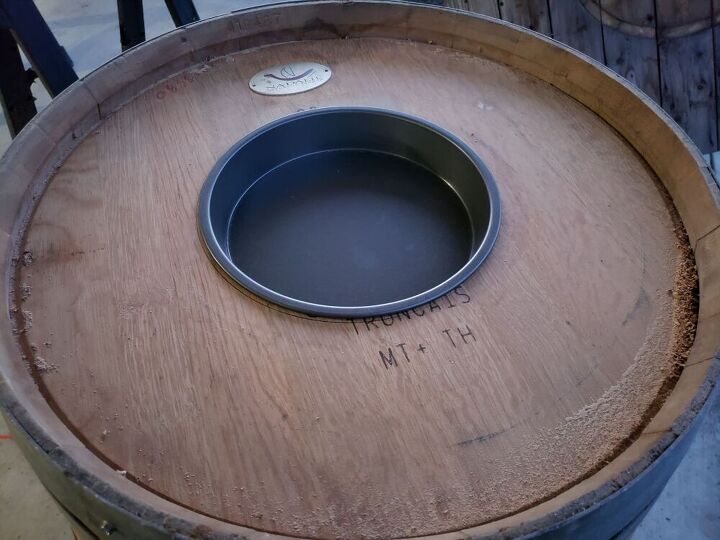
Back to the barrel again. Here I used a cake pan (yes, an ordinary cake pan from Walmart) for the fire pit. I cut a hole in the top of the barrel just big enough for the pan to fit and be held in place by the rim.
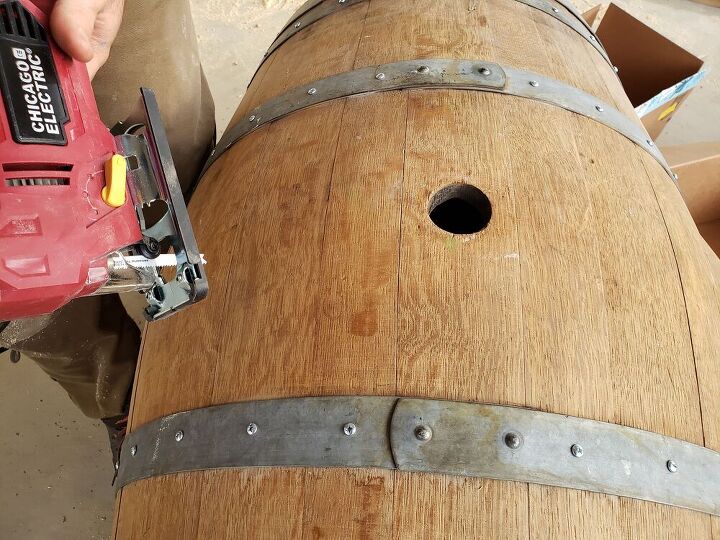
Here we are back to the barrel where a door has to be cut for the propane parts and tank to be stored. I cut the door along the stats on each side and used a metal jig saw blade for the cut. That way the metal straps were easy to cut through. You can see all of the screws have been put into place from our earlier picture.
(Side note: did you know the hole where the cork goes in the barrel is called the bunghole?! I'm not kidding, Google it. It really is called a bunghole. Seriously, I thought it was a made up word the kids on the playground used to be rebellious)
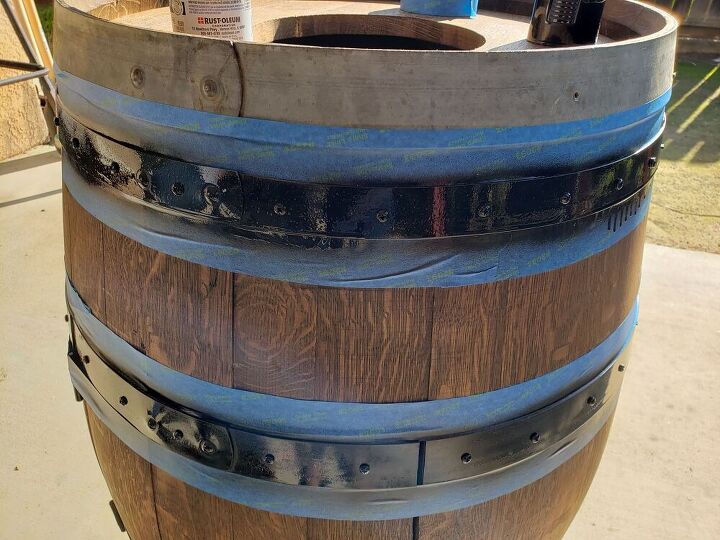
After I cut the door out (better pictures to come) I stained the barrel and masked off the metal bands for painting. You can leave the bands alone if you'd like, I just liked the dark look. It protects from rust through the years.
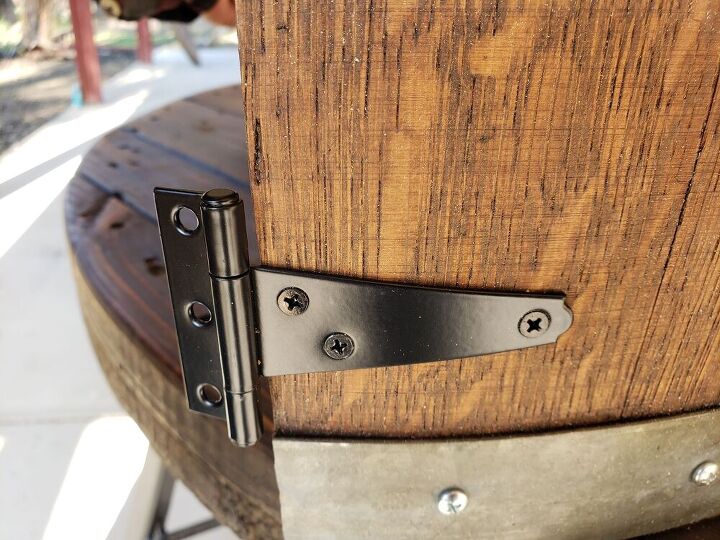
Here I installed a hinge on door I cut out. I like this type of hinge, gives the latch a lot of strength. Two of them need to be installed.
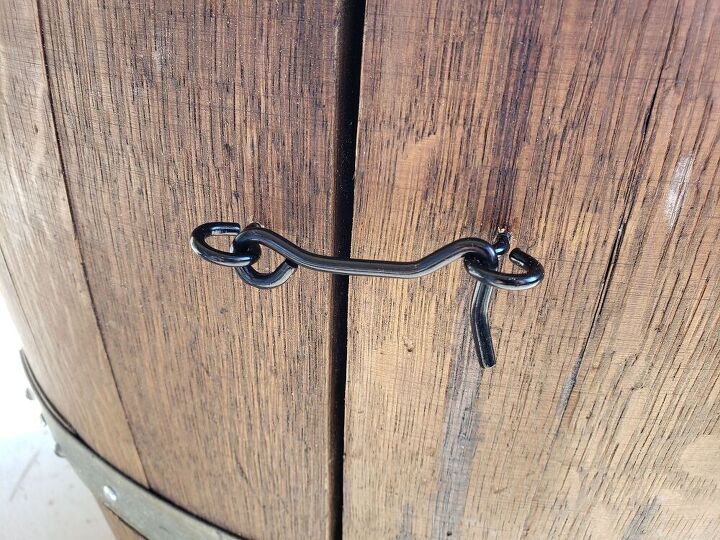
After the hinges are installed I drilled and hand placed a little hook latch to hold the door in place. It's the small details that I think make a project look so nice.
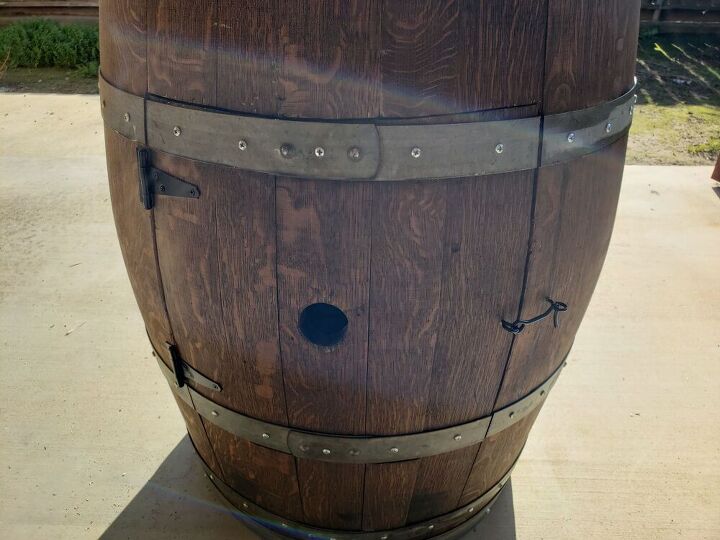
Here is what the barrel looks like with the door cut out and reinstalled. A few imperfections but that's ok.
(Note, this picture is a bit out of place. After the door was cut and installed, then I painted the metal bands.)
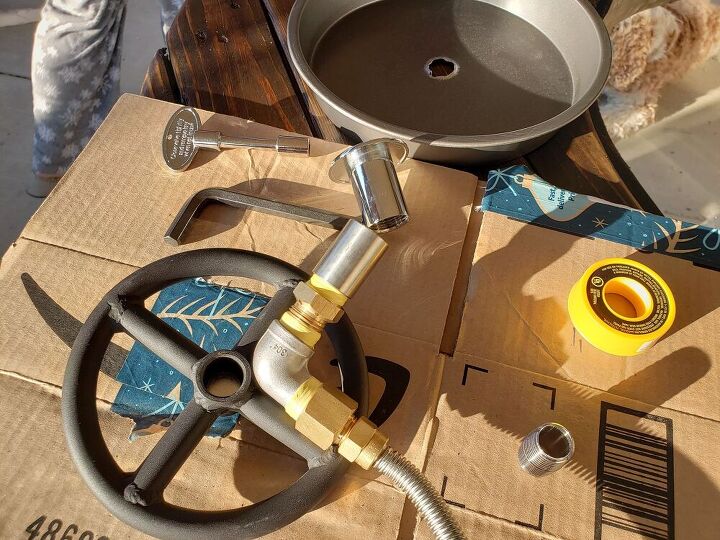
Now, the key to all of this is the propane kit. I bought it off of Amazon with a six inch burner. It came with a regulator, turn key, ect. You can find many different types on there. At the top of the picture you can see the cake pan has a hole drilled in it. That is where the burner will go through and attach to the hose.
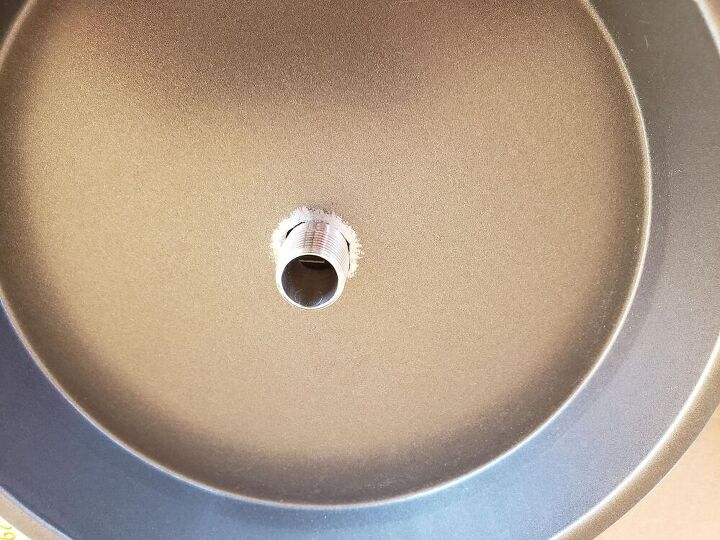
Here is the cake pan with the threaded nipple sticking through.
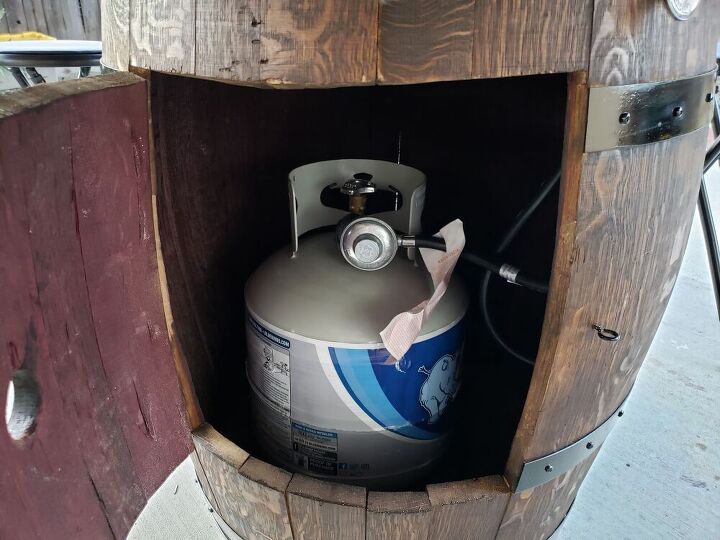
After all of the propane hardware was installed I hooked up the tank. It sits nice and secure inside the barrel out of sight. Please, I want everyone that tries this project, check and test all propane fittings for leaks. Use a bit of Windex sprayed on the fitting to see if there are any bubbles.
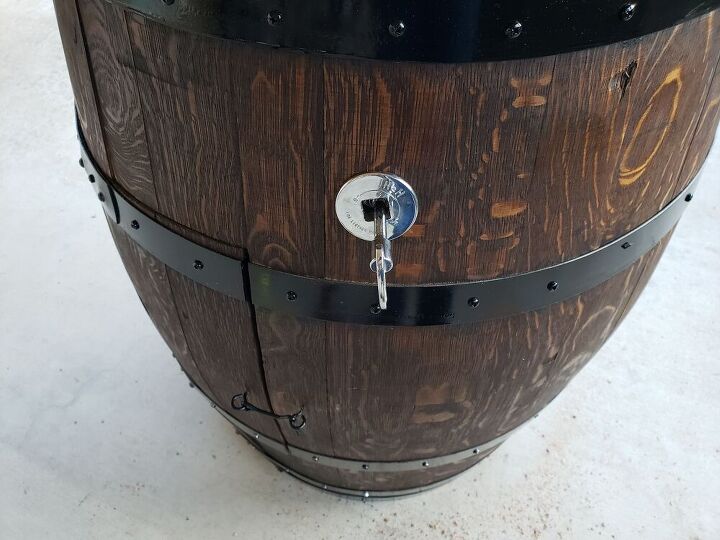
Here on the outside of the barrel is the control key. This will adjust your flame size. So much easier on the outside so that you can easily reach down to correct the flame.
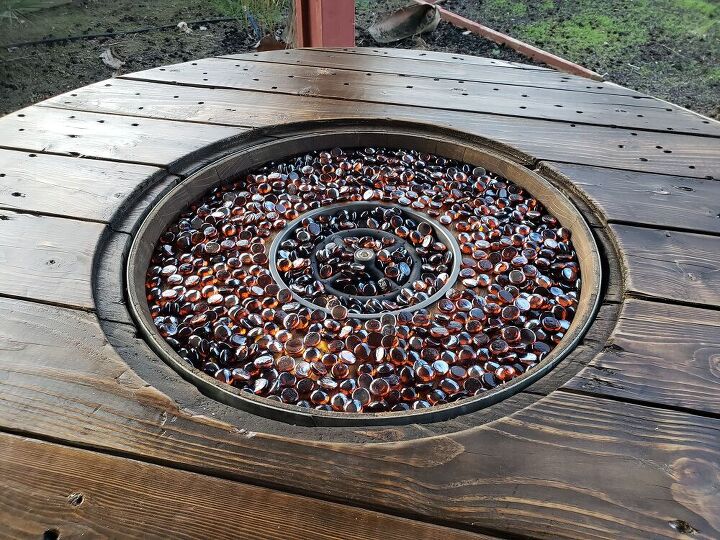
Now that the hardware is installed, fit the table top on the barrel. I also bought some fire pit glass off of Amazon to go into the cake pan and around the fire ring. Don't just use any type of rock or glass, the heat from the fire can make them pop. You don't want flying fire rocks in your eyes when you are eating corn on the cob around the table.
Here is the final project, all ready for testing. The flame burned nice and it was the perfect height to sit around. Now, just in case this question comes up, the wood around the table does not get too hot. Not even close. I tested the temperature of the glass around the table after 30 minutes and it didn't get above 110 degrees, way lower than I expected. There is a short video at the end of the flame in action.

Again, here is the table with my kids and wife waiting for the dinner I prepared. Next project I should build some chairs to go around it instead of those little stools. I hope you enjoyed the pictures and following along. It was a fun project and really added to the décor in the back yard. Nothing like having the family sit around for dinner together. If you have any questions or comments, just leave them below. Now, for your final enjoyment, the picture below is the flame in action. Thanks everyone.
Resources for this project:
See all materials


Comments
Join the conversation
-
I LOVE this project! It's the perfect combination of retro and modern. Bravo!
-
I wish I could!


Frequently asked questions
Have a question about this project?
Hi Mitchell,
Absolutely loved reading this. I'm from England and have been selling cable reel/reclaimed wood furniture since the turn of the year and this is something I've had my eye on for a while.
I have a couple of questions if I may? Does the fire pit glass disperse the flame? Because in my head, there is one gas outlet, so there would be one flame shooting straight up from the middle?
I see the rectangular fire pits that have flames the whole way along, maybe they use multiple outlets?
Thanks again.
Joe
How wide is the spool top? I’ve been looking and there are 42” & 65” that im seeing.
What size cake pan did u use
how did u cut hole in cake pan
what hinges did u use on barrel n where did u get them