


Nautical Themed Light Switch Cover

by
Toni Johnson
5 Materials
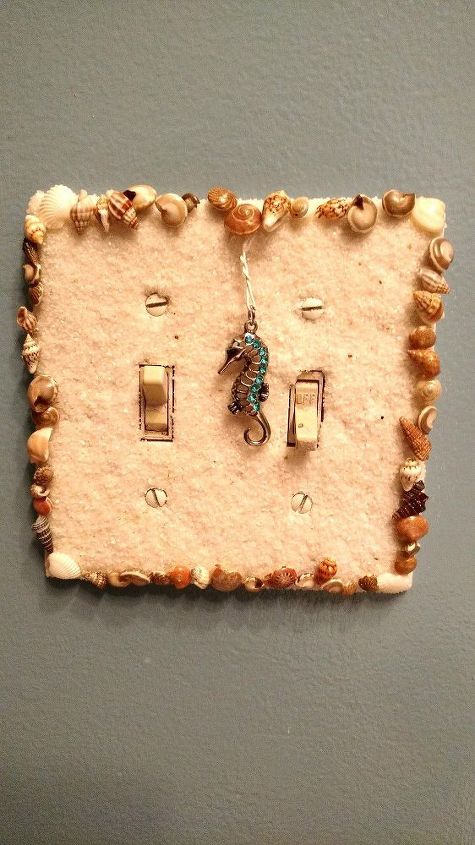
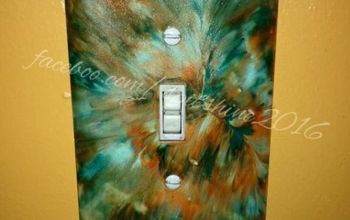
This wasn't what I had in mind when I started out, but I'm OK with how it turned out anyway.
I removed the switch plate, covered it generously with Elmer's glue. Sorry no photos of this step. I used a brush to put it on evenly, and worked around the screw holes and light switches (although you can see on the finished project, where I should have trimmed it a bit on the right light switch).
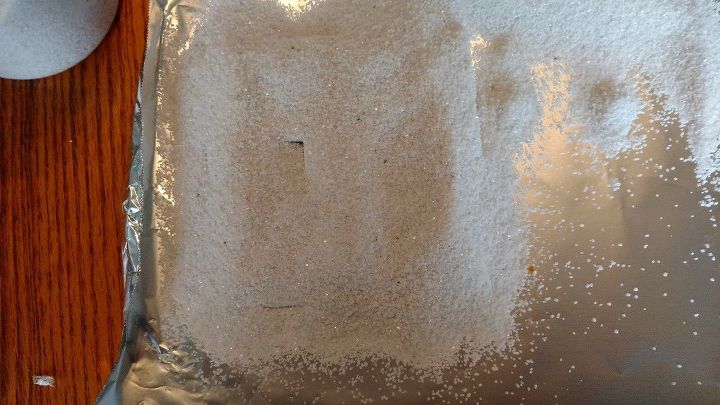
Add the sand
I covered it generously with the white sand and shook it to make sure it got in little crevices.
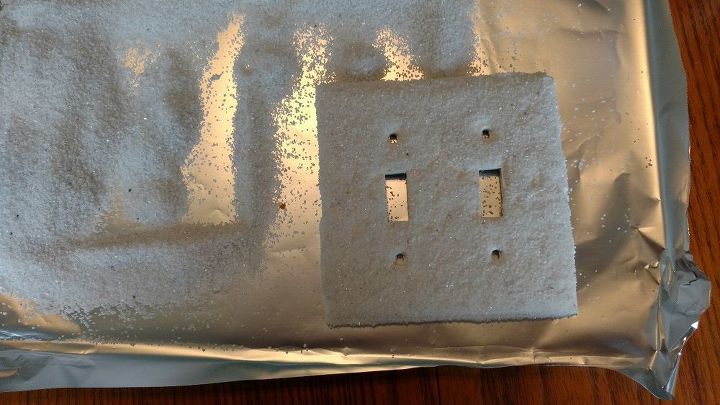
Then dumped off excess sand and waited for it to dry. It took several hours. After it dried, I used Elmer's glue around the edges of the switch place, one edge at a time and added the little shells. I might have had an easier time using the glue gun here because the little shells kept slipping off the sides while the glue was wet, so this part took some patience. I had to keep coming back to certain shells to rescue them back in position. No pictures of this step, sorry, my hands were always full of glue.
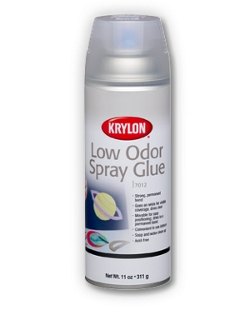
After that dried I sprayed some Krylon glue over it and allowed that to dry for several hours. The I added that cute little seahorse charm with my glue gun. I only added glue at the top so it could swing freely.
Comments
Join the conversation
2 of 3 comments
-
Thank you, I thought it was pretty too
-
Looks so adorable! Thanks for sharing!


Frequently asked questions
Have a question about this project?