


Rustic Wall Decor

by
Kelleysgirl
1 Material
My trip to Hobby Lobby was to buy baskets for a storage project I have in the works. Unfortunately, I went on the week they were not on sale, so I began browsing for another project.
I decided I wanted to do a wall decor project and looked around until I found just the right pieces.
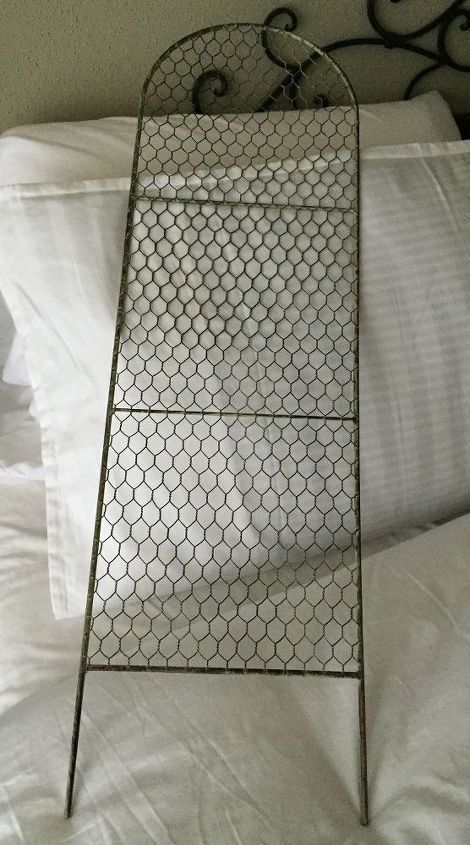
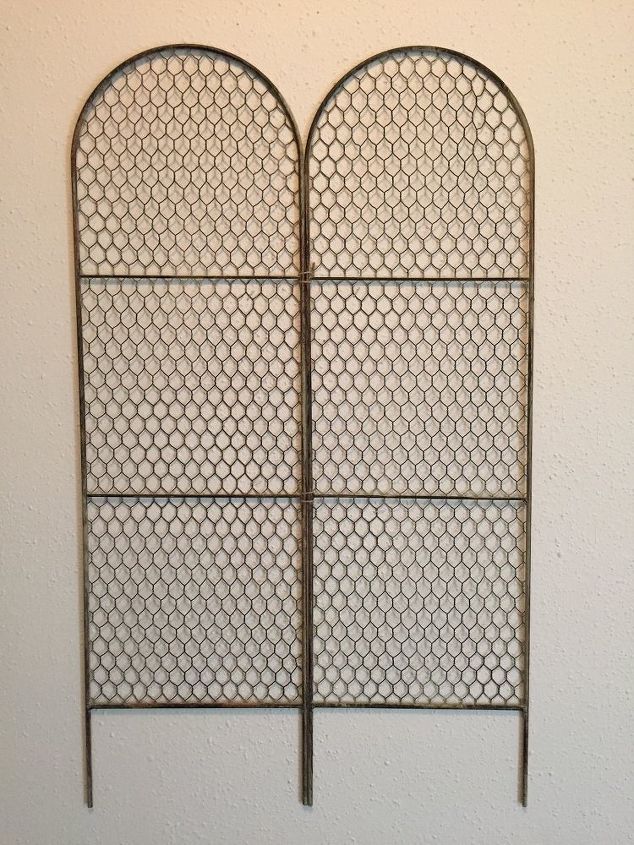
I found these cute little trellises in the spring shop for 40% off.
So I bought two of them.
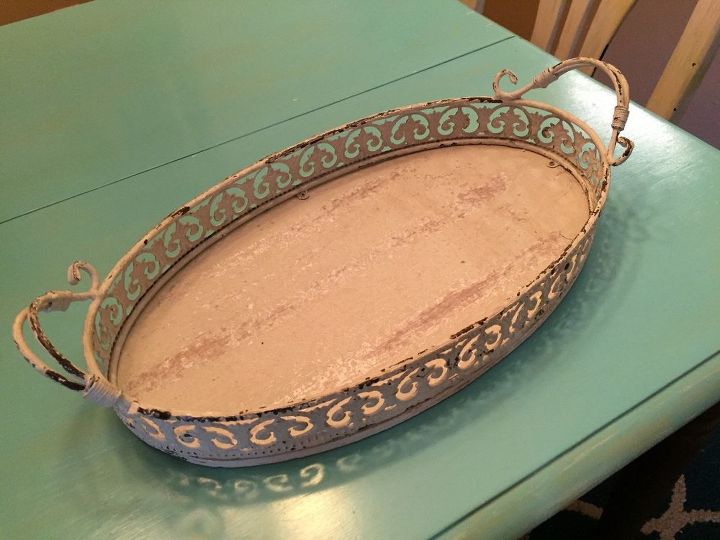
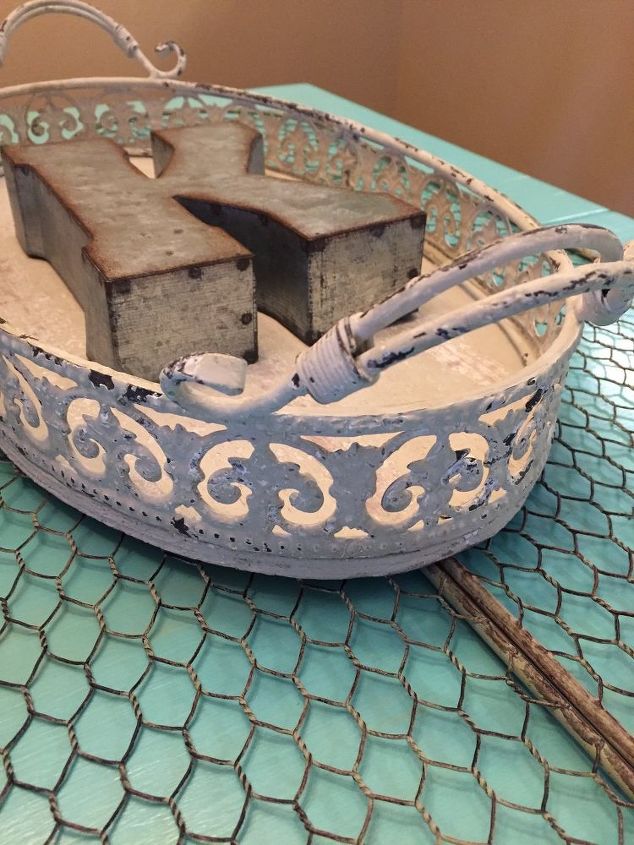
Then I found this adorable basket, also 40% off in the spring shop. It has metal sides and a flat wooden bottom.
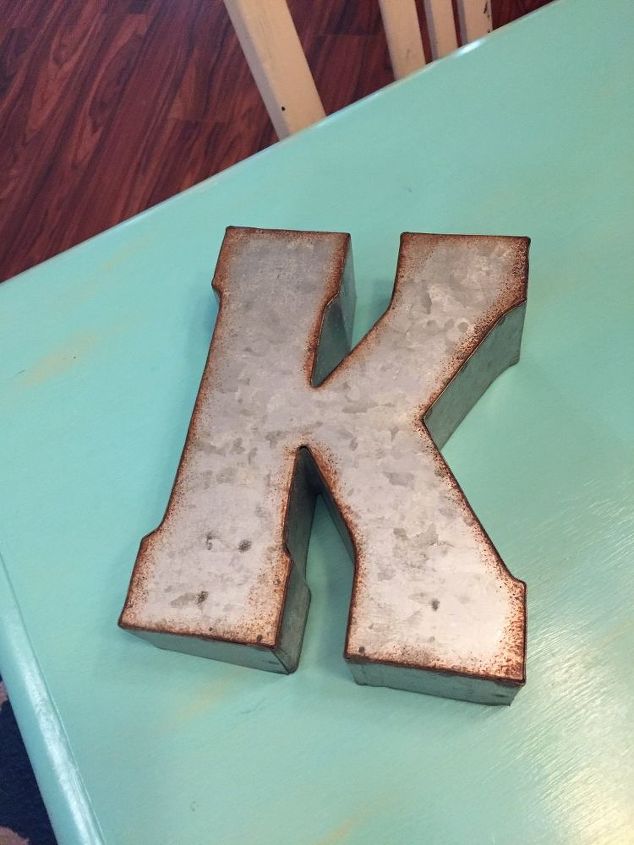
I knew I wanted a layered piece, so I searched until I found my third item, which was this letter at 50% off.
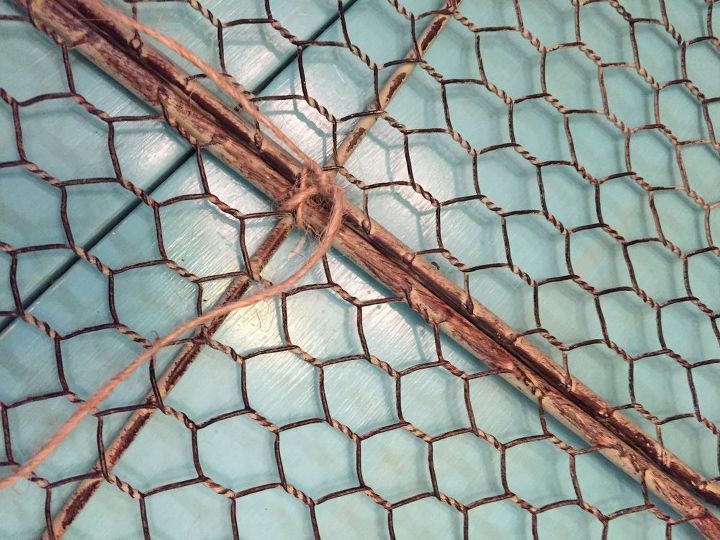
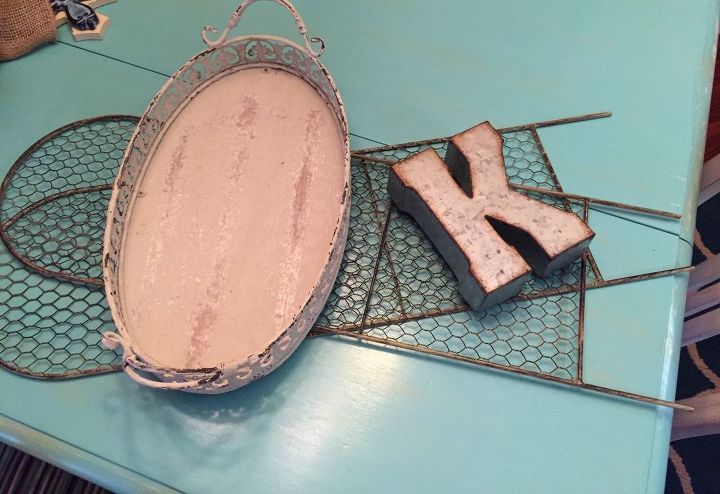
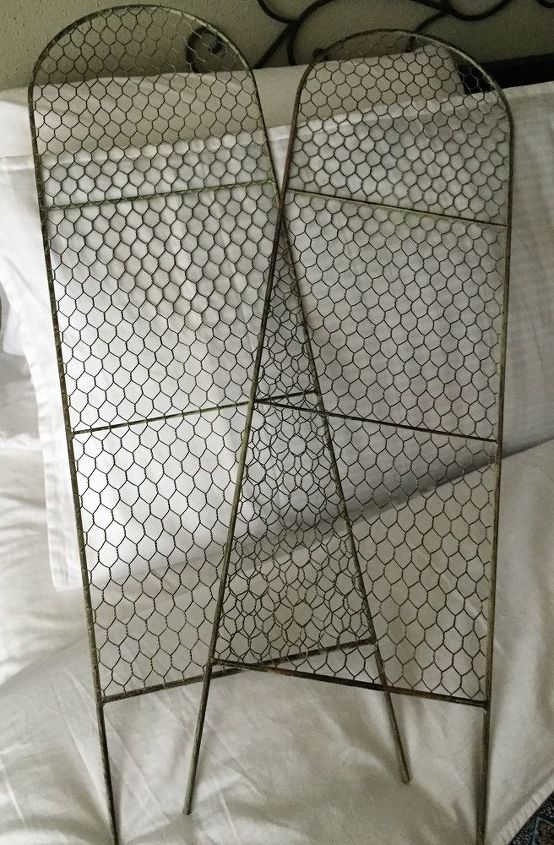
I began by tying the two trellises together.
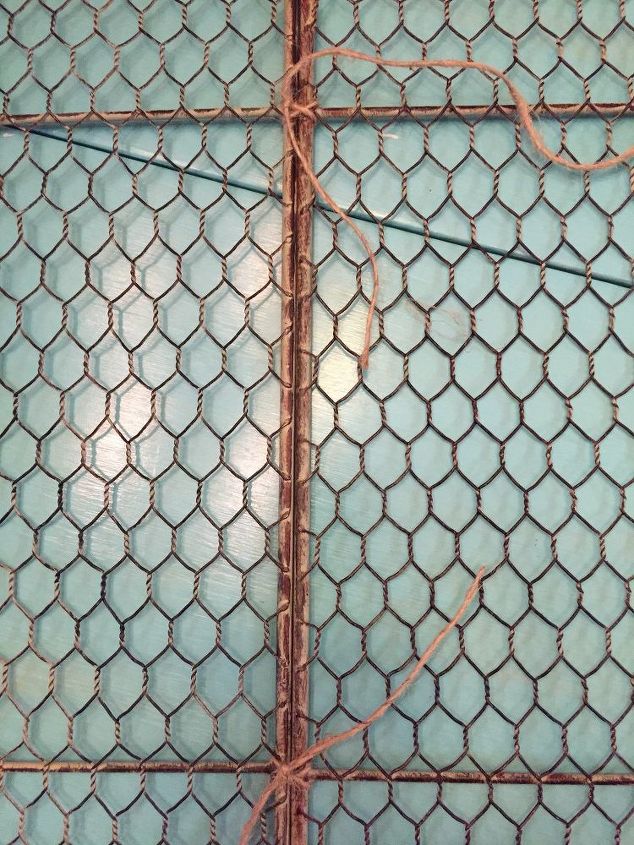
I tied them in two places.
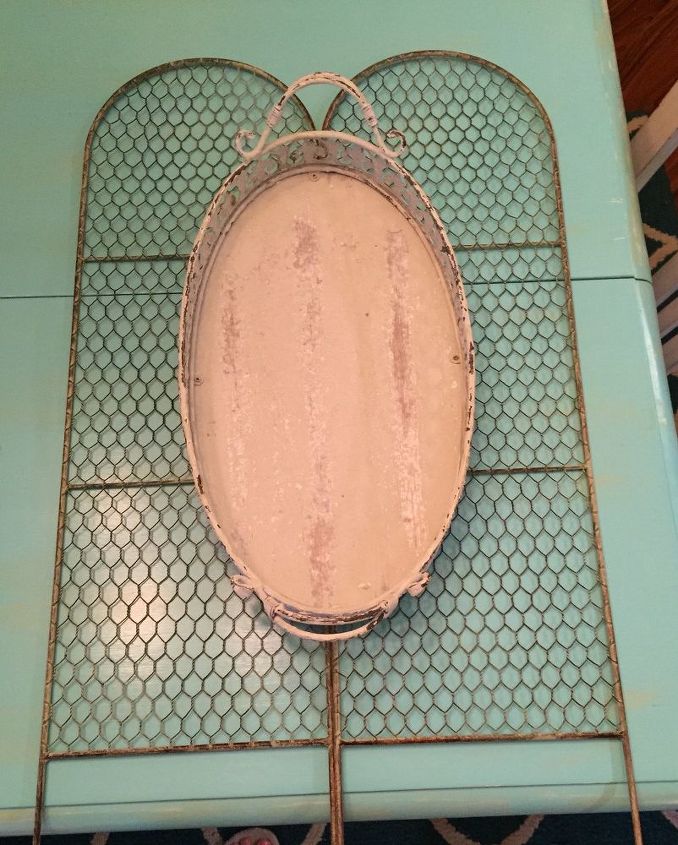
Then I began layering. The basket went on top.
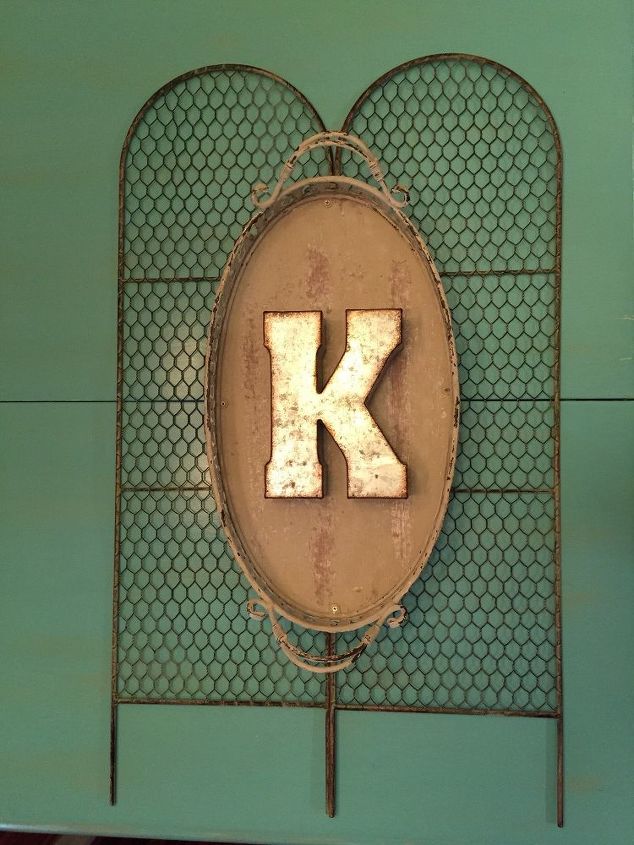
Then the letter. I love how it came out!
I will be hanging it up as soon as I decide what room to hang it in.
Update: I finally decided to hang in my entry way, so I began with stapling the trellises to the wall in four places that would be hidden underneath the basket.
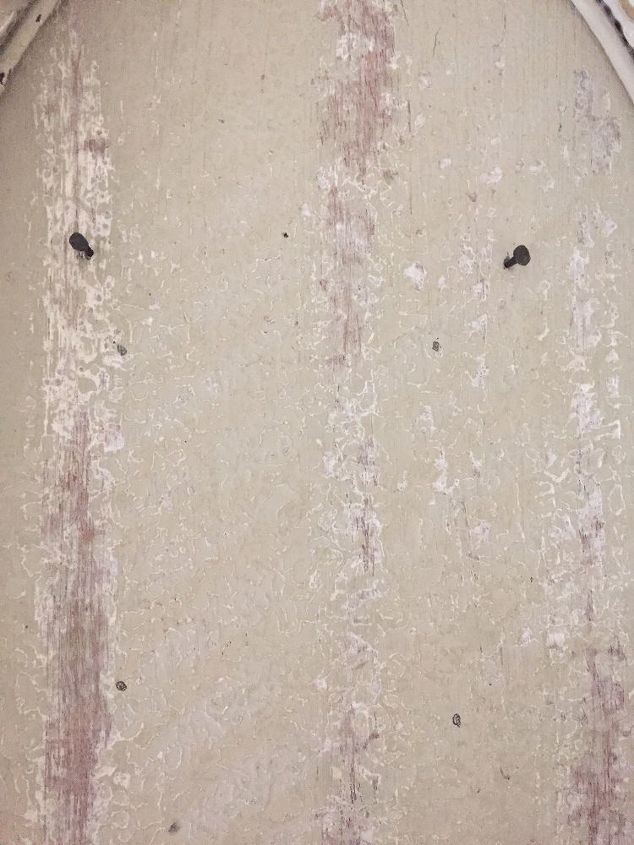
I then marked on the inside bottom of the basket where the nail holes were on the back of the letter. Instead of searching for small nails, I just used carpet tacks, since I needed something small and they were available.
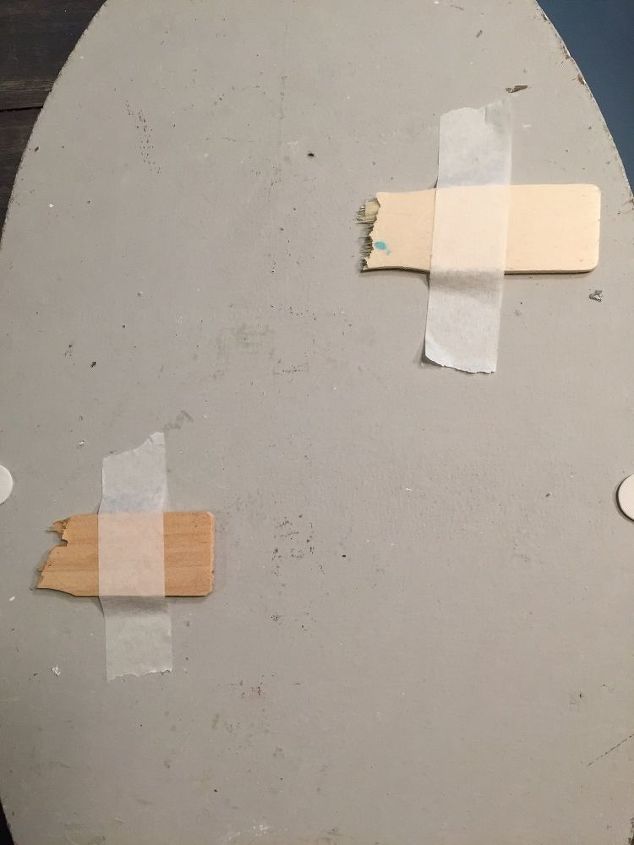
It was a little wobbly from side to side as I put it up to the trellis, so I added a shim made from paint sticks on both sides of the bottom to give more stability. I had prenailed the holes I would need so I knew where to place them. I placed on the trellis and nailed it to the wall with 4 skinny nails, hidden behind the K.
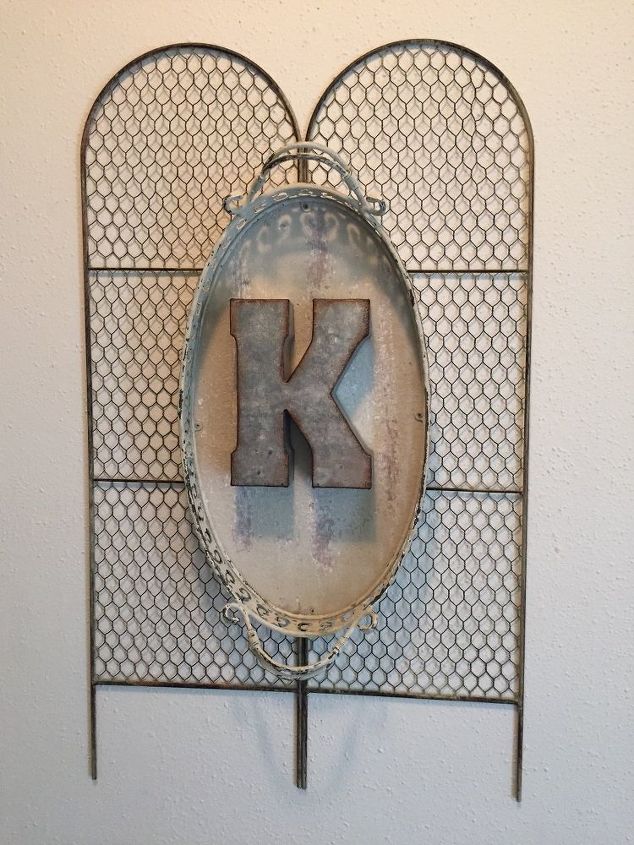
And here it is all done.
Want more details about this and other DIY projects? Check out my blog post!
Comments
Join the conversation
2 of 10 comments
-
Such a great combination of items!
-
Thanks!


Frequently asked questions
Have a question about this project?