


Simple Rustic Map Solid Pine Wood Frame
I have always wanted a large world ; I like being able to see the world at a glance and want to pin spots I have been fortunate to see as well as mark others on the bucket list. Finally after finishing up many items to sell I got a chance to work on my list. I wanted a rustic shaker look frame to blend with our trim and finish it in a stain and white barn board look. Here is how I achieved my look.
As well I invite you to pop over to my blog for more free home decor and furniture tutorials.
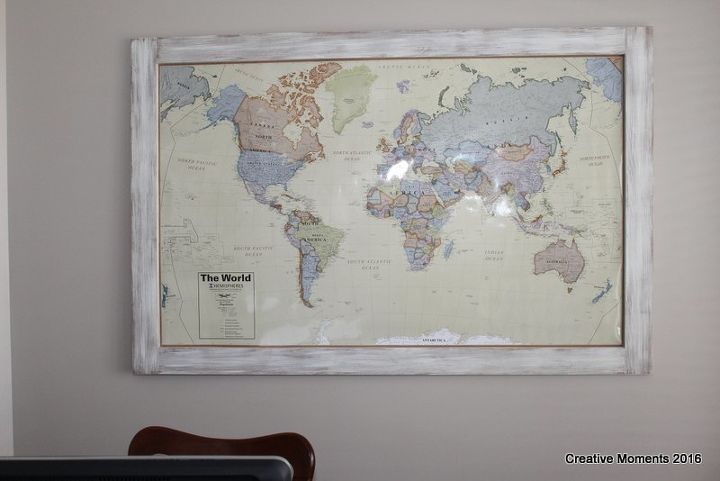
Here is the finished map
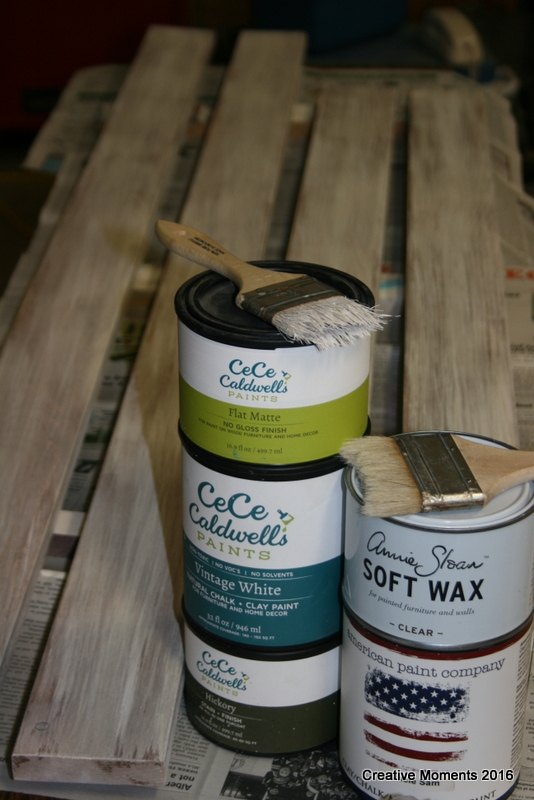
Here are the products used in my steps, Lets get to the how to.
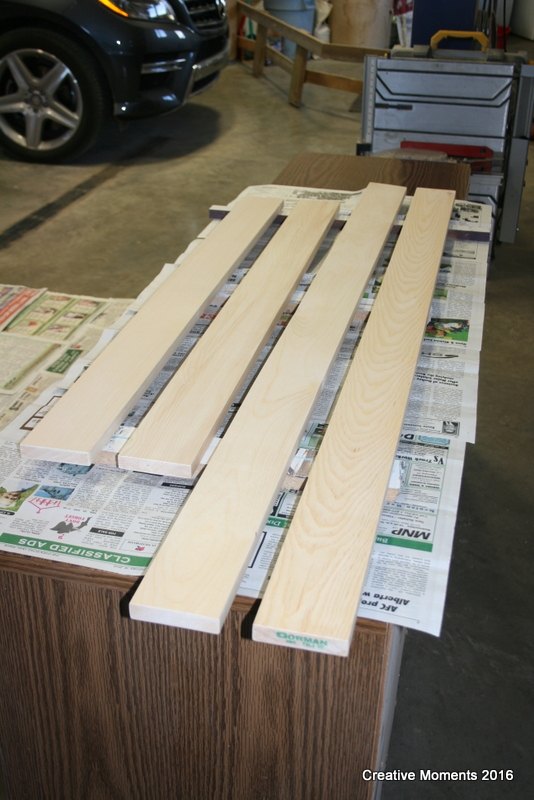
Here is the wood ready to roll. Choose the width you want for the frame and cut to the size of the map you have. I chose to make the sides longer to butt up against the top and bottom boards.
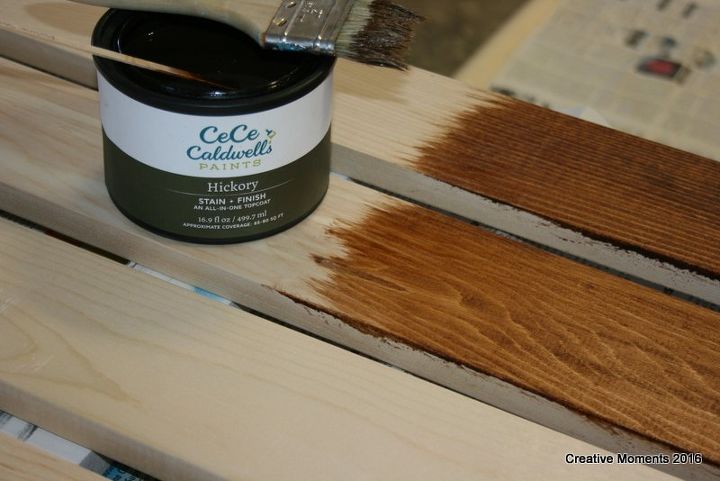
Using CeCe hickory stain + finish all the boards were stained on top and sides and left to dry well.
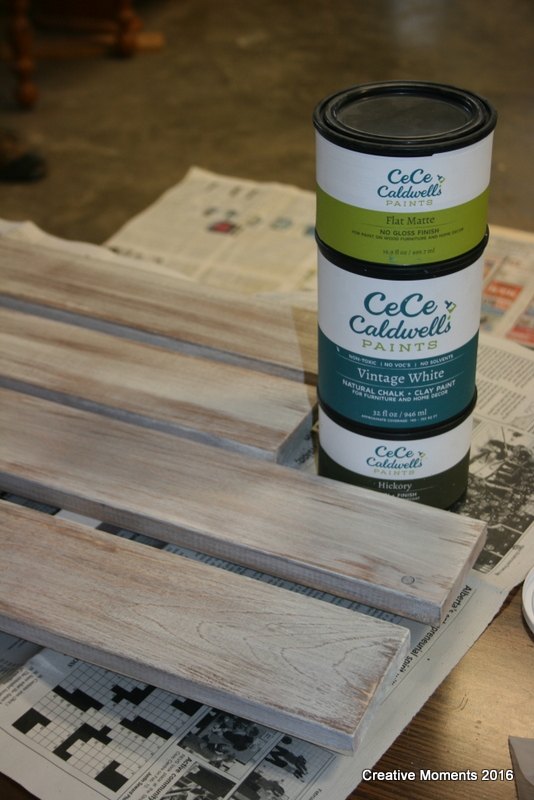
Once the wood was dry, CeCe vintage white was dry brushed over the stain with a chip brush. To seal the paint up after a light sanding to reveal some ore of the stain underneath I used Annie Sloan clear wax.
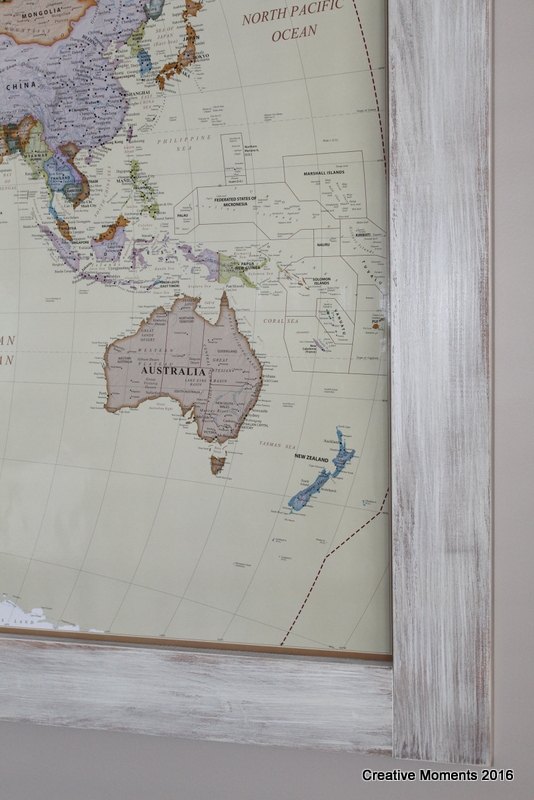
And a close up of the painted and created frame.
The frame was assembled using a kreg jig and screws to create the rectangular shape then the laminated map was stapled to the back side, d hooks affixed on the back as well and it was ready to hang.
Detailed instructions for the frame are HERE.


Frequently asked questions
Have a question about this project?