


Simple, Stenciled, and Stuffed: DIY Accent Pillows!

We'd like to welcome back Jess, the avid DIYer behind the blog Domicile 37. Jess was looking to create new accent pillows for her living room. So when we introduced her to Paint-A-Pillow, she was excited to give it a try. Jess ordered the Little Diamond Stripe Paint-A-Pillow kit, a white pillow cover, and Jacquard Fabric Paint in black. We'll give you a little peek at her stenciled accent pillow and then we'll tell you how she did it!
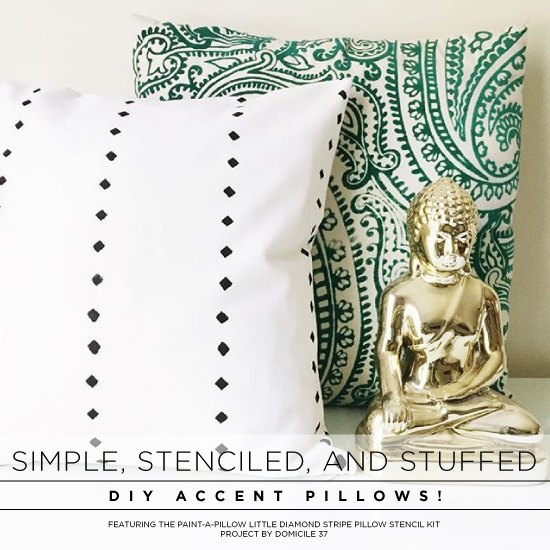
Cutting Edge Stencils shares how to make a DIY accent pillow using the Little Diamonds Stripe Paint-A-Pillow kit.
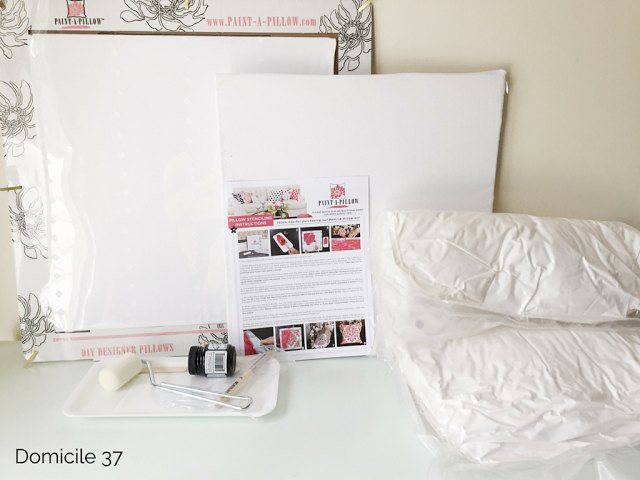
Jess was excited when her Paint-A-Pillow kit was delivered especially because one kit includes everything you need to make an awesome accent pillow. With her Little Diamond Stripe Paint-A-Pillow kit in hand, she read through the simple instructions that were included and was ready to start her project.
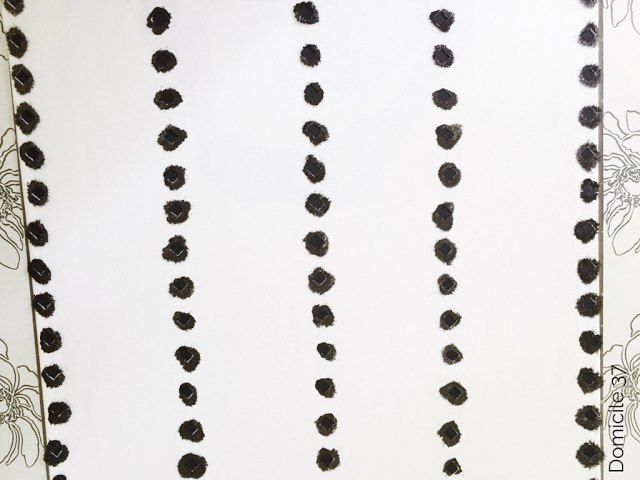
Jess chose to paint the simple geometric pattern in black using the stencil brush included in the kit.
** If you're recreating this at home, be careful not to overload the brush with too much paint. Brush off the excess paint onto a folded paper towel until it looks almost dry. The key to stenciling is using as little paint as possible. Too much paint will cause the design to bleed and smudge.
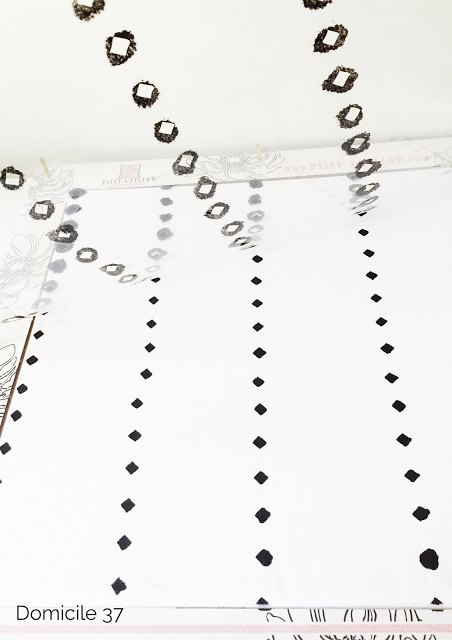
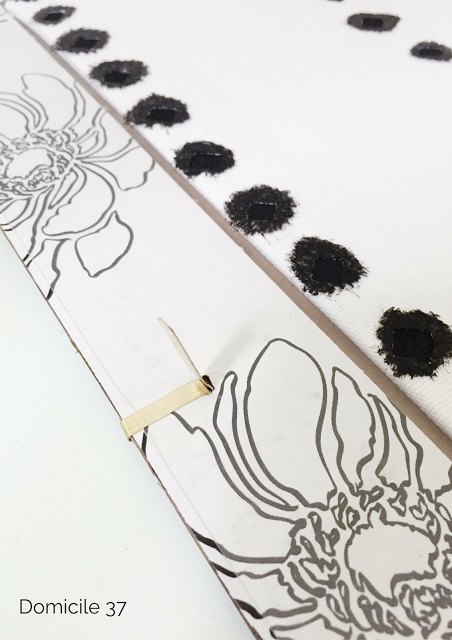
Once the entire pillow cover was painted, she peeled back the metal tabs holding the stencil in place to reveal her painted pillow.
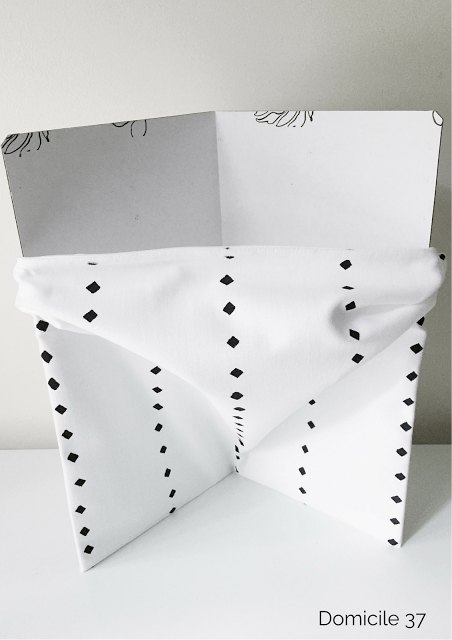
When the painted pillows were dry, Jess removed the cardboard insert inside of the pillow cover. The cardboard insert is there to catch an paint that might bleed through the fabric.
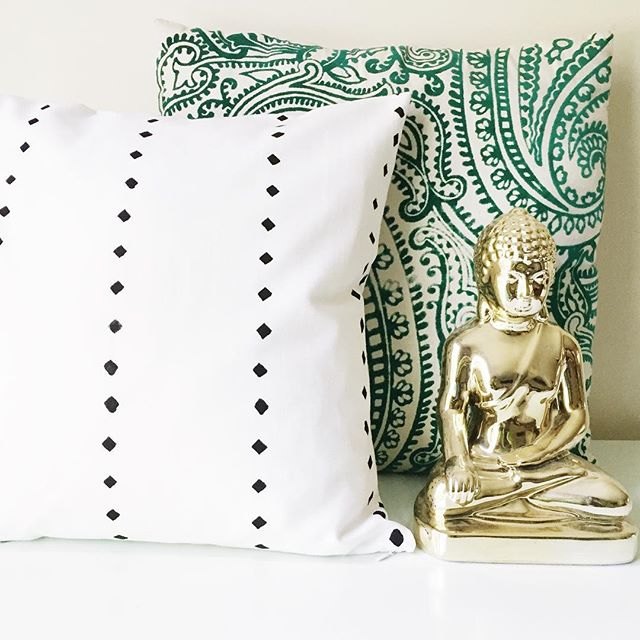
Jess had this to say about her stencil project, "I love a good pattern and I am so happy with the stencil I chose. It fits into the scheme of my room so perfectly." We love hearing how happy our fans are with their DIY accent pillows!


Frequently asked questions
Have a question about this project?