


Stamped Tissue Paper Kindness Craft Idea
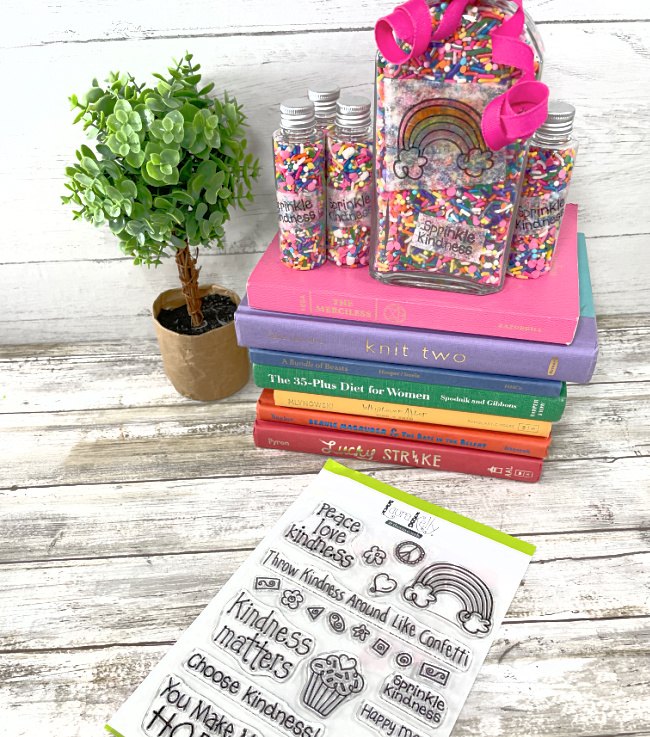
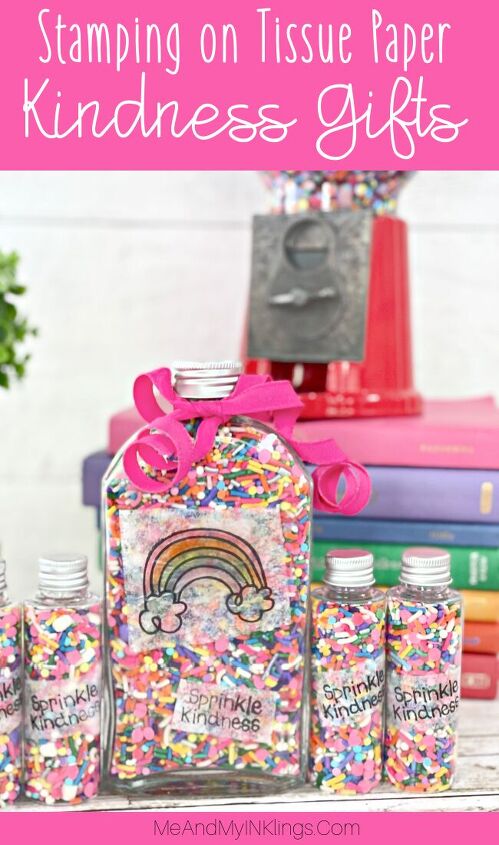
Spreading kindness through the gift of sprinkles in decorative jars is my jam. These stamped tissue paper decorations are perfect and so easy.
I have had so much fun using the two stamp sets that I designed for Therm-O-Web. This project is definitely one of my favorites. It is such a joy to spread happy through the giving of little kindness gifts when I am out and about in the world. I am so excited about these little kindness jars filled with sprinkles that I made totally adorable with a couple of the stamps from my Kindness on Purpose stamp set. I can’t wait to show you how simple it is so you can make some too. Of course you can fill them with anything you want!
Materials and Supplies Needed
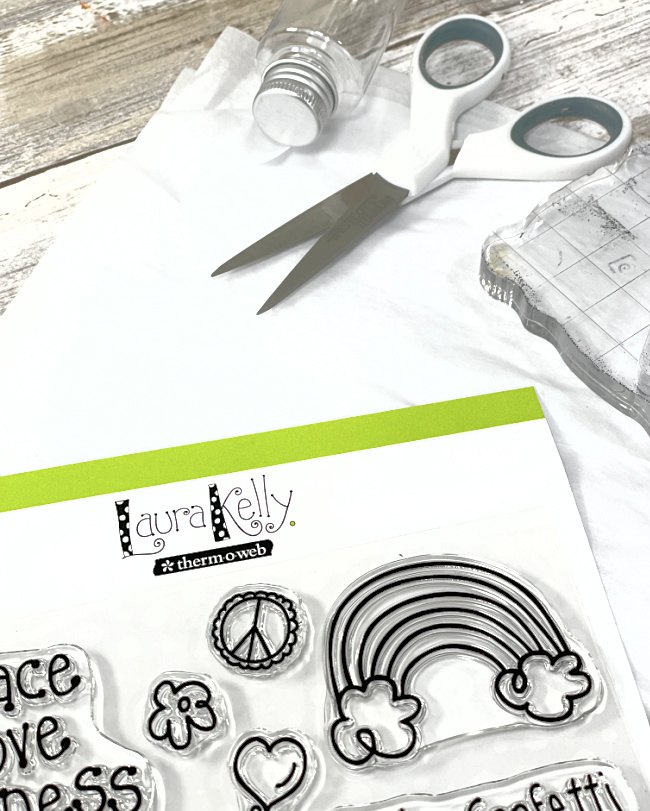
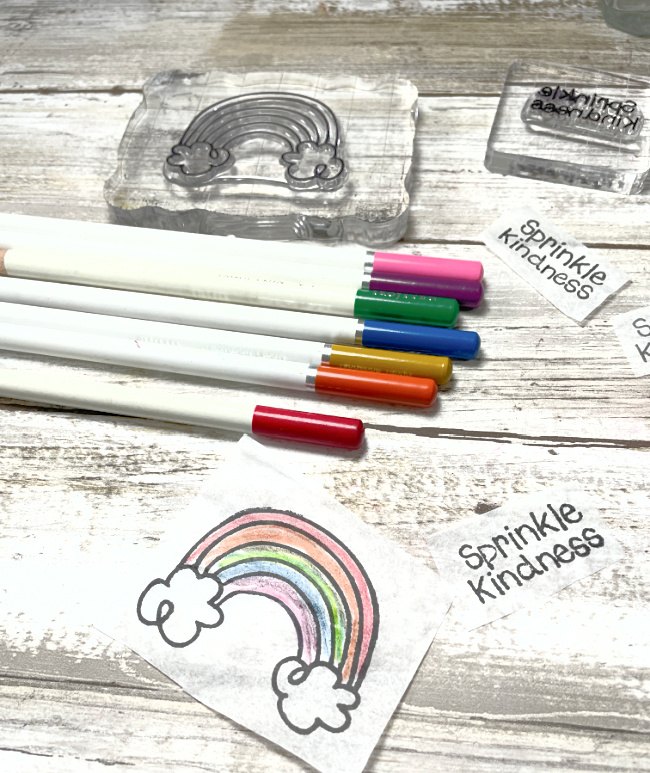
- Kindness on Purpose Clear Stamp by Laura Kelly from Therm-O-Web
- Tissue Paper (White or a Light Color)
- StazOn Permanent Ink Stamp Pad
- Colored Pencils
- Decou-Page
- Paint Brush
- Glass Jars
- Sprinkles
Directions
I love this project because it creates an awesome final masterpiece in a short amount of time. It is perfect for doing at a party or an event. To get started, put the clear stamp that you plan to use on a stamp block.
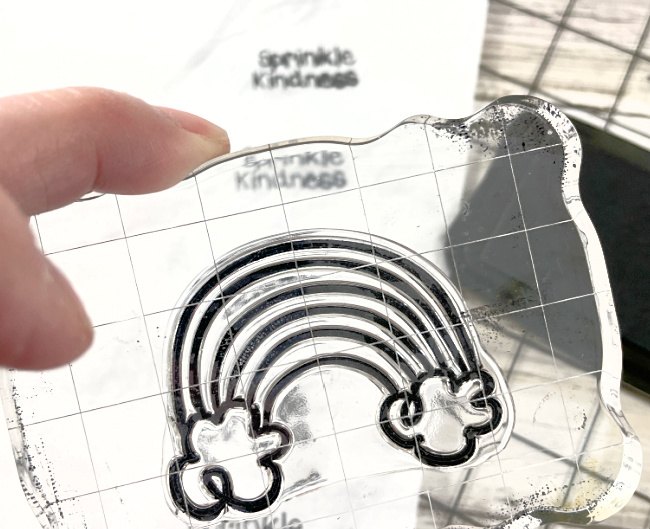
Ink your stamp.
Here are three of my best tips for using clear stamps with an ink pad.
- Don’t press the stamp down on the ink pad. Rather, place the stamp face up on your work surface and gently press the ink pad onto the stamp. This will help to prevent any smudges.
- Use a baby wipe or wet wipe to remove the ink from your stamp after use. This helps keep clean up easy.
- Store your clear stamps on the acetate sheet they came on. This keeps them from sticking together in a container and creating a mess.

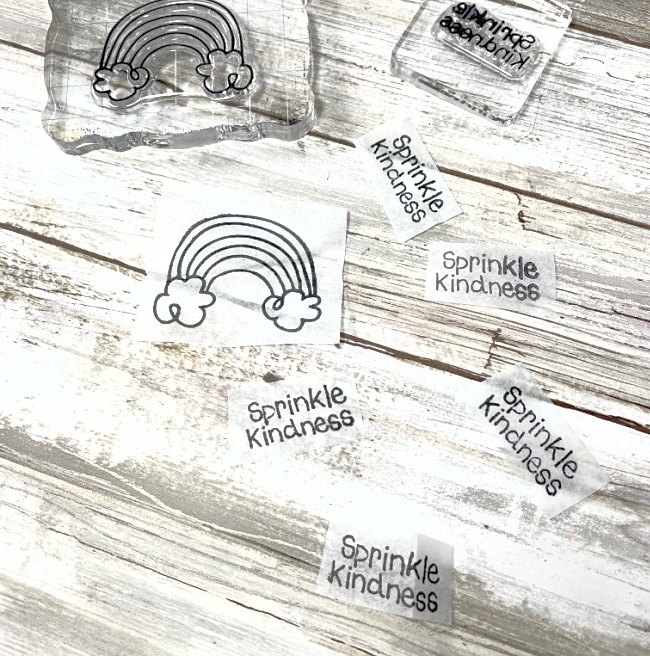
Stamp on Tissue Paper
Be sure that the work surface you are on can get messy. The permanent ink WILL go through the tissue paper. I worked on a plastic ruler grid that could be cleaned with alcohol after the project. Press the stamp gently on the tissue paper after you have inked it. You MIGHT be able to get to impressions from it. Try it and see what works for you. I found it best – most of the time – to reink before each impression.

Once you have the impressions you like, cut them apart.
Color the Stamped Images
It is time to give your stamped tissue paper images some color. I tested a few things and found that colored pencil worked the best on the white tissue paper. When you are coloring, be gentle as the tissue paper is lightweight and delicate.
Add Stamped Images to Glass
To add the stamped (and colored) images to glass, use your favorite brand of decoupage. Paint a thin layer on the glass where you plan to place your image.
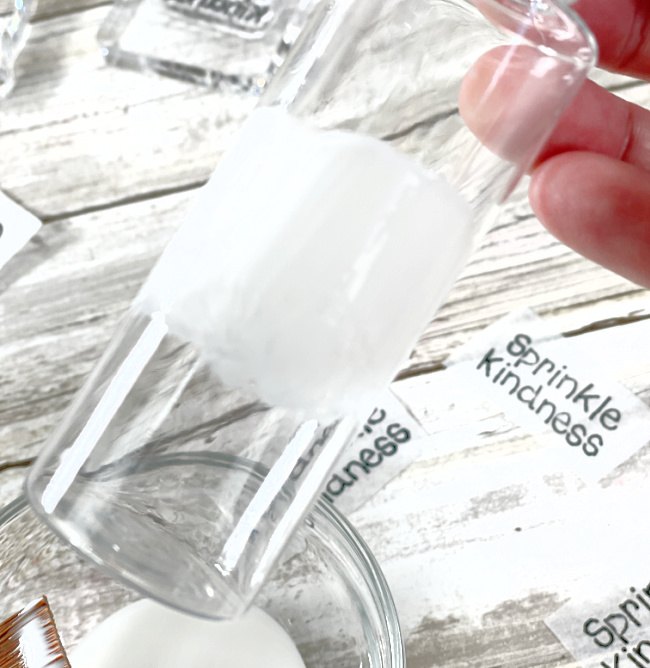
Gently place the stamped tissue paper on that wet surface and then apply a light coat of the decoupage over the top. Let it dry completely.

ADD SPRINKLES
Now for the super fun part – adding sprinkles. Sprinkles make everything better. These little jars are actually plastic so perfect for carrying in the purse. Having an emergency stash of sprinkles on hand is always smart thinking.

GIVEAWAY
Enter to win a set of my stamps! Good luck.
a Rafflecopter giveaway
This post contains affiliate links. Using links to these sites means I will earn a percentage of the purchase at no extra cost to you.
Cheers,
Laura


Frequently asked questions
Have a question about this project?