


Stencil DIY: Weave a Customized Paper Artwork Print This Post

Did you love to weave stuff in art class years ago? Me too. I have fond memories of weaving various things including loops of fabric, macrame - and even fabric on a small loom in high school. I've grown up, but I still find a calming and intriguing simple pleasure in weaving.
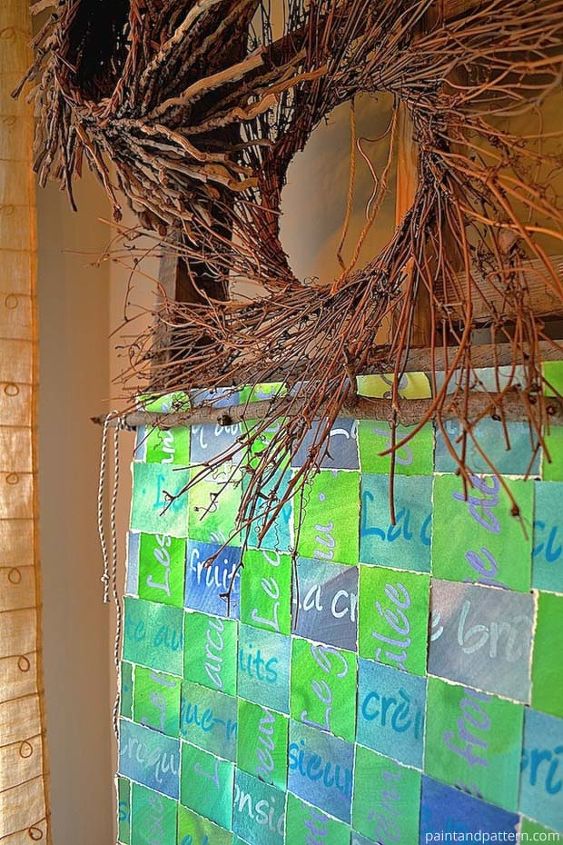
Let's combine several easy painting activities and fall branches from your yard to create this simple woven paper wall hanging!
Let's combine several easy painting activities and fall branches from your yard to create this simple woven paper wall hanging!
SUPPLIES
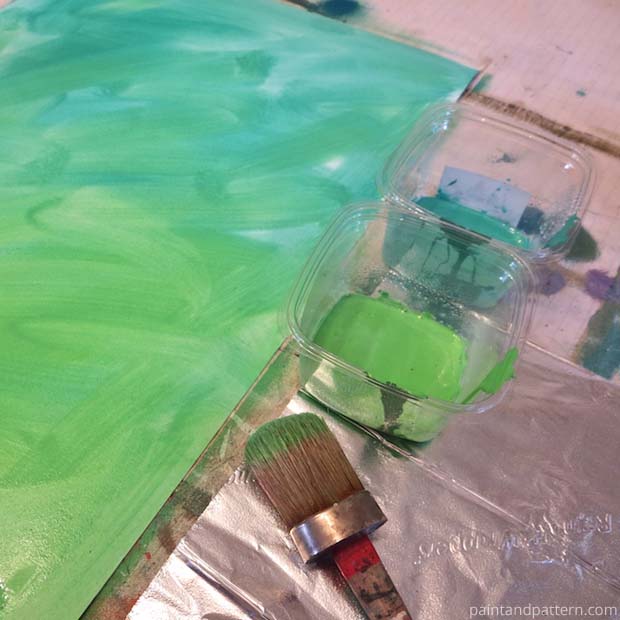
STEP ONE
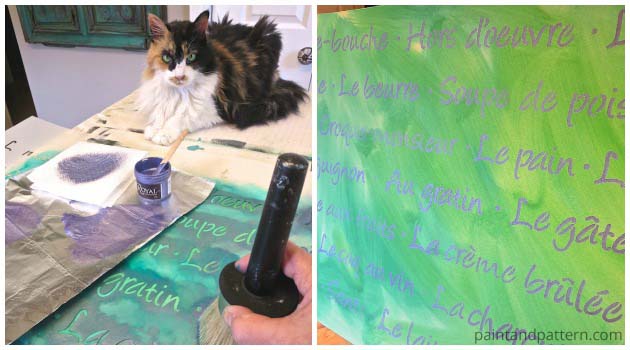
STEP TWO
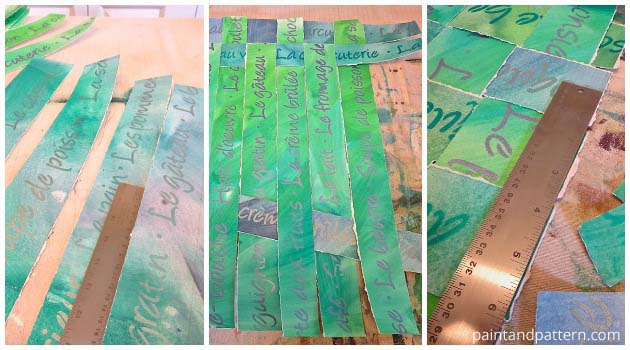
STEP THREE
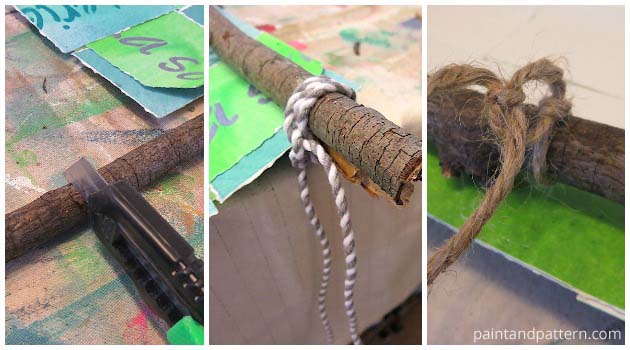
STEP FOUR
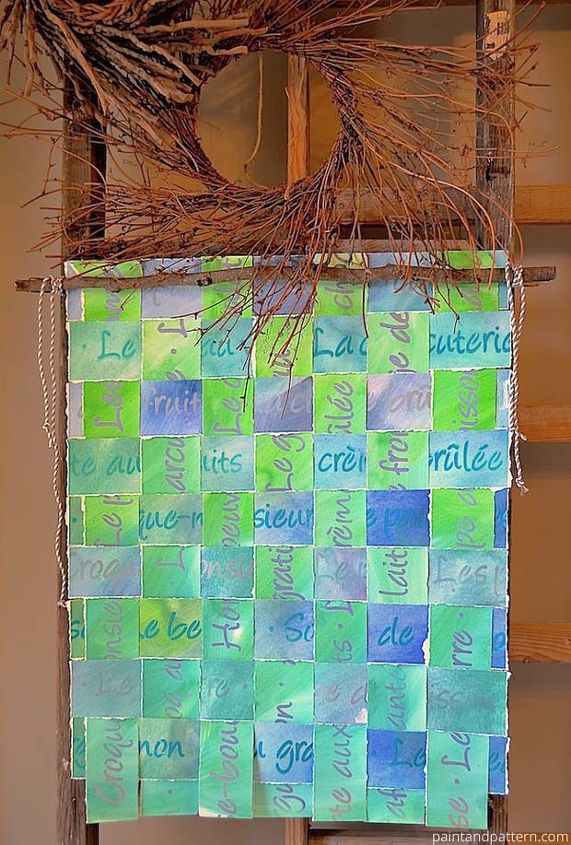
I especially like the rustic textures coupled with the torn paper. What do you think? Recently I posted a not-for-youngsters copper bird project, but this woven artwork is perfect for kids and ladies art night!


Frequently asked questions
Have a question about this project?