


Vintage Pottery DIY
Hey girl, hey! I saw this Vintage Pottery DIY project on Jaci Daily’s feed and have been wanting to try it ever since. We’re going to take some old pottery and make it look even more aged using black paint and mud!
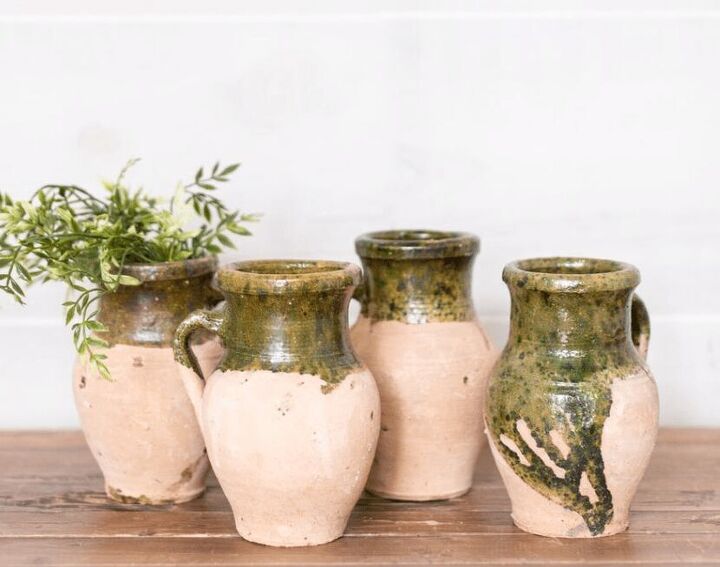
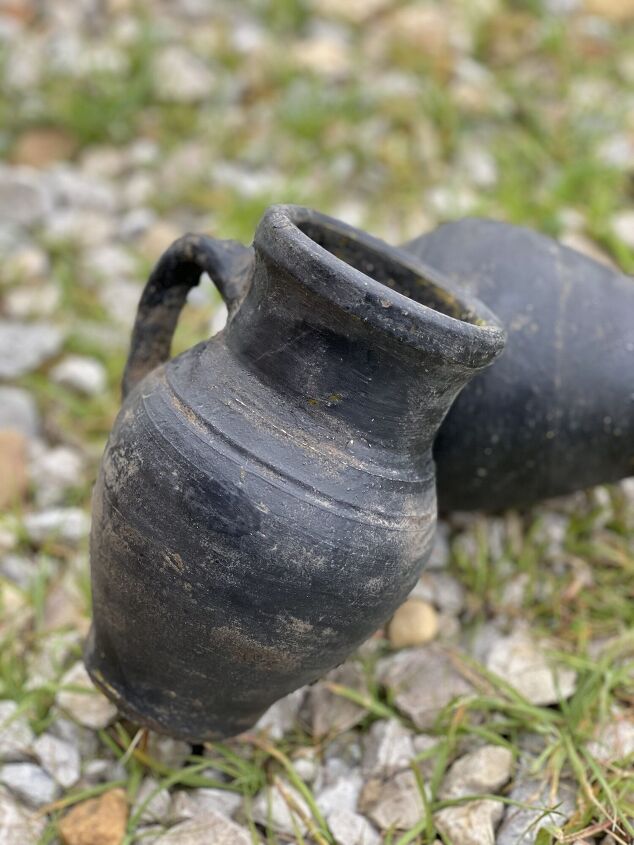
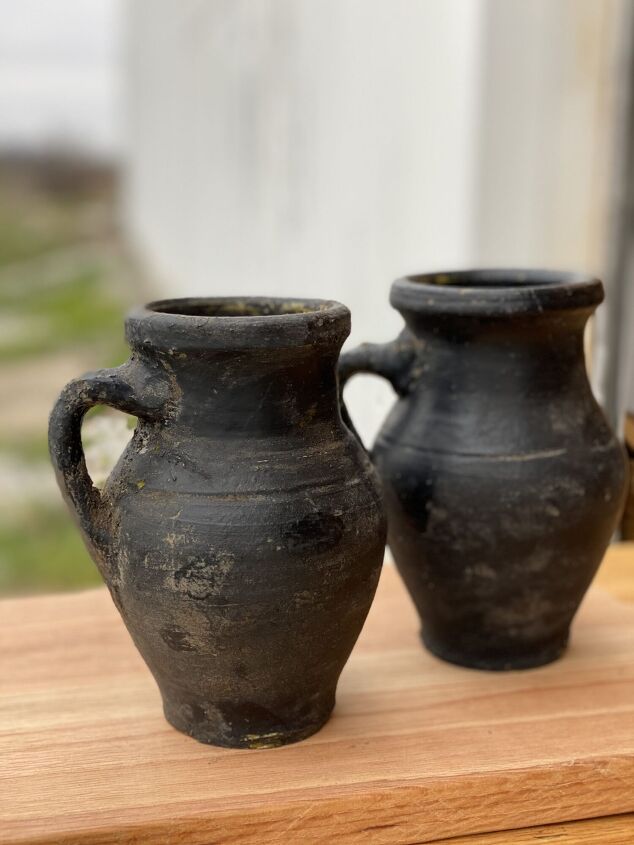
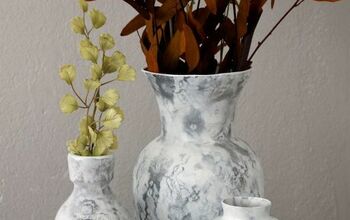
I decided to use antique olive jars. These natural, terra cotta pots are glazed on the inside and on the tops of the outside. We’re going to update these with Jaci’s trick and see how it turns out.
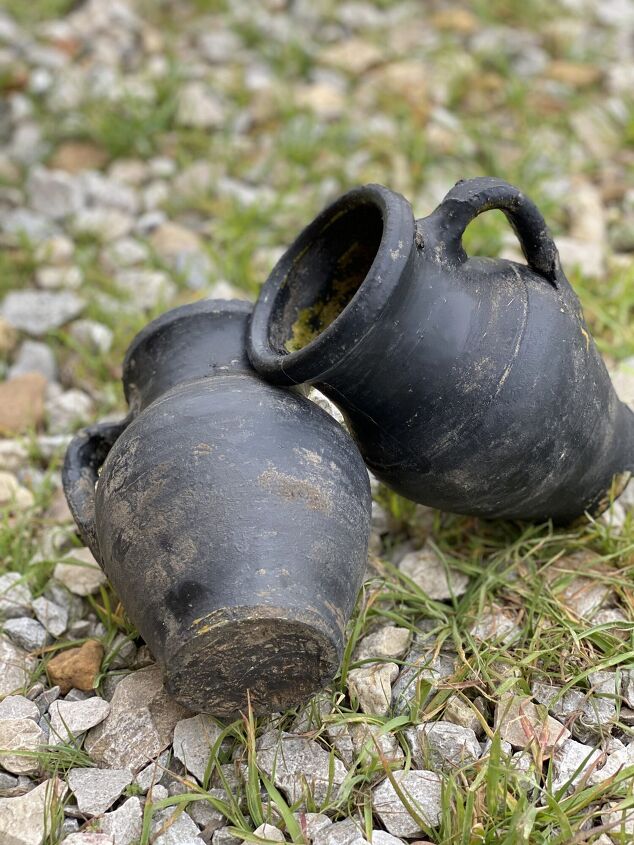
First, I took Rustoleum Painter’s Touch flat black spray paint and covered the outside of the pots and then left them to dry. After about an hour of drying, I took some mud in my hand (wearing gloves) and started rubbing it along the side of the jars. Keep spreading it until there’s a thin layer covering all of the paint. Then, I set them in front of a fan and let the mud fully dry for about 30 minutes.
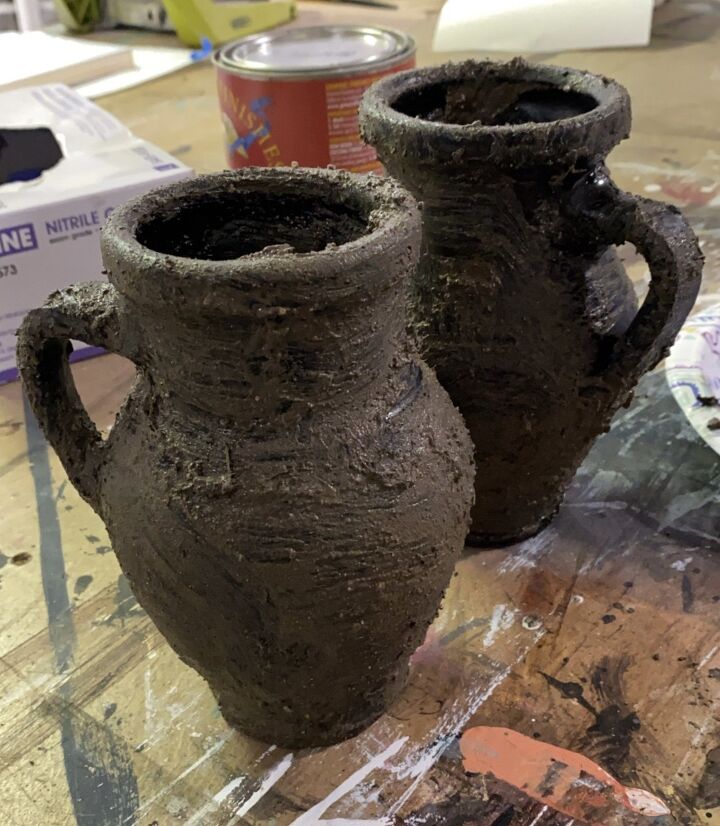
Next, I used a paper towel to wipe off all the mud from the pot. Most of it will come off and some will leave a very thin residue where the paint may have still been a little wet. After this last step, it’s all finished!
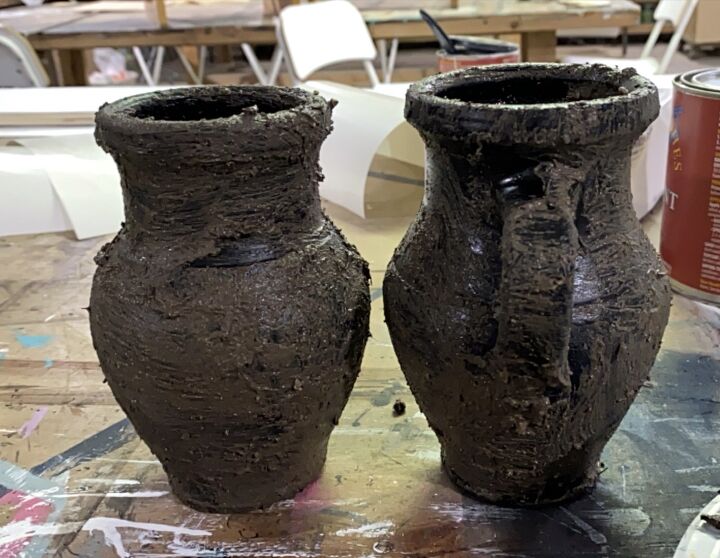
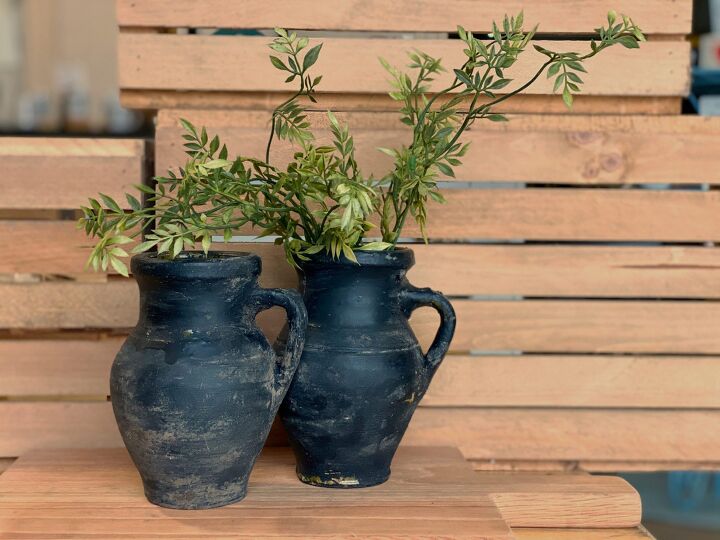
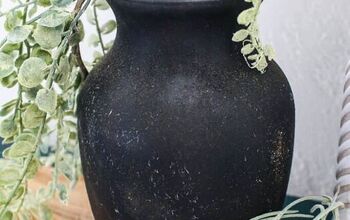
I love the texture and color the mud added to look authentically weathered. I’ll be able to style these classic black pots many ways like on a shelf, in a vignette on top of some old books with a few knick knacks, or even used along with a few other vintage pieces.
Watch the full DIY here!
This vintage pottery DIY was super easy and didn’t take much time. My vintage olive jars are beautifully updated and I can’t wait to style with them. I definitely recommend trying this idea, leave a comment below after you try it and let me know how it goes! xo!

Comments
Join the conversation
-
Love how these vases turned out Susie!


Frequently asked questions
Have a question about this project?
So to be clear the mud is dampened? They turned out perfectly!