


Bathroom Accent Wall

I wanted to finish off the bath with an accent wall using shiplap and contrast paint. So with the help of my hubby, we painted and installed a shiplap accent wall.
Hometalk Recommends!
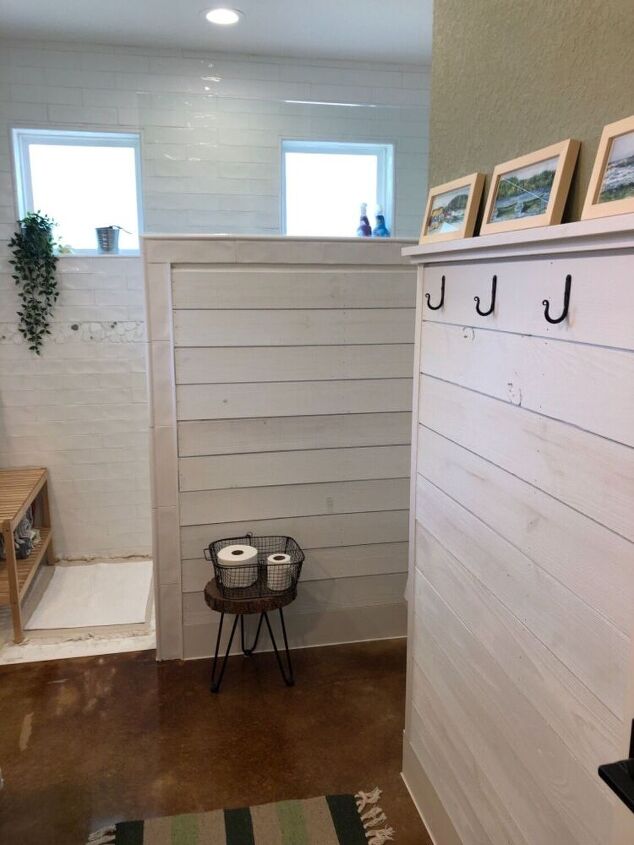
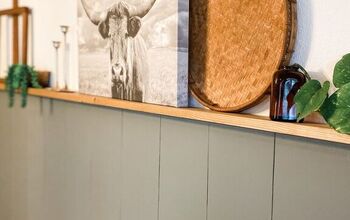
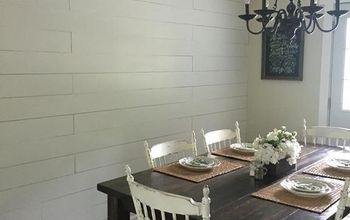
This is the finished wall along with the pony wall dividing the shower from the rest of the room. This is a wheelchair accessible shower and I wanted the wall shiplapped as well to complete the look of my farmhouse industrial vibe. The hooks were an Etsy purchase and are forged metal that I sprayed black to prevent from rusting over time. The artwork are three watercolors we picked up on our travels through Newfoundland (pre-Covid). Thinking I may paint the Etsy frames or not...
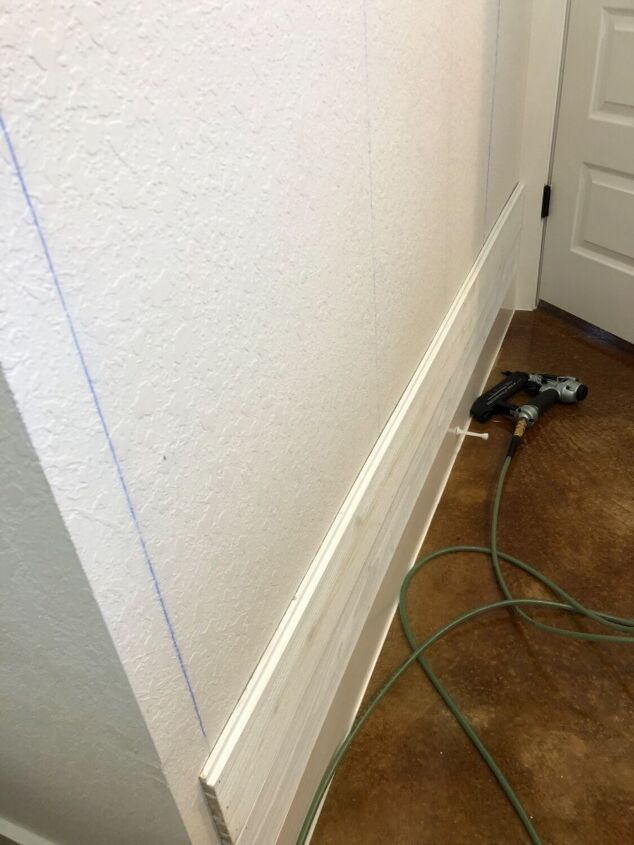
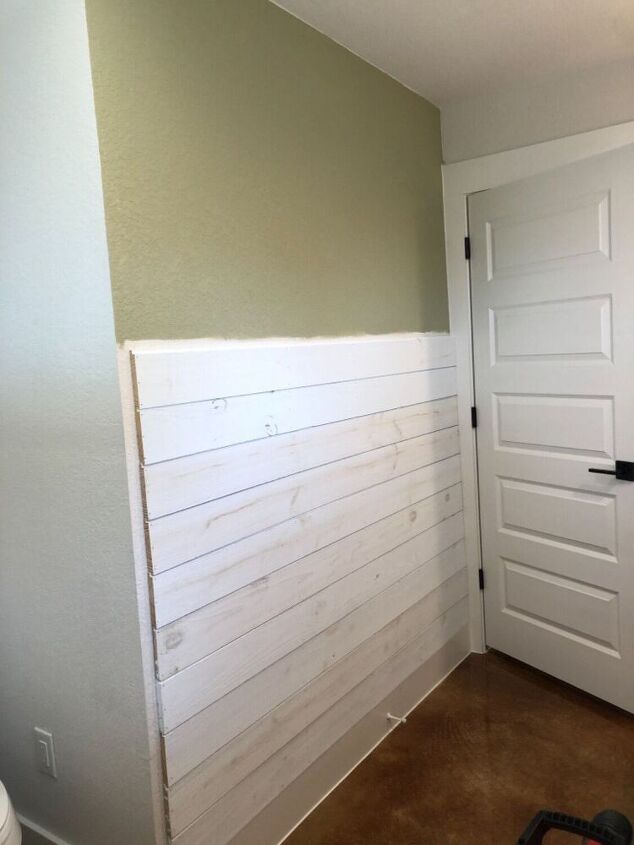
To begin, we located the studs and marked with a chalk snap. I used a 1x2 to cap the end on the left. So we measured each board to fit between the end cap and the right wall and cut on a miter saw. We checked to be sure the baseboard was level and YEA it was! So we could start on top of the baseboard. We did periodically check the level.
Using a nailgun, we nailed each board to the studs. We used 3 nails per board and started at the bottom. The shiplap was from Lowe's. It is their shiplap and we bought white painted. We didn't want to spend a lot of time ripping and painting so this route made the job quick and easy.
Each board was measured and cut to fit. Then nailed into place. Be sure to push down and seat each board. Very important because some may not seat well. Also, we were very picky about buying the shiplap. We checked each board for cupping and level when stood on one edge. There were quite a few rejected. This ensures that the boards fit well.
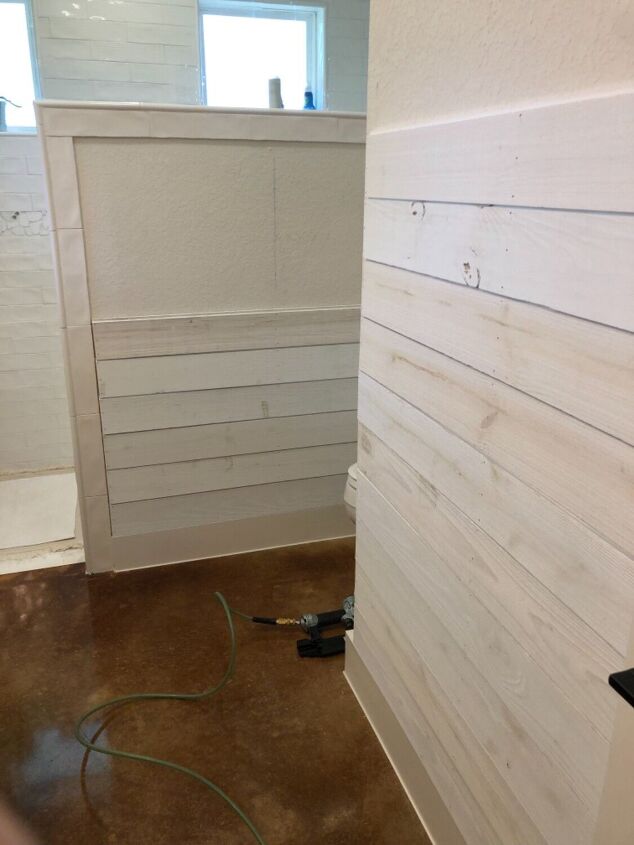
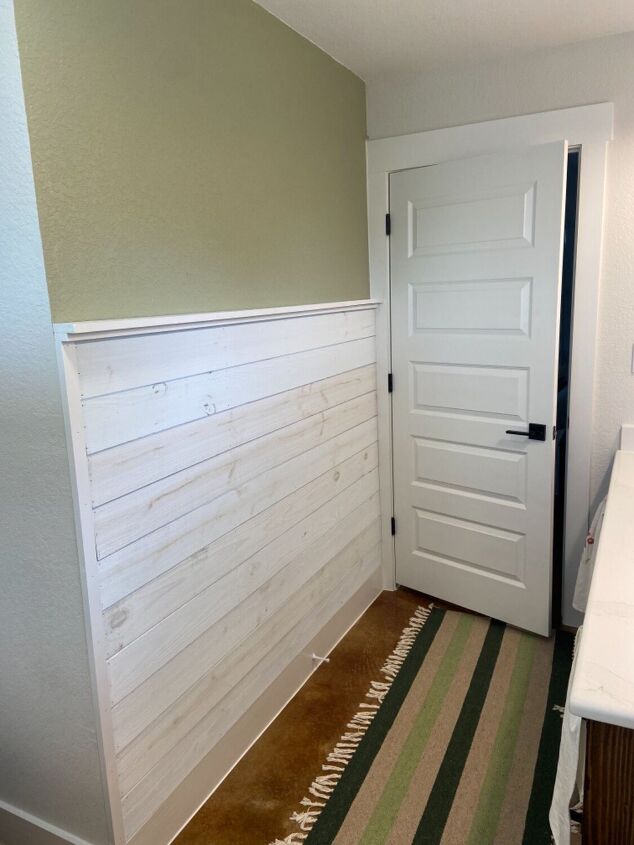
Another look at both walls.
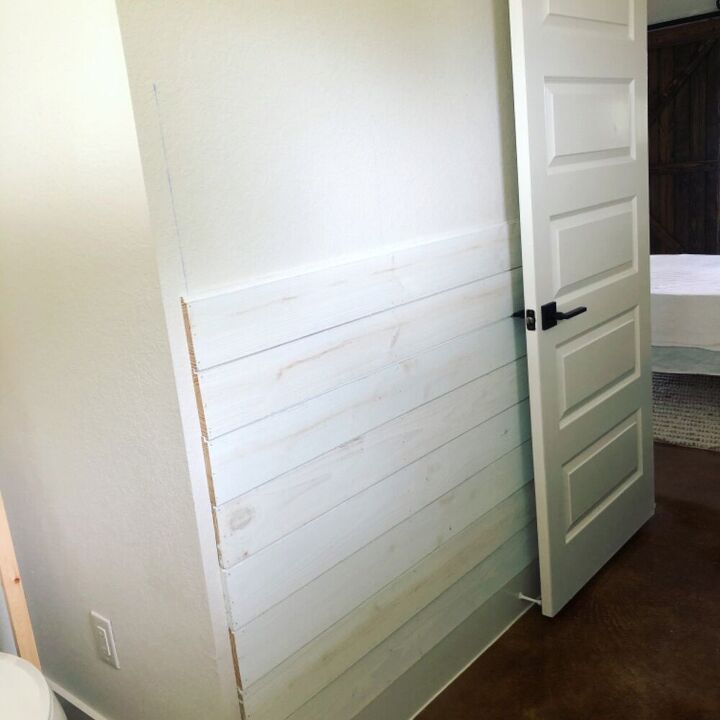
When we got to the desired height, I stopped and painted the rest of the wall the accent color (Sherwin-Williams, Artichoke).
We installed the left end cap using a 1x2 cut to the finished height of the shiplap and painted. We wanted a picture rail/finishing cap to complete the top of shiplap half-wall. I painted a 1x2 and a 1x3 cut to fit from right wall to over the end cap and ending at the corner. We installed in an upside down wedding cake fashion - that is in order the 1x2 followed by the 1x3. My husband used the nailgun to hit the studs and secure.
He then finished all the seams with caulk and I painted the shiplap to even out the color of the white shiplap (it looked in parts gray, blue, and white).
Resources for this project:
See all materials


Comments
Join the conversation
-
Incredible, love that it wheel chair accessible, I don't see many of those projects on here , love this
-
Beautiful job!


Frequently asked questions
Have a question about this project?