


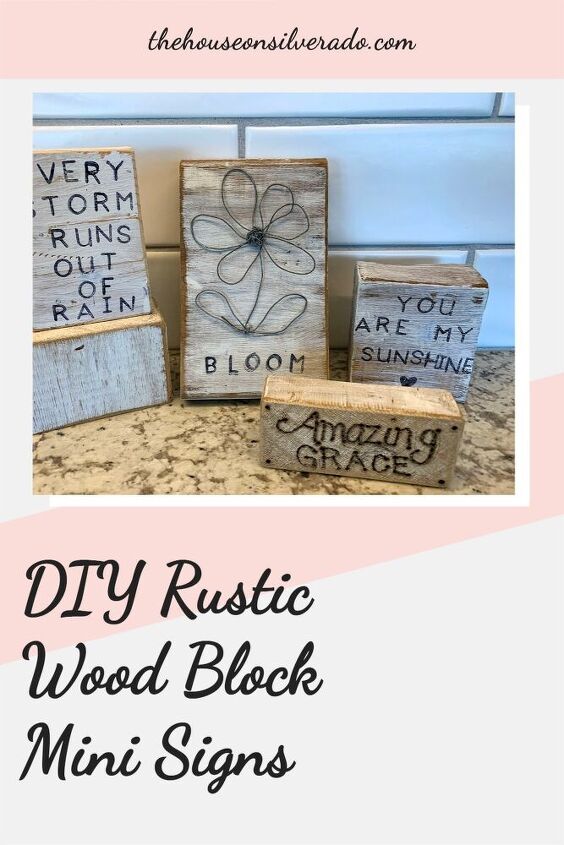
DIY Rustic Wood Block Mini Signs
These DIY Rustic Wood Block Mini Signs are so simple to make, and perfect for using on a tiered tray!
I’ve been having fun styling the tiered tray I bought a couple of months ago. First, I decorated it for St. Patty’s Day, and then Easter. After I put away my Easter decor, I began brainstorming how to style my tiered tray next
I had a mini watering can that I had purchased at Hobby Lobby and that served as my inspiration.
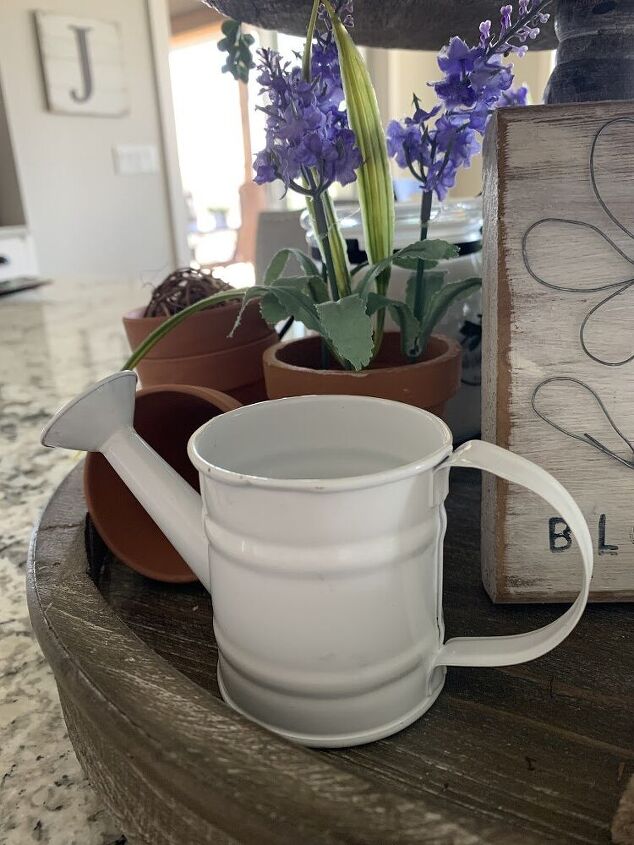
The mini watering can inspired me to consider a gardening theme for my tiered tray. I was able to gather up several items throughout my house that would work, but what it still needed was some kind of little mini sign, which I didn’t have. So I decided that I’d have to make my own!
DIY Rustic Wood Block Mini Signs
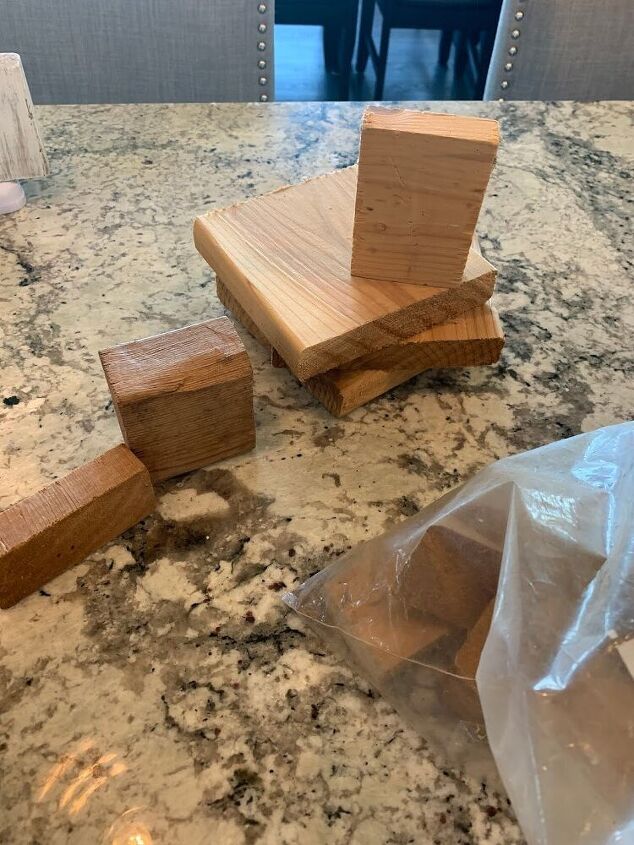
I asked my husband if we had any extra wood pieces around, and he produced a whole bag of little odds and ends from the shed. I found several pieces that were just what I was looking for!
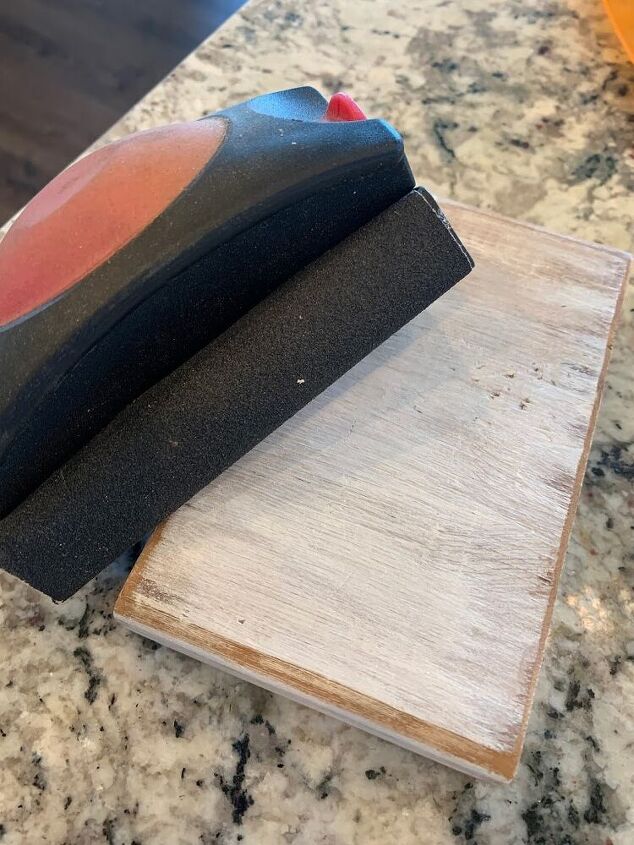
Next, I prowled around for some paint. The only white paint I could come up with was this can in the basement, left over from the exterior trim on our house. It worked just fine.

I gave each of my selected wood blocks a thin coat of paint using a disposable foam brush.
While in the basement, I also found this orange plastic serving tray in a box intended for Goodwill. During our first week in quarantine, we did some sorting and organizing in our basement storage area, but since all the Goodwills are closed right now, the box is still waiting to be dropped off later. I pulled this plastic tray out and decided to use it as a protective surface for painting.
After the paint had dried for an hour or so, I used a sanding block to distress the blocks a little, particularly on the corners and edges.
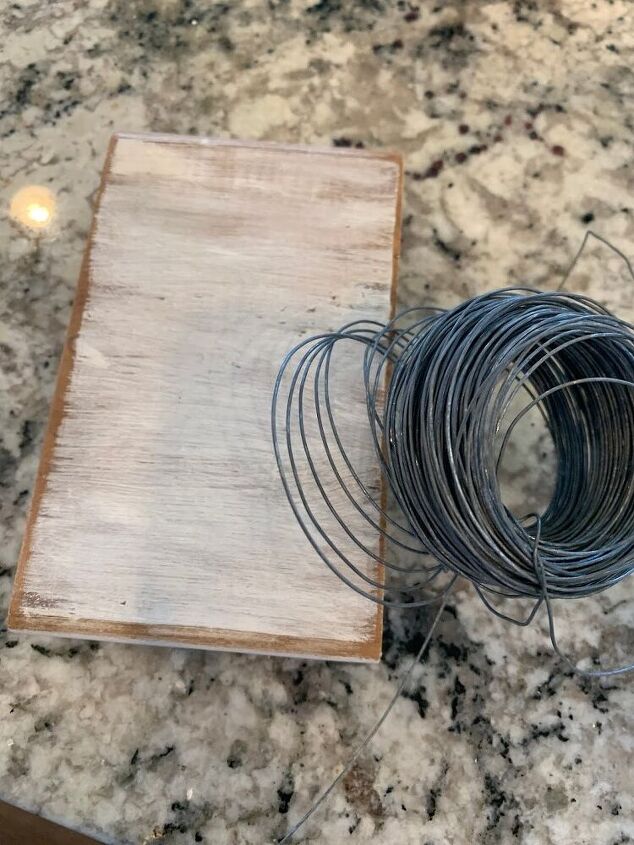
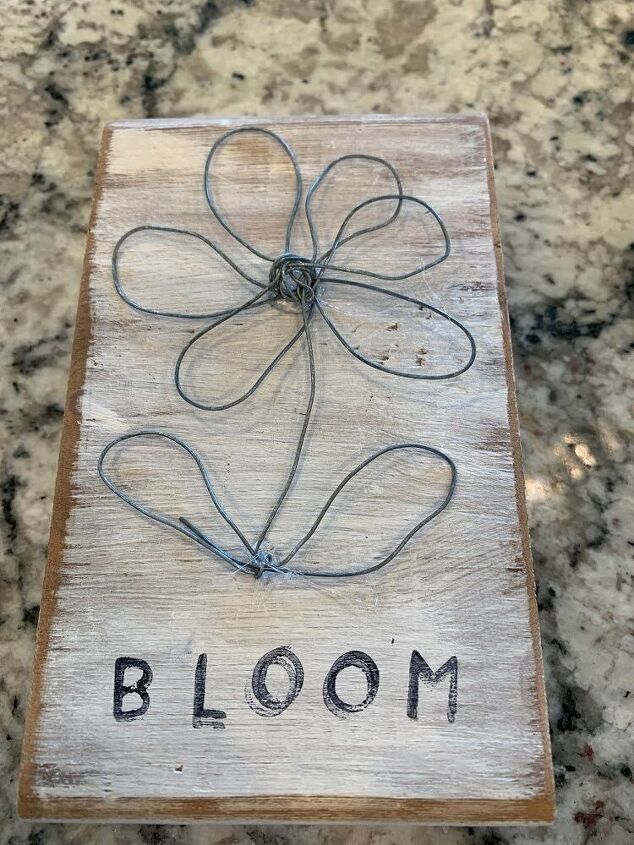
Now, I was ready to decorate it. I thought about drawing a flower on it, but decided something 3D would be more interesting. I went out to the garage and came back with this roll of thin and pliable wire.
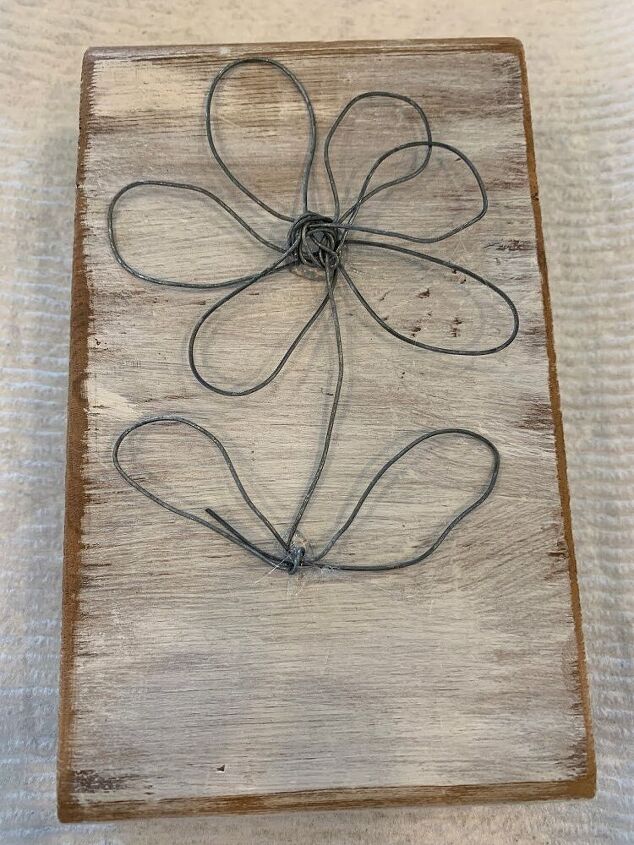
I used one long piece of wire and just shaped it into a flower. I started at the bottom and formed the two leaves, then the stem, and then created a loop for each petal one at a time, wrapping the wire around the stem in the middle between each new loop. That formed the center of the flower.
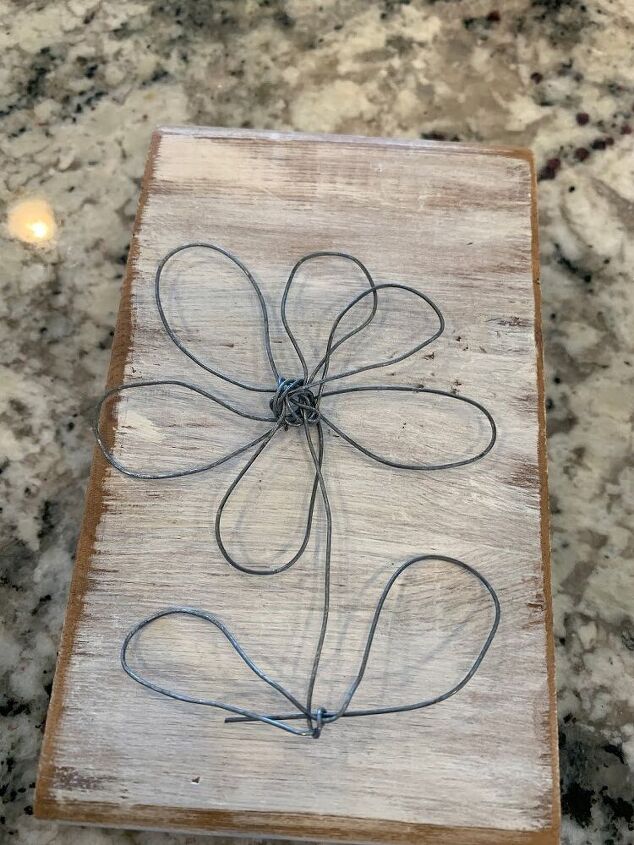
I used two generous dots of hot glue to attach the flower to the wood block–one under the center of the flower, and one between the two lower leaves.

Mini Stamp Set
The next step was figuring out how to get my selected quotes and words on them. I started with this mini stamp set that I used on my vintage book display.
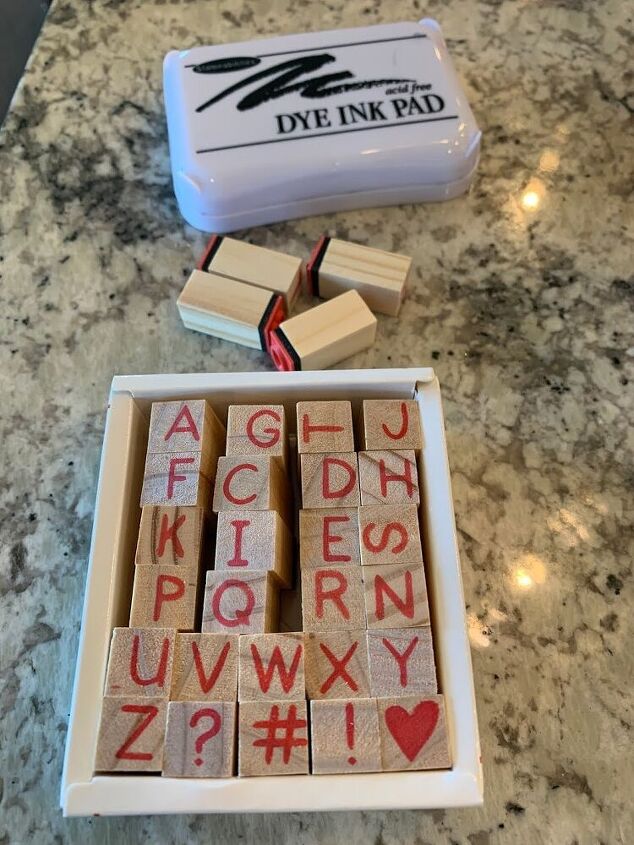
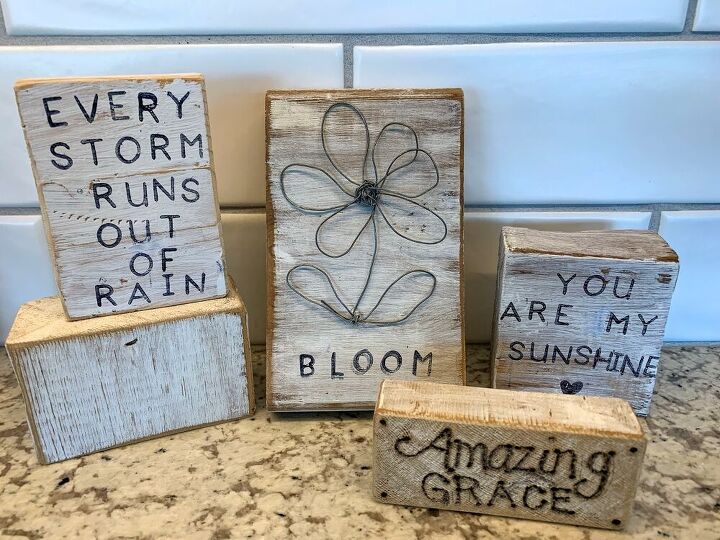
Since I was going with a garden them, I stamped the word “bloom” under the wire flower.
I was so happy with how it turned out! And all with materials I scrounged up from around my house.
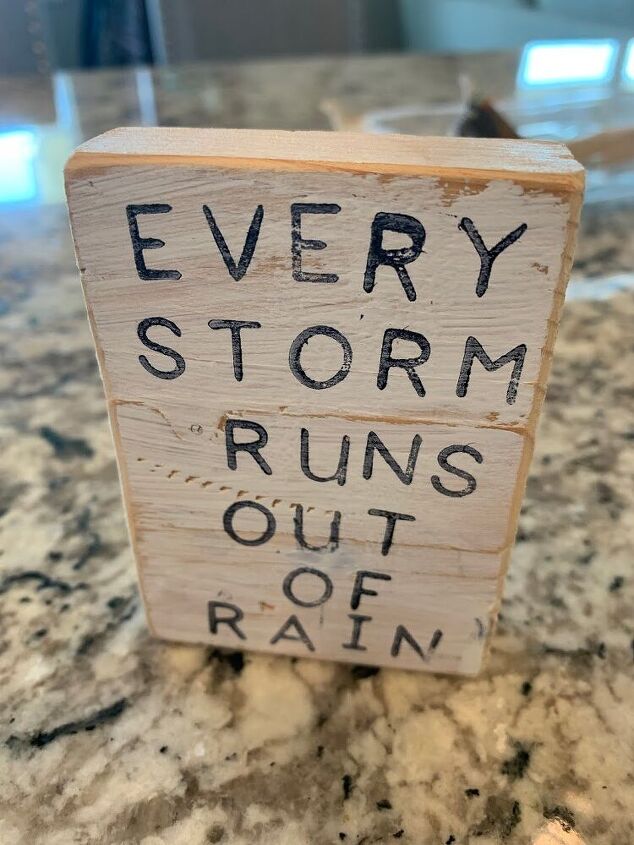
I had several more wood blocks, so I experimented with them. I thought this quote would work for my garden them, but was also particularly relevant in our current situation.
I tried one more with my mini stamp set, and created the “You Are My Sunshine” block.
Wood Burning Pen
Then, I remembered the wood burning pen that I used last winter to create my Wood Slice Christmas Ornaments, so I decided to give it a try on one of the blocks. I used it to write Amazing Grace. This block of wood had a lot of texture, so it was hard to control the wood burning pen and get a smooth, fluid line. It turned out okay, but I might try it again on a smoother block.
I still have one block left that I painted and distressed, but decided to wait until later to add a quote that will work with whatever theme I use next on my tiered tray.
I can’t wait to show you how cute these look on my Spring Garden Tiered Tray! Check back tomorrow to see it. 🌺🌼
Wishing you peace & health,

Let’s stay in touch! Subscribe using the box on this page, as well as follow on social media.
Facebook —– Instagram —– Pinterest
This post contains affiliate links.


Comments
Join the conversation
-
have plenty of blocks and paint will try it.
-
Your crafts are so cute! I for one do not shop at Hobby Lobby because of the extremist views of the owner.


Frequently asked questions
Have a question about this project?