


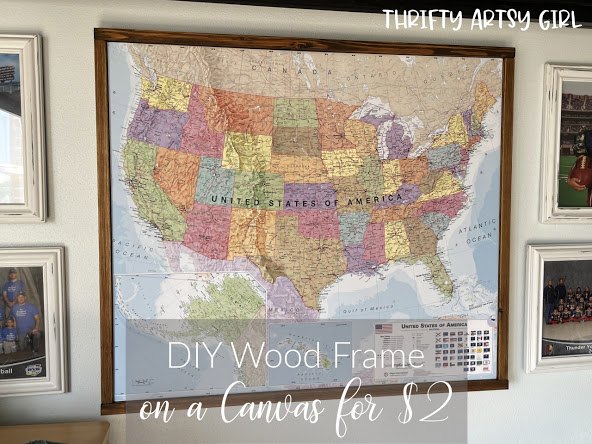
DIY Wood Frame on a Canvas for $2
I’m always on the look out for wall art to decorate and freshen up my home. When Photowall contacted me about another opportunity to beautify my home with high quality wallpaper, canvas, wall murals or posters I jumped at the chance. Last year when they contacted me I chose to wallpaper my office (see post here). We love how it turned out and are very excited to work with Photowall again!
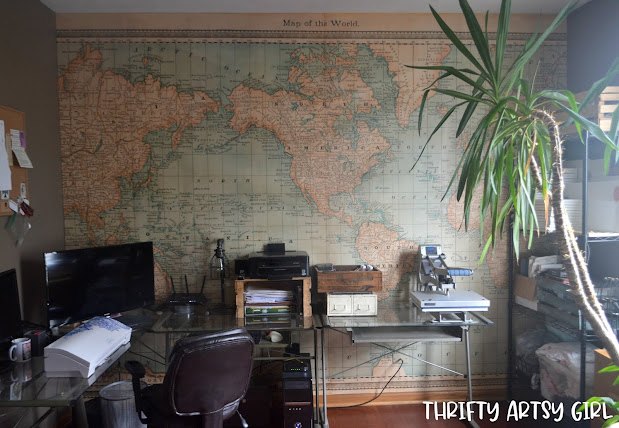
Our office wallpaper mural from Photowall
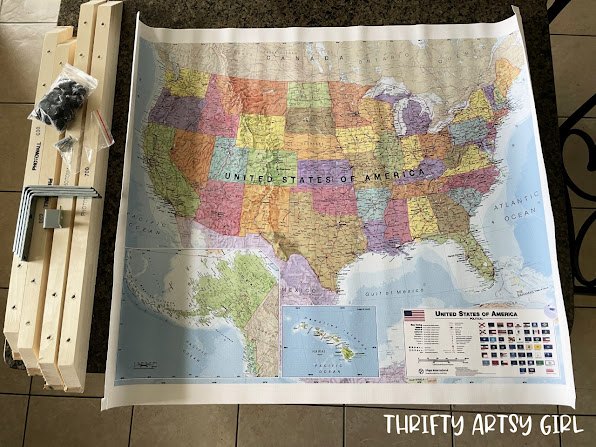
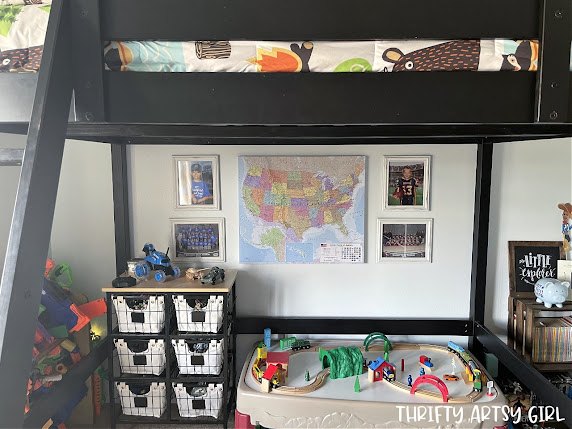
This time I decided I wanted to try out one of their canvases. As you can see by our wallpaper choice, we love maps so I let my son pick out a map of the United States for his room. His room is camping/woodland forest themed so a map would flow perfectly and we could put pins in all the cities/states that we visited to make it more personal and fun for him.
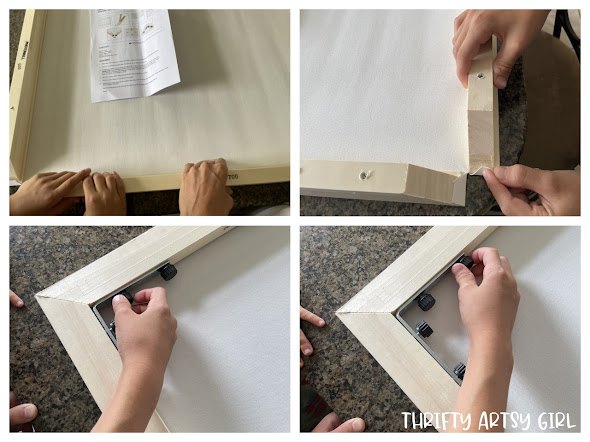
The canvas arrived a couple of days after ordering . The canvases come in pieces that you have to assemble yourself. I already knew that it would be an easy process from watching the assembly video on the website. I took all the pieces out and set it up and asked Jackson if he wanted to help put together his canvas.
Jackson was really excited to help and pretty much put the whole canvas together himself, it was that easy! I helped him stick on the frame pieces so they were straight and helped a little with the corner plates but he basically did it all.
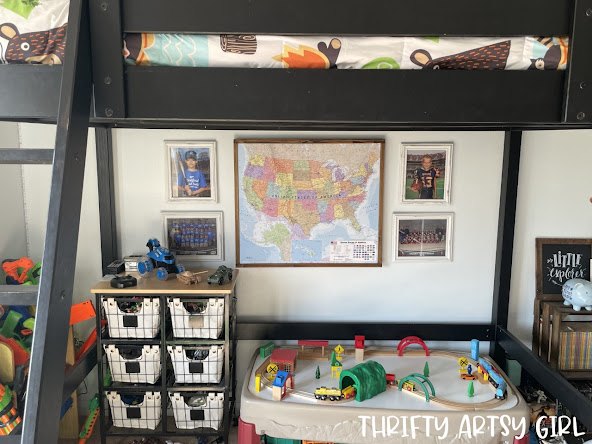
Here's a before shot of the area below his loft bed where we had decided to hang his new map canvas.
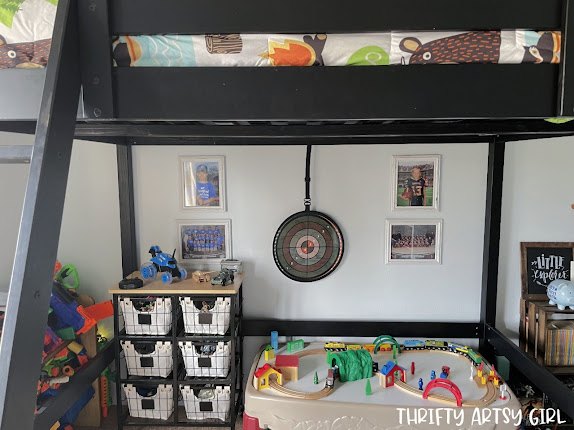
We screwed the included hanger to the wall and hung it up. The whole process couldn't have been any easier and we both love how it turned out! It really looks so much better than a cardboard target haha.
Although I am absolutely thrilled at how the canvas looks I felt like this would be the perfect opportunity to share how to frame canvas art easily with wood for about $2!
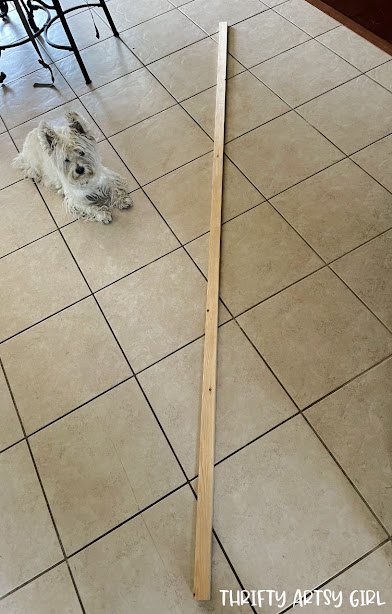
The wood I use is called furring strips or 1x2's. When you buy them they come 8 feet long so you can easily frame a large piece. You can get furring strips at any hardware store and they cost around $2 right now even with the high price of lumber, so it's very affordable.
The way I make my frames is called a butt joint. The butt joint is the simplest joint to make and requires no special shaping. You simply cut your wood to length and butt the ends of the pieces together. You can reinforce the joint with glue, screws, nails or biscuits. Since the canvas is hanging on the wall with the frame inside of the canvas, the wood frame that I am putting on the outside does not need to support any weight so I'm just using gorilla glue. This is the easiest and quickest way to make the frame that I have found and by using glue the frame is easily removable by simply pulling it off with a little force (if for some reason you no longer want the frame around the canvas).
You only need a few supplies and it's so easy to make a DIY frame out of furring strips, you'll want to put them on all your canvases!
DIY wood frame supplies:
-furring strip(s) (1x2)
-tape measure
-pencil
- miter saw or chop saw (you can use a miter box with saw if you don't have access to power tools)
-stain
- hot glue gun with gorilla glue sticks-canvas to frame
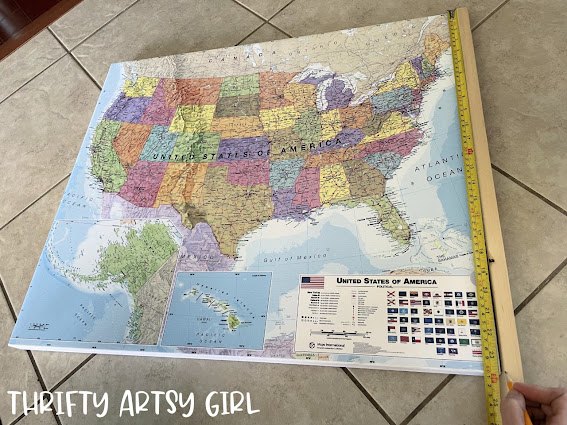
Gather all your supplies and lay your furring strip on the side of the canvas that you want the wood to be flush with the canvas. Measure the canvas and mark the spot on the furring strip. Cut two furring strips to that length. These two strips will either be the top and bottom of the canvas or the two sides. I chose the two sides for the flush pieces.
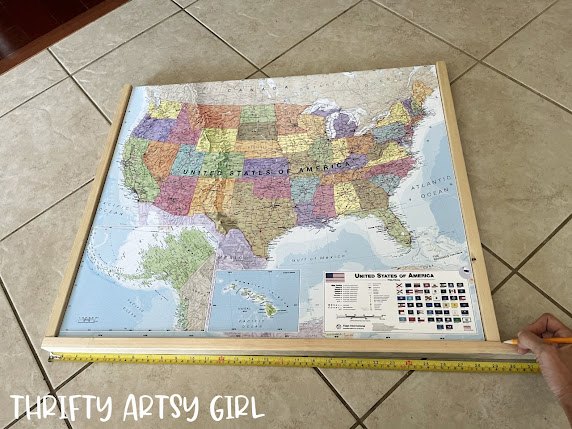
Now that the two flush pieces of the frame are cut the two pieces that will butt up to the ends need to be measured and cut. The same process applies for these pieces of wood but you measure to the ends of the two flush pieces instead of the edge of the canvas.
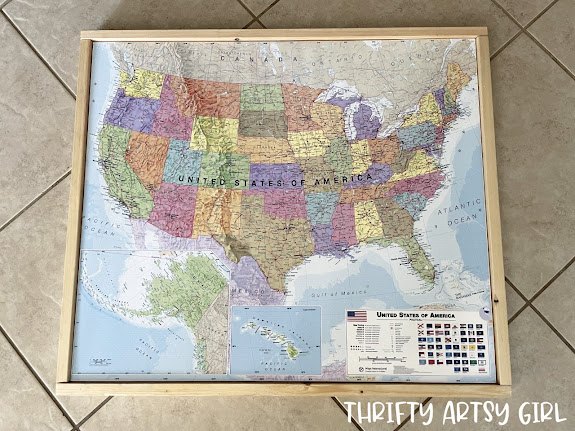
Here's a picture of what the furring strip frame all measured, cut and butted together should look like.
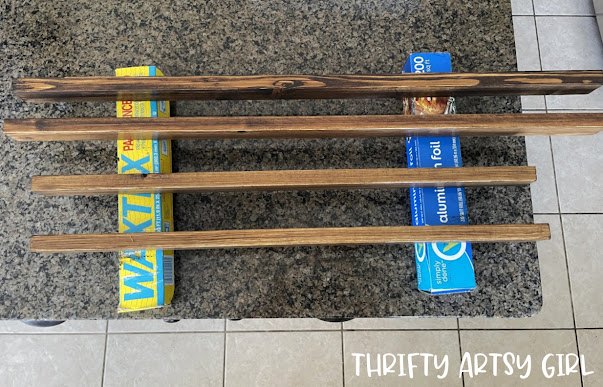
The next step is staining the furring strips. An easy and free tip is to use foil, saran wrap or wax paper boxes to elevate the wet stained boards off the counter.
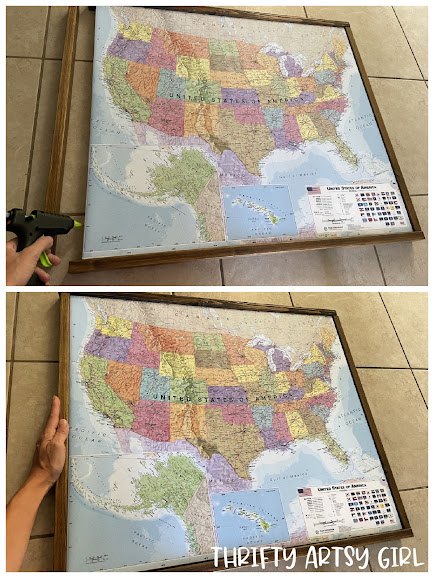
The last step of the DIY frame is to assemble and glue it. I laid the large canvas on the floor and placed all the pieces of the dry stained wood frame where I wanted them. Then I simply applied a line of hot gorilla glue onto the side of the canvas and pressed each piece into place for a few seconds. I also applied glue where the pieces butt together to reinforce the frame.
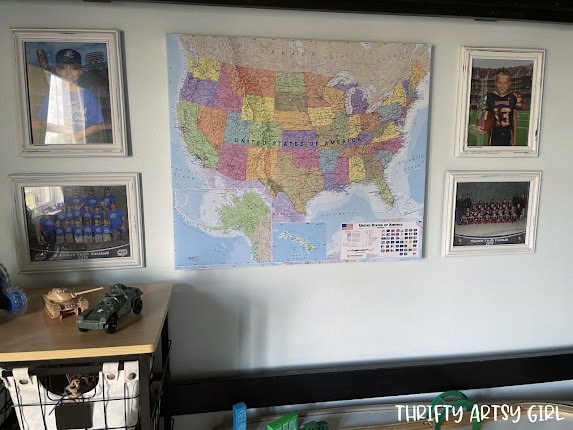
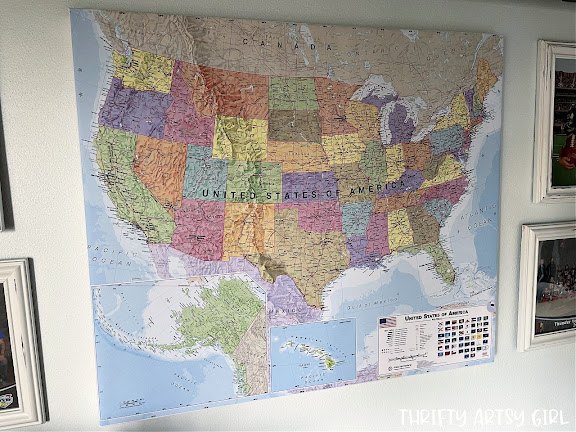
Here's a few pictures of the finished framed canvas. I love that the frame gives the canvas a more finished, refined look.
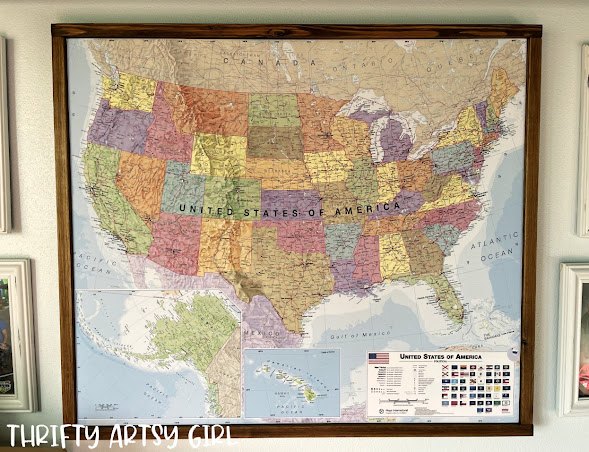
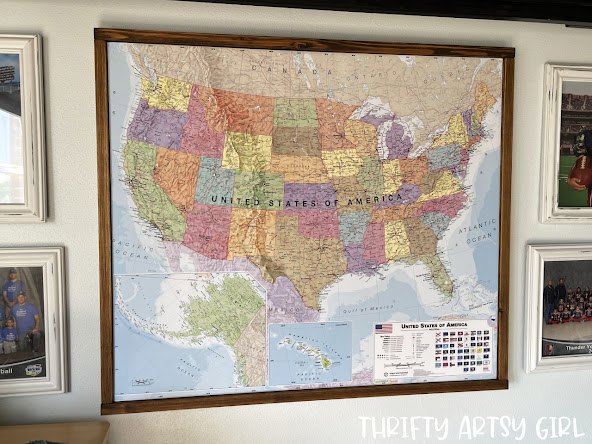
I'm loving the finished framed canvas and I know that it will be keepsake for life for Jackson!
If you are interested in Photowalls high quality wallpaper, canvas, wall murals or posters, (you can even use your own photos!) I'm sharing a discount code for all my readers that is good for 25% off your entire order from now until September 8, 2021! Check out my blog post for the discount code: https://www.thriftyartsygirl.com/2021/07/diy-wood-frame-on-canvas-for-2.html

Disclaimer: I received my wallpaper complimentary from Photowall. However all opinions expressed are my own and 100% true. Please see my disclosure policy for more info.


Frequently asked questions
Have a question about this project?