How to Make Rope Wall Art

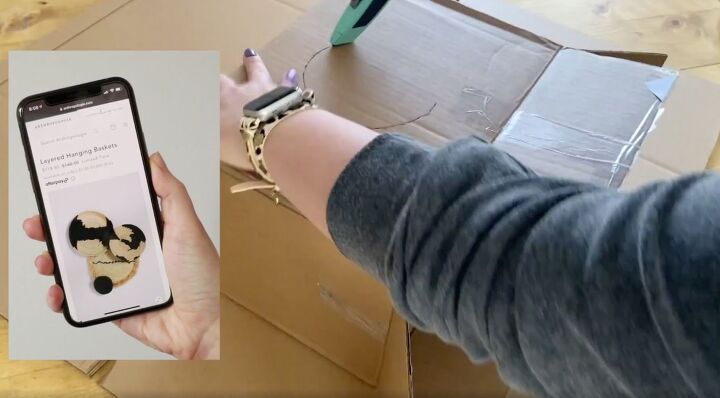
Find out how to make these trendy layered hanging baskets!
Today I am going to show you how to make rope wall art. Those beautiful wall-hanging baskets we've all seen are so much fun to make.
To start, I cut out cardboard circles that will serve as the backs of all my baskets. I did my circles freehand but you could use a plate or a pizza pan to get the shape correct. I cut out several different sizes that worked for my space.
Once I had my circles cut out it was time for the fun part of making the baskets. I started by gauging where the middle was going to be and put some glue there.
While the glue was still wet, I put the end of the twine into it and then let it dry in place.
Then I started twisting it around and around adding glue to keep it in place.
I wanted to have a small little lip on the side. Instead of doing it on the cardboard, I added several rows of twine up the side of the rope circle I had made.
For the next bowl, I started with the smallest circle. I wanted to make this one more like a bowl so smaller and more 3D coming up the sides. I began wrapping the twine the same way I did for the first one.
Once I had it the size I wanted, I went ahead and trimmed off the excess cardboard.
Then I moved on the making the sides of the bowl. I worked my way around and up until it looked like a bowl.
After making 3 of the bowls and the base for the last one, I wanted to make some fringe around the sides.
I made a bunch of frayed pieces by cutting a bunch of the twine the length of two glue sticks.
Then, I unraveled the ends but kept the middle twisted.
To finish it off, I used hot glue to attach them to the back so that the frayed twine showed around the edge.
Finally, I took some black paint and added different patterns to give the bowls character and dimension.
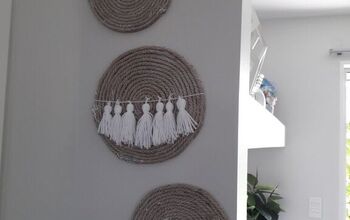
I love how my DIY rope art bowls look on the wall. They were so easy to create and adds some fun color and patterns to the room.
Enjoyed the project?









Frequently asked questions
Have a question about this project?