


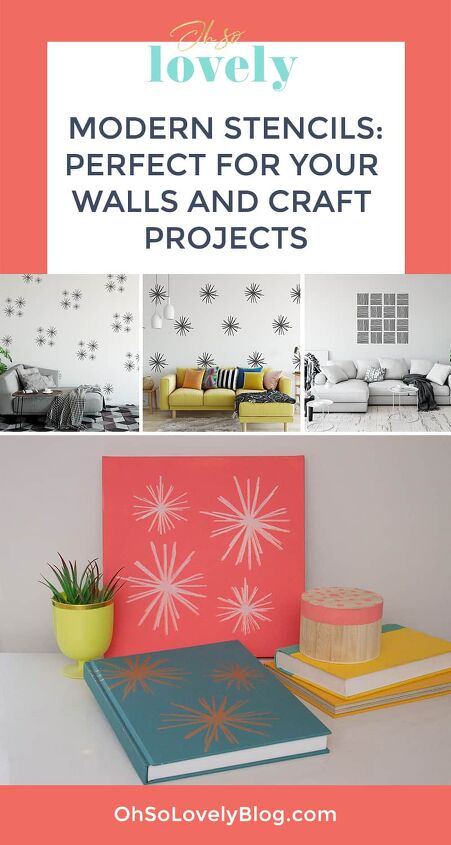
Fun Ways You Can Use Use Modern Stencils
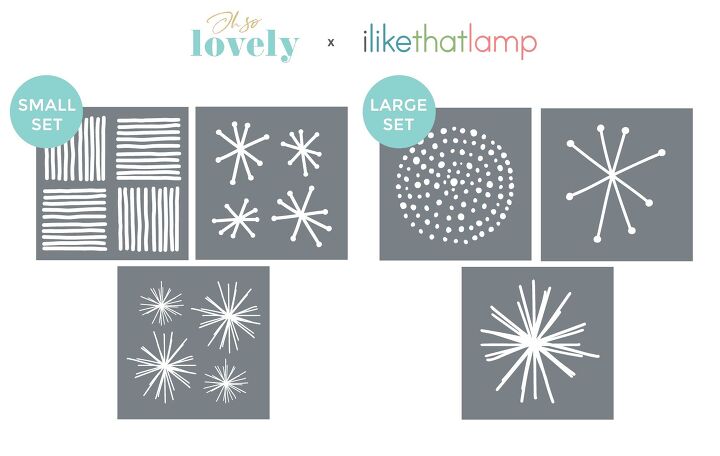
Recently I designed six modern stencils for Makely, and had the BEST time! It was truly a dream project, and I’m excited to give both sets away.
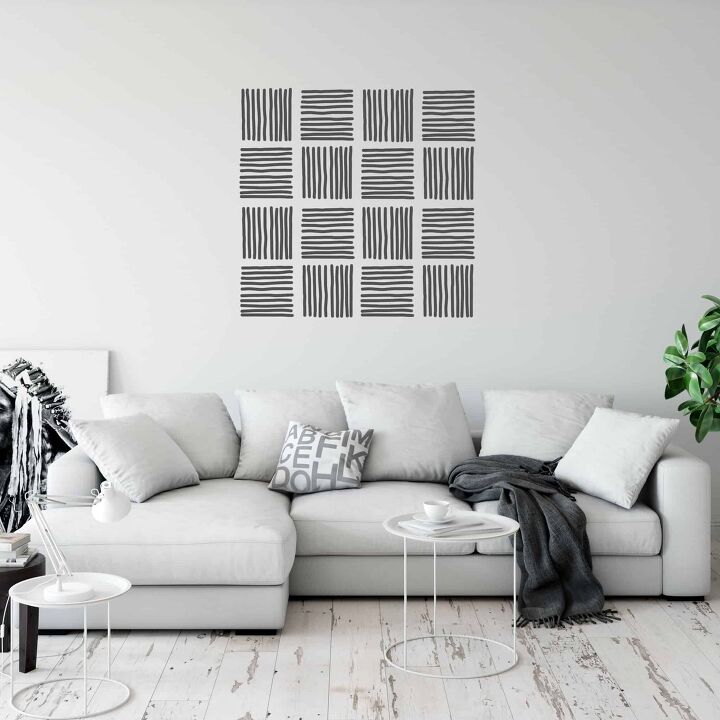
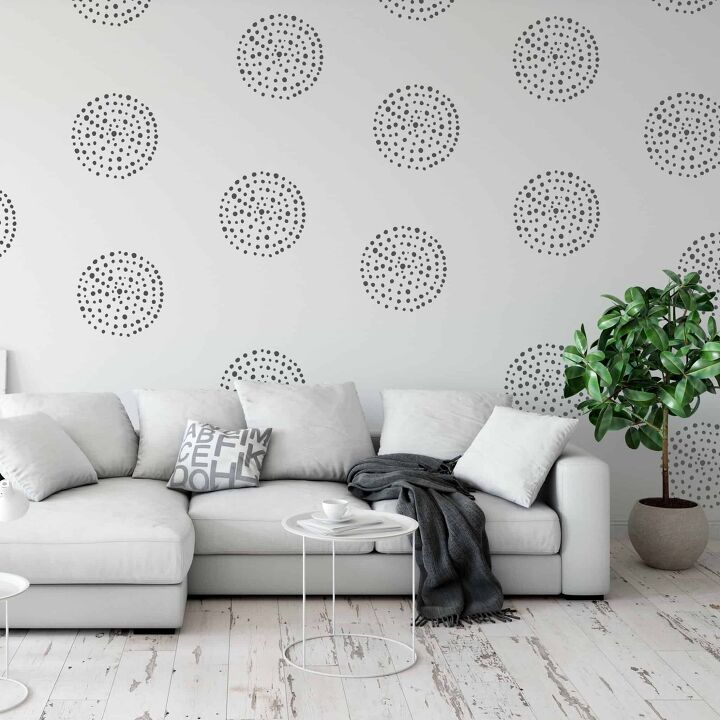
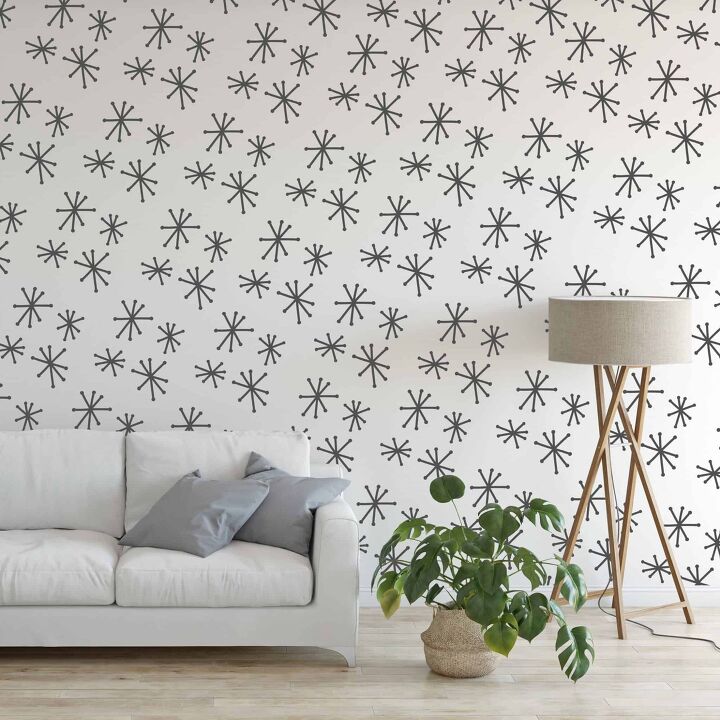
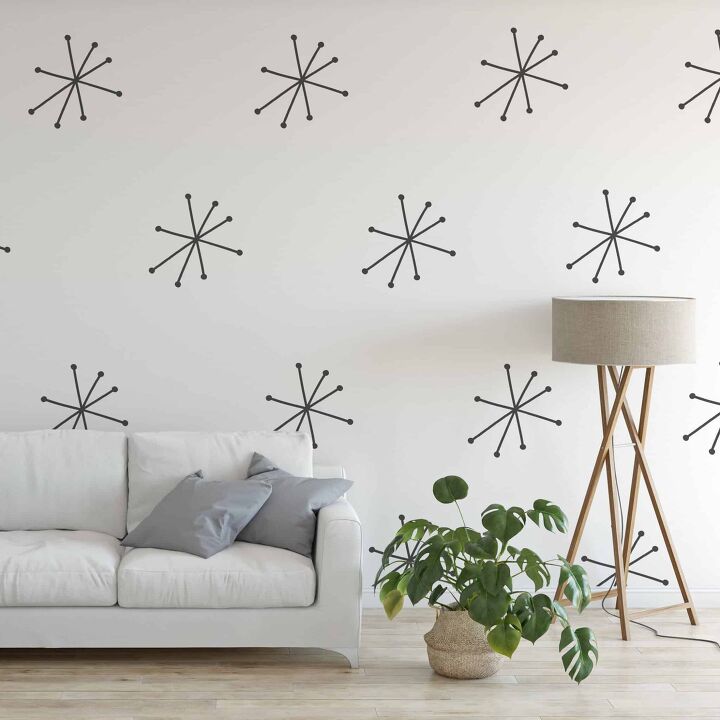
I have never designed stencils before, and wanted to create something unlike any I have seen in stores. I absolutely love clean, mid-century modern, organic, Scandinavian design, and I wanted my stencils to reflect that.
I am so proud of the end product and hope that you like them as well.
Update: The large designs are still available, but not the small designs..
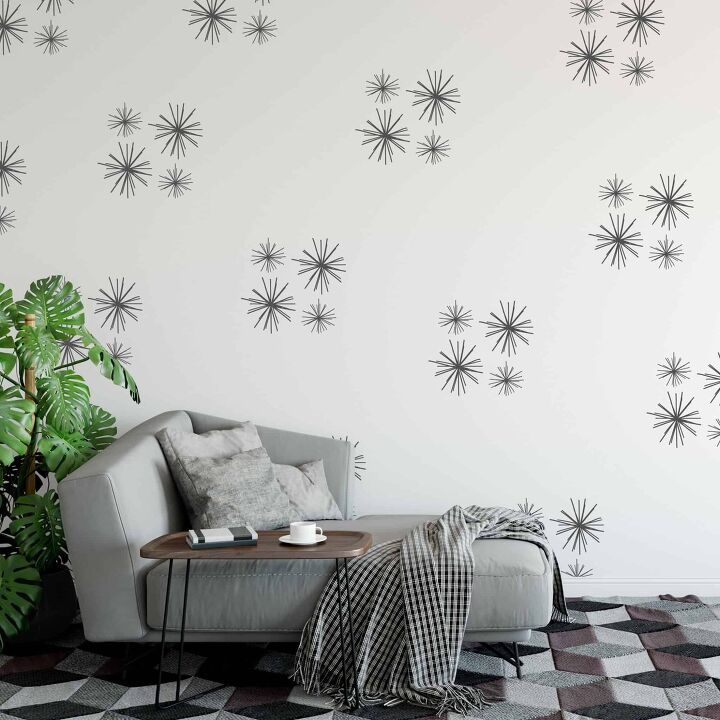
Stencils are a great alternative to wallpaper, which can be hard to install and extremely costly. Check out how each stencil could look on your wall, and keep scrolling for some other ideas!
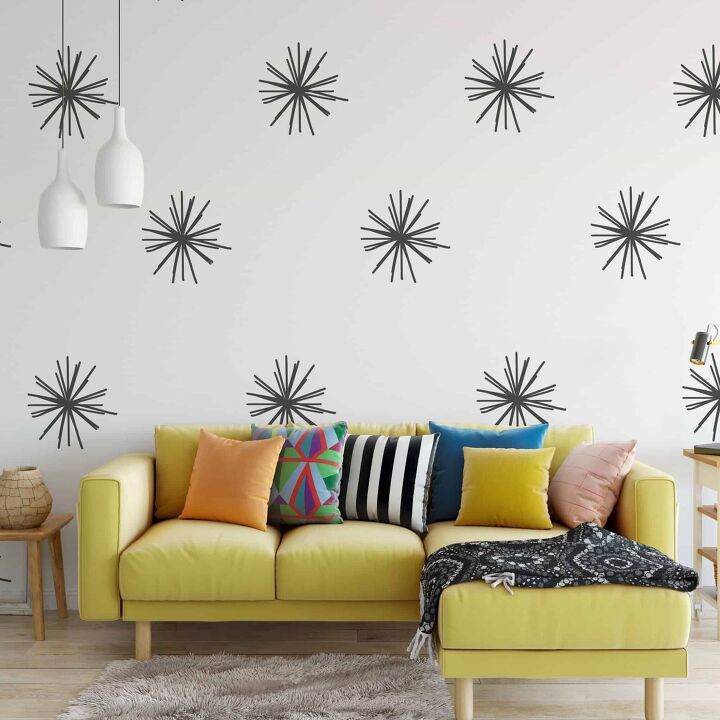
(click any image to enlarge)
I don’t have a wall area quite ready for stenciling at the moment, but was so eager to put all six modern stencils to use that I came up with some easy projects that also work great with the stencils.
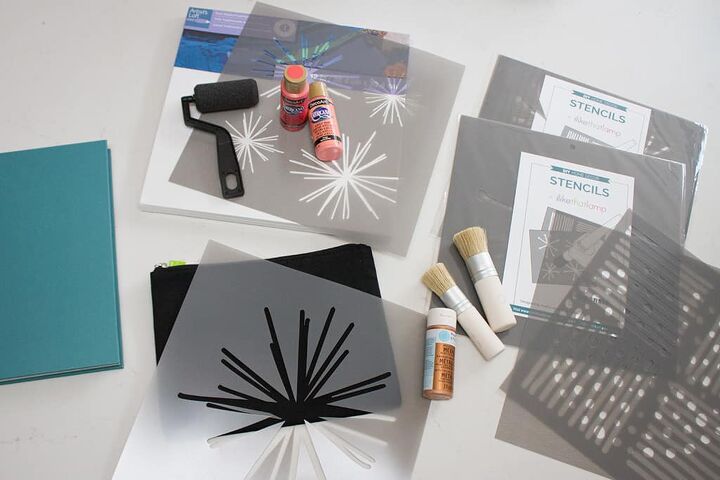
I decided to test the stencils out on various materials, so I headed to Michaels and gathered some supplies —an art canvas, notebook, wooden box, cloth pouch, acrylic paints, foam roller, and a stencil brush.
Let’s get crafty!
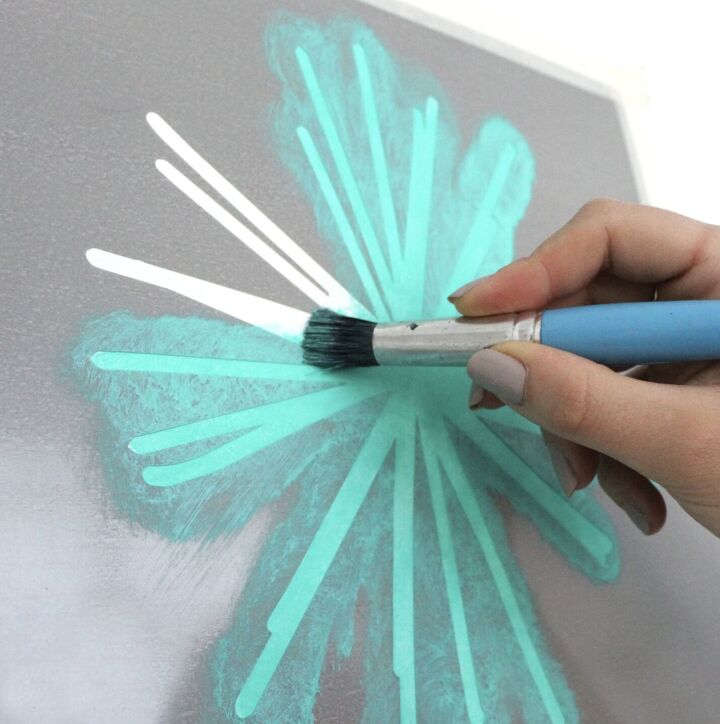
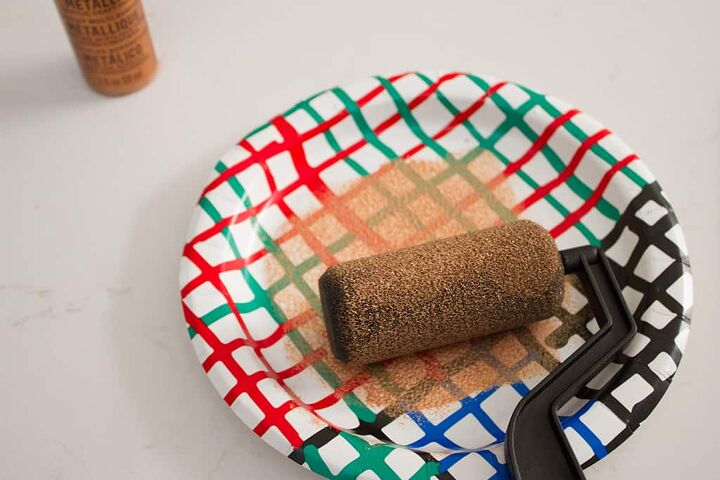
Gather your supplies— painters or washi tape, some acrylic paint, a small foam roller or stencil brush. That’s it.
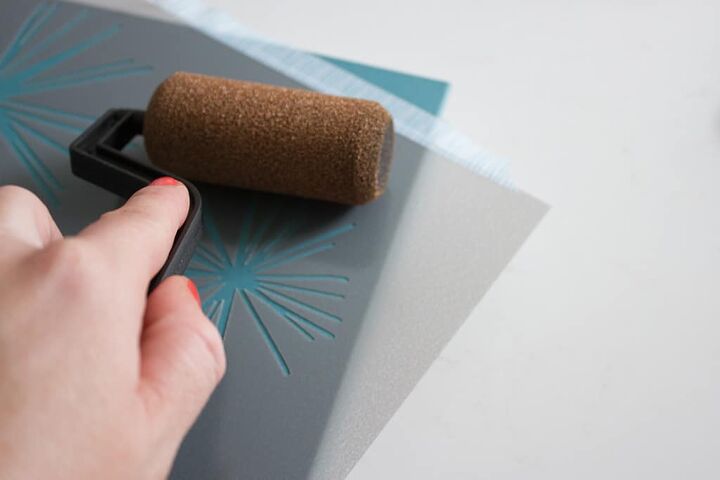
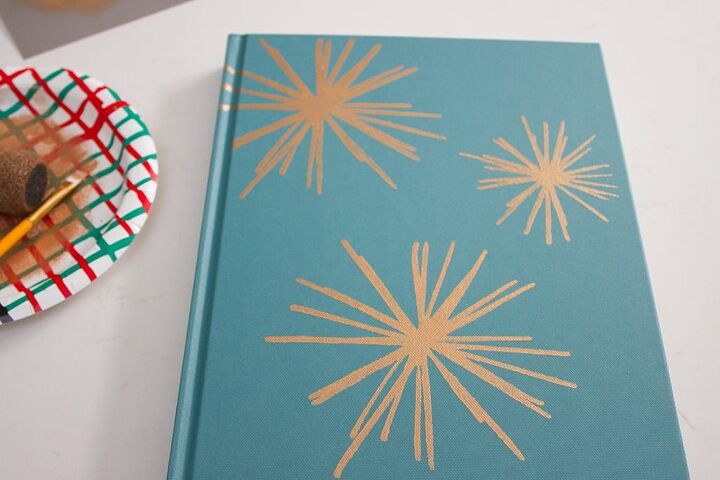
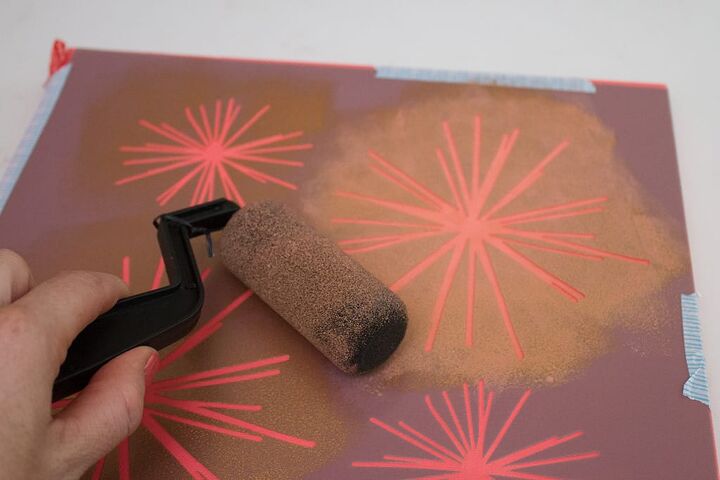
Place your stencil exactly how you want it on your material and tape it down to make sure it doesn’t move while you’re painting. Coat your roller in paint evenly and slowly and firmly roll over your stencil. I like to use my free hand to hold the stencil down to make sure no movement. Roll slowly in the direction of the stencil cutouts and make sure you completely cover the exposed area.
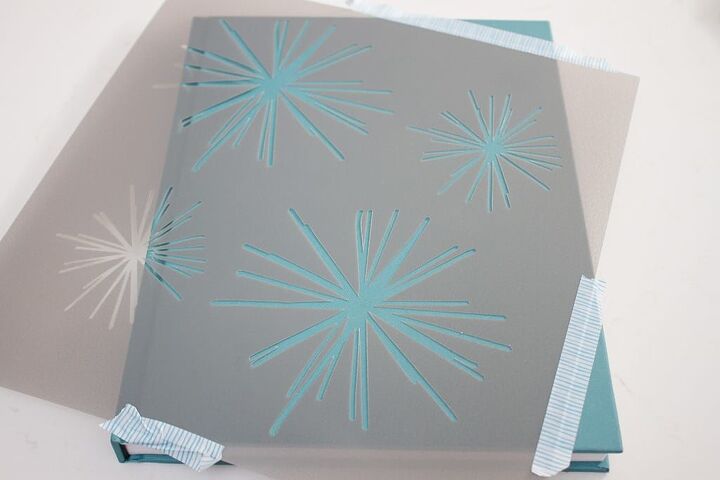
Easy peasy— you now have a custom notebook.
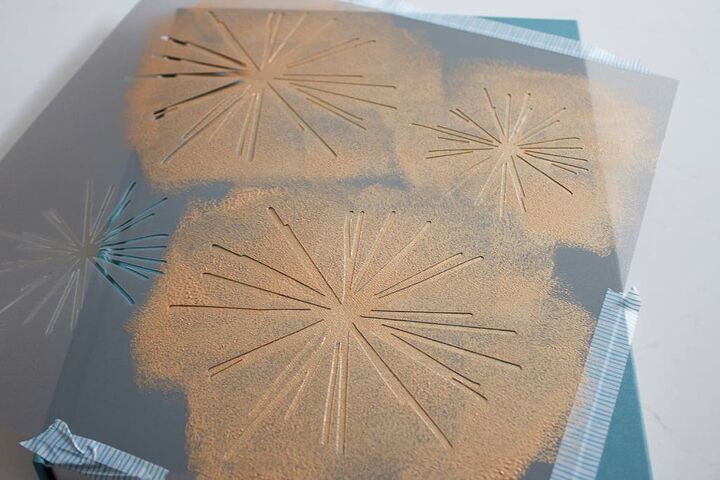
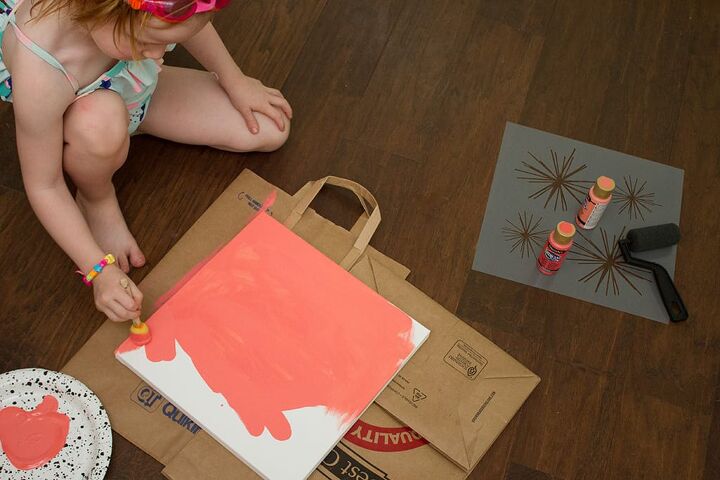
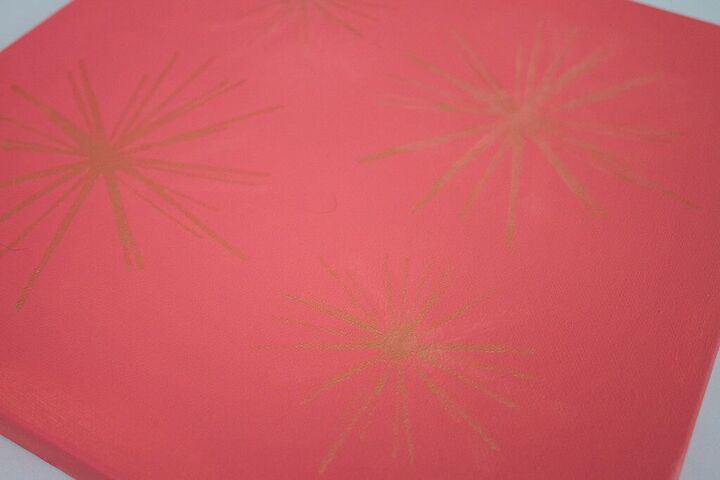
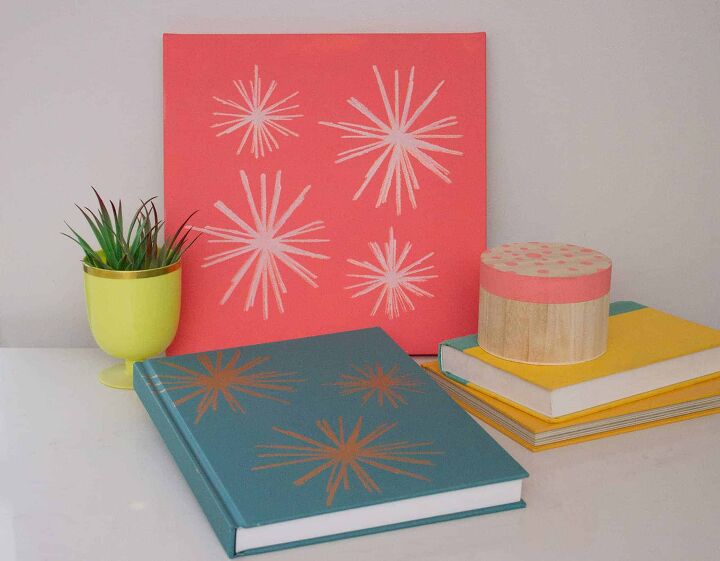
You can also create some custom wall art by stenciling a canvas. Vivi wanted to create some wall art for her bedroom, so I had her paint her canvas with acrylic paint. Once it dried I stenciled a gold paint over it, which didn’t; stand out as much as I had hoped, so I went back over it with a light pink paint (step not shown).
Next I got my cloth pouch and taped off a section to secure it. I followed the same steps and stenciled a larger pattern until fully coated.
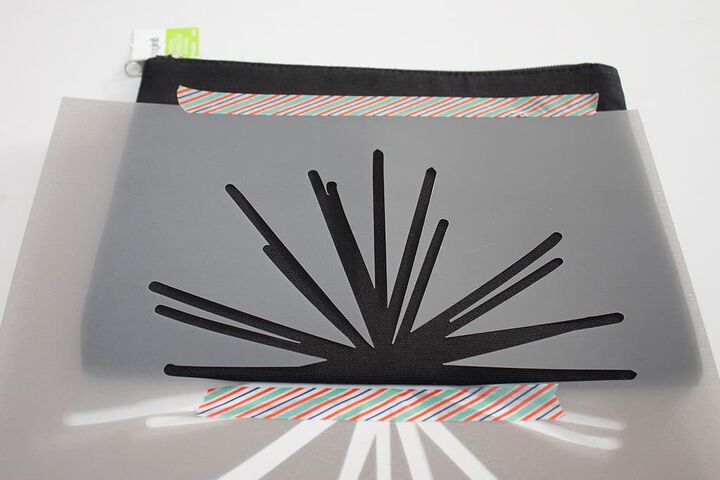

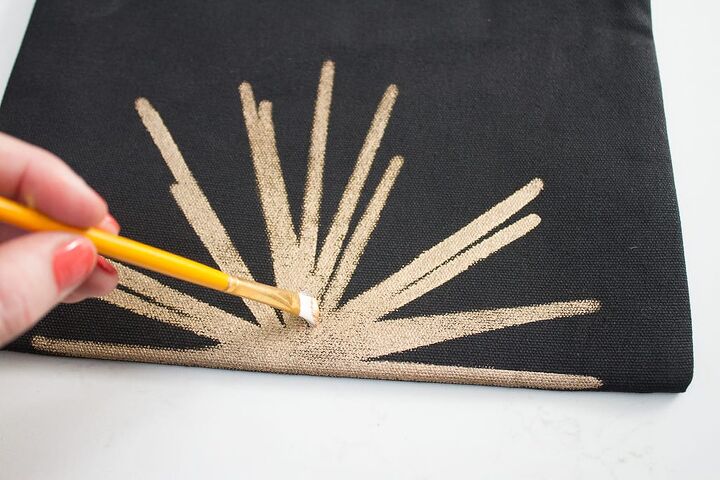
TIP: If the cloth material isn’t as coated in some places, you can take a small paintbrush and touch up a few areas like I did. And you now have a cute metallic pouch!
Stenciling is so easy and MUCH more fun than I expected! I think I’m addicted to these modern stencils! 🙂Here are a few of my finished items.
Whether you’re using these stencils to add a modern flair to a wall or piece of furniture, creating art, or decorating textiles, our stencils will make sure you get a perfect result every time.
- MORE INFO ON THE MODERN STENCILSEach set includes three Scandinavian design inspired stencils (large or small)
- Each stencil measures 11.75 inches in length x 11.75 inches in height
- Made out of a strong and reusable 10 mil mylar material
- For use on walls, furniture, wood, paper, textiles, ceramics + more
- The stencils are made out of a reusable 10 mil mylar plastic, which is flexible yet strong enough to be used over and over again on a variety of projects! They’re translucent grey in color, so they’re easy to position and ensure perfect visibility as you start painting. They are light, durable and thinner than vinyl, which makes them ideal for an array of DIY home decor projects.

Comments
Join the conversation
-
I love the stencils, all your ideas are so pretty.


Frequently asked questions
Have a question about this project?