Rusty Tin Wainscoting

We wanted to give our builder grade guest bathroom a little rustic flair to match some of the other details in our home. I have a long standing love affair with rusty things, with corrugated tin panels topping the list. We have a stash sitting out in the barn so it was the natural material to grab for a fun accent wall!
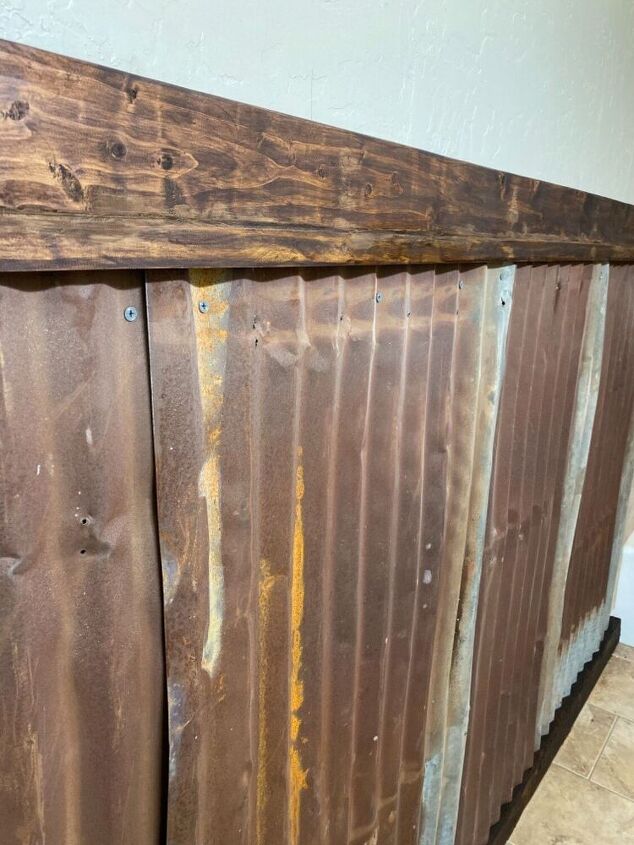
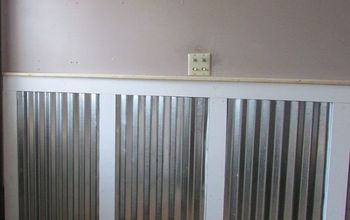
Old panels of corrugated tin, a couple of pine finish boards and voila! Some rustic wainscoting for the guest bathroom!
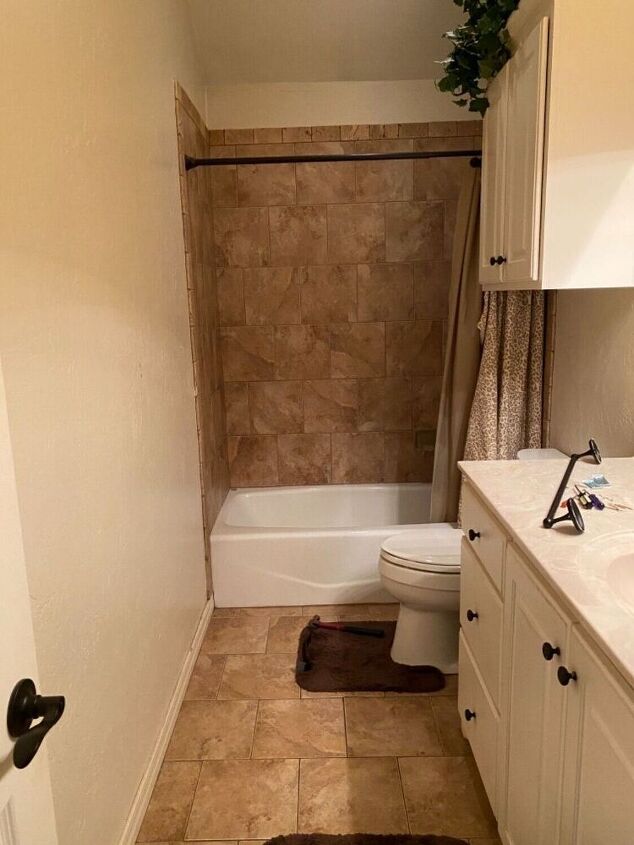
The before picture.. pretty plain. We think it needs a little help.
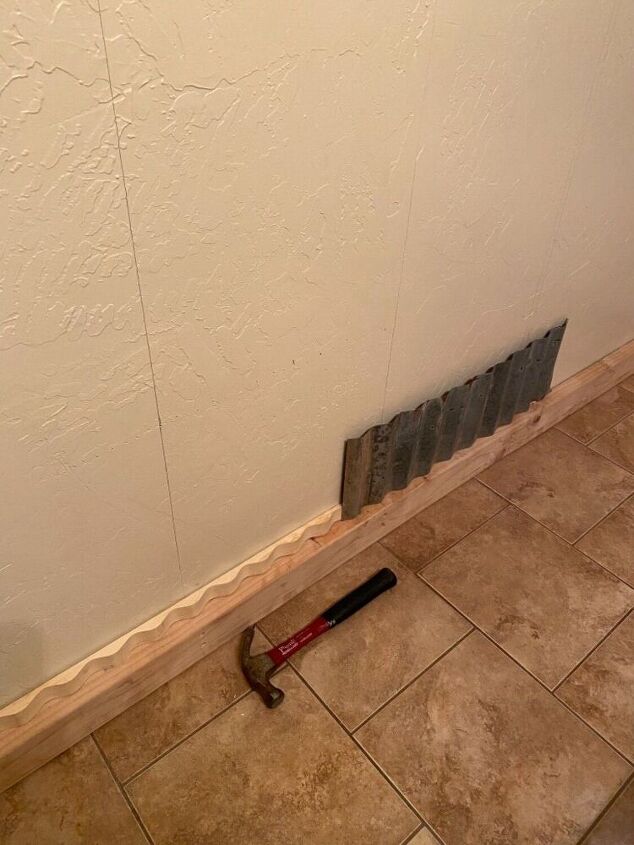
First, we removed the old baseboard and replaced it with a 2x4x10 cut to the length of the wall. We predrilled holes and countersunk the screws so they wouldn’t show, making sure we were hitting studs because the metal is pretty heavy.
Second, we screwed in grooved support boards for the corrugated tin in three places. Bottom , middle and top just to keep the metal secure against the wall. These didn’t come in 10 ft lengths, so we had to piece them together checking to make sure the grooves would line up correctly. You can see our sample piece of tin in the picture.
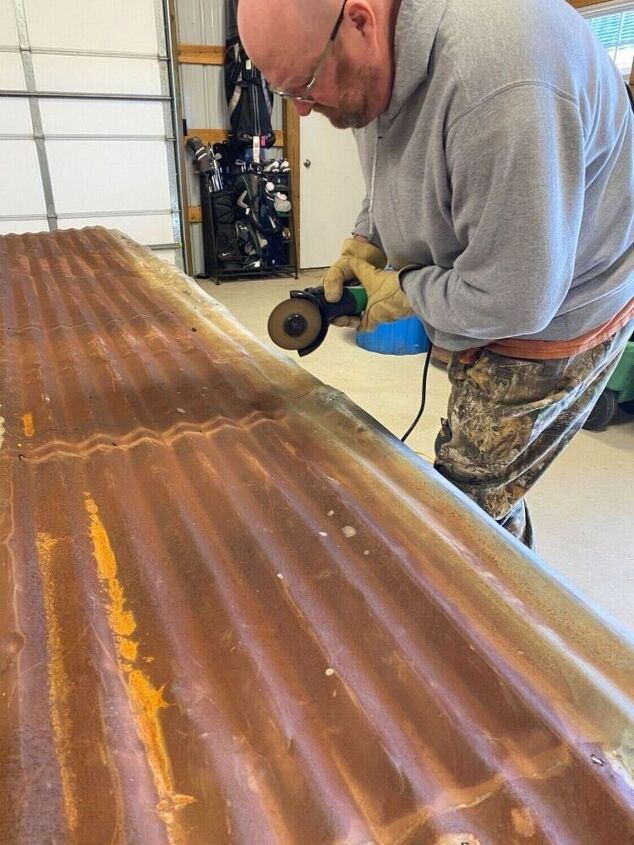
It’s finally time to play with the metal!!!🤣 my hubby cut the tin panels into 4ft sections using a hand grinder. He also used the grinder to smooth out the cut edges to avoid cutting ourselves. Be sure and wear proper safety gear when grinding metal yall!! Sparks fly!!!
Secure your cut panels into the three wood supports using metal screws. Overlap sections as you go until the wall is covered. We were using old metal panels off a barn. They were not uniform, some were bent and the ridges were warped. Keep this in mind when using distressed or repurposed materials and be creative!!🤣
When the wall was covered we placed a second 2x4 on top of the metal and secured into studs. I will be placing towel hooks in this board so I wanted to make sure it is securely fastened to the wall. Again, we ( ok, the hubby🤣) predrilled and countersunk the screws.
We filled the holes with wood putty snd let it dry for a couple of hours. Then we sanded the boards smoothing out where the holes were.
Two coats of stain and it’s done!! I used minwax poly shades in aged walnut. Because it’s in the bathroom I wanted the added protection of the sealer but you could gel stain just as easily. I used a paint brush to get in, around and under the grooved sections of the tin.
Just the right amount of rustic flair!!











Frequently asked questions
Have a question about this project?
Where did you purchase the grooved support boards? The provided link goes to a different kind of board. I love the look!
Nice job! Did you put a sealer on the tin or you left it natural?