


Wainscoting Project!

I've always wanted to cover a room in wainscoting.
What's wainscoting you ask?
Wainscoting is a broader term for paneling and refers to decorative paneling used as a wall accent, insulation and/or to prevent or cover up walls. It's basically just a decorative wall accent that typically rises to chair-rail level and helps make a room more visually appealing. Most importantly...it sounds fancier than paneling!
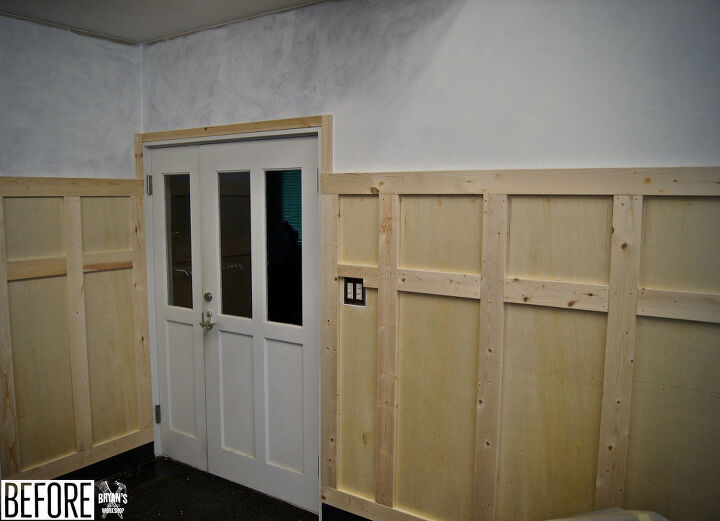
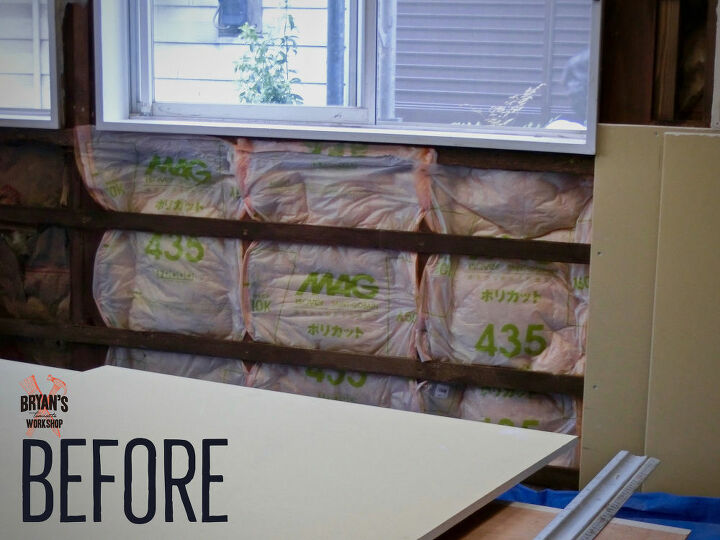
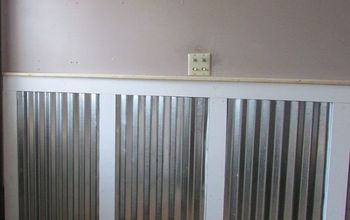
Before!
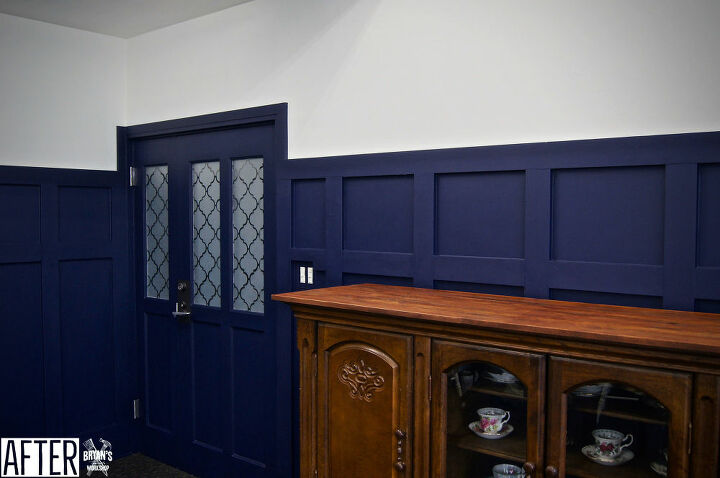
After!
I live in Japan and bought this house about ten years ago. It was originally built as an office building, so it has an awesome and unique layout.
This room is my lesson room and it's connected to my workshop. I had a lot of maintenance work done to the house this year and this room was included. Mother Nature is brutal to Japan with all the earthquakes, typhoons and unbelievable humidity. Buildings take a beating! I opened this wall to fix the window and change out the insulation. We've been getting smashed these past few years by typhoons! The wind rips of storm shutters and messes up window frames. This last typhoon blew my neighbors roof off! Scary stuff y'all!
This is the finished wall!

This is wall 2
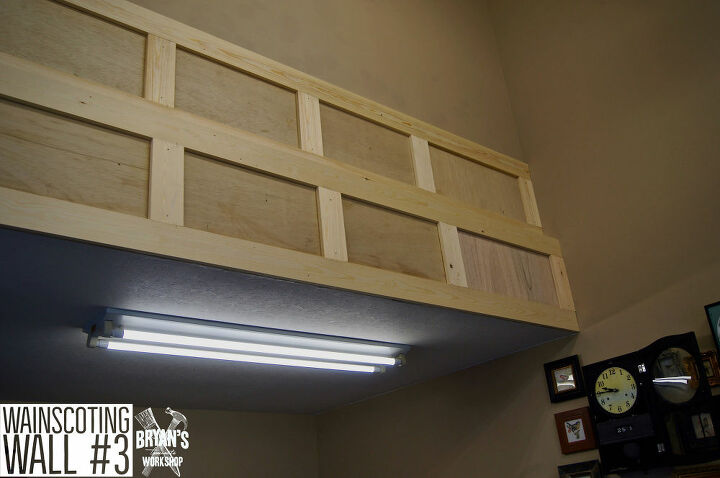
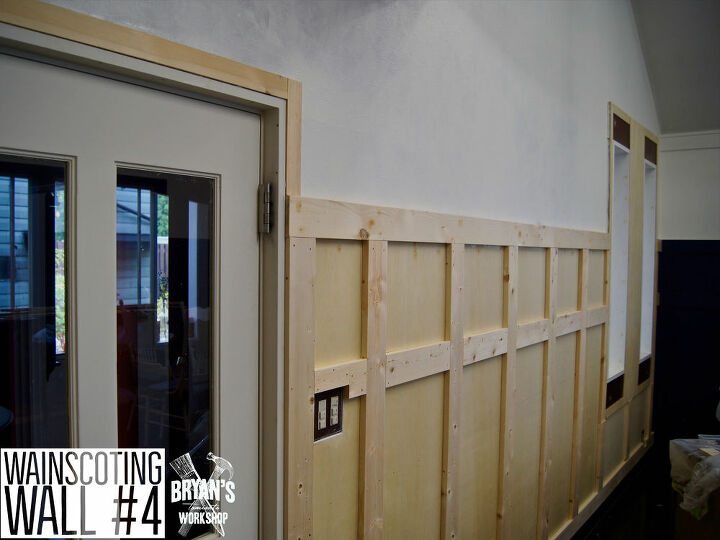
I glued and screwed 5mm plywood to the walls and studs. This is the only difficult part, because you need to know where your studs are. The plywood is 165cm tall and 5mm thick. This is a double height room, so I made the wainscoting tall.
The wood framing is 15X90mm lumber.
This is a little slimmer than a 2X4 which is about 38X89mm.
All of the framing is glued to the plywood and screwed into the studs.
*You don't need the plywood for this project. A popular way to do this is by just attaching the framing to the wall. I used plywood, for the added insulation.
*You also don't need to glue the plywood to the wall. I definitely wouldn't use glue if you plan on removing the wainscoting in the future.
*MDF has a much smoother and cleaner look.
Caulking and puttying is important! Use a paintable caulk for all gaps where wood meets wood and use wood putty to fill screw holes.
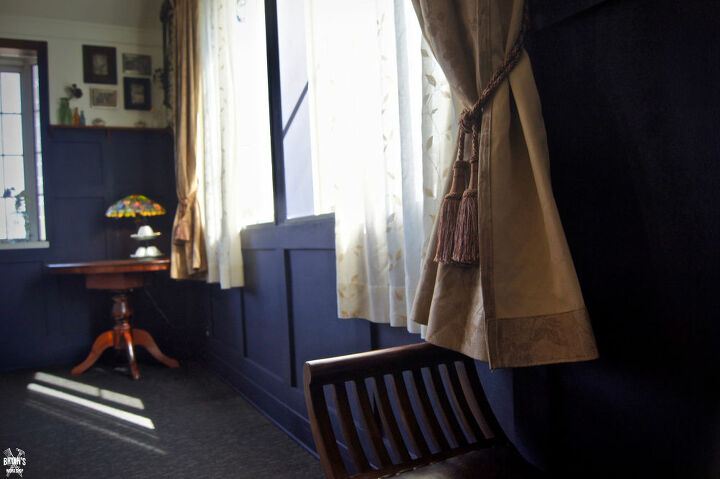
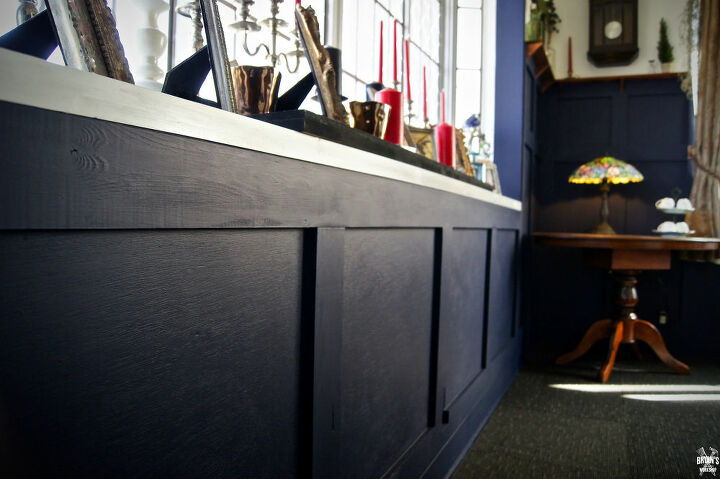
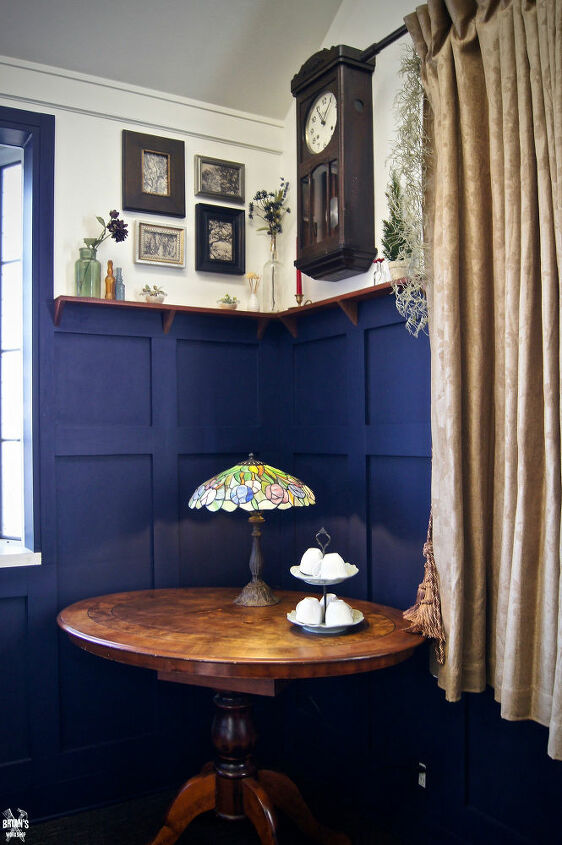
I wanted to make a cool ledge!
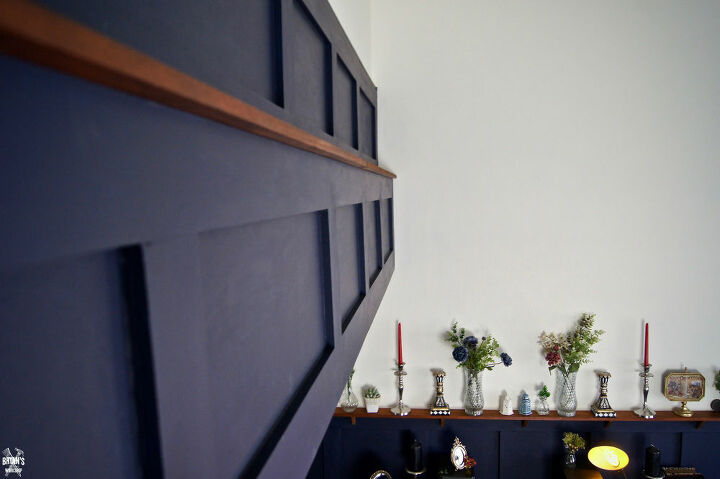
Ledge complete! The ledge is the same wood as the wainscoting frame. I used a teak stain.
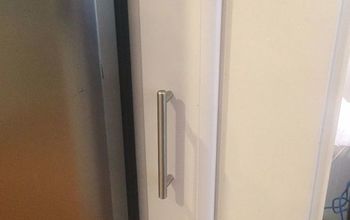
I stripped the door and painted a white base coat. My lovely wife Mariko covered the windows with cling film cutouts. You can check that post out here:
https://www.hometalk.com/diy/windows-doors/windows/cling-film-cutout-privacy-window-43704257
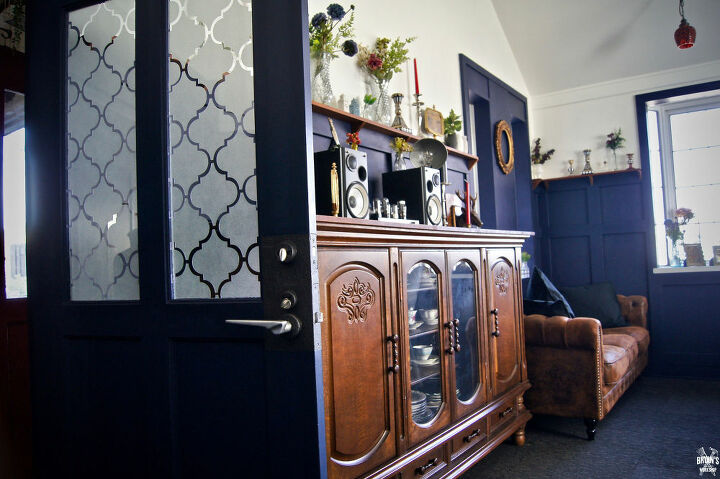
I did a faux door knob backplate on the door. You can check that out here:
https://www.hometalk.com/diy/windows-doors/doors/faux-door-knob-backplate-43734914

The shelving is the same wood as the wainscoting and ledge.
I stained it all teak to match the other furniture in this room.
I love it!
This entire project took about 6 weeks to complete. I only worked on it a couple hours a day and I did it by myself. I think it can be done much faster with some help. The most difficult and expensive part was the painting. The navy blue took two coats and the milky white took four!
Resources for this project:
See all materials


Comments
Join the conversation
-
Love it!
-
Like I said! Mr. Talent strikes again.


Frequently asked questions
Have a question about this project?
Just WOW!!! Amazing!! Everywhere you look has wow factor!! Do you happen to remember what shade of navy blue you used? It's such a nice rich colour.