


Whitewashing a Rock Wall in Our Old House

3 Materials
$30
2 Hours
Easy
I was desperate to lighten up an old rock wall that covered one end of our living room, so I decided to whitewash it...and I love how it turned out! (This was our old house, but I get a lot of questions about it...so I am posting it for everyone!)
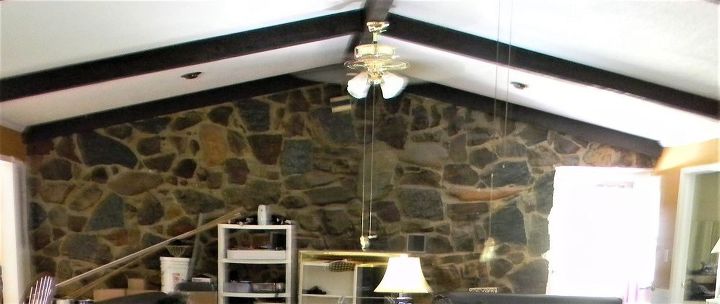
Rock Wall - BEFORE
When we bought this house, we knew we would have a TON of stuff to update to make it the way we wanted it. One of the first things I tackled was the horrible, dark rock wall surrounding the fireplace. Please excuse the terrible pics...the room was so dark, it was hard to get a decent picture of anything. As you can see in this picture, we still had stuff stacked all over the place because we hadn't even finished unpacking yet....but I just couldn't wait another minute to get started on this wall.
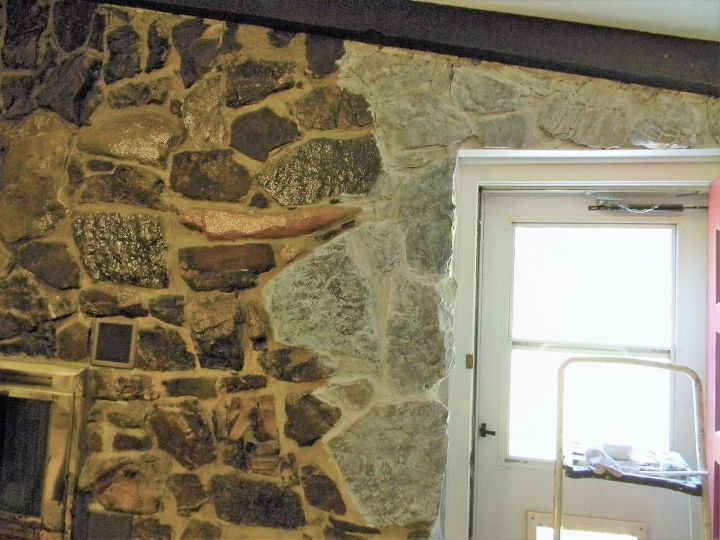
Rock Wall - In Progress
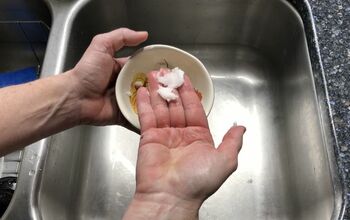
This was such a simple project. I bought some plain, white paint...(water-based in a satin finish). Then, I measured out about 3 cups of paint into a small bucket. I added enough water to thin the paint to a consistency that was slightly thinner than milk. Then, I took a large paint brush and just started dabbing and brushing the paint all over the entire surface. I worked in small sections, and covered the rocks as well as the grout in between the rocks. After about 45 seconds, I took an old dishtowel, and wiped lightly across the surface to remove some of the paint. That gave it a whitewashed look that was exactly what I wanted. I continued across the entire wall until it was done. The whole project took less than 2 hours. After it was finished, I let it dry and that was it!
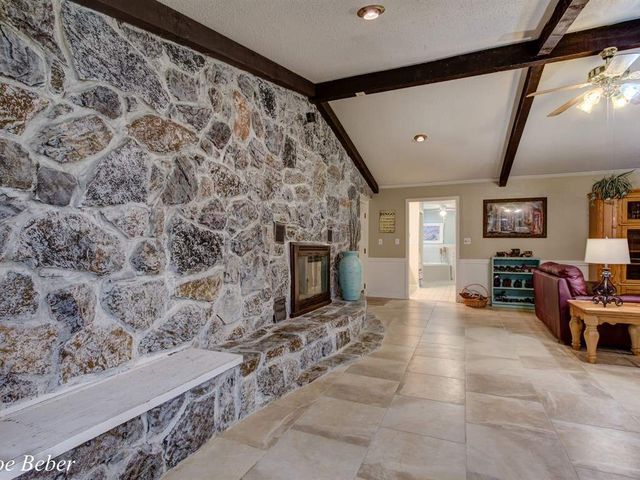
Rock Wall - AFTER
Here is the finished project (with much better lighting!). As you can see, the paint gave the rocks a very whitewashed appearance, and lightened up the room so much! I love the fact that the colors of the rocks still show through to give the wall an interesting look. I repainted the old brass fireplace doors with a hammered bronze paint to update them as well. I love how this project turned out! One note....I knew we were going to replace the floors, so I didn't worry about splattering paint on the old vinyl floors. If you do this project, be sure to put down a drop cloth to catch any splatters, drips, etc. Also....as your dishcloth gets saturated with paint, rinse it out and wring it out really well....and you can keep using it. Have fun!


Frequently asked questions
Have a question about this project?