


How to Easily Install Laminate Flooring Yourself

Wood floors are very desirable as they are easy to maintain and look beautiful for years. Oftentimes though, solid hardwood flooring is a budget buster. Have no fear, you can achieve the same look for less using laminate flooring with this how-to on doing it yourself! These handy laminate flooring installation tips will get you on the path to new floors in no time at all.

The pluses to laminate flooring are multifaceted and abundant: just a damp mop or laminate floor cleaner and a vacuum are all that’s needed to keep the floors clean, they are impervious to dents, they can be installed in nearly any room of the house, they are defect-free, every day brings new manufacturing improvements, and best of all, they are DIY-friendly.
A great feature of laminate flooring is its ability to be installed directly over existing flooring without having to remove what you already have. This is a time and budget saver. Keep in mind the adjoining rooms, how the new laminate will meet up with carpet or tile nearby and do your best to keep everything on the same plane, meaning eliminating tripping hazards as much as possible in flooring level changes.
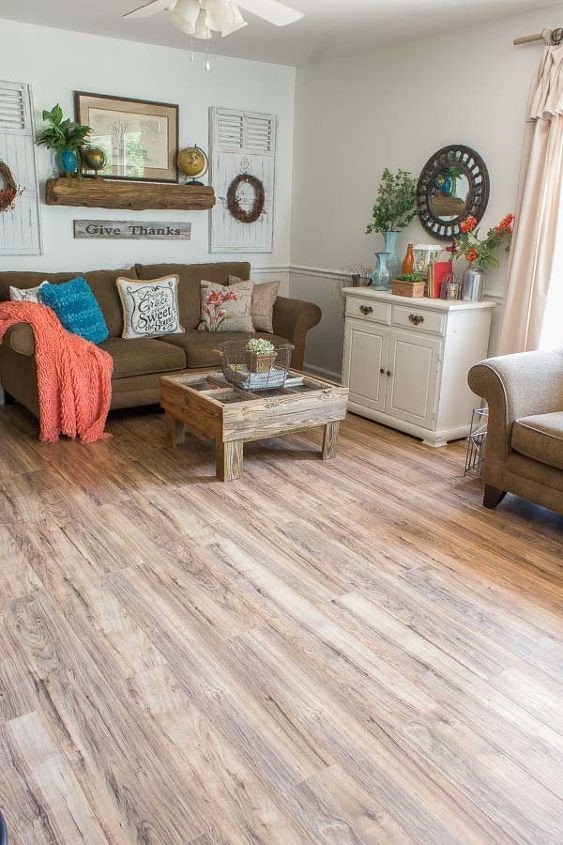
See post: Marty’s Musings|DIY Laminate Flooring: You Won’t Believe They’re Not Hardwoods!
Choosing a Laminate Floor Product
Once you’ve set your heart on new floors, you’ll need to decide what type of installation method will be best for you, your skills and your abilities.
The glueless click type of laminate flooring is easy to install as the name suggests, without glue and the pieces click together. This is the most common type of laminate flooring available. This type will likely require an underlayment or padding to ensure the flooring material lasts many years.
Glued laminate will require an adhesive to hold the floor and joints together. While the glue is an additional cost, it does create quite a sturdy floor. Similarly, there’s a pre-glued laminate floor product as well where the adhesive is applied to the flooring in the factory, merely needing to be activated by moisture just prior to installation.
Attached underlay laminate flooring is a tongue and groove connection with the added benefit of having the underlayment pre-attached by the manufacturer which saves a step.
Once you’ve selected the type of installation method that works for you, next you’ll choose the look and finish you desire. There is a myriad of options available.
Don’t forget to purchase at least 10% extra flooring material in case of cutting errors, measurement errors, and to have on hand should a piece or pieces get damaged in the future. Most likely the laminate floor you’ve chosen will no longer be available after a certain time.
And note too, you will need a vapor barrier if you’re installing directly over concrete.
Step 1: Beginning the DIY Installation
Store the flooring materials in the room you plan to install them for a minimum of 48 to 72 hours before you begin. This gives the material time to acclimate to the conditions of the room and your home.
Time to gather up your tools! Use whatever tools you feel most comfortable with for cutting, whether it be a table saw, a circular saw, or a miter saw. Power tools are best here to ensure straight cuts.
Other tools you might need include a rubber or wood mallet, a utility knife, jigsaw or hand saw, painter’s tape, a pry bar, a tape measure, a level, or a nail set. Keep dust masks handy plus wear eye and ear protection when using power tools.
If you haven’t already, remove the baseboard around the entire room. Once the floor is finished, you will replace the baseboard which helps hide the flooring gap you must leave around the perimeter of the room.
Now it’s time to clean the existing floor well, making sure dust, dirt, any remnants of previous flooring, nails, or other items have been picked up and cleared away. Anything that’s left will stay under your new floor which could compromise it later down the line.
Step 2: Prepping for the New Materials
Begin by laying down the vapor barrier if you’re using it and place the underlayment over it if your flooring came without it. You may find some tape comes in handy here.
Open the laminate flooring packages and mix the pieces around or make sure you’re grabbing from different packages as you go along. This will randomize the pattern, ensuring you won’t have one look in one area and another look in another area.
Now is a great time to read all the instructions that came with your new flooring. The instructions will provide you with accurate details on how best to install the specific product you purchased along with tips and tricks to ensure successful project completion.
Step 3: Installing the First Few Pieces
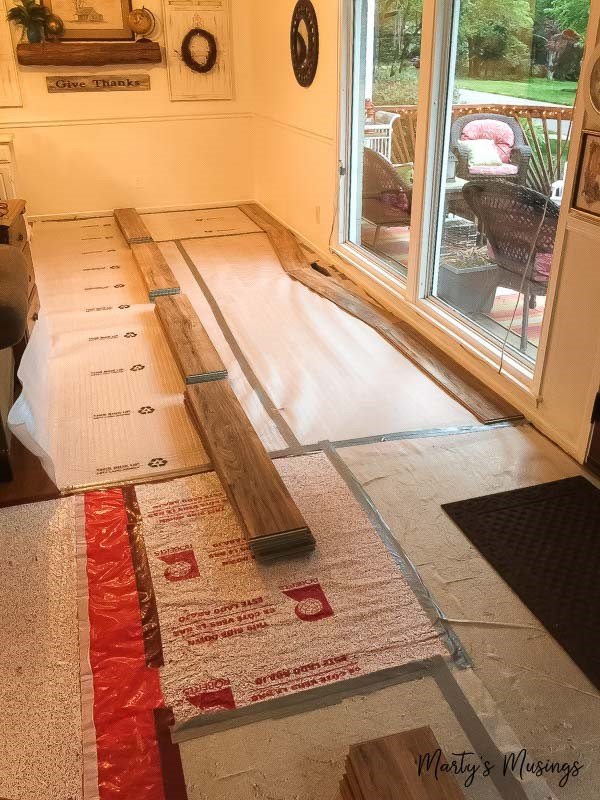
See post: Marty’s Musings|DIY Laminate Flooring: You Won’t Believe They’re Not Hardwoods!
Begin by trimming off the tongue of your first pieces on one side only. This side will face the wall. Place your first pieces along the wall making sure you’re leaving the appropriately sized gap between the planks and the wall. This allows for any expansion or contraction of the materials as the weather changes and is vitally important not to skip. This gap should be approximately ¼” though it can be slightly larger if needed; a quarter round trim piece attached to the baseboard or just the baseboard itself will hide this gap later. You’ll likely need spacers to hold the gaps, to keep them from closing up as you go along.
To attach the second piece to the first, on an angle, tip the tongue into the short end of the first piece and then lower it to the floor. This first line of planks is critical; make sure the planks are aligned with each other and straight otherwise any bow or misalignment will travel across as you go becoming more pronounced.
Once you’ve got the length of the wall covered, it’s time for the second row.
For a professional look, you’ll want to offset the seams for the next row, such as in a brick pattern. By not aligning the seams across the floor, you’ll have a sturdier and longer floor life. Cut the first piece of the second row either in half or another dimension you feel will look best. Tip this piece lengthwise on an angle into the first row then push it towards the floor.
Depending on which floor type you purchased, you may need to be adding glue as you go. Again, double check the instructions that came with your flooring for proper installation techniques.
To add the second piece to the first piece of the second row, on an angle, tip the short end of the piece in your hand into the piece already placed, leaving a space between the first row and the piece in your hand. You’ll see a slight gap form between the prior piece and the first row but don’t panic. Now lower the piece in your hand to the floor and push both pieces towards the first row to join.
Alternately, if this method is troublesome, you can connect the planks lengthwise and tap them in to connect using a scrap piece of wood and a rubber or wood mallet. Once those are together, tap them in a short way. Be very careful not to tap too strongly or you may damage the planks.
Step 4: Filling in
Now it’s merely a matter of filling in the floor with the remainder of the pieces. You may need to do some specialty trimming around doors or other features in the room. The last row will be installed much like the first but in reverse; trim the tongue, tip the plank in, and with a pull bar, connect and lay in.

See post: BBB|My Laminate Flooring Installation
Step 5: Wrapping Up
Lastly, you’ll wrap up the project by replacing the baseboards and adding trim as necessary to hide gaps. All that’s left is to enjoy your hard work and your brand new floors!
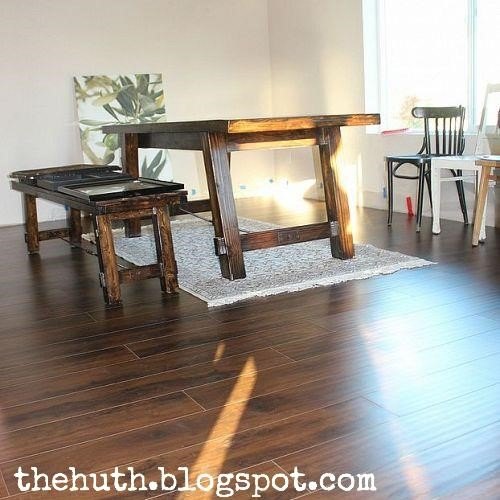
See post: Ginger & The Huth|Laminate Floor Installation
Installing laminate flooring yourself is a rewarding project that can be done easily without the major mess and wallet damage of hardwood. Which floor are you ready to change today?
Written for the Hometalk community by: Becky| Flipping the Flip
Comments
Join the conversation
-
Hey thanks for the awesome informative post. Is this Is this work for hard wood floor?
-
Nice blog


Frequently asked questions
Have a question about this project?
Can this work on concrete floors. We have a slab floor with carpet but would rather have laminate flooring. Think we could do this????