


Custom Wooden Caddy
My kids have always had a hard time keeping all of their pens and markers neat and organized. I could never find a perfect caddy or container so I decided to build one exactly how I wanted it.
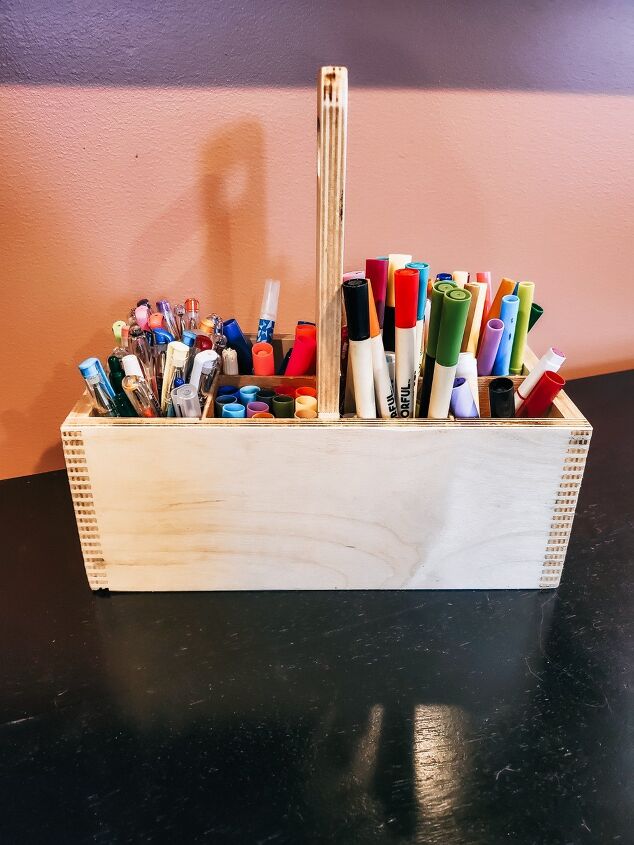
I love how cute and functional this piece turned out!
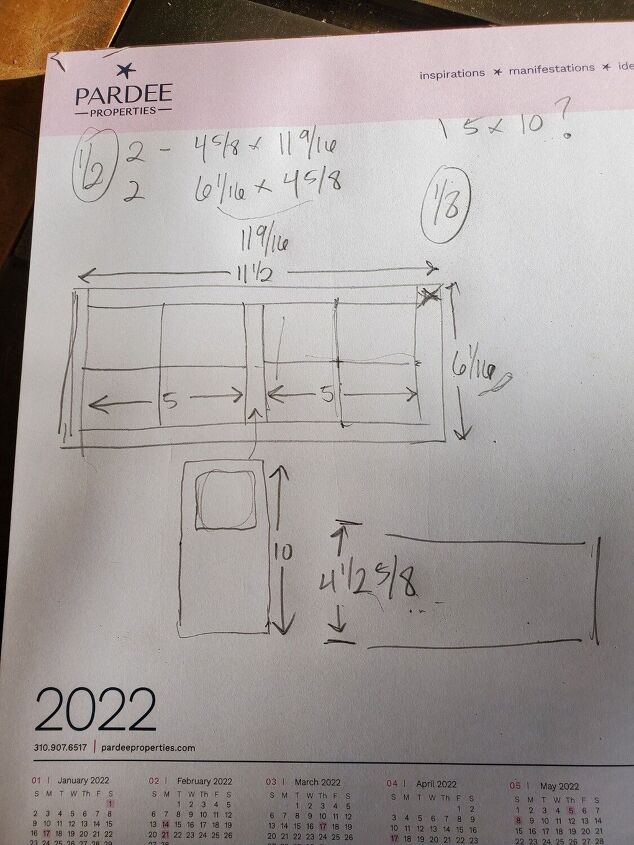
I always like to start by sketching out what I want and then figuring out all of the dimensions of the different pieces I need to cut. Although this isn't the most professional drawing it really helps me to figure things out and make any necessary changes before I get started.
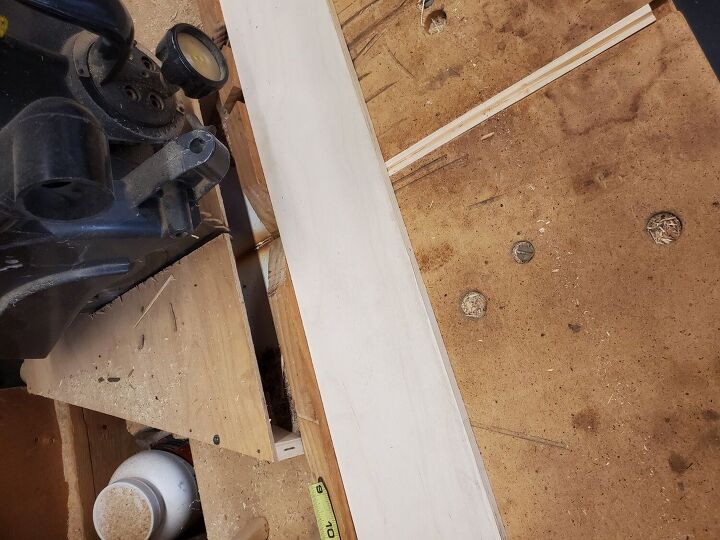
I started by ripping down some 1/2 inch plywood and then cutting the pieces I needed for the 4 sides to length.
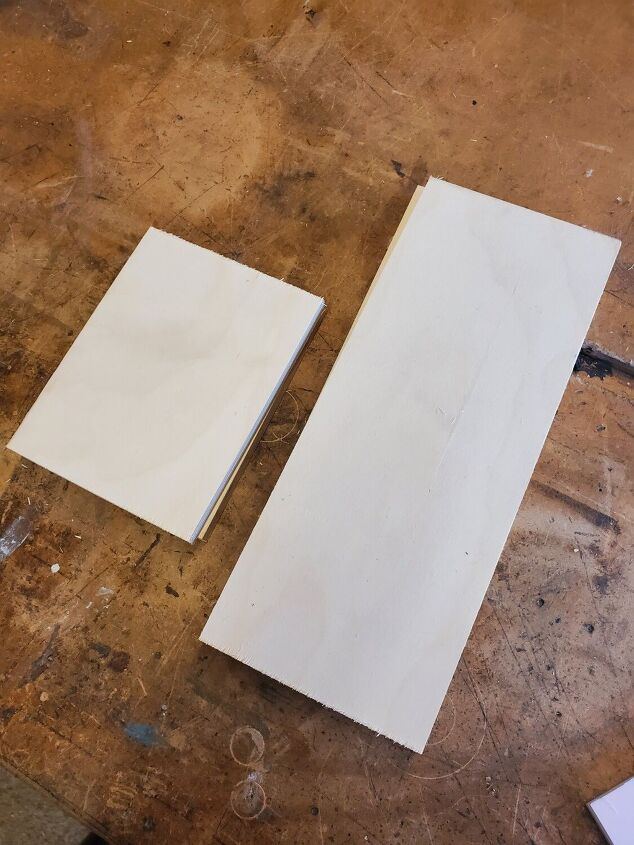
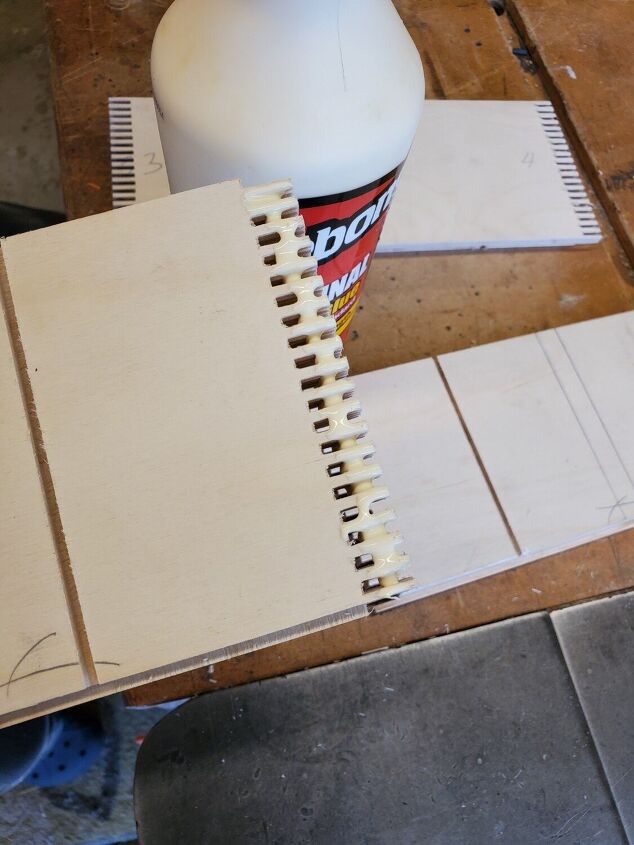
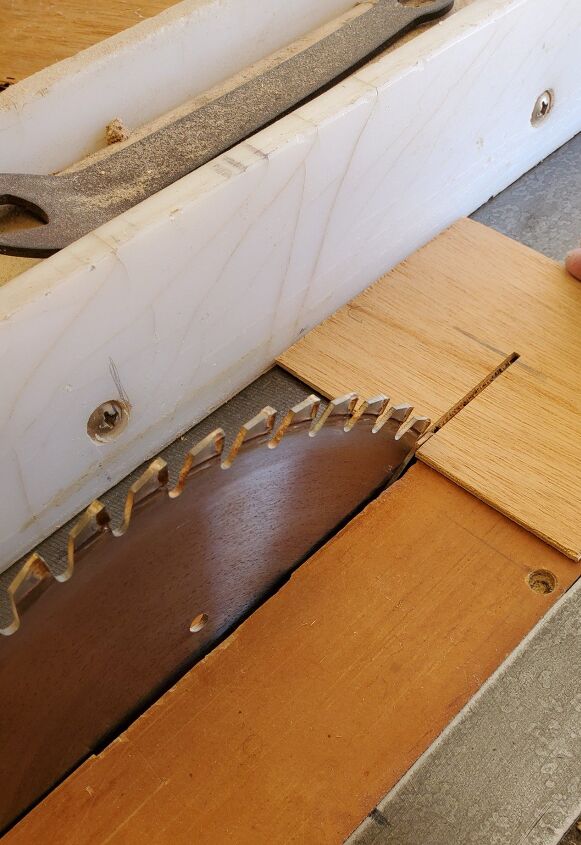
Here are my pieces. Instead of using a simple butt joint, my dad convinced me to do a fancy box joint to secure the sides. He also wanted an excuse to use the new jig he made. I'll show you all the steps we took but just keep in mind, there are much simpler options as well. 😊
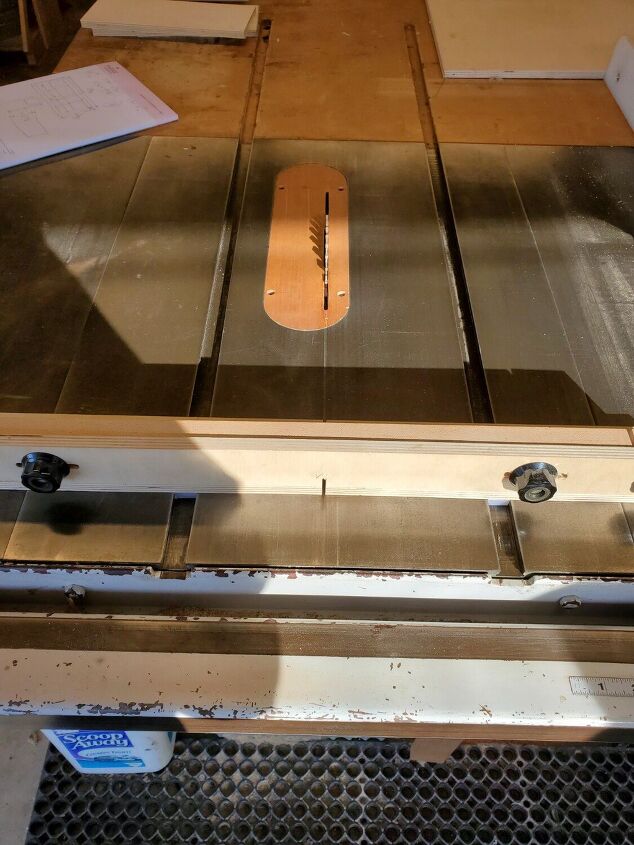
Here is his adjustable box joint jig set up.

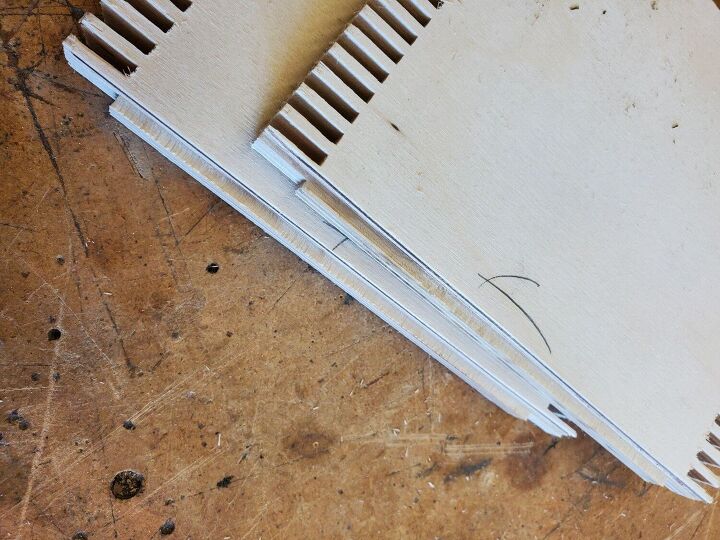
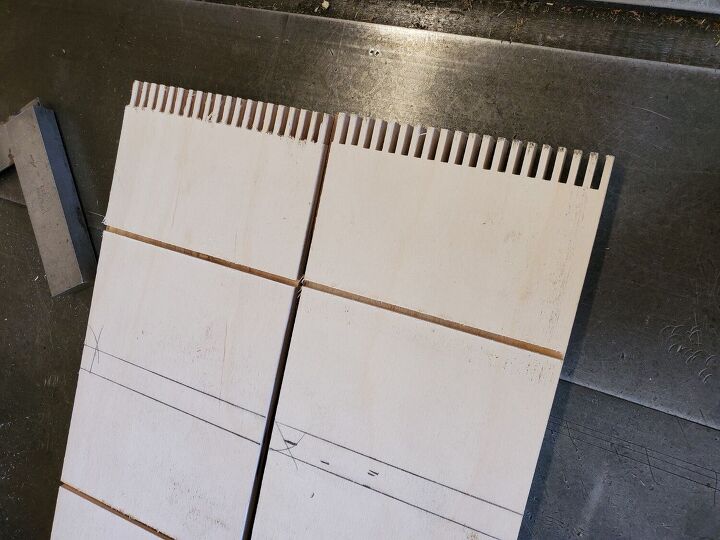
This process is a bit tedious and the jig has to be set pretty precisely but the end product is pretty nice! We used this jig and a table saw to cut all of the notches on each of the sides.
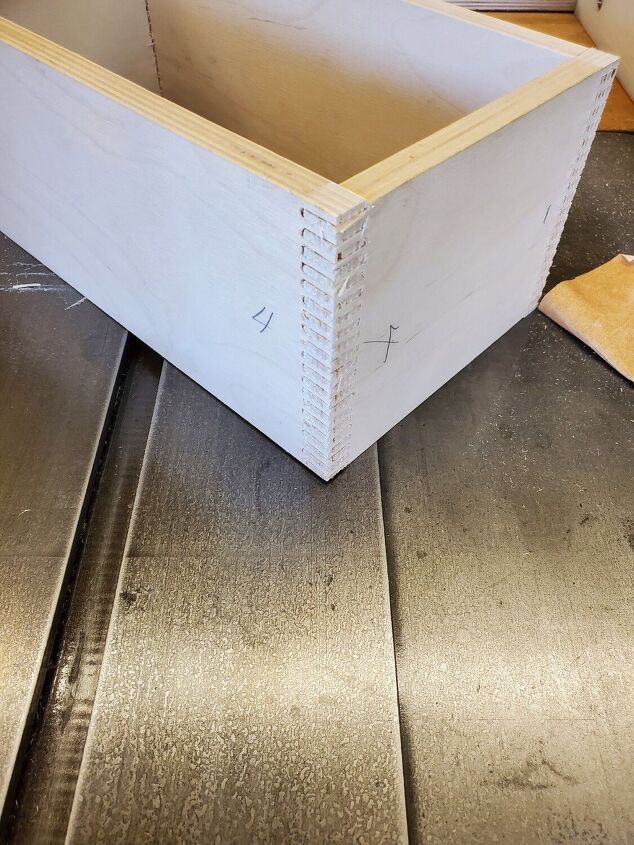
Here's what it looks like put together.
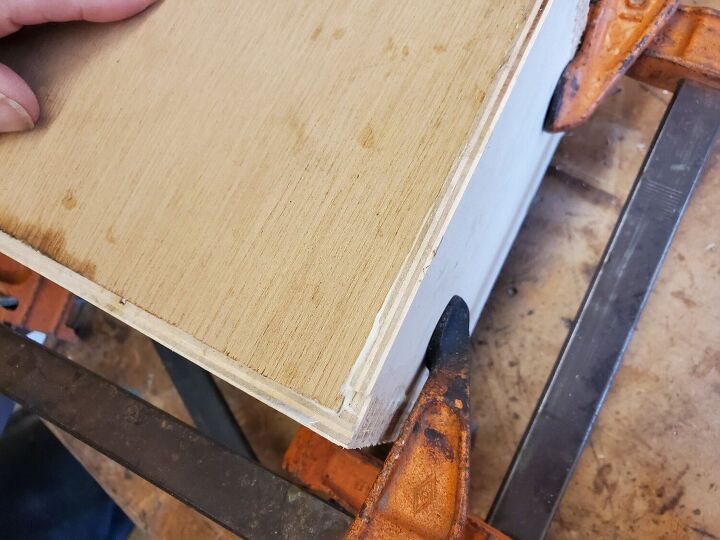
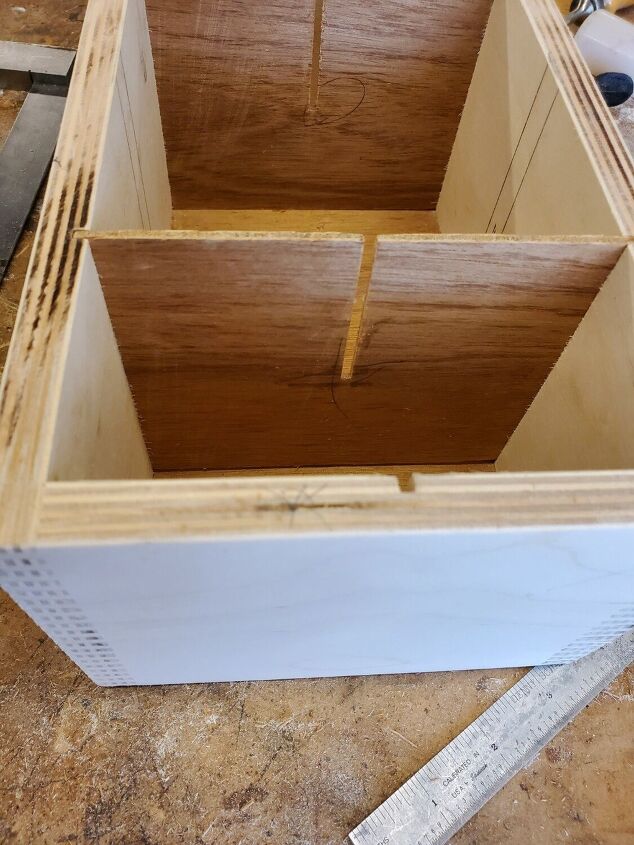
Next I cut out notches all around the bottom of the sides for the box bottom to go in. You could also skip this step and just glue and nail your bottom piece on but this way it doesn't show and gives you a cleaner look.
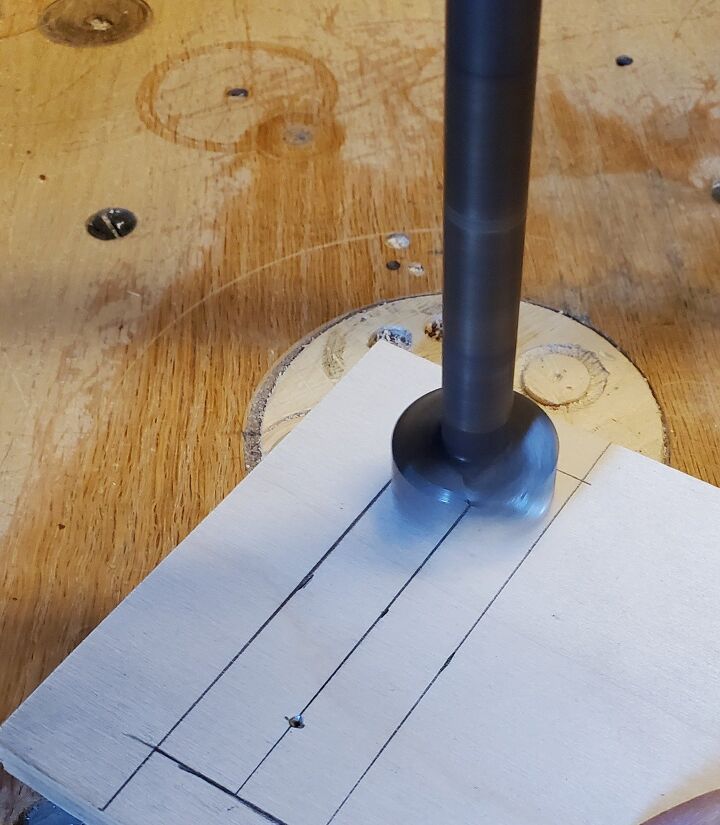
Next I laid out where my handle and dividers would go and cut the notches for my dividers.
Time to glue up the sides!
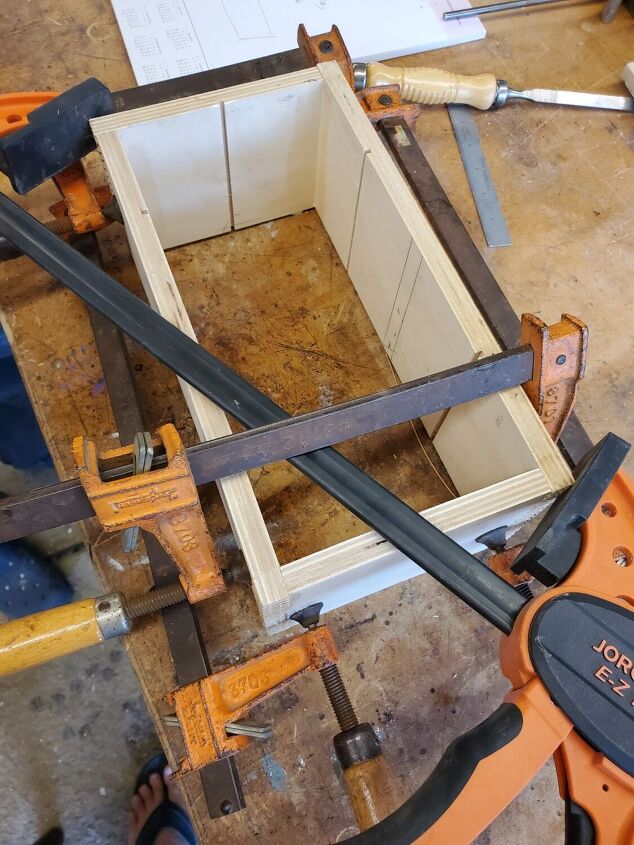
Once all of the sides are glued and attached, I made sure my box was perfectly square and then clamped it in place to dry.
Next I flipped it over and glued in the bottom. I used a heavy weight to hold it down while the glue dried.
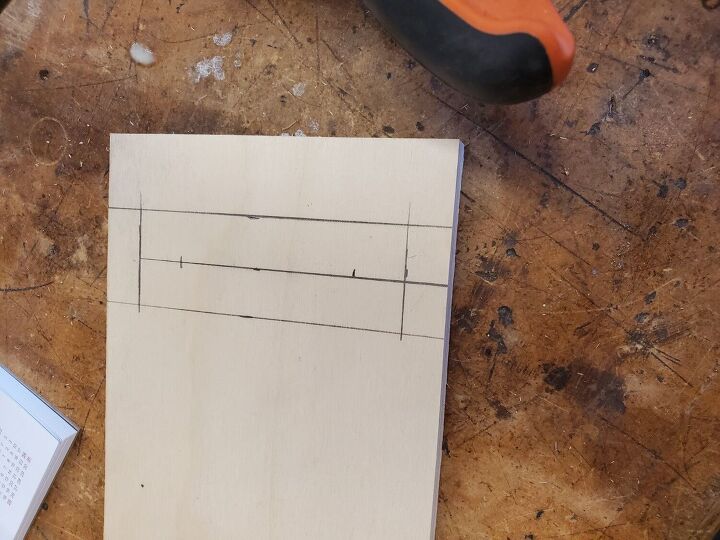
While the glue was setting up, I went to work on my handle. I laid everything out before cutting.
Using a drill press, I drilled a hole at each side of where I wanted the opening for the handle and then cut the rest out using a jigsaw. I also rounded off the sharp outside corners of the handle using a sander.
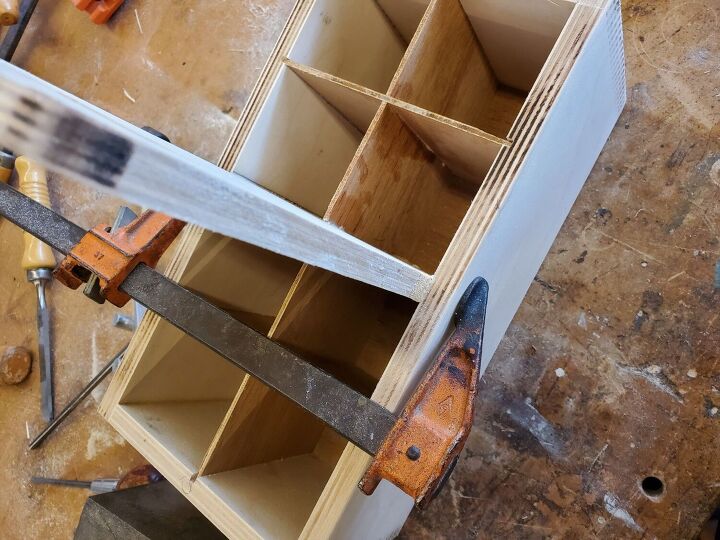
Next, I cut my insert pieces to size and then notched them out half way in the center so they would fit together to form cubbies.
I secured each of those pieces with wood glue.
Next, I glued in my handle piece.

I sanded the entire piece smooth and then gave it a couple of coats of spray shellac.
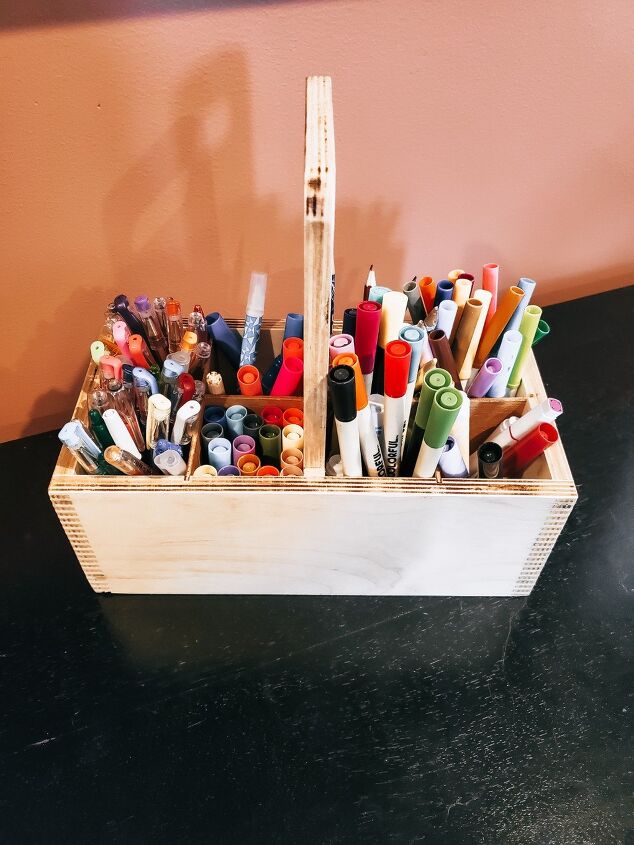
All done! I hope you enjoyed following along with this project and I hope it inspires you to build something as well!


Frequently asked questions
Have a question about this project?