DIY Marble Countertops

I have been eyeing this DIY marble counter top kit for quite some time now. I finally had some time to get around to doing this and so, so happy that I did!
Things to remember -
This is not going to be perfect. There are several minor imperfections throughout my counters. Some spots the epoxy isn't even, there are a couple small hairs I misses before the epoxy hardened, but overall it is a million times better than what it was and I could not be happier!
This project does take several days to complete. There is a lot of drying time involved. It can be a pain in the butt to not have the use of your counters for upwards of a week. my kitchen had the appliances pulled out from their spots for a couple days. You just have to make do for the time being.
Best counter paint kit!
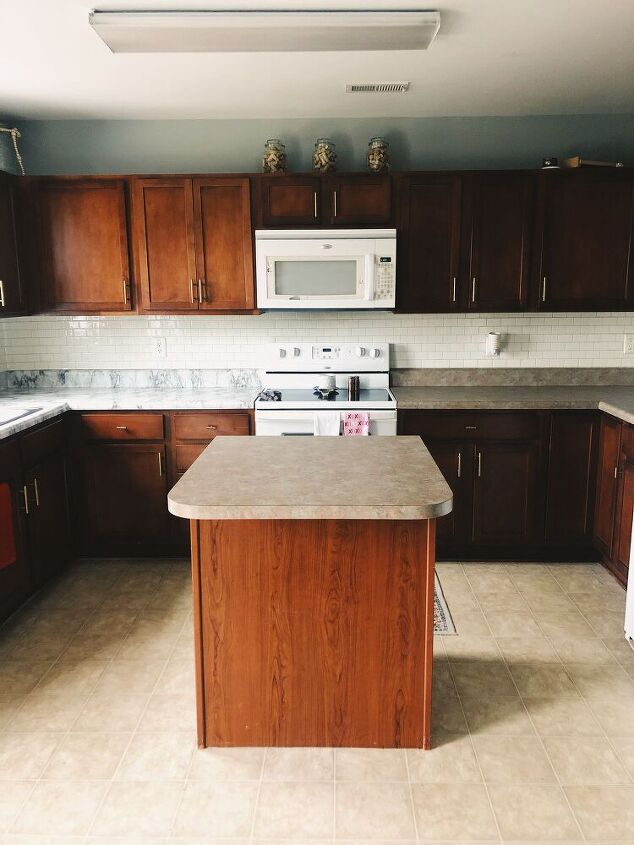
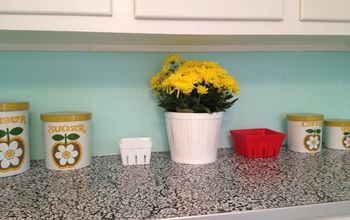
This is the before and before before. The marble part on the left is contact paper I had previously put on my counters as a temporary fix. I did this almost immediately after moving in this home because I could not stand the brown counters. I always knew the contact paper was a temporary solution.
Step One for me was removing the contact paper
Because contact paper is sticky, there was a bit of left over residue on the counters. I used a de-greaser spray and a metal sponge to remove the left over stickiness.
Note - The directions in the kit does explain NOT to use any chemical such as this. It may have an effect on the paint sticking. Because I had to get the sticky part off I did use this several days prior to painting. I did make sure it was completely off the counter and used warm water before panting.
Step Two - Tape and Remove exisiting caulk
This part was rather fun to pick off and didn't take much time at all.
This is what the caulk looked like before I removed it. It was cracked and needed to be replaced anyways.
Step Three - Smoothing Out any lines or imperfections on existing counter
I used what I always have on hand. Applied to the area, let dry and sanded down.
This is after the putty was applied.
I also lightly sanded down all of the counter with a 60/80 grit sanding block. I made sure all the dust was cleaned off.
Here is everything that comes in the kit. The only thing I had to purchase separately was painters tape and I ended up needing one more plastic drop cloth, but I already had that on hand.
Step Four - Paint!
This was the "omg am I really doing this to my counters" step for me. There was no going back after this.
Prop tip - when you know you will be needing to do several coats of paint on something, put your brushed/ roller in a plastic bag so there is no need to keep having to clean them off between each use.
This was after the first thin coat. The first coat is always the scariest looking, don't worry it will get better!
While the paint was drying I mapped out what direction I wanted my veins to go. This was recommended in the instructions and I'm glad I did. It helped make it easier while paint on the veins.
This was my finished paint. The directions say it should take 2 coats to fully cover, I ended up doing 4 coats total. I'm not sure if I was doing very thin coats, but it all got completely covered in the end. I still had a little bit of the paint left over.
Step Five - Paint on veins
This was the fun part for me. I'm sorry the angle of this video didn't pick up the veins, but it shows the process of doing it.
You'll want to step back occasionally to see the progress. You really can't mess this step up. Just take your time!
I only used about a palm sized amount of the grey paint to create the veins. It really did not take much. I did keep it pretty simple and did not want to over do it with a bunch of veins.
I found that a little bit of wine helped make this process easier. You really want to go in with a carefree hand when drawing on the veins. The less you care, the better it looks.
I did redo a couple of the veins. It was super easy to remove, just spray with water and wipe off with a paper towel. The included directions really give all the information you need to do this project.
This is how the veining looked after it was all done.
This was night 2 of the project. The first two days was just getting an even coat of the white paint on.
Step Six - Prep for epoxy
This is everything taped and covered up. The size of my kitchen is decent so I did need to use an additional plastic drop cloth to cover everything up.
As I mentioned before - your kitchen will be a disaster during this project.
Step Seven - Epoxy time!
I will say this is the part I was most nervous for. I planned on filming a video of me doing this process, but this process was very time sensitive and my hands had gloves on them. Filming was the last thing on my mind. I just wanted to get the epoxy on before it started to set.
The directions are very helpful for this step. There is a video on the Giani website that goes a bit more in depth to this process.
Step Eight - Caulk
After the epoxy was on for at least 24 hours, I waited a bit longer, I caulked everything up.
This is the caulk I used.
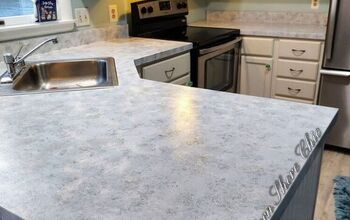
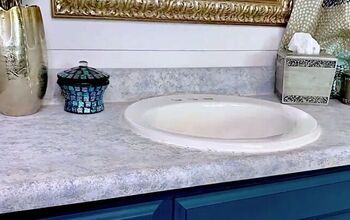
And that is it! I am obsessed with the outcome of this project. I wish I would have done it sooner. I cannot speak on how well this will hold up, but the epoxy top coat seems like it will be very durable.
Enjoyed the project?
Resources for this project:
See all materialsComments
Join the conversation
-
-
 Joan Stanley
on Feb 07, 2024
For a solid color but easier job, check out Rustolium brand countertop paint. ONE COAT AND you're done. Goes on very smooth. Just do not try to touch up any areas until the first coat is FULLY DRY!!! At least 12 hours!
-











Frequently asked questions
Have a question about this project?
Everything looks gorgeous. I also really loved your kitchen style. Do you mind if I redesign this space in 3d, probably with the design generator in planner5d? Also, what would you call this interior style?
Your project turned out very nice. I have often thought of doing the same thing to our ugly counter tops but had the fear of a fail so decided to wait. I think now with your share on this I may muster up the courage this spring and go for it. How has it held up for you so far?
They look great! Will you be painting your cabinets?