


Chair Upholstery Makeover | Animal Print Chairs
Hi Hometalk! As we all know, for me at least, reupholstering is kinda intimidating in the sense that you have to take the old covers(fabric/leather) and the padding and replace it with new ones.
With that said, it is still one of the best ways to restyle your old chairs. You will have all the liberty to choose what kind of fabric you would like to use, allowing any design or style to be easily matched in any space.
I am very excited to share with you how to reupholster chair seats. I was shocked at how easy this makeover went. I know if I can do this, so you are!
To be honest, I went a little bit bold in this one and got out of my comfort zone, but oh boy, I was really amazed by the results!
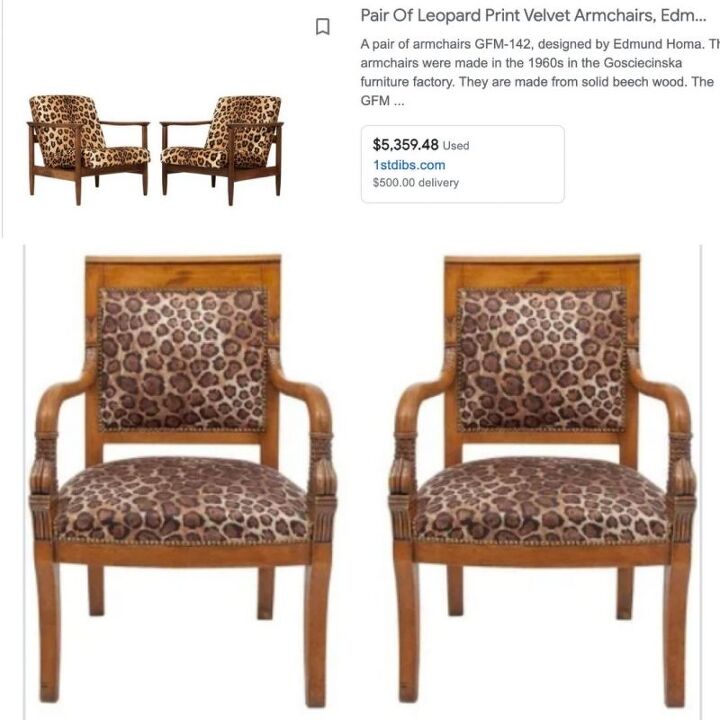
Before we start, here are the chairs that inspired me to use animal print.
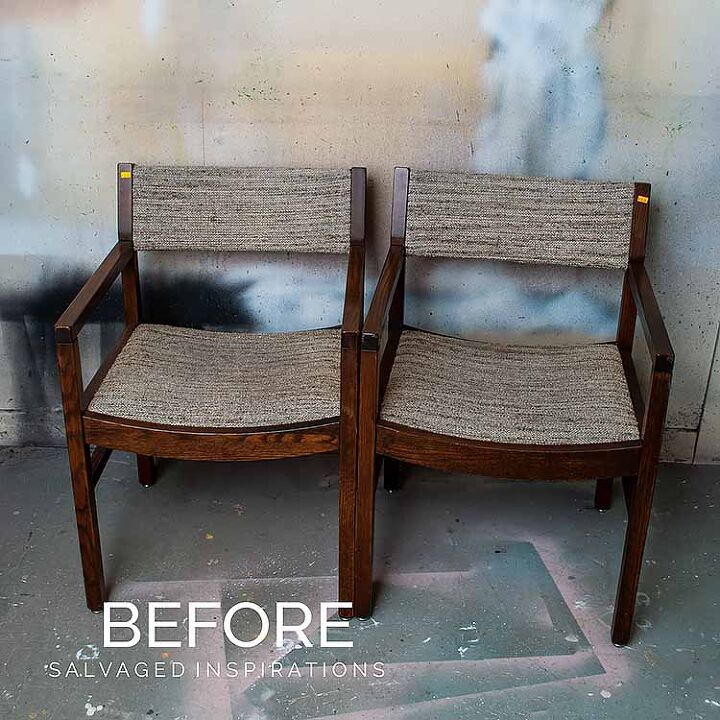
And here are the thrift store chairs I started with. They cost around $15 in our local Restore.

The seat was held by four screws in each corner and can easily pop out once all unscrewed. Once the seats were removed, I proceeded by cleaning the chairs using TSP.

I removed the fabric by prying up the staples. You may have the option not to remove the existing fabric and cover it with the new one, but in this project, I decided to do since I will be adding additional cotton batting.
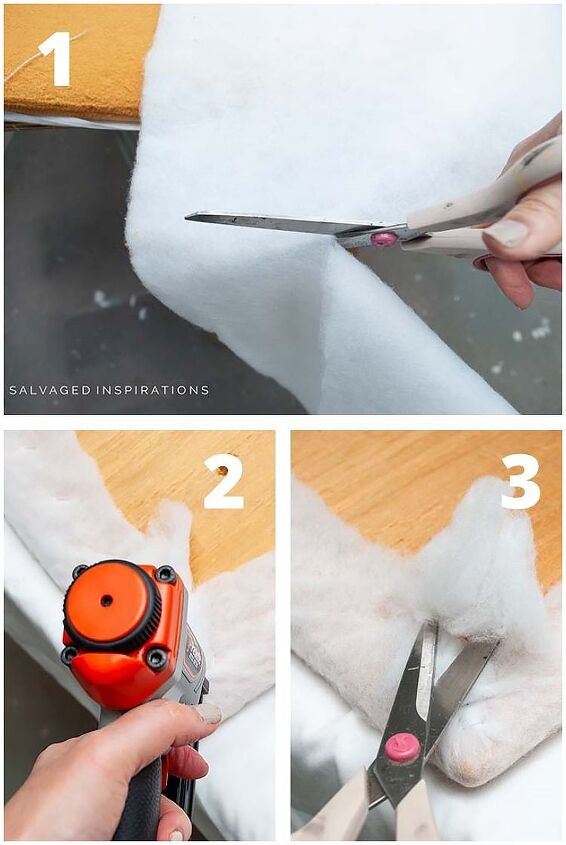
After removing the old fabric, I added cotton batting. First, I wrapped the batting over the seat with a good amount of allowance. Then I flipped it over, secured that it is tightly fit, and stapled. Lastly, I cut the excess batting.
This will serve as a layer between the new fabric and the foam.
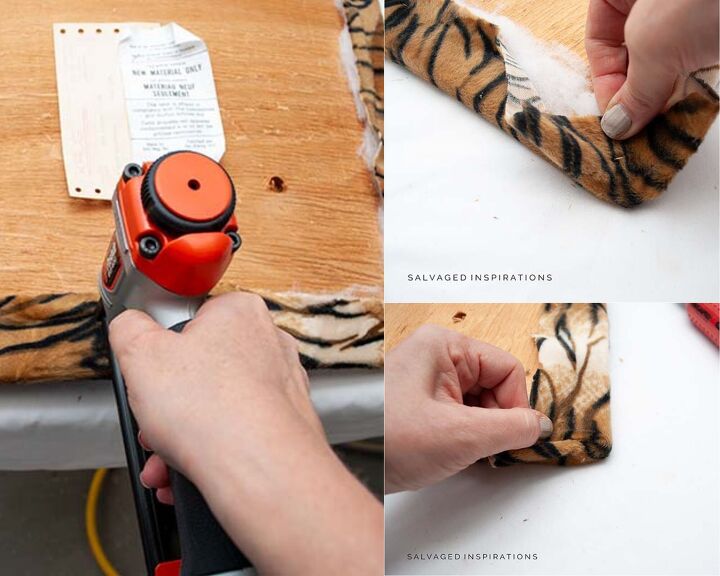
Now to add the new animal print fabric. I followed the same steps on how to add the cotton batting but the main difference is that I focused on centering the pattern on the chair seat and back.
To adhere the fabric to the seat, I used a pneumatic staple gun and made sure everything is firmly fit. Now for the corners, I stapled it like wrapping a present, this made the corners unbulky.

For the chair backs, I didn't remove the back instead I reupholstered it with the existing fabric by:
- Centering the fabric to match the seat.
- Cutting the fabric and leaving enough length of overhang on the front and back
- I attached the fabric underneath
- For the edges, I tucked the fabric over
- Pulled tight and stapled underneath
- For a neater look, I folded the fabric over before stapling it under the back.

Here are the finished look images!
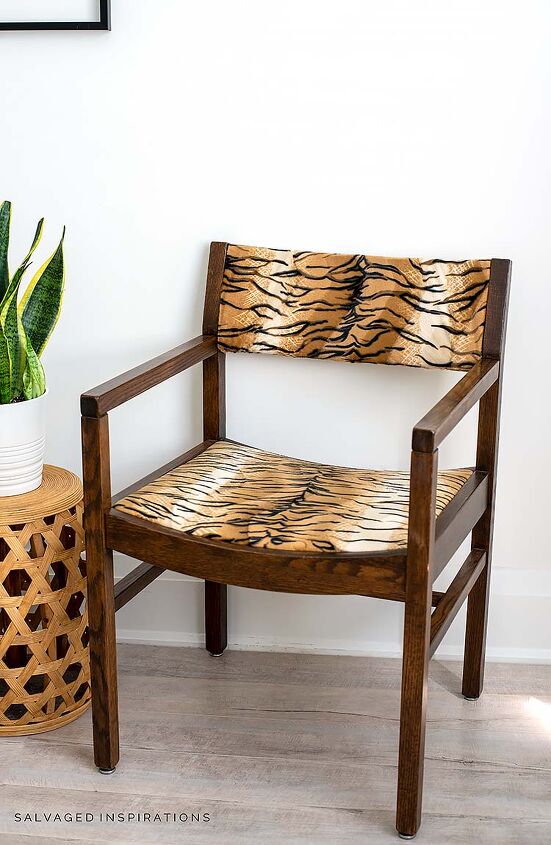
They look so sleek and sophisticated. I absolutely love the results!
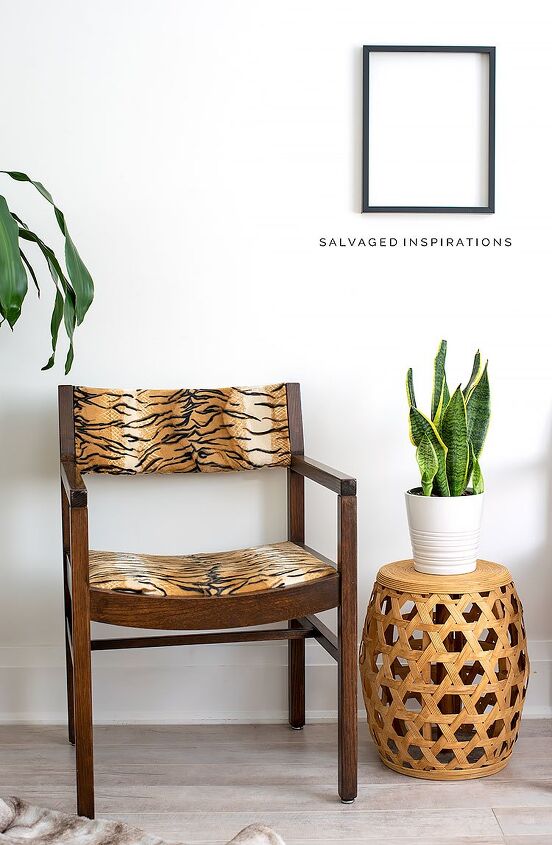
I love how clean the lines are partnered with the color of the wood. But what really makes it beautiful is the animal print fabric! And for the price of the makeover, it is super worth it!
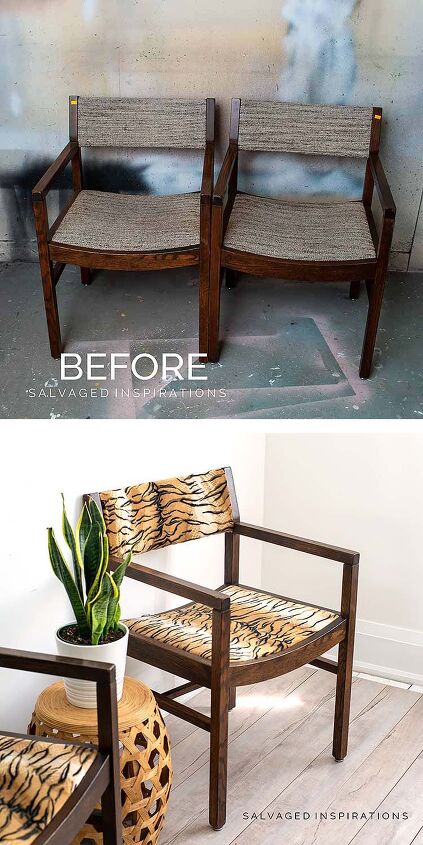
Here's another look at its before and after. What are your thoughts? I hope it inspired you to try or give you ideas on your future projects! Happy DIY Hometalk!
For original blog post and source list;
https://salvagedinspirations.com/how-to-reupholster-a-chair-seat/
For Video Tutorial Watch it on Youtube!


Frequently asked questions
Have a question about this project?