


Fence to Furniture Flip: DIY Chairs

Many people view old fence panels as hopeless junk or construction debris to be discarded but I love their potential and the endless possibilities they present! When I found an old fence panel covered in tangled brush and leaves, I knew that it would be an awesome wood recycle project. I love to build furniture and turned a discarded fence panel and fence post into two stylish outdoor chairs and a bench. Take a look at this before and after and the next time you see someone taking down a fence or getting rid of worn fence panels, stop and grab some to use for your own fence to furniture recycle!
Tools and Materials
- Shadowbox style fence panel
- Fence post
- Drill
- Thickness planer
- Compound miter saw
- Paint or stain
- Casters (optional)

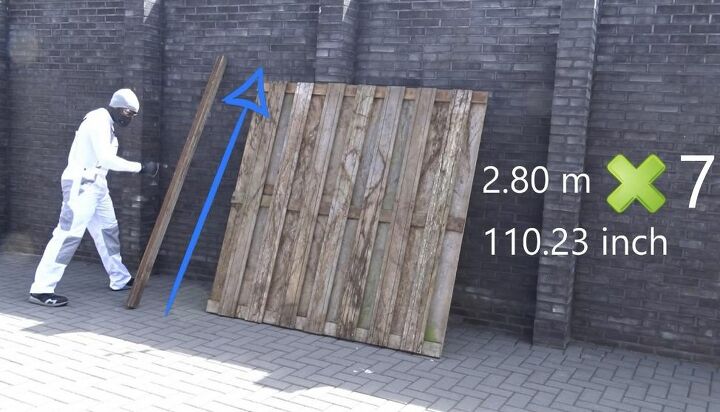
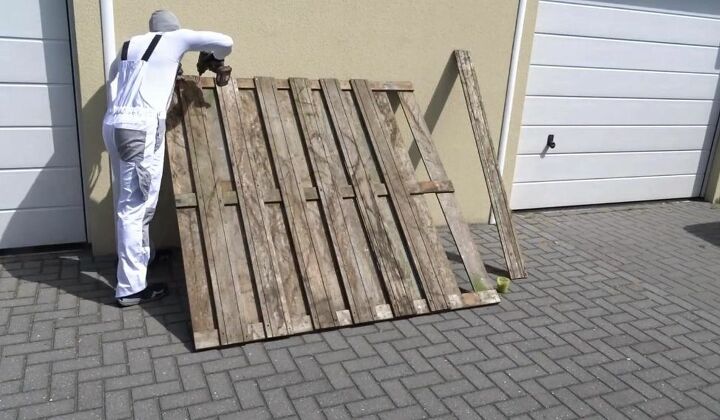
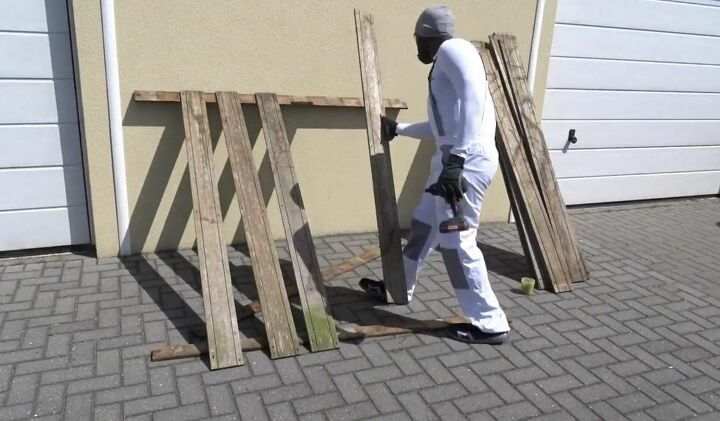
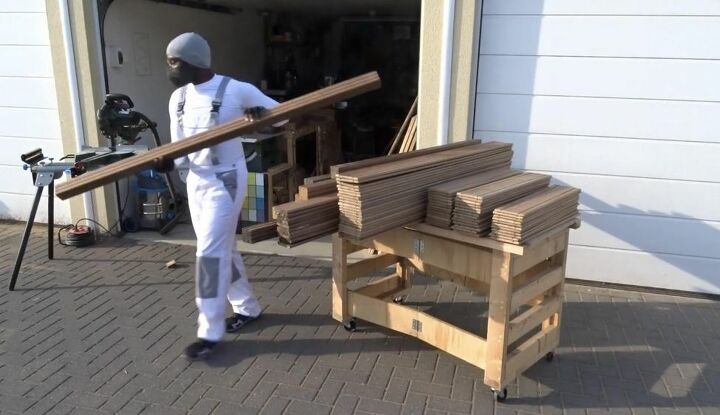
My fence panel was approximately six feet and the fence post was approximately nine feet. I used my cordless drill to remove the screws and disassemble the old shadowbox style fence panel. Separate each vertical slat from the horizontal support boards. You will also need to use one square fence post that is approximately 9’ long.

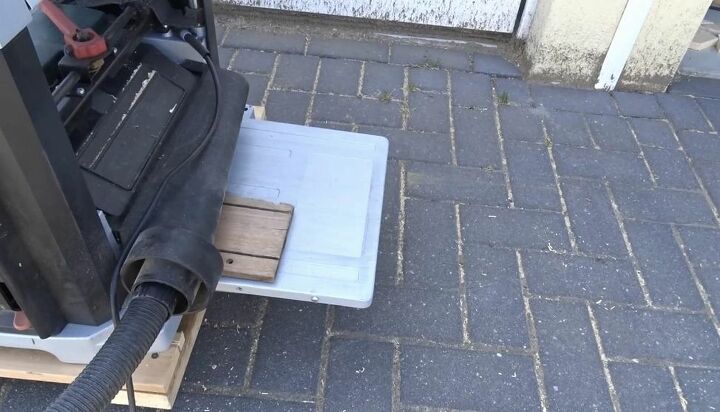
I ran all of the disassembled boards through a thickness planer to smooth it and remove the dirty, faded outer surface. Remove any finish that may exist on the wood from the fence boards you are recycling. I wanted a modern and clean finish, but the boards could also be left with a more rustic appearance according to your taste and the look you desire.
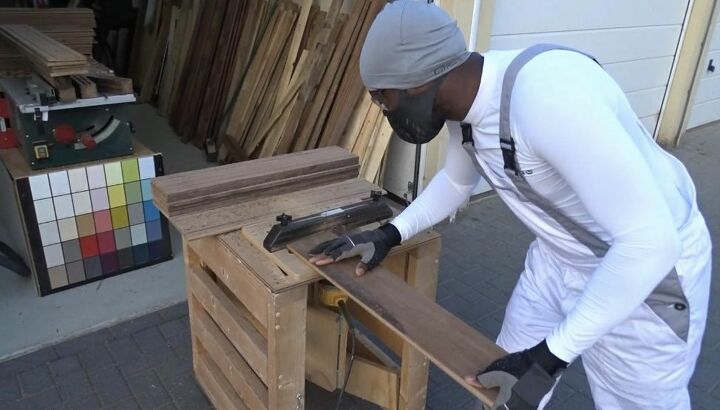
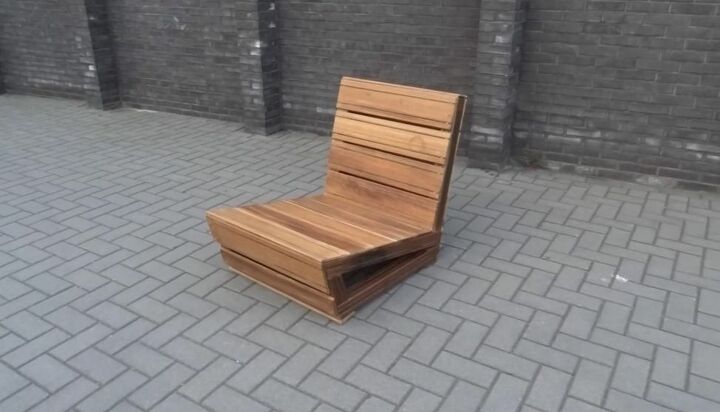
I used a compound miter saw to cut all of the fence panel segments to length for the chair slats then used a bench router to smooth all of the edges.
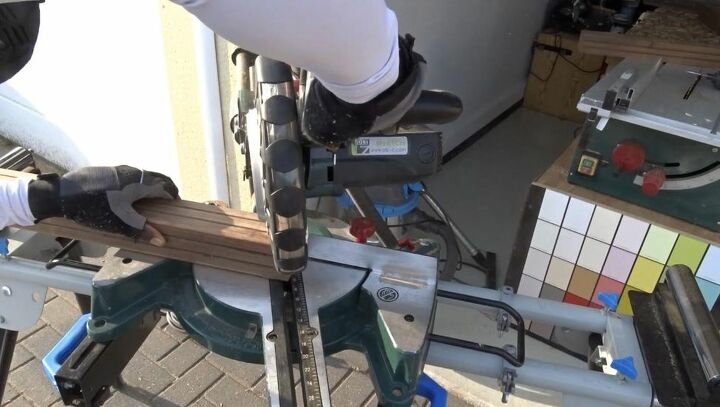
I used the compound miter saw to cut the angles needed to create two triangle-shaped base pieces for the chair and the vertical backs of the chair from the fence post. The base supports consisted of four angled pieces; three for the triangular base, and one for the upright connected to it that created the vertical chair backs on both sides. After cutting the boards I sent them through the planer to smooth.


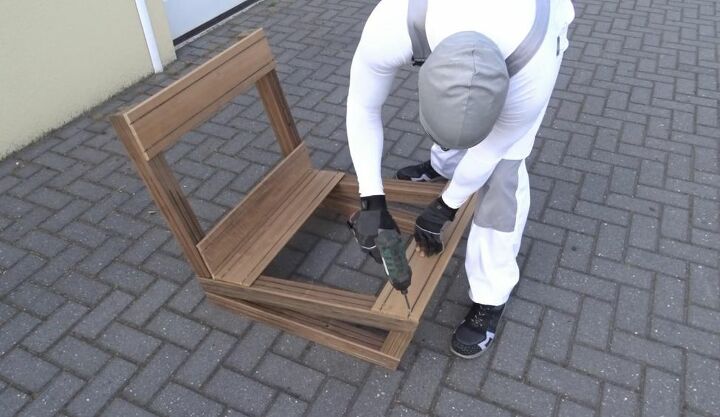
I assembled the two chair base supports from the cut fence post pieces using screws and a cordless drill. Align the base support pieces into the triangular shape and attach them with screws before also adding the vertical back piece.

I attached the chair slats to the base supports using screws and a cordless drill. Place the two constructed chair base frames at the correct distance to fit your slats and begin attaching the slat boards to the chairs. I started with the bottom of the seat back and rear board of the chair seat. You may have to adjust the size of your boards to fit as you go.
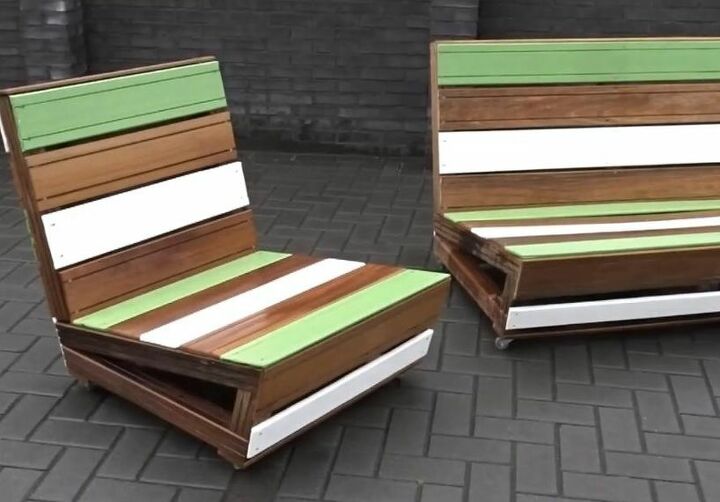
Once the chairs were constructed, I built a matching bench in the same fashion. I applied stain to the wood followed by green and white paint as an accent for my design. Choose a stain or finish that appeals to you or get creative with paint color for your stylish outdoor living space.
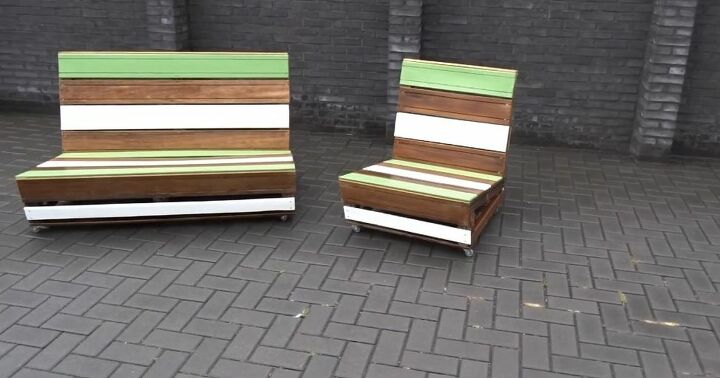
I installed casters on the bottom of the heavy chairs and bench to make them more mobile and accessible. If you choose to install casters, consider the weight load, purpose and desired location of your chairs to select an appropriate caster and follow the instructions for installation. If you are using the furniture on grass, you may also consider adding feet for the chairs with wooden blocks to raise the height from the ground and give a polished appearance.
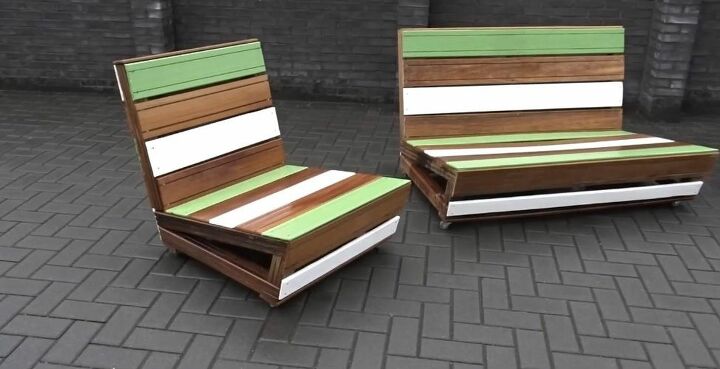
We are so pleased with the design of our chair and the fact that we were able to recycle old fence panel material for its construction rather than buying the wood new. Using my tools and a simple design plan, I was able to completely transform something that would have rotted and gone to waste into beautiful and functional furniture. Keep an eye out for materials to repurpose and don’t be afraid to experiment with recycled materials for your home projects!
Have you recycled or repurposed fence panels and other discarded wood for outdoor patio furniture or home decor? Share your tips, projects, and photos or find inspiration for recycled wood projects like this fence to furniture flip on Hometalk!
Resources for this project:
See all materials

Comments
Join the conversation
-
Beautiful job! You're very talented.
-
Love what you did! You have great vision and creativity!! You are a craftman👍️


Frequently asked questions
Have a question about this project?
These pieces are absolutely stunning! You are so talented do you have an online or brick & mortar store?