


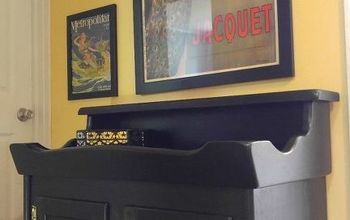
Coastal Buffet Makeover

You don’t see enough of these beauties, they are so elegant and simple. I wanted it to have a light airy feel to it , so I decided to use a soft gray color called putty by green sheen, an echo friendly paint company.

To start, I cleaned it with Krud cutter, a fabulous cleaner for old furniture pieces. It removes all old residue and preps it for a good paint adhesion.
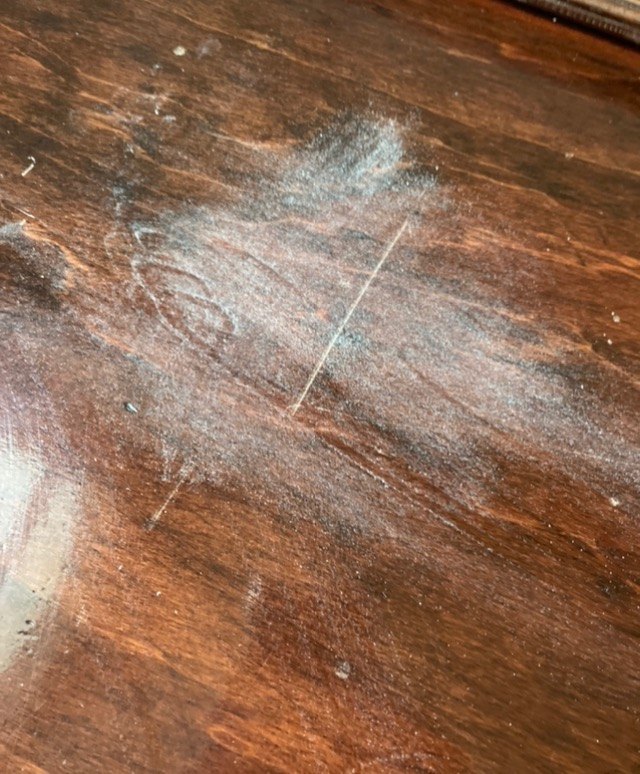
There was a few scratches on top so I lightly sanded using my palm sander. Once sanded, I dusted off with a soft cloth.
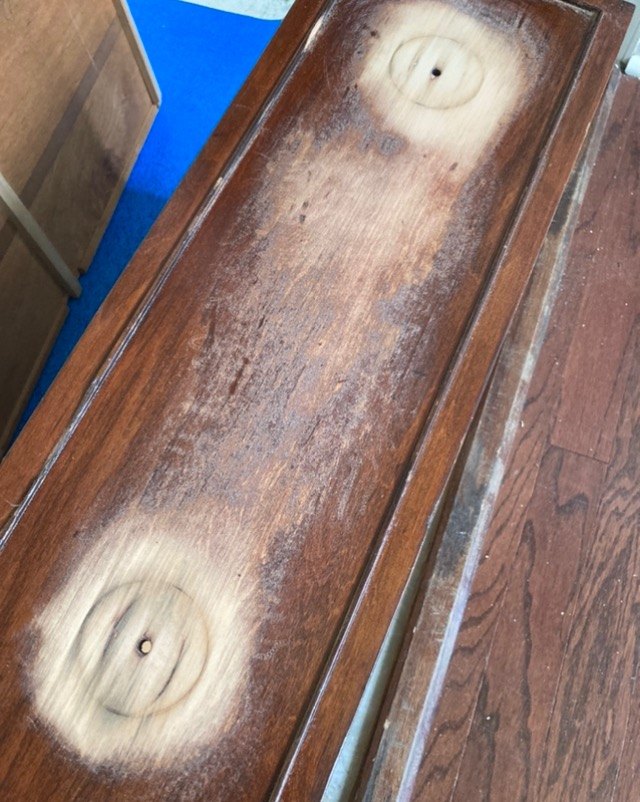
This drawer had deep lines from old hardware, so I sanded as much as I could without getting too deep into the wood.
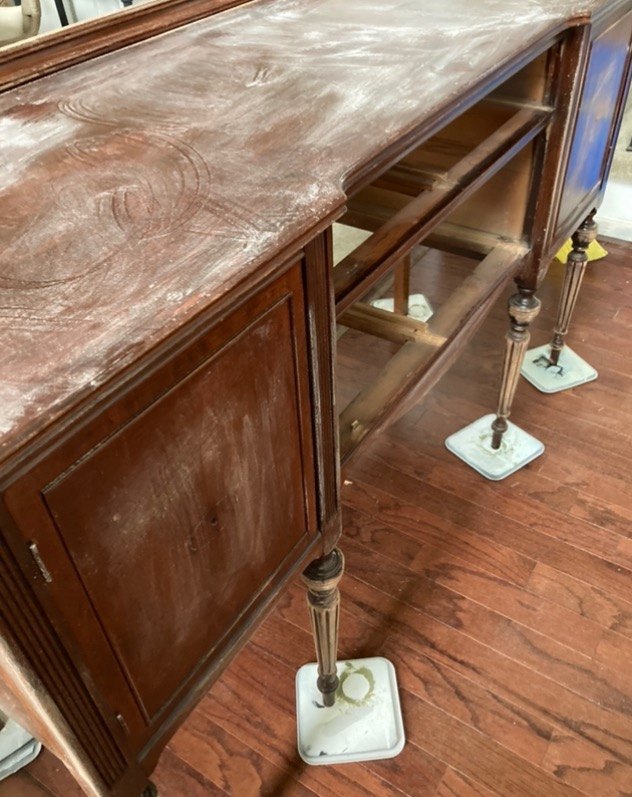
I gave it a light sand all over, then dusted off before painting.
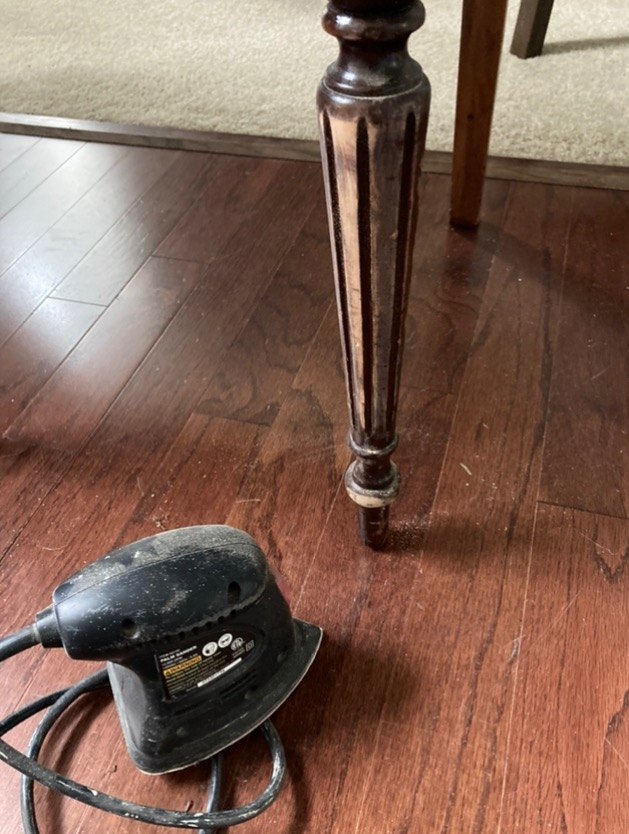
I also sanded down the front legs because I knew I wanted them sanded, once painted. It just makes it easier.
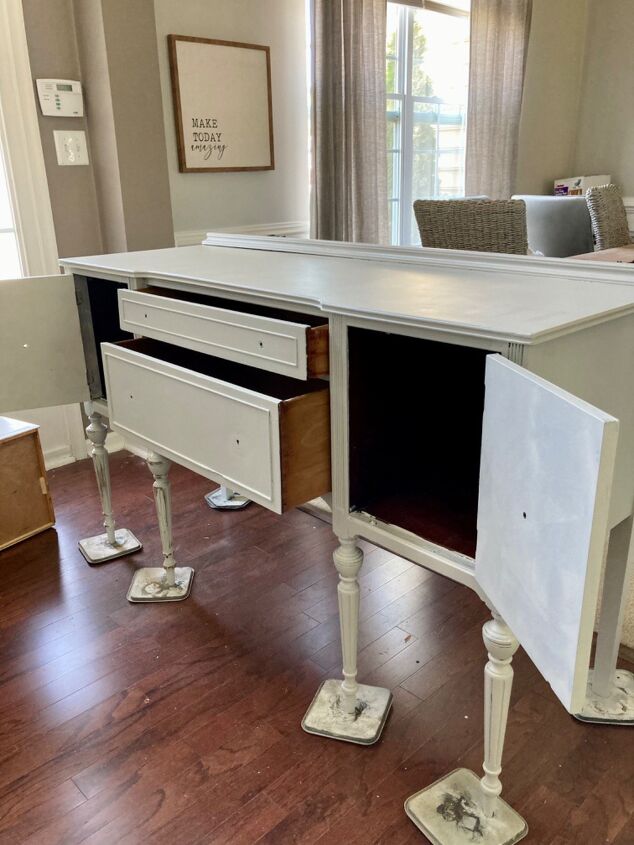
I removed all of the hardware easily with a hand held screwdriver and used a foam roller and brush to do the first coat.
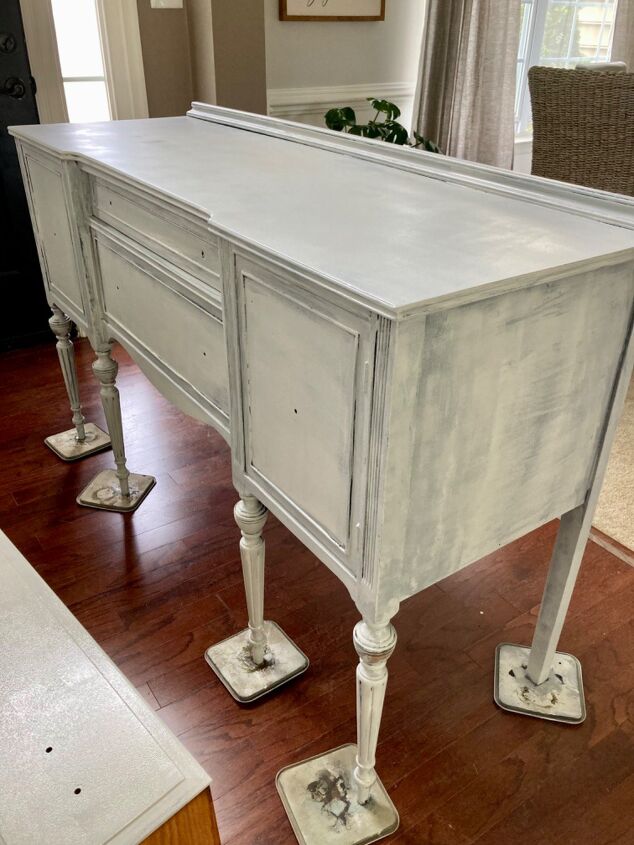
After about 30 mins it was ready for a second coat. I’m between coats I lightly sanded using a sand block. I dusted off to start my second coat.
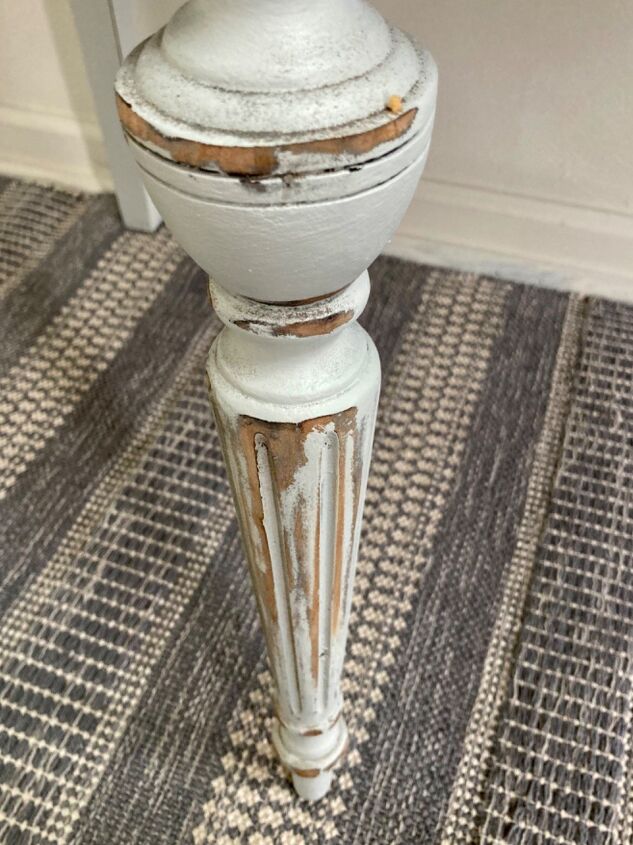
Once the second coat was dry I sanded down the front legs to add some detail.
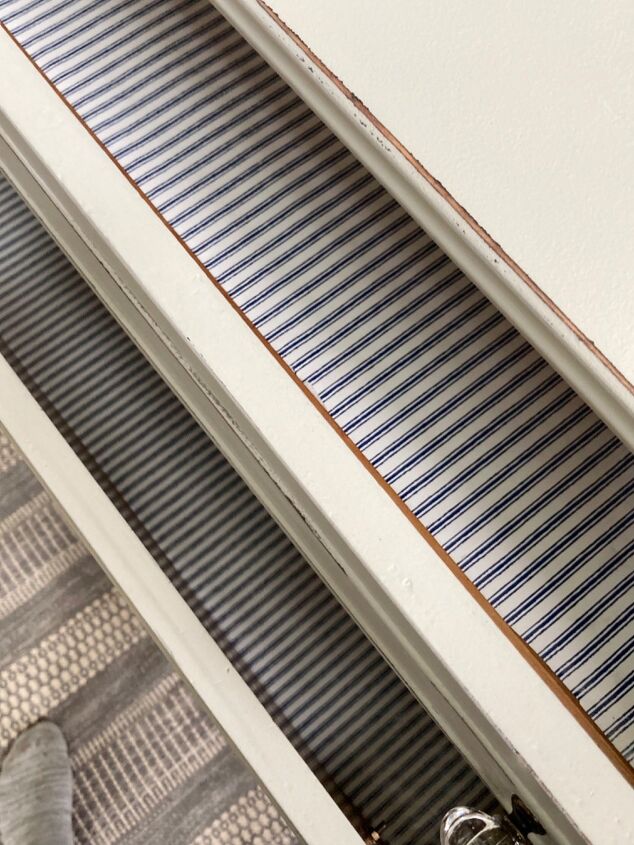
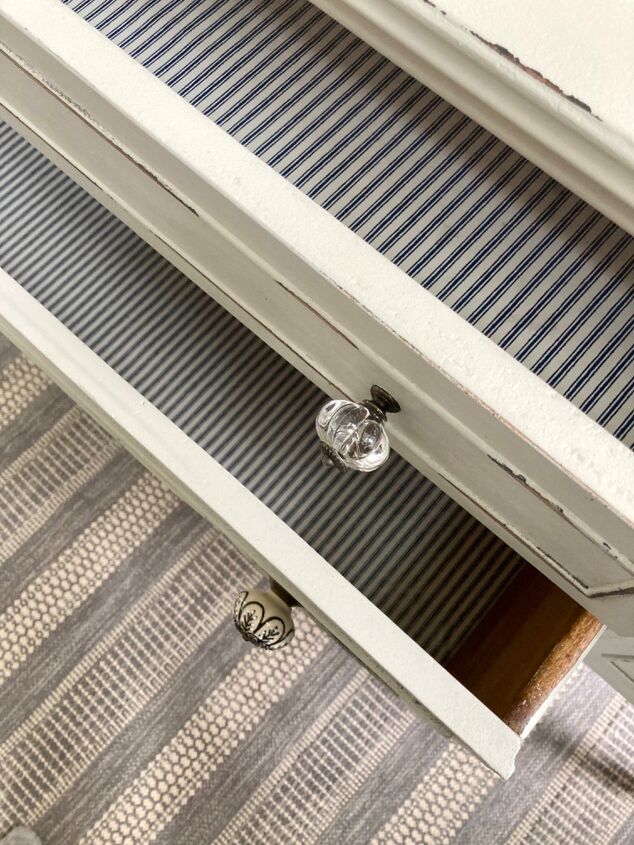
After sanding it down, I rubbed some johnson’s wax to seal, took the palm sander and went around all of the edges just to bring out the details. I lined the drawers with a blue/white thick paper, which looks great with the color and hardware.
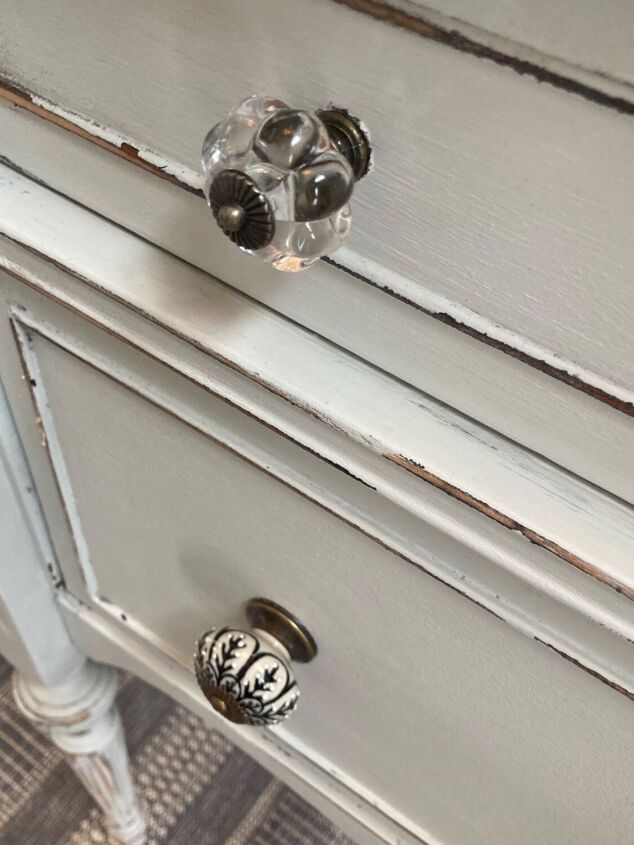
The top drawer is smaller, so I used these pumpkin knobs which are smaller and work perfectly! These can be found on Amazon.
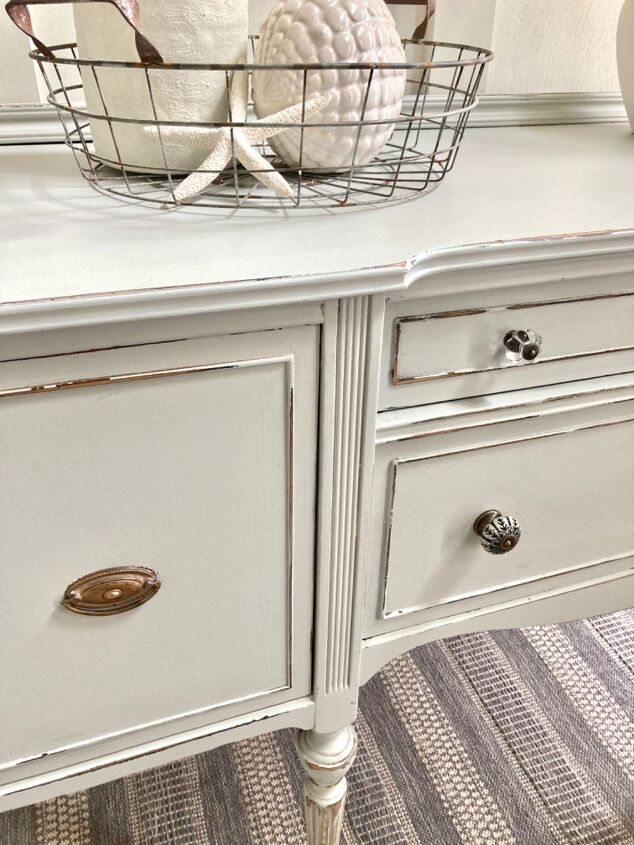
I kept the original hardware for the doors!
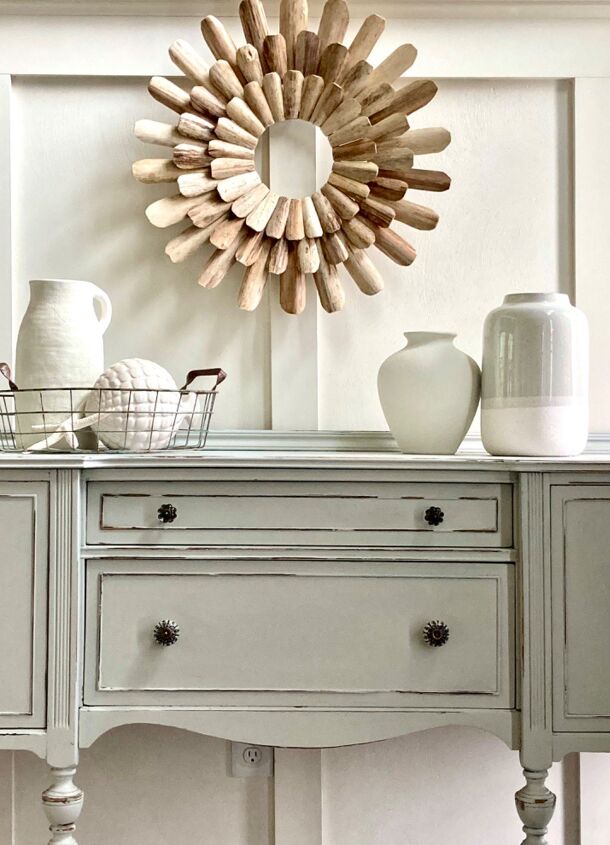
I really love the fresh new coastal feel of this beautiful piece.
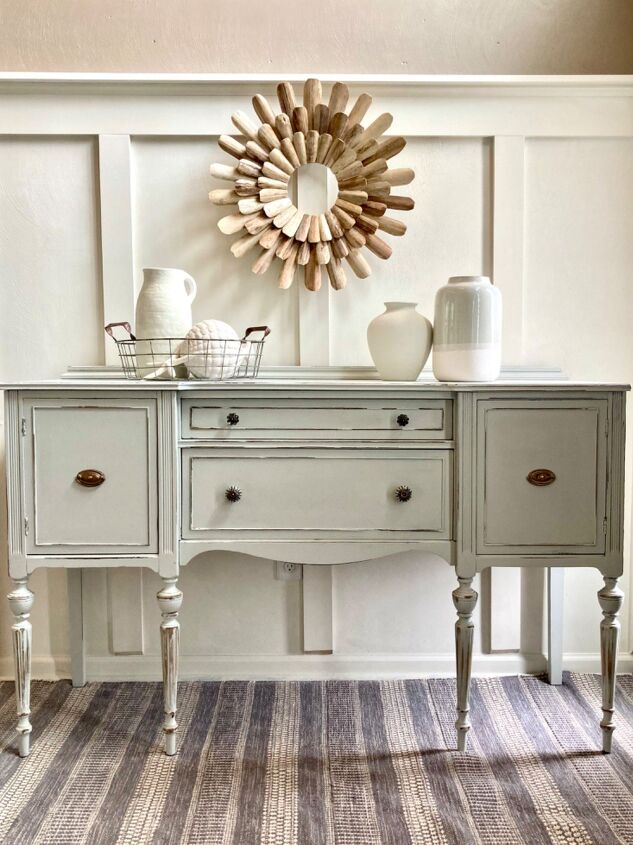
Ready for its new home! Thanks again for stopping by! Follow us on Facebook and Instagram for more furniture ideas!
Have a great day!
Resources for this project:


Comments
Join the conversation
-
The project turned out great, inside & outside! The majority of DIYers had very complimentary comments & the there are the “haters” who feel the need to bash the shabby sheik style & the creators of it! Why don’t you move on to the refinishing projects that fix all the years of abuse - sheets of missing veneer, veneer rippling up from water damage, damaged finishes from setting & scratching & abusing the top! Give us a break from the negativity & I am not an interior designer but I know what ticking is & it’s nice when someone adds to your tutorial - I took it as a sign of comradely! 👍️♥️
-
I’d finish painting it. Sorry, just don’t like the ready to be tossed out look.
im one of the haters I guess. My hubby is a woodworker and I love walnut, oak and beautiful wood. Sorry I grew up with old furniture that came through the depression and hard times, don’t need that look again so don’t yell at the people who have been there with the original shabby .


Frequently asked questions
Have a question about this project?
Did you sand between paint to give it the distressed look ? DID you use the wax over the whole piece of furniture. It looks beautiful.
What kind of paint did you use to paint the furniture piece?
Love what you have lovingly accomplished. Great eye for color & design!
Have fallen in love with the rug, at least I think it’s a rug…? Would you mind sharing your source?
Thanks!!
Where did you find the paper for the drawers. I love it. One of my favorites-pillow ticking pattern.