


DIY Crackle Paint

by | May 10, 2022 | DIY, Farmhouse Furniture, Refurbishing Furniture |
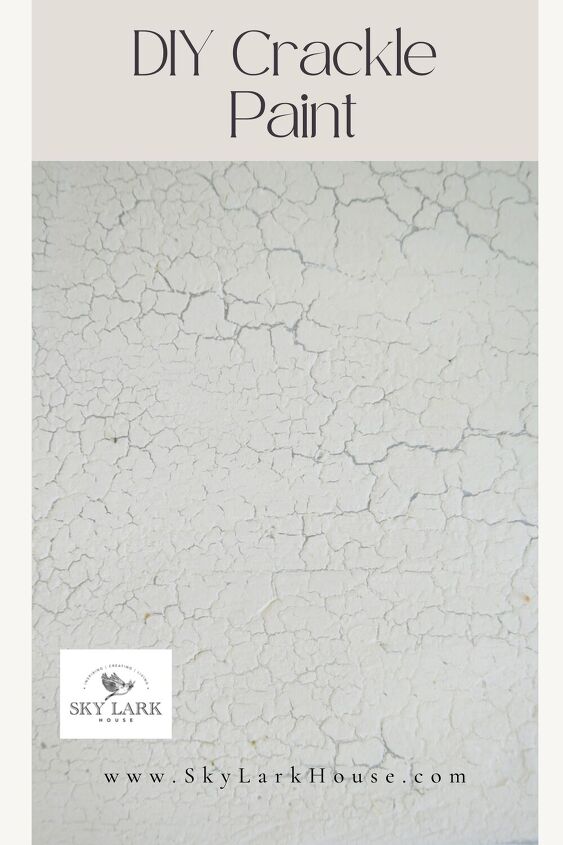
Have you wondered how to make crackle paint? In this post, I walk you through the steps to DIY crackle paint using every day items.
A quick note that this post includes affiliate links and I will receive a commission on items you purchase but at no additional cost to you. I am presenting you with my own opinion and honest review of the information provided. If you want to read the entire disclosure statement, please click HERE.
At the age of 40, I decided to go back to school to get my Masters Degree in Business Administration. Frankly, it was terrifying. How was I going to keep up with classmates who were 15 years younger than myself? I would be the oldest person in a classroom filled with 25 year olds. Furthermore, I was working a full time job during the day. I was concerned that I wouldn’t have enough time or energy in my free time to do my course work and research. I was worried that my 40 year old brain wouldn’t be able to handle learning new material, doing math, and writing research papers. The classes were from 5 pm to 9 pm two or three nights per week and then another class all day Saturday. These courses were all in-person instruction.
So, I tried it for one semester. It was definitely challenging. There were times when I had to drag myself to work the next day because my “be at your desk” time was 7:00 am.
However, at the end of the semester, I realized – that I actually did it! I completed my courses and I got great grades. The lesson in that experience was that, it was possible to go back to school and still succeed. Also, my 40 year old brain still worked well enough for me to succeed in my course work.
You are probably wondering what this has to do with today’s post. Let me tell you.
To restore myself and find some escape from the demanding world of work and graduate school, I would refinish furniture. (Usually on a Sunday afternoon) I would haul out old dressers onto my porch to repair them, sand them, prime them, and then paint them. It was during this time that I honed my skills on what to do and what not to do when refurbishing furniture. I also learned a few tricks. Most importantly, I learned tricks that saved time and money.
One of the tricks I learned was how to make a DIY crackle paint.
First, do NOT buy any expensive crackle paint application. It is absolutely NOT necessary. However you will need some supplies:
- Elmers school glue
- Small 2″ paint brush. ( I used one from the dollar store)
- Small container to hold the glue
- MMS milk paint
- Small 2-3″ paint brush (I have had the same Zibra paint brush for about 5 years)
- 120 grit sand paper
- hair dryer
You should be able to gather all these supplies for less than $30. (Assuming you already own a hair dryer). Remember – I was in graduate school so my discretionary income was pretty much nonexistent. Also in this post, we are going to be painting a stool so we don’t need much paint.
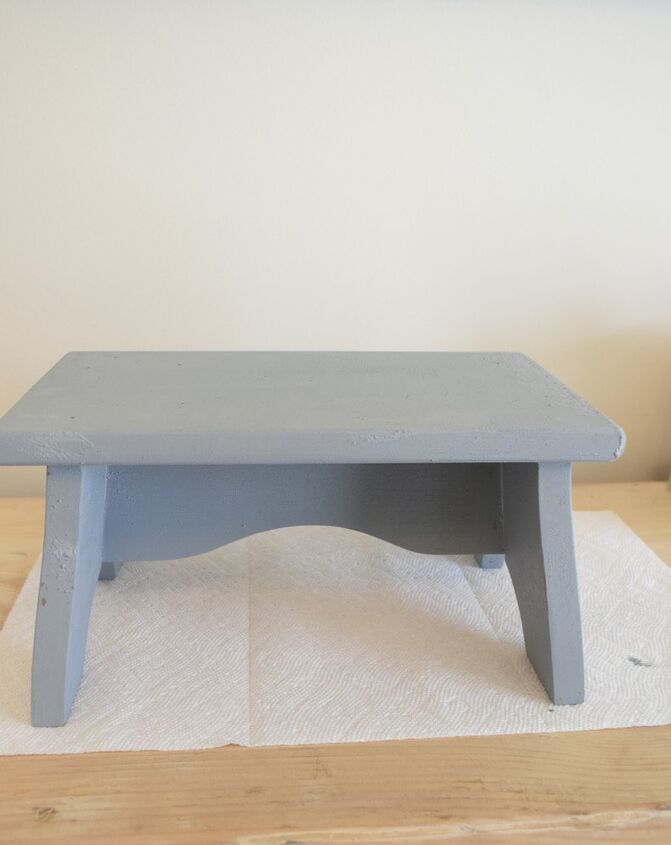
For this post, I am going to use a little stool as an example.
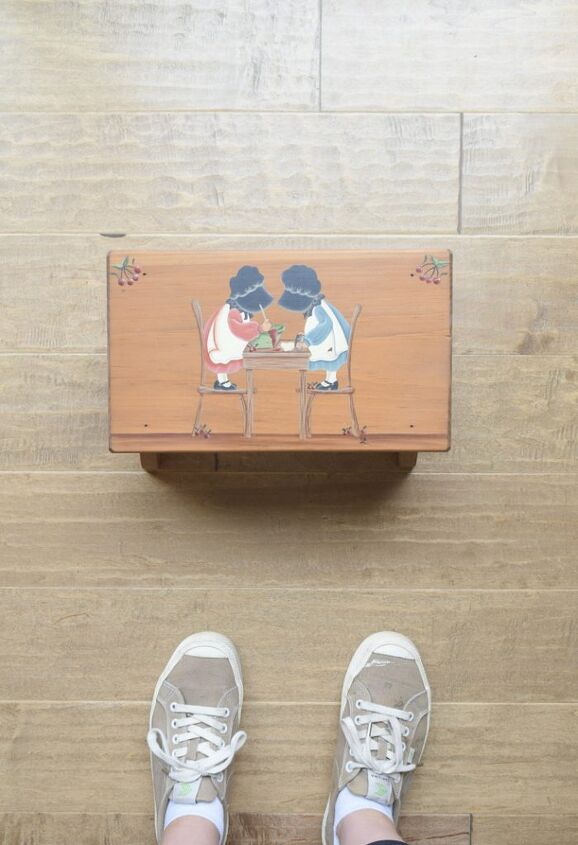
This little stool was not exactly my style with the Holly Hobbie style paintings on it. Painting country motifs on wooden items was “a thing” in the 1980s and 1990s. We are now in 2022 – so goodbye Holly Hobbies.
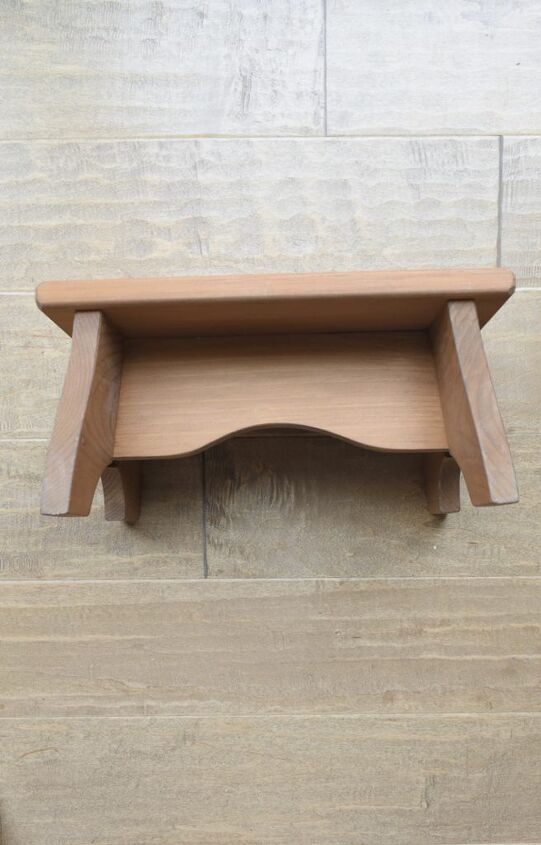
In spite of the country motifs, the stool was well made. It was solid and didn’t wobble, so I thought it had potential.
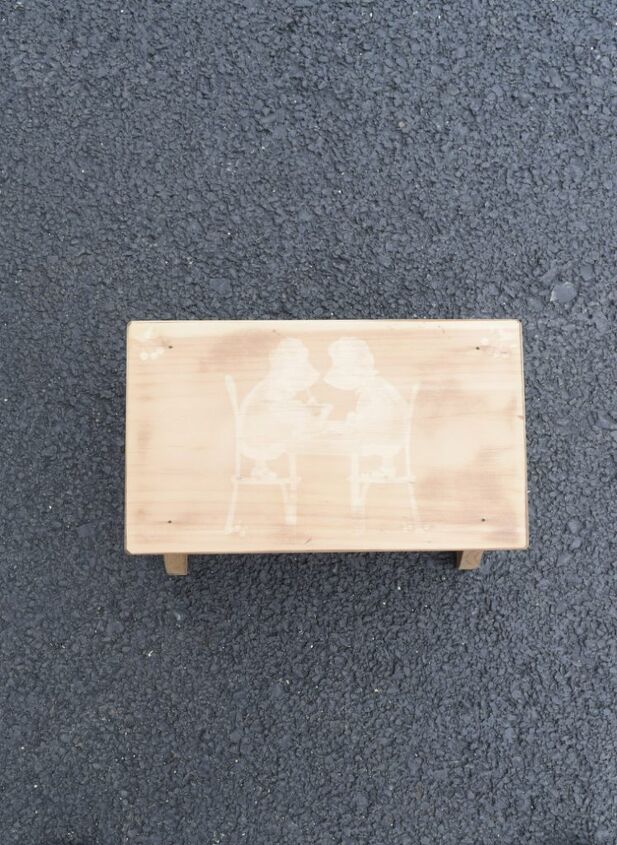
Using some 120 grits sandpaper, rough up the stool and sand off any existing painted images. Note the entire stool doesn’t have to be sanded down completely. Just give the stool a good scuff sanding and wipe it down when you are done using a damp cloth.
I decided that I wanted a darker paint to peek through the crackle. So, I painted the stool using MMS Milk Paint in the color Berger for a first coat. Then I let it dry.
After the paint was dry, I gently sanded the entire piece using 120 grit sandpaper. This helped to ensure a smooth and even finish.
It’s important to note that you can skip this step if you desire. You could go directly to step 3 if you wanted the existing wood finish to peek through the crackled paint.
Pour about 1/3 of cup of Elmer’s glue into a container and then using your cheapo- dollar store paint brush, paint on the glue in the areas you want there to be a crackle effect.
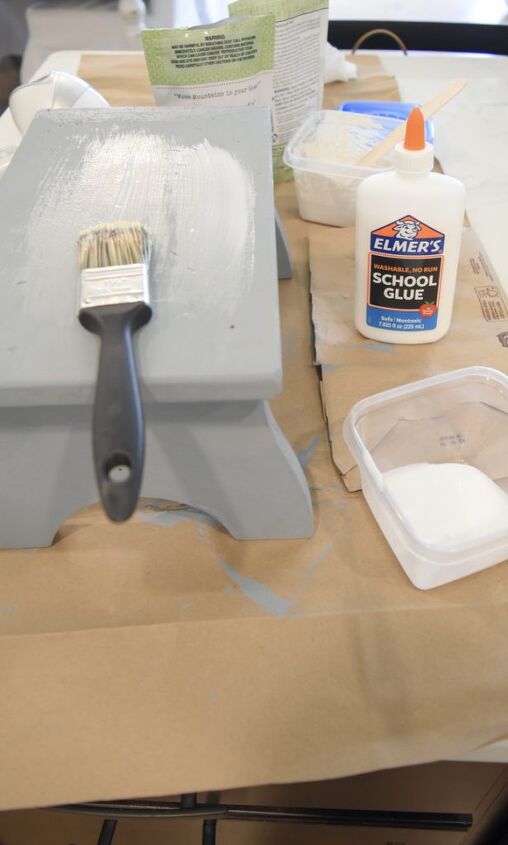
The glue can be painted on unevenly. That’s ok. If there are some areas where the glue is thick and other areas where the glue is thin – it will create a more natural crackle effect.
Wait for a bit for the glue to get tacky but not dry. TIP– do not wait for the glue to dry.
While the glue was setting up, I mixed up my second paint color, which is MMS Milk Paint in Farmhouse White. If you have been spending more than 5 minutes reading my blog – you know that Farmhouse White is one of my favorite colors.
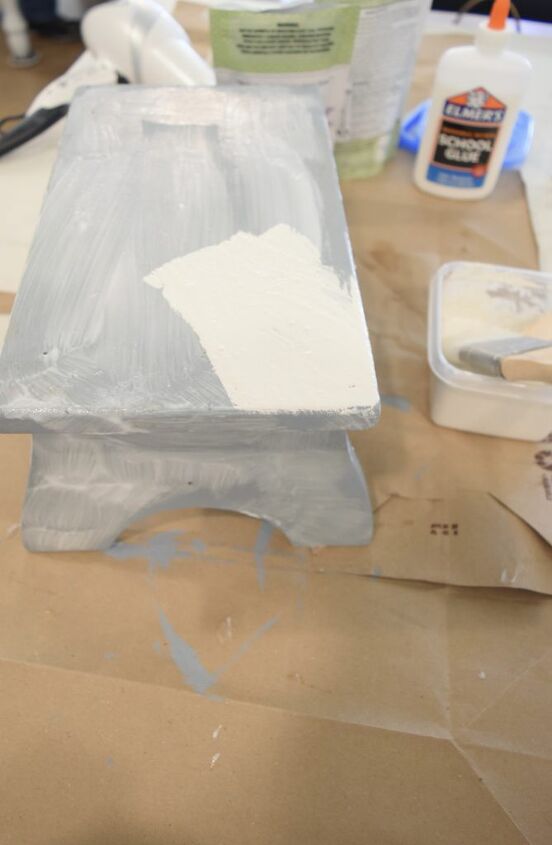
Simply apply the paint on top of the Elmer’s glue. Once your entire stool is painted, it’s time to break out the hair dryer. With your hair dryer on high heat, help the paint dry on the stool. As it dries, you will start see the “crackling”. The first coat of paint, or wood, can start to be seen in thin crazing lines.
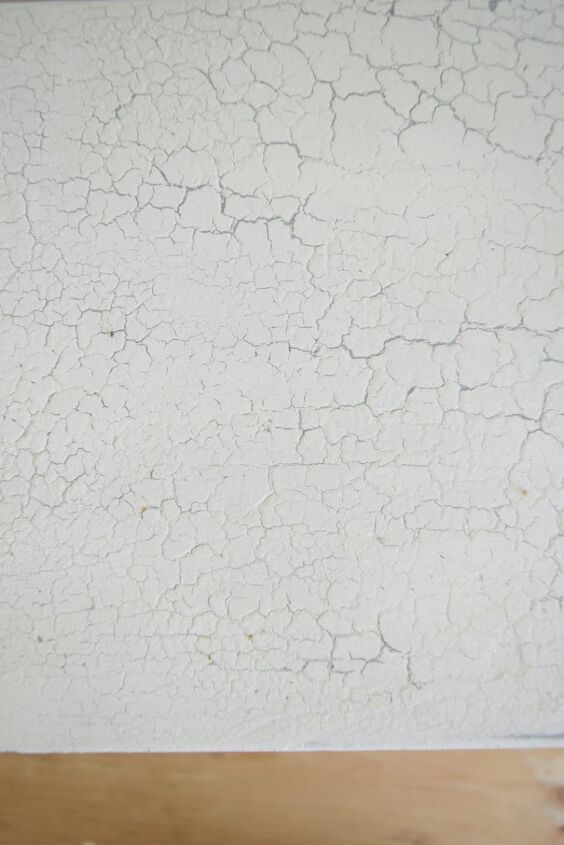
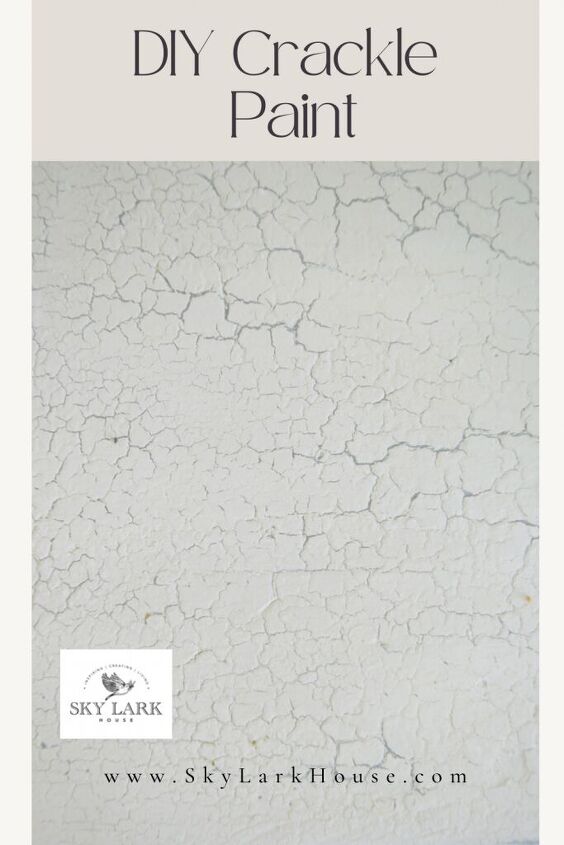
The photo above shows you what the crackling should look like. Can you see the darker MMS Milk Paint in the color Berger peeking through?
When the paint and crackle effect is completely dry, gently sand it using 120 grit sandpaper. This will help ensure a smooth finish and eliminate any drip marks or clumps.
I use stools primarily as risers. They are perfect to use for displaying items in my booth. The irony here is, I almost never use them to stand on. So, I sealed my stool with Milk Wax. However, if your stool will get more use and will actually be stepped upon, then I recommend sealing it with something more durable.
As most of you know, I have been using MMS Milk Paint for many years and it’s a product that I love and stand behind. Milk Paint provides an authentic look to furniture that other paints don’t. Furthermore, it is nontoxic and all natural. Not many paint companies can make that claim.

I have recently collaborated with the company. As a result if you purchase any milk paint from the link provided, I will receive a small commission. Thank you for supporting this little business of mine. Be sure to use the code 10OFFSH to save 10% on your purchase.
You can pin any of the images below to your Pinterest boards for future reference. So, if you want to try this project several months from now, simply click on one of these images that are pinned to your boards. Clicking on the image will take you straight to this post. If you like the DIY projects that I share, you can also follow me on Pinterest. This way future projects with the images will show up in your Pinterest feed.
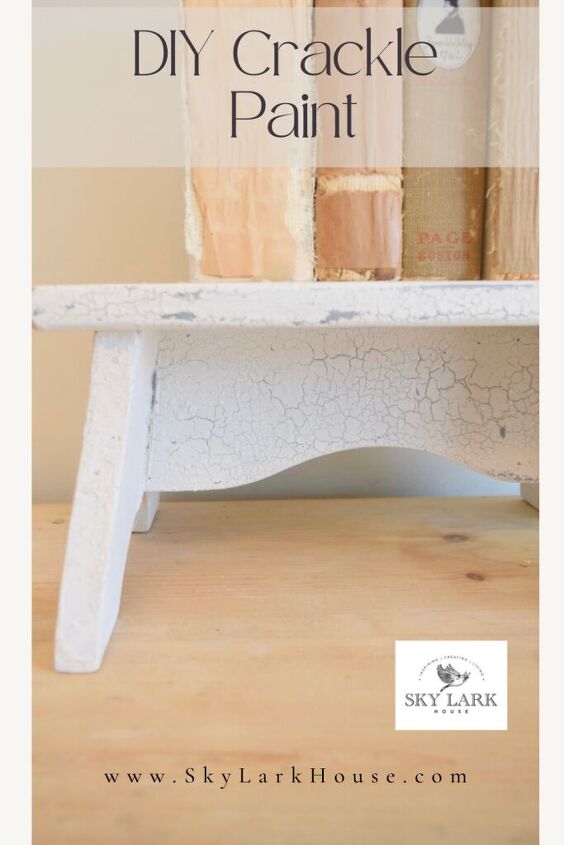
As you can see in the image above, the crackle finish turned out pretty darn good! Hooray for Elmer’s glue and a hair dryer!
Here is a side view of the stool so you can get a better idea as to how it turned out. I like the fact that the crackle effect is subtle.
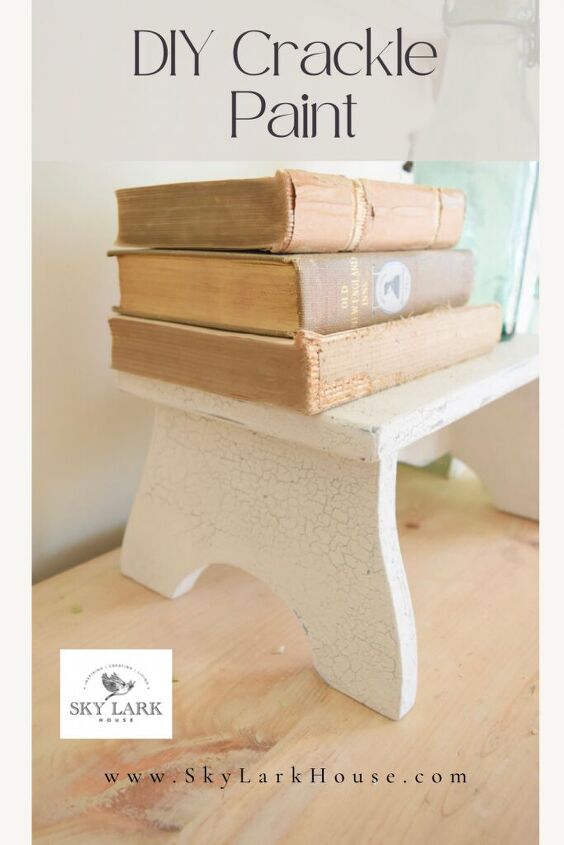
Here is one final photo showing a closeup of the top of the stool
If you liked this project, you might also enjoy reading about the following furniture projects.
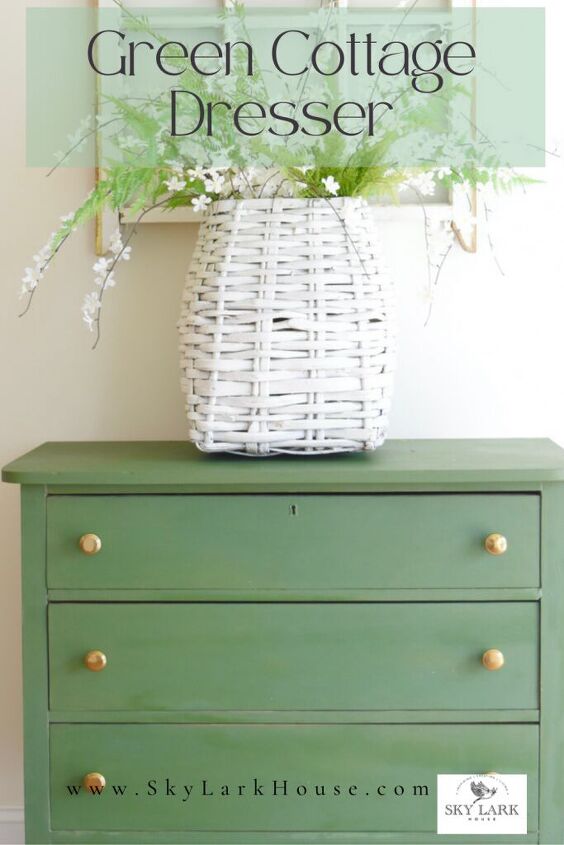
The Green Cottage Dresser.
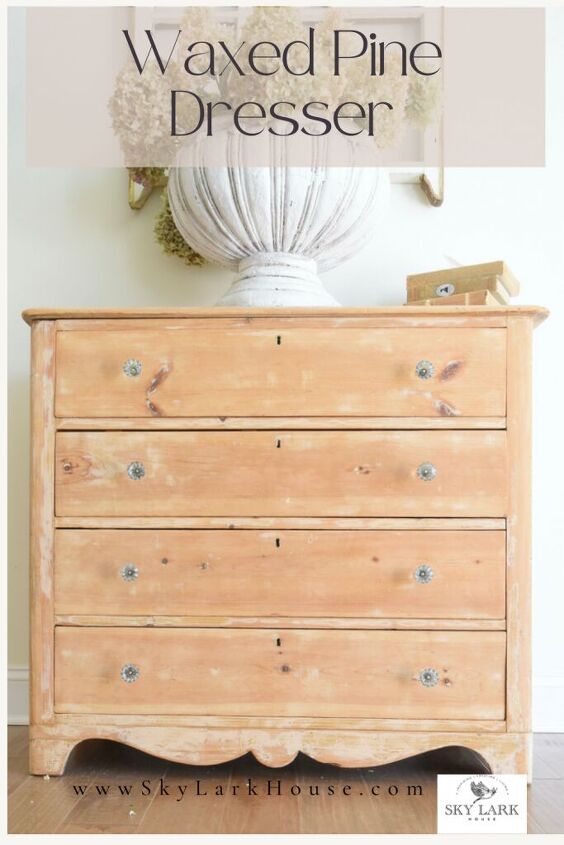
The Waxed Pine Dresser
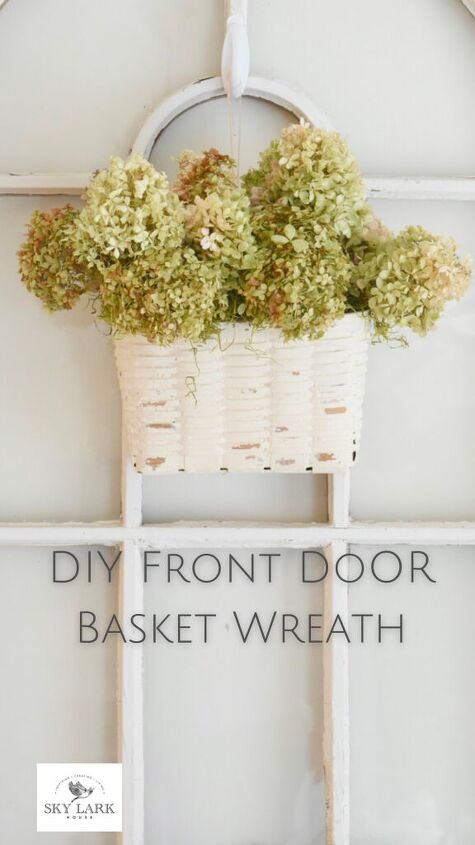
This DIY Front Door Basket was a fun and easy project to make.
Also, I will have another example of a DIY crackle finish to share with you this coming Thursday. So stop on by the blog if you want to see how this effect works on a larger piece of furniture.
Thank you for stopping by the blog today. I hope you found some inspiration. Also, if you are considering going to graduate school and are around the age of 40 – go for it. You can definitely get your graduate degree. I believe in you.
Join our mailing list to receive the latest news and updates from our team.
- DIY Painted Pottery
- Summer Collectibles – Vintage U.S. Flags
- DIY Crackle Paint – Part 2
- DIY Crackle Paint
- Ideas for Mother’s Day


Frequently asked questions
Have a question about this project?