


Restore Chrome + Vinyl Chairs With Jazzy New Fabric
Once upon a time my Great Grandma had a beautiful red ice formica table and chairs. I sat around those, learned to pull strudel standing at it and had many many home cooked meals with little burned bits with lots of love.
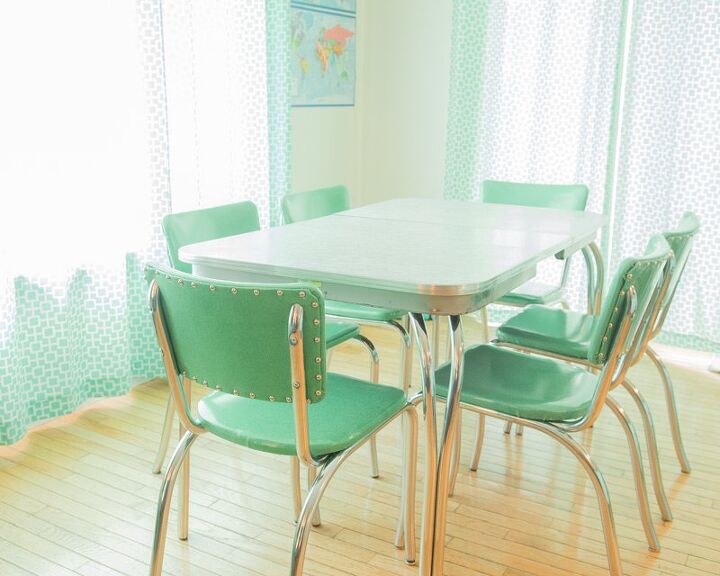
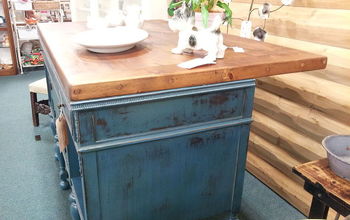
One day I vowed if I had a chance I’d pick up a table like that and make my own memories at such a table. 10 years ago, such a table came my way except it was AQUA. My color!
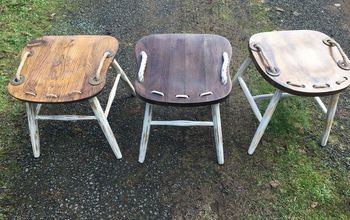
10 years of kids loving my chairs covered with already vintage fabric and it was showing its age.
If you have such a table, or if you’re looking for a way to revitalize a set of kitchen chairs, this post is for you.
You’ll learn how to upholster a kitchen chair. We’ll run through the supplies you’ll need, some fabric recommendations, then I’ll show you how to recover your chair step by step.
So roll up your sleeves and grab a staple remover and let’s fix your chair.
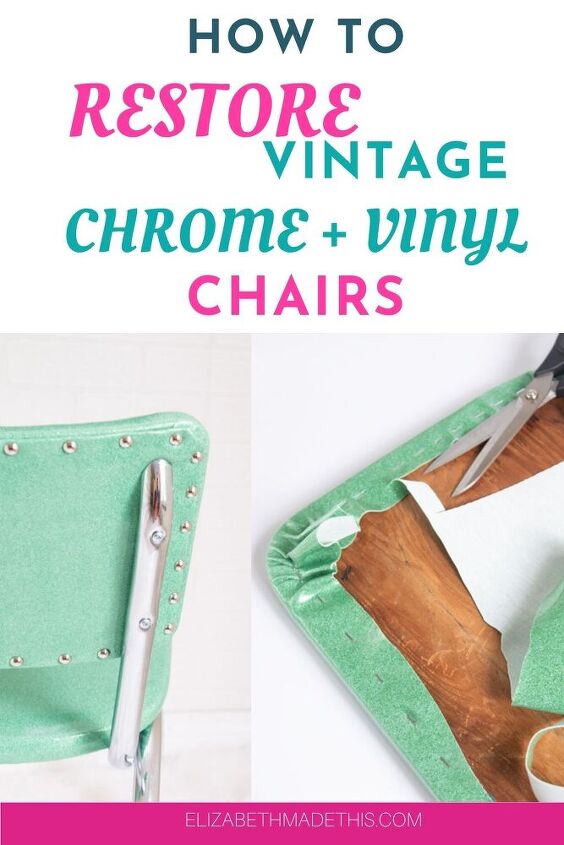
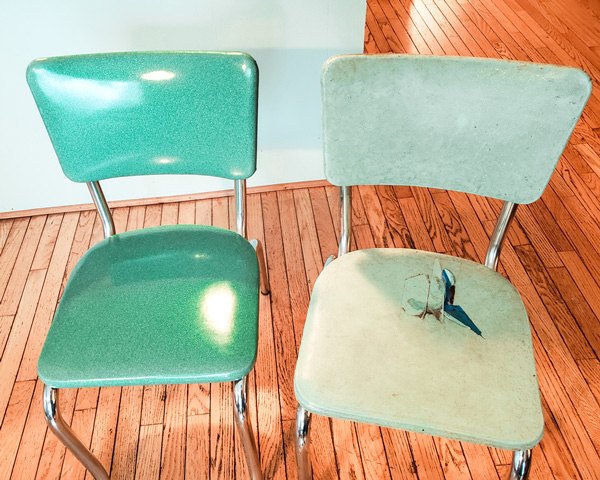
Table of Contents
How to upholster a kitchen chair: supplies
- 1 yard/chair upholstery vinyl fabric
- upholstery staple gun
- 3/8″ crown upholstery staples
- steel wool
- dental floss
- kitchen gloves
- chrome cleaner
- upholstery staple remover
- tack lifter
- wood filler
- upholstery tacks
- screwdriver
- fabric scissors ( Kai 7230 s are a champion here!)
- 12″x18″ chipboard sheets
- needle nose pliers
- hammer
- level
- scrub pad
- awl
It can be tough to find good solid upholstery fabric. I have a huge list of upholstery fabric sources and more inside the
the Ultimate Jumbo Mega Guide to Online Fabric Stores in case you're on the hunt.
Breaking down a kitchen chair for reupholstery
First things first, use your screwdriver to unscrew the chair’s seat and the chair’s back from the frame.
Be sure to set aside all the screws in a cup. If they’re in good enough shape to reuse, you’ll want them handy at the right time. On the other hand, if the screws are rather rusty and have seen better days, you’ll still want to have the old ones so that you buy the right size replacements.
With the chair pieces off the frame, let’s dig into all the gritty staple and tack removal.
How to remove staples from the chair bottom
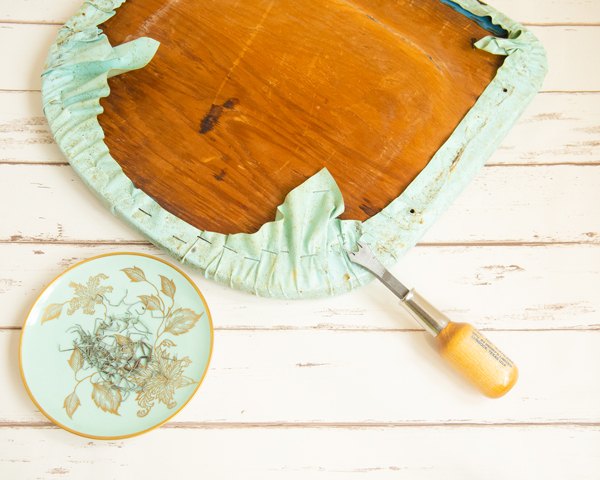
First, flip your chair bottom over.
Grab your staple remover and slide it under a staple so that it sits inside the little slot on the tool. Twist the tool to remove the staple.
If you have a pesky staple that breaks off, grab the staple’s end with needle nose pliers to twist out the extra bit.
One in a while you’ll get a staple that breaks off and the leftover bit is too small to get out. In that case, give the staple nubby a few whacks with a hammer to flatten things out and get the pokey bits out of the way.
Continue to remove staples all the way around the bottom.
When you’ve gotten all the staples out, use a damp paper towel to wipe down the wood.
What’s up with the blue fabric?
You can see I have the original fabric on mine. I’ve left it like that on purpose for historical sake (my chairs are from the 1930s). If I wanted to I could remove that fabric too, but it’s not necessary.
The padding from the original upholstery was also in good enough shape to leave it alone. Sometimes on really old upholstery you’ll find messy innards made from very fine but not modern materials. It’s my usual m.o. to leave them alone if they’re in good shape.
If you’ve got an old chair and you really want to get into dealing with the guts of it, the Spruce Upholstery book is an excellent primer.
How to remove upholstery tacks from a chair back
Slide your tack lifter between the back fabric and the covered back. Wiggle the tack lifter back and forth to pop out a tack.
You can also slide the tack right under the tack if you’d rather. That works great too!
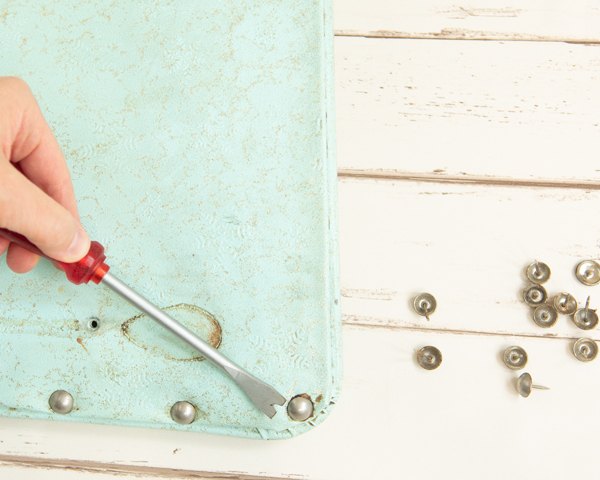
Take out all of the tacks just like this.
Use your staple remover to remove all of the staples just like you did for the chair’s bottom.
When you’ve gotten all the staples out, use a damp paper towel to wipe down the wood.
Add wood filler to the chair backs
Don’t skip this step. Our chairs had this pesky problem of the screws just popping out randomly. You’d be walking by the kitchen table and see a screw just hanging out the backside. Not helpful! Here’s how to fix this.
Work some wood filler into the holes on the chair back. The end of a match works well or anything you have.
Fill each hole well, then set aside the chair to dry for at least 24 hours. Sand off any extra.
How to upholster a kitchen chair
Fabric time! The most important thing to remember as you recover a kitchen chair (or any upholstery project for that matter) is to keep the fabric taut. If you can bounce a quarter off it, it’s good.
If it’s soft across the surface, it’s going to look schlumpy. Know that if that happens you can always remove staples and try again. Your staple remover is like a seam ripper if you sew!
A little slideshow to walk you through the whole process:
Reupholstering a seat bottom
First, put your chair seat on top of your fabric. Rough cut around the seat, leaving about 2″ on all sides.
You won’t need that much fabric, but it’s always better to have a little extra so that you can get a nice tight cover.
If you’re using a pneumatic gun, hook your staple gun up to your air compressor.
Wrap the fabric around the seat bottom, drive 2 staples into one side. Press down well before you pull the trigger so that the gun drives the staple into place. All staple guns have a certain amount of recoil. That can lead to some funky staples that aren’t really holding down the fabric.
Next, pull the fabric as tight as you need so that it lays taut on the opposite side that you stapled. Staple a couple on this side, always pulling so that the fabric is taut.
Work your way from side to side adding staples, always pulling the fabric taut between the sides you’re working on. If you have an extra set of hands, this helps tremendously. I often pull while my husband staples or vice versa.
How far in should the staples be?
This is going to depend on your chair, but about 1″ in from the edges is a good rule.
Rounding the corners
The corners are the toughest part of recovering a kitchen chair. See how they’re rounded? You have to do this in a couple steps to round the corner without creating extra bulk.
Your goal should be to get a smooth corner without seeing any folds on the front side.
Pull tight in about the center of the corner and staple.
Distribute the other fabric near the corner so that you can see no gathers or folds. Add several staples to hold the corner in place.
Trim the extra fabric away
Be sure to watch the slideshow video below for all of the step by step photos.
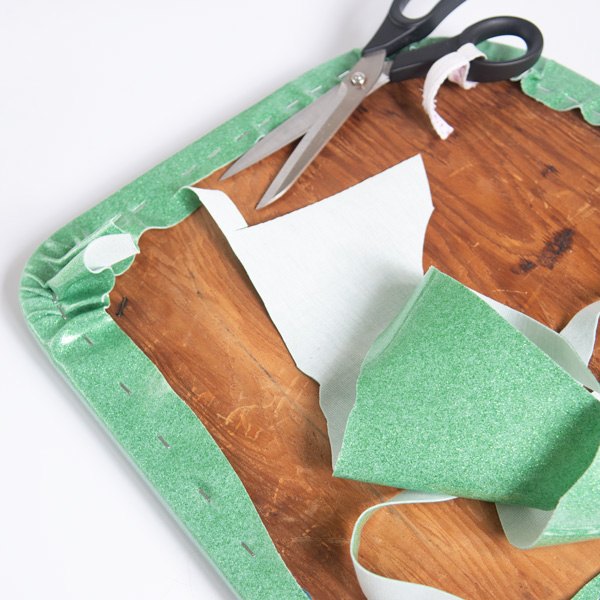
Trim away the extra fabric about 1/2″ in from your staples. Pay close attention to the corners, trimming out as much as you can.
Reupholstering a seat back
Now that you’ve got the bottom of the chair ready to go, it’s time to tackle the seat back.
There’s two pieces on a chrome chair like mine. The main part and a covering that’ll get tacked into place to hide all the staples.
Stapling the seat back
Lay the seat back on top of your fabric and rough cut around it, leaving about 2″ on all sides.
Because the seat back is curved, make sure that you stretch the fabric even more than you think you need to to keep it taut.
Staple the fabric in place just like you did for the seat bottom. Staple working from side to side, pulling the fabric taut between the sides of the seat back.
If you notice that the fabric is wrinkling or not tight, use your staple remover to take out a few staples. Try again, pulling taut as you staple.
Spend a little more time on the corners, making sure you’re not seeing any folds or pleats on the right side in the corners.
Trim away the excess fabric about 1/2″ past your line of staples. Trim out as much excess fabric as you can from the corners.
Make a chipboard template?
On my chairs the back covers are wrapped around a piece of chipboard. That’s evidently the original material. If there’s a better, flexible material you find to cover over that’ll give the chair back some shape and the fabric something to sit on, by all means use it.
I was able to reuse the original chipboard. If you can’t with your chair, use the old chipboard as a template to cut a new chair back cover. Place it on a sheet of chipboard, trace around it with a pencil and cut out with paper scissors.
Covering the back cover
From here, lay your chipboard down on your fabric. Rough cut around the piece leaving about 1″ on all sides.
Lay your fabric right side up against the chair back, letting the extra fabric hang off all sides. Fold back the top edge so that it’s even with the chair back.
Next flip the fabric away from you so that you’re looking at the wrong side of the fabric but also so that you’re holding onto that fabric you folded over.
Line up the chipboard with the top edge of the chair back on top of the chair back fabric. Staple through the chipboard and the fabric across the top.
Fold the rest of the fabric over the chipboard, folding the raw edges around the chipboard. Cut away any excess fabric in the corners if necessary.
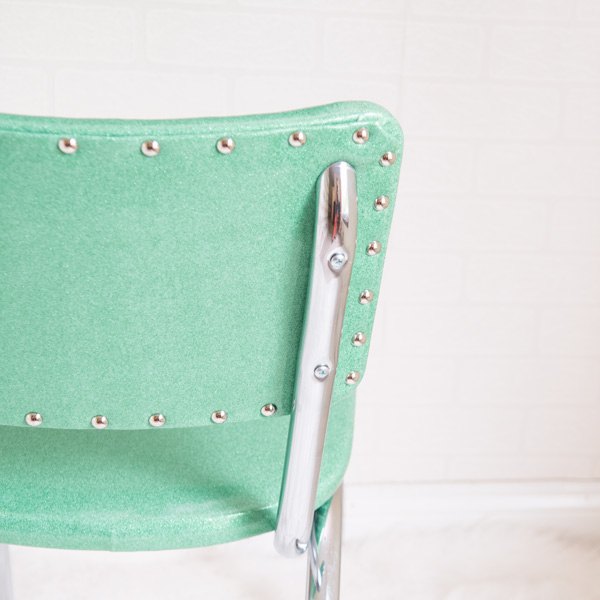
Adding the tacks to a chair back
Starting in the bottom center, grab an upholstery tack with your needle nose pliers. Hold it near the edge, then hammer it into place.
Hammer 2 tacks in each corner, folding fabric under and keeping the fabric taut across the back. Hammer in tacks about ever 2″, spacing them evenly.
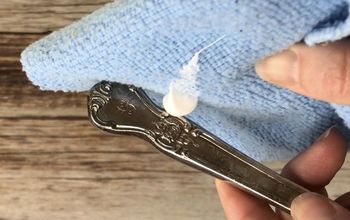
Cleaning up your chair frame
Scrub the frame of your chair with damp steel wool. Get into all the cracks as best as you can and scrub off any rust.
Take a piece of dental floss and thread it between the crack where the frame pieces come together to clean out any old gunk.
Finish off cleaning up your chair frame with a scrub pad and some chrome cleaner. You don’t have to do this, but it really shines up things and removes everything that the steel wool couldn’t.
Wipe down the frame with a damp paper towel to get off all the cleaner.
Reassembling your chair
Have someone sit down on the chair. Line up the old holes with the frame holes and screw the chair seat back in place.
For the chair back, feel with your hands where the holes are. Mark one of the top holes with an awl through the chair back. Place the screw through the frame and into the back and screw into place.
Using a level, mark the second top hole with your awl. Screw the top hole into place.
Now that you have the top holes finished, mark the other two holes with an awl and finish with those screws.
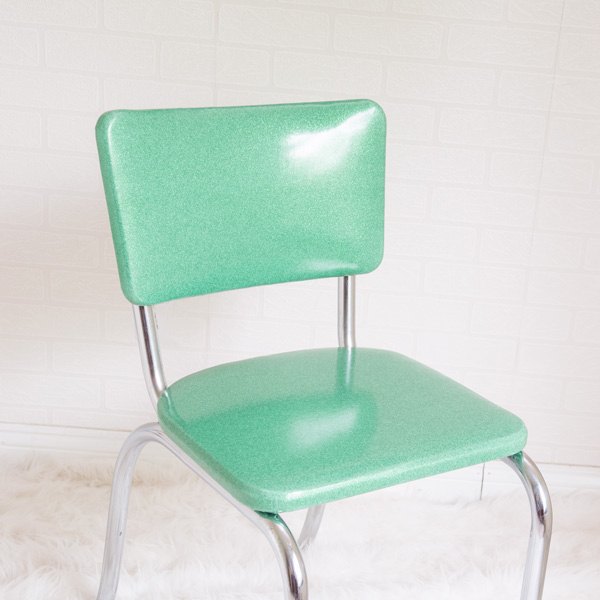
So that’s how to upholster a kitchen chair. Enjoy your restored chrome chairs!
If you liked learning how to upholster a kitchen chair, check out these other DIY projects:

Elizabeth Farr is the writer behind the Elizabeth Made This blog where she shares helpful sewing tips, step by step sewing tutorials and videos to help you explore your creativity through sewing. She has written sewing Eguides and patterns, been a featured teacher at Rebecca Page’s Sewing Summit and Jennifer Maker’s Holiday Maker Fest and her work has appeared in Seamwork and Altered Couture magazines. She also created a line of refashioned garments for SEWN Denver. When her sewing machine isn’t humming, she’s playing and teaching violin, and hanging around a good strategic board game with her husband and 4 kids.
elizabethmadethis.com

Comments
Join the conversation
-
Aw, so nice to see a happy end to this retro set!


Frequently asked questions
Have a question about this project?