


Hutch Redo- Bleaching Wood

Editor's Note: Please be aware that this is not the recommended method for bleaching wood. Commercially sold wood bleaches are available at many home improvement stores and are intended for this purpose. Using cleaning-grade bleach for this purpose can be hazardous.
Hey everyone! Hope y’all are doing great and enjoying the end of your summer! I’m still soaking up as much summer fun as I can. I’m hopeful we can keep hanging out in the pool through all of September. Last year we were able to swim through October, but we finally had to give it up because the water was so cold!
Oh and of course this has nothing at all to do with the hutch, but here’s a peek of the fam on our recent beach trip 😘

HUTCH REDO USING BLEACH
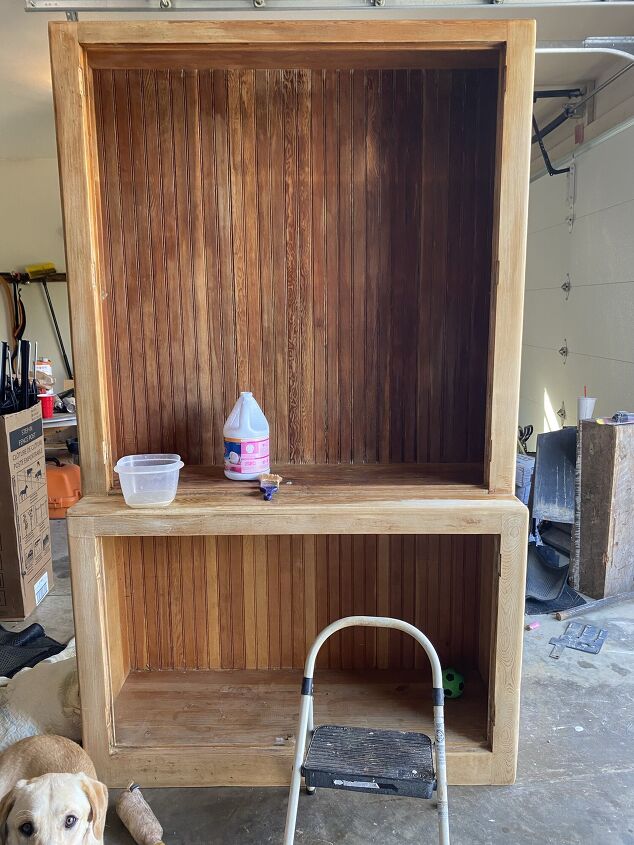
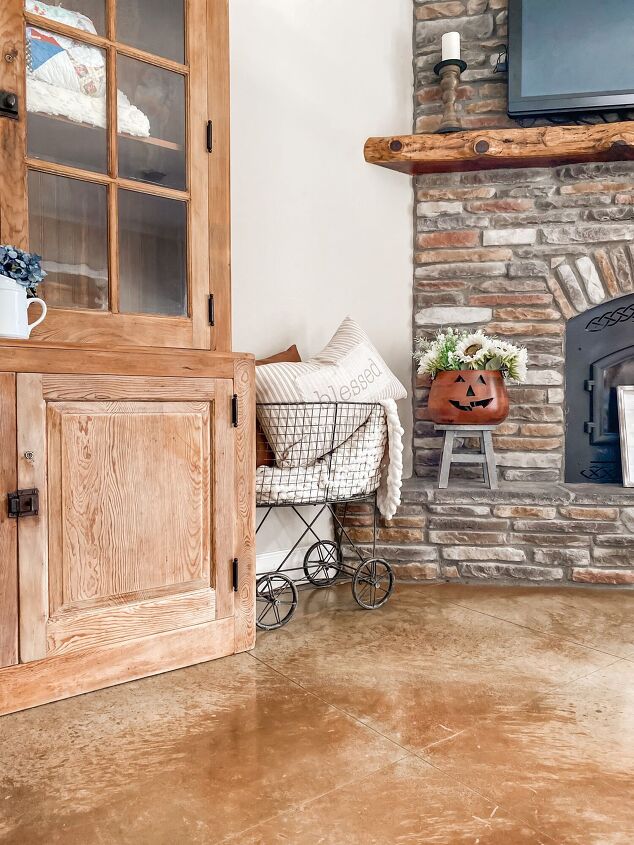
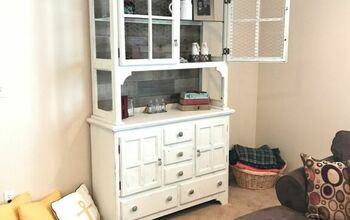
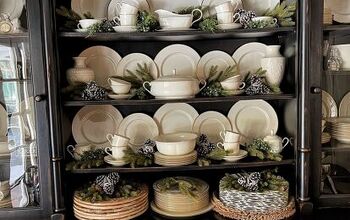
I finally found a hutch to use in our living room to store and display vintage quilts! I have been searching for months for a square hutch with either open shelving or glass doors.
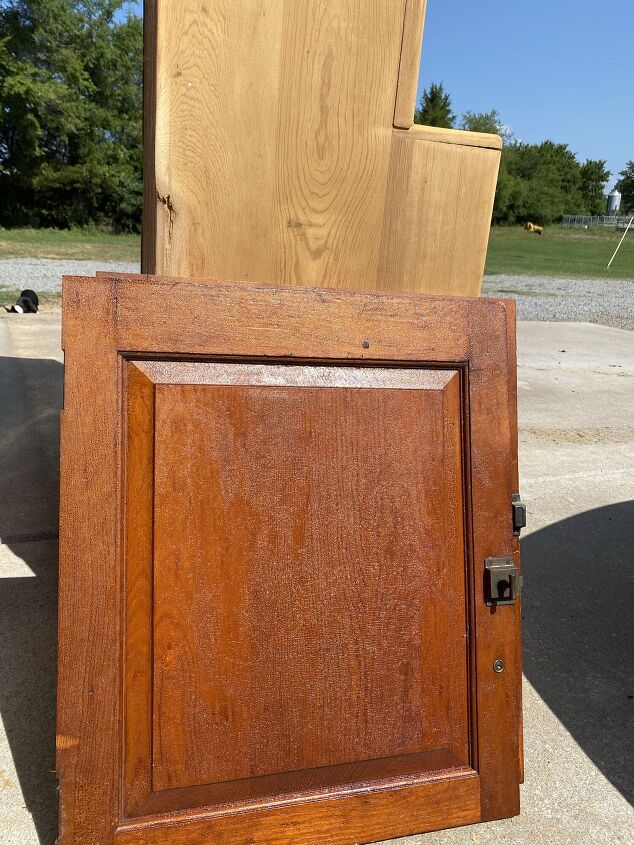
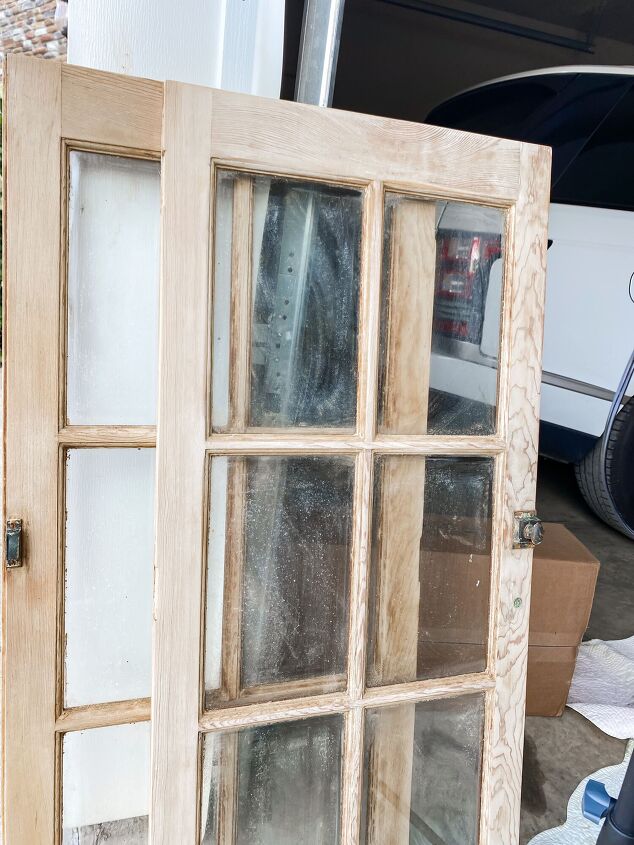
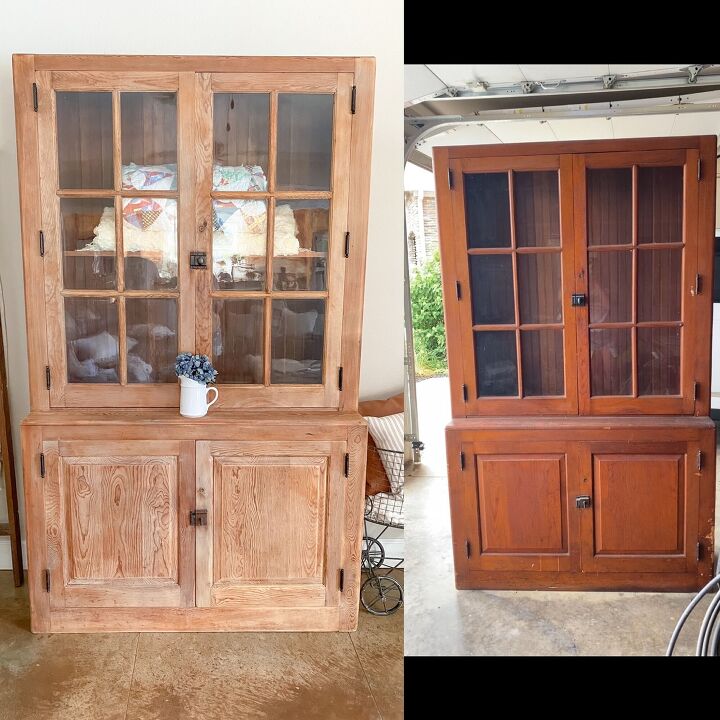
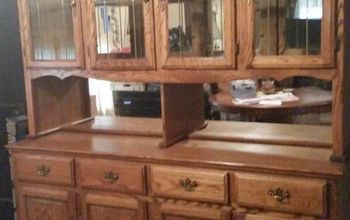
Finally…. I found it on FB Marketplace and the price was perfect! The lady had purchased it in the 70’s from Colorado Springs School district. The only problem was I hated the dark, textured finish that it was covered in! I knew this was going to require a bit of work to remove, but after looking for one for so long I was ready!! My goal was to remove all of the orange/ yellowish tones and have a nice raw wood look. My end result was not what I had expected, but I still love how it turned out.

Items needed:
- Stripper, the best one I’ve found is citristrip gel
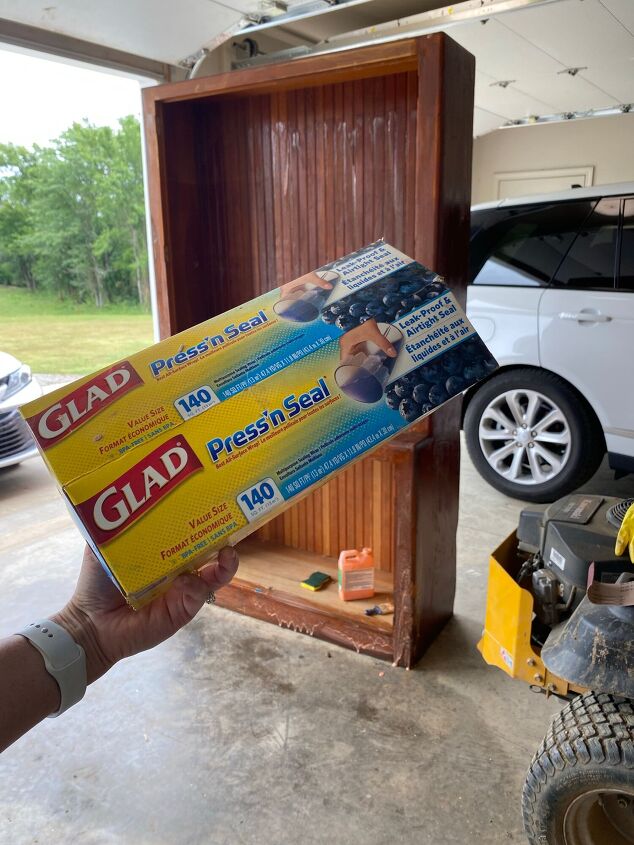
- Press and seal
- Scrapper
- Palm sander and sand paper for it
- Sanding pad / steel wool/ or a Dremel if you have one to get in all of the grooves on the doors
- Gloves, protecting face mask, and goggles of course
- Paint brush
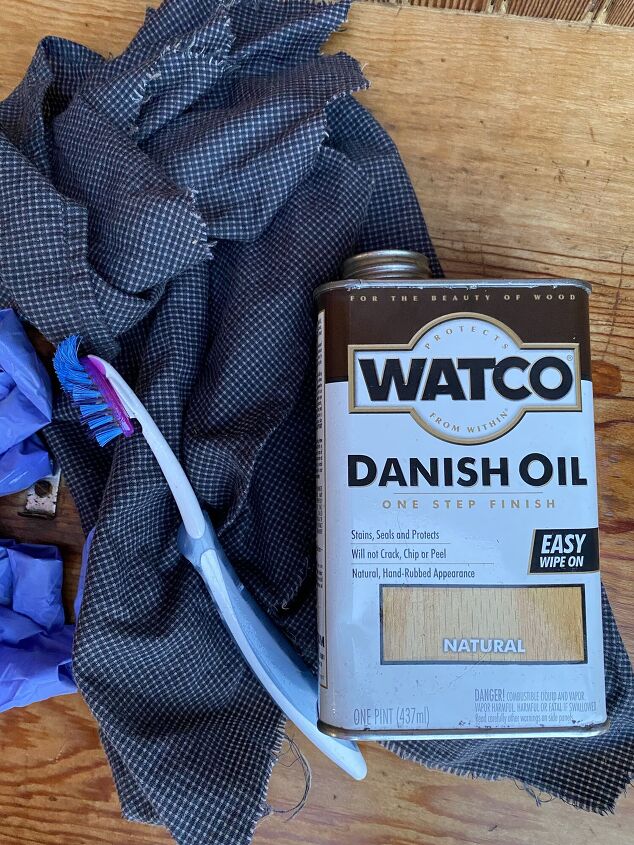
- Toothbrush
- Bleach
- Bowl
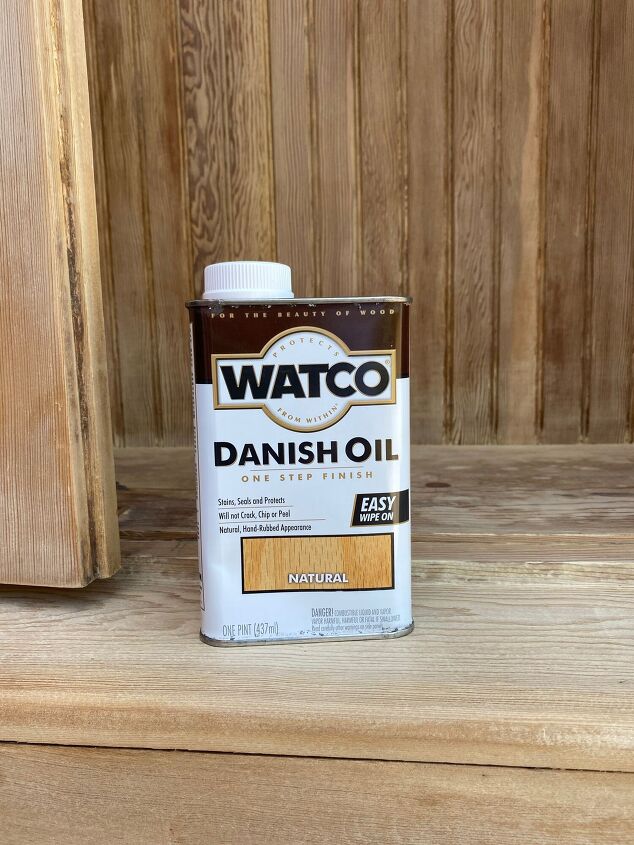
- Sealer / hemp oil / Danish oil (if you choose)
- Optional: Mineral spirits if you want to wipe it down after removing the stripper
This is a long process, but if you’re like me and up for a good DIY challenge, then it’s worth it!
Applying Stripper
First we need to remove the textured glaze that’s covering the hutch! **If you skip this step and go straight to sanding, your sandpaper will be covered in the glaze and have to be changed in minutes!**
We (hubby helped;) removed all of the doors and hardware. I then used a paint brush and covered the wood with the stripping gel. Next cover with press and seal. Allow this to sit for a few hours and then use a scrapper to scrape off each layer.
This sounds so easy… RIGHT?! 🙄
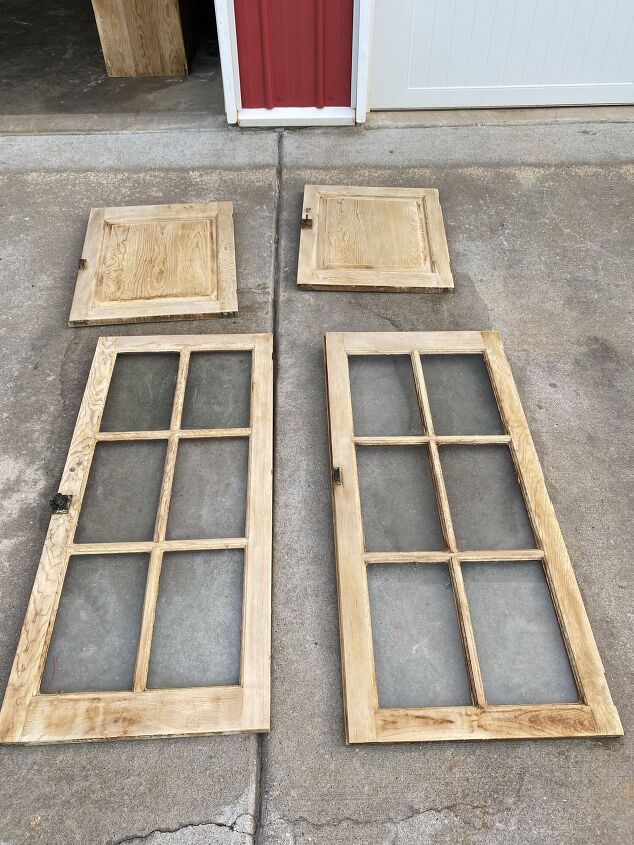
The hutch was easy breeze, super simple. All of the grooves on the doors, around the window panes, and on the shiplapped backing NOT SO MUCH!!
Learn from my mistakes and don’t goop your stripper up in these areas! If you do, then do not let it dry!! If you accidentally let it dry (like me) then be ready to shed a few tears when you try to remove it. 😂
I’ve seen people use a dremel (which I need to buy one) to remove the stain in tight spots like these and it looks so much easier.
You may need to repeat this stripping process until you have the sealer/ glaze / paint/ or whatever outer coat that is on your furniture removed. It took 2 times for me.

Sanding the Wood
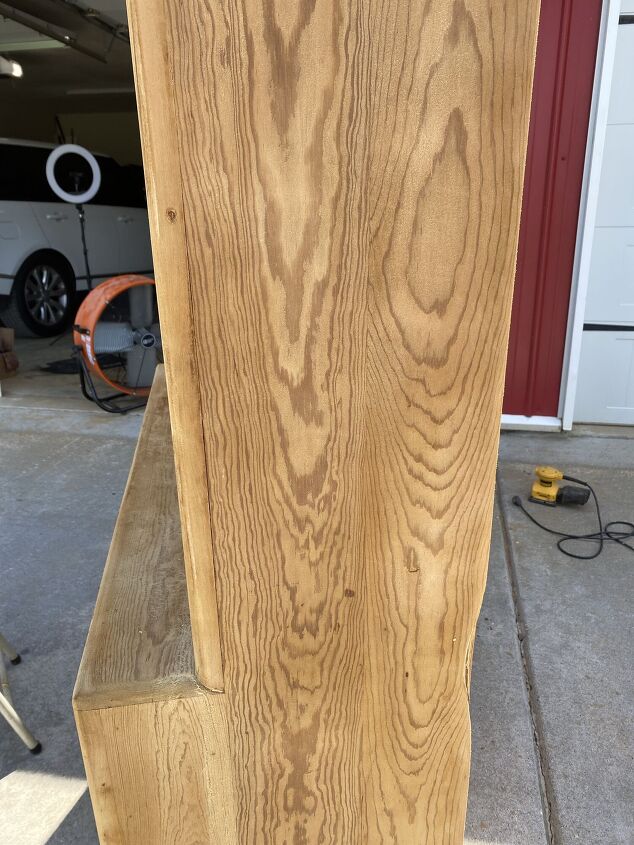
Now to use a heavy grit paper and sand the wood. I use my palm sander and a sanding block for the grooves.
Bleaching the Wood
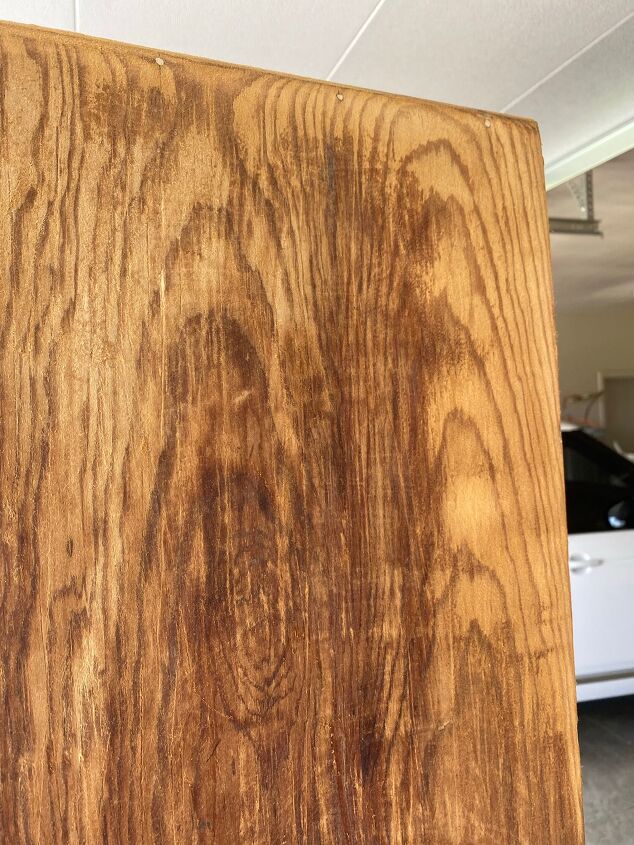
After I gave everything a good sanding I decided to bleach the wood. The first time I used my usual mixture of 1/2 bleach and 1/2 water and covered the wood with it. I then saw where Natalie @VintagePorch used full strength bleach on some of her pieces and gave it a shot. No matter which method you use, be sure to wear your protective gear and be in a well ventilated area. I worked outside doing this.
You can spray it on or I prefer using a paint brush to apply it. For the tight/ grooved areas I used a toothbrush to ensure good coverage with the bleach. After a few hours I q wiped the wood down with a wet cloth. Some people say to use vinegar to neutralize the bleach, but I’ve never tried it.
More Sanding
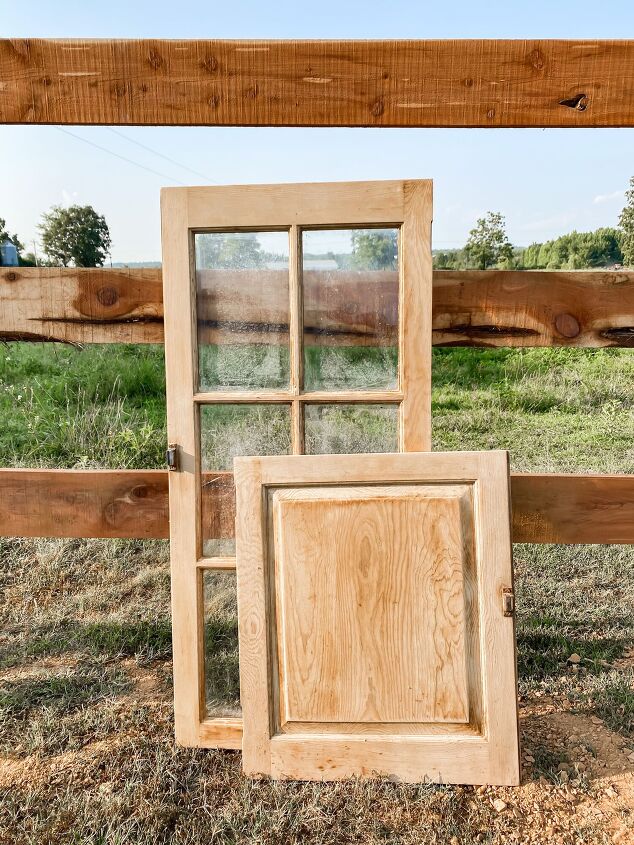
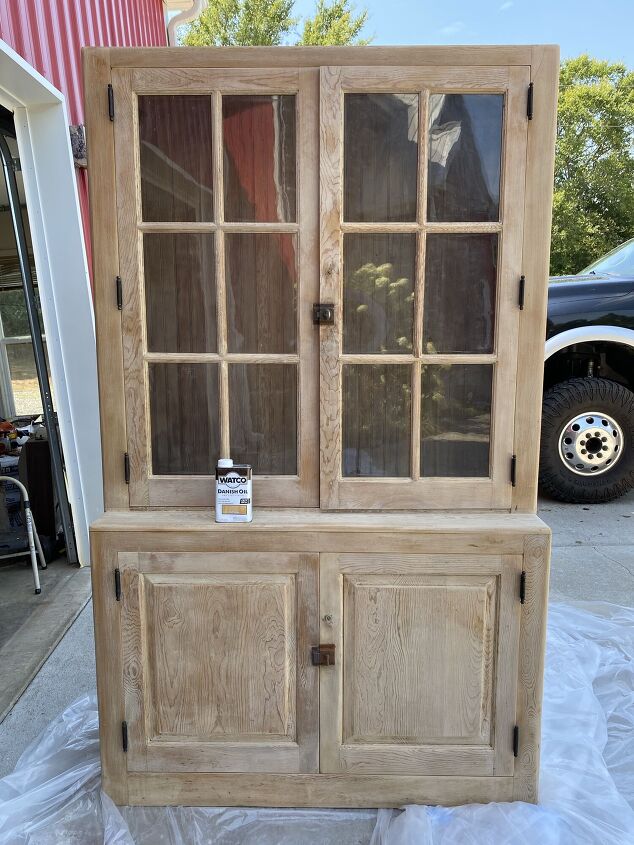
I then used a medium grit paper and went over the wood another time with the palm sander and the sanding block. I absolutely LOOOOOOVE the wood after this and honestly wish I had stopped here!! BUT…
Sealer
Hubby reattached all of the doors and hardware and then we applied the sealer. I used “natural” color Danish Oil that I found at Home Depot. Like I said above, I wish I had skipped this step because it brought back some of that orange/yellowish color I was trying sooooooooo hard to remove. I still love how it turned out, but honestly if I wasn’t in such a rush to move the hutch in the house, I probably would’ve sanded the oil off. Don’t get me wrong, I am still super pumped to have the hutch and I like the look a lot better now then when I bought it, but I will probably end up sanding it one more time and applying a clear wax.
What do y’all think? What is your favorite wood tone? I for sure prefer the more raw, natural wood tones.
As always I’ve included a short video of the redo process at the end 🙂

Thanks so much for stopping by and for taking the time to read this post. Be sure to like and drop a comment so I know you stopped by. Please give me a follow here, on Instagram, Facebook, Pinterest, Home Talk, and Tik Tok !
❤️Danya


Frequently asked questions
Have a question about this project?