


Sanded and Stained Table

I got a great pine dining table for a steal at an auction but it was pretty worn and dirty looking. I loved the legs because they came off easily and didn’t require any tools to remove them.
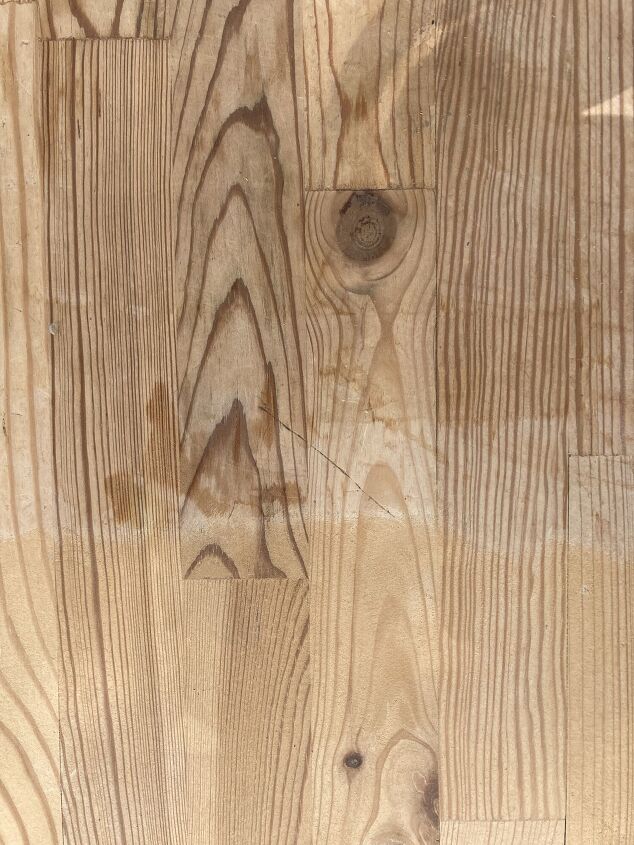
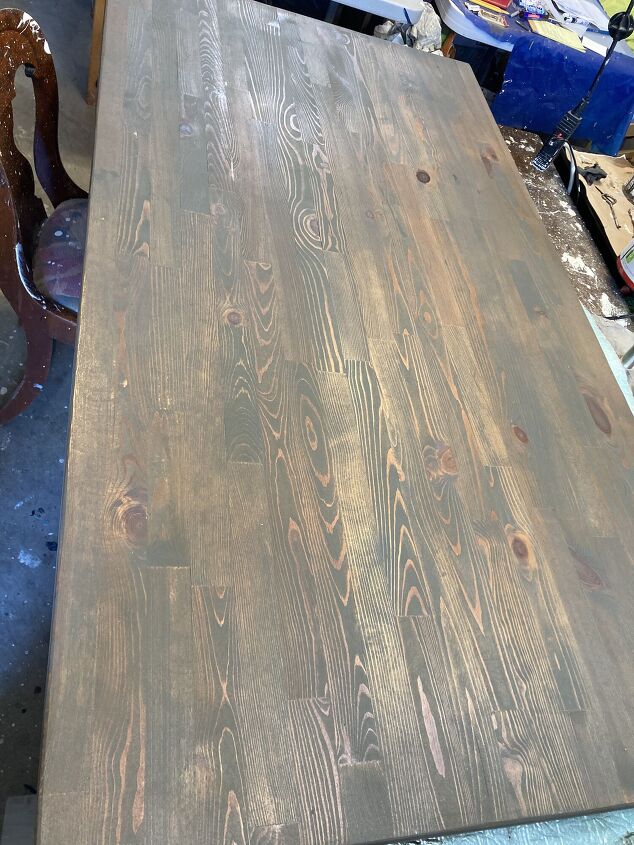
The top of the pix is what I started with. The bottom is sanded.
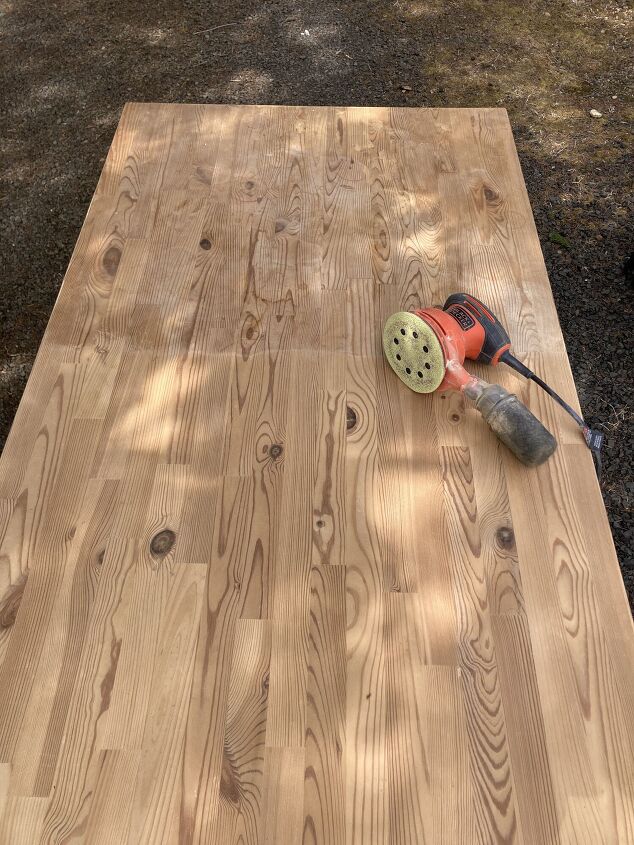
I used an orbital sander to sand the top only. I started with 80 grit then went to 120 grit sandpaper. It sanded very well.
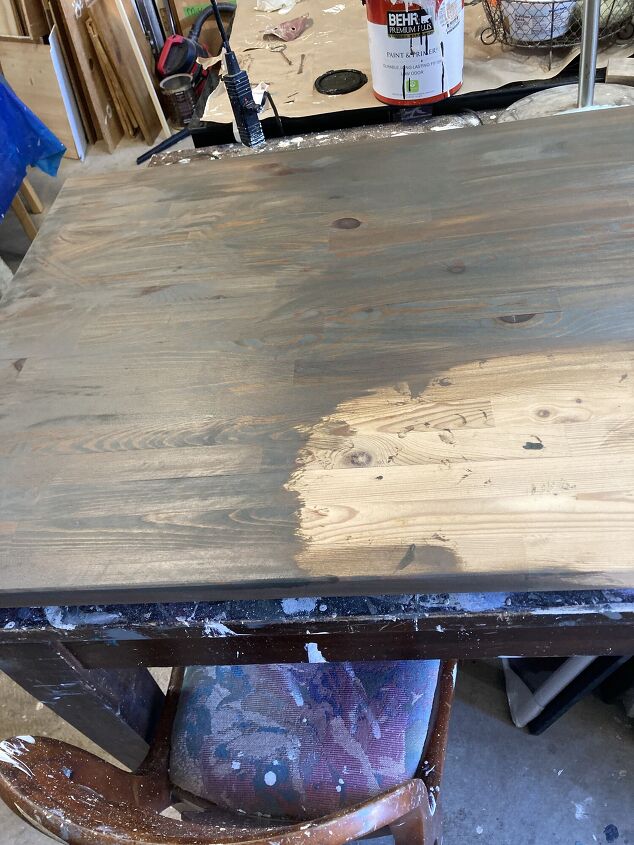
Then I began to stain it. I wiped it on then using a rag, then, I wiped it off using a clean rag. This took off excess stain that was left behind.
I love this color. I has both brown and gray at the same time. Very rustic and warm.
Here it is after one coat. It looked good but I wanted it a deeper tone.
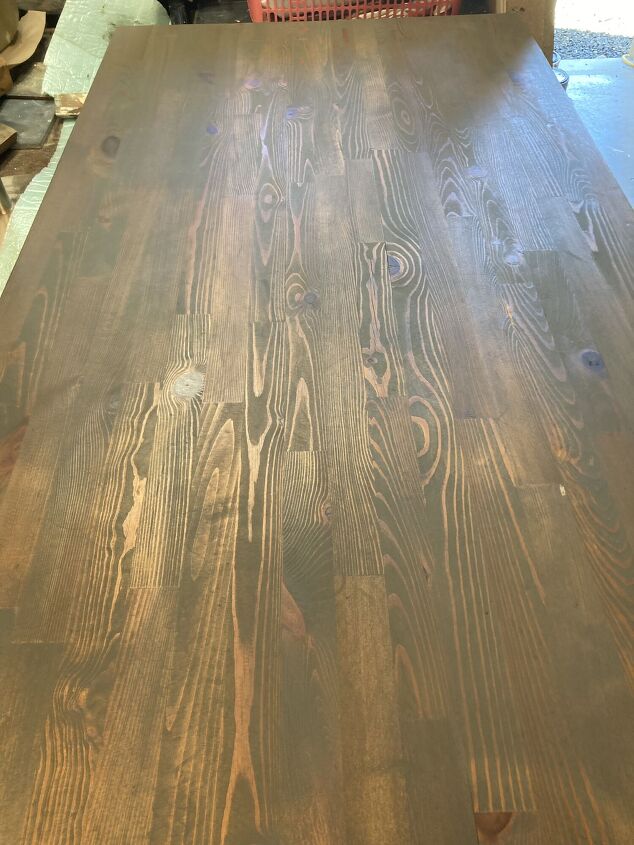
This is after 2 coats. It brought out the richness in the wood that I was looking for. And then I sealed it with a satin poly acrylic. I put two coats of this on.
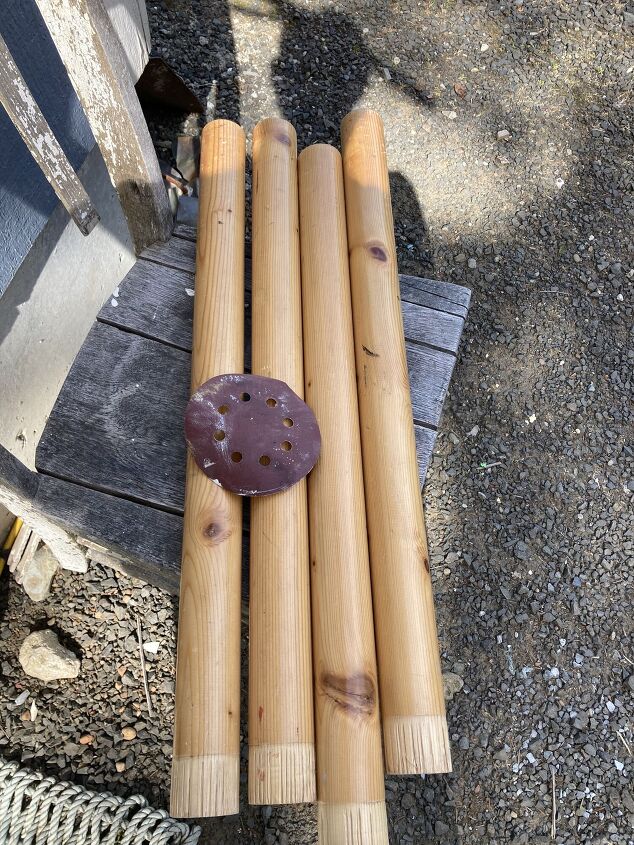
Now onto the legs. I hand sanded the top layer of sealer off.

Then, I used a gloss spray paint to spray the legs. I sprayed them twice just to make sure they had good coverage.
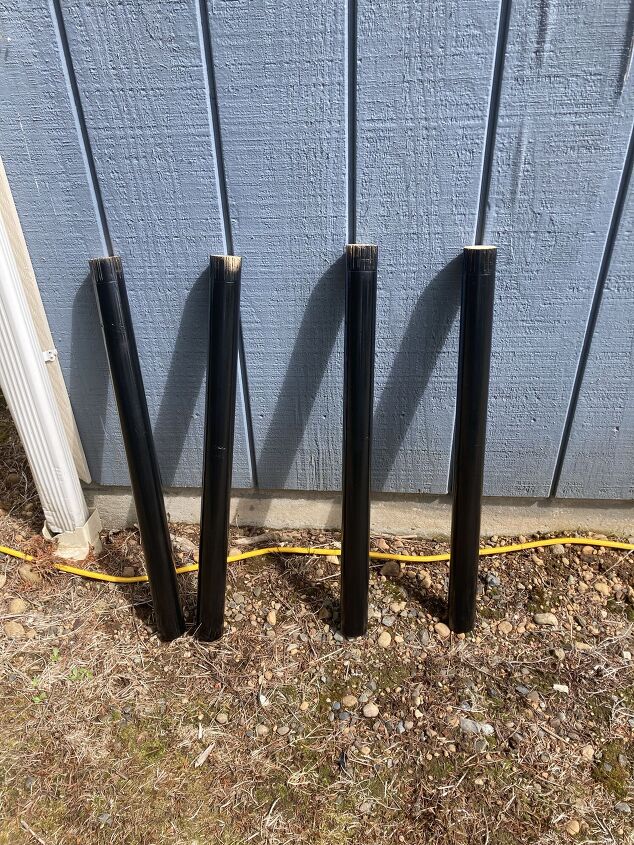
After 2 coats.

Then I attached the legs to the top. To do this all I had to do is push down on the top to secure them in the holes.
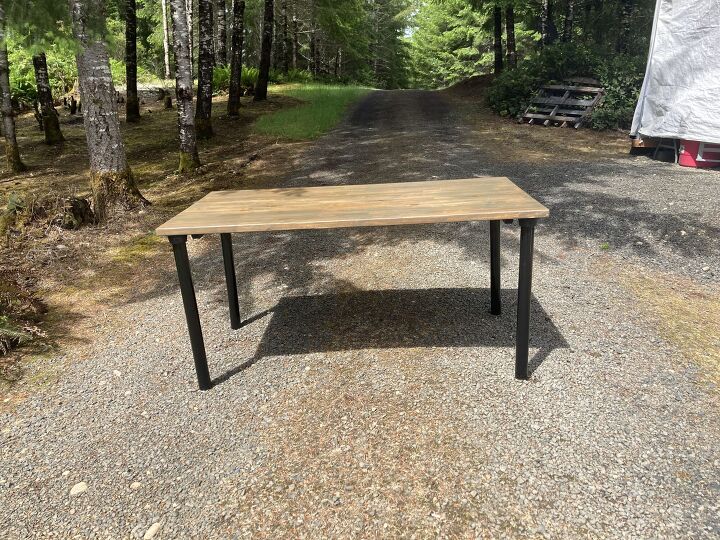
And here she is. I love it!


Frequently asked questions
Have a question about this project?