


Craft an Anthropologie-Inspired Creative DIY Ceiling Light Cover
Want to bring some rustic charm into your room? Here's your chance with this creative DIY ceiling light cover project.
Using affordable supplies from the Dollar Store, you can fashion a one-of-a-kind woven light fixture that changes up any space.
This post was transcribed by a member of the Hometalk editorial team from the original HometalkTV episode.
This guide will walk you through making your own DIY hanging light using Dollar Store wreath forms and jute twine.

1. Gathering Materials
To begin this DIY pendant light shade project, head to your nearest Dollar Store and pick up the following:
Tools and Materials
- Wire cutters
- Scissors
- Floral wire or craft wire
- Jute twine (sufficient amount for weaving)
- Light cord with a socket
- Low-wattage bulb (e.g. nightlight bulb or LED bulb)
- Ceiling hook
- Large wreath form
- Two small wreath forms
- One 3D wreath form
Remember that the specific quantities of jute twine and floral wire will depend on the size of the wreath forms and the design you're aiming for. Adjust the materials accordingly based on your preferences and the actual dimensions of the wreath forms you're using.
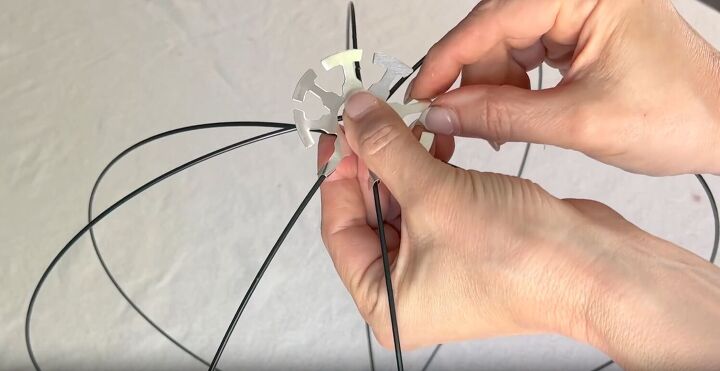
2. Prepare the Wreath Forms
Assemble the 3D wreath form according to the instructions provided.
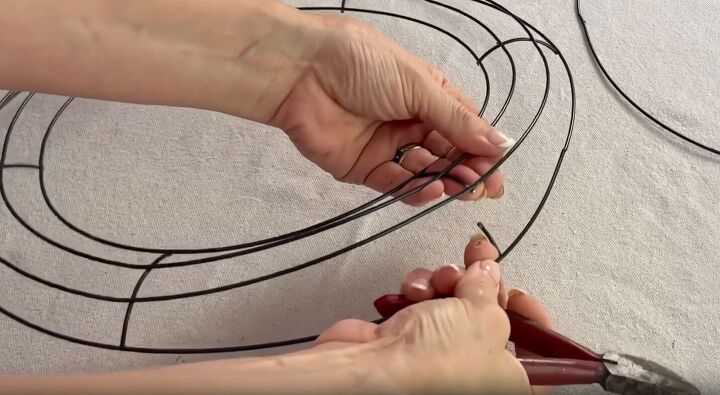
Next, using sharp wire cutters, Carefully separate the wire rings from each other on the large and small wreath forms.
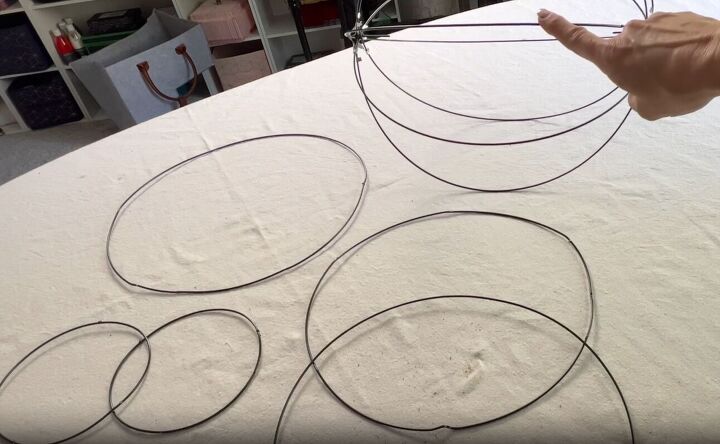
For this project, you are going to use the second-to-largest ring and the second-to-smallest rings from the large wreath forms. You will also need the smallest rings from the smaller wreath forms.
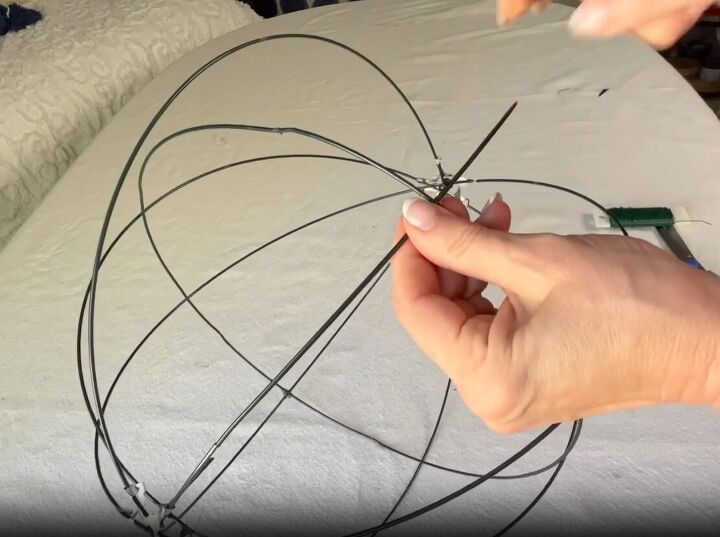
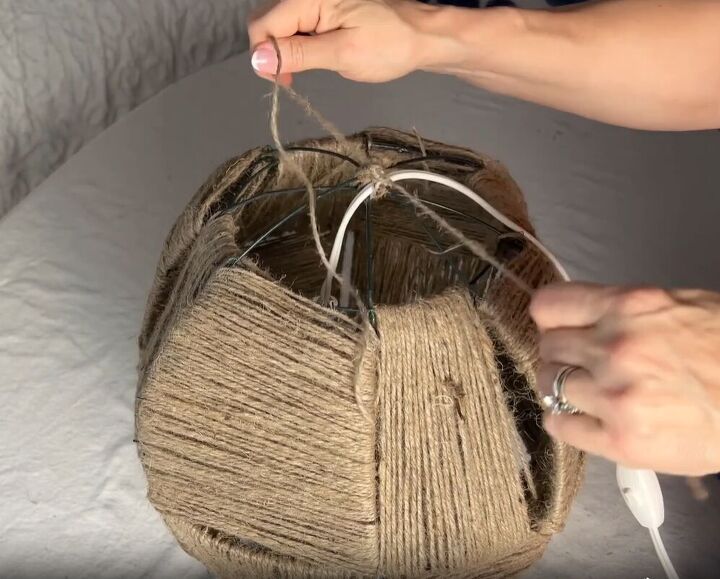
2. Build the Base of Your Woven Light Fixture
Take the second-to-largest ring and position it at the center of the wire globe.
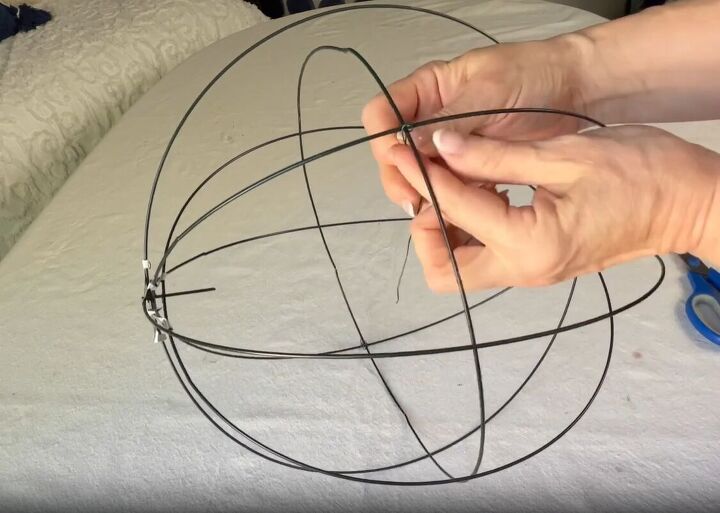
Now, grab two of the second-to-smallest rings and attach them horizontally, finding their place midway between the center ring and the bottom of the globe.
Finally, take the smallest rings and attach them horizontally to each end of the globe.
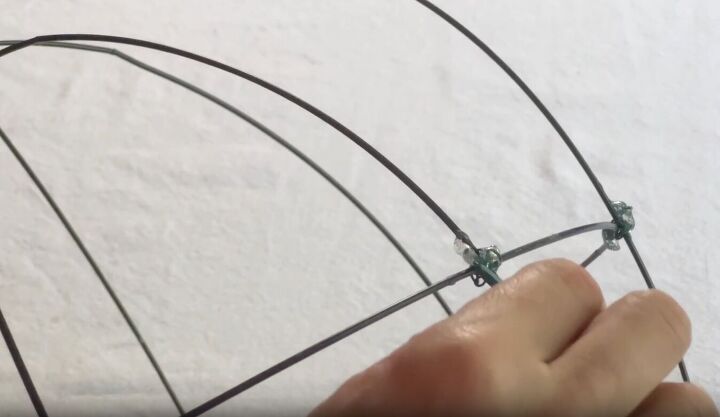
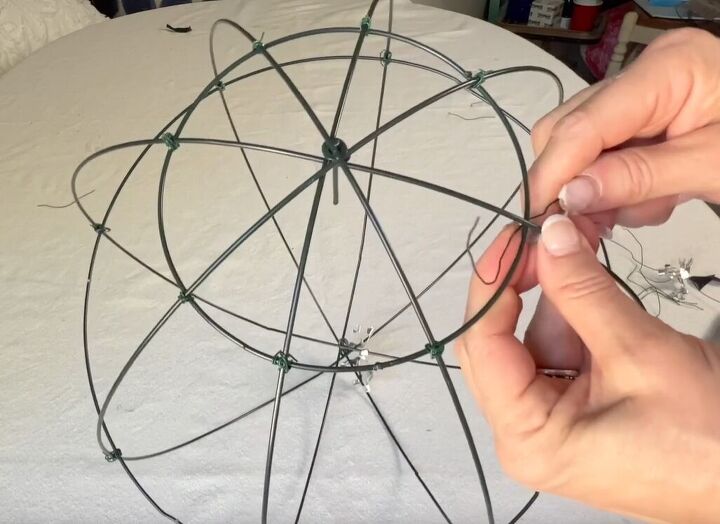
Secure everything in place with floral wire as you place them in the globe.
Add glue to the points of attachment to secure the floral wire in place.
3. Weaving the Jute Twine
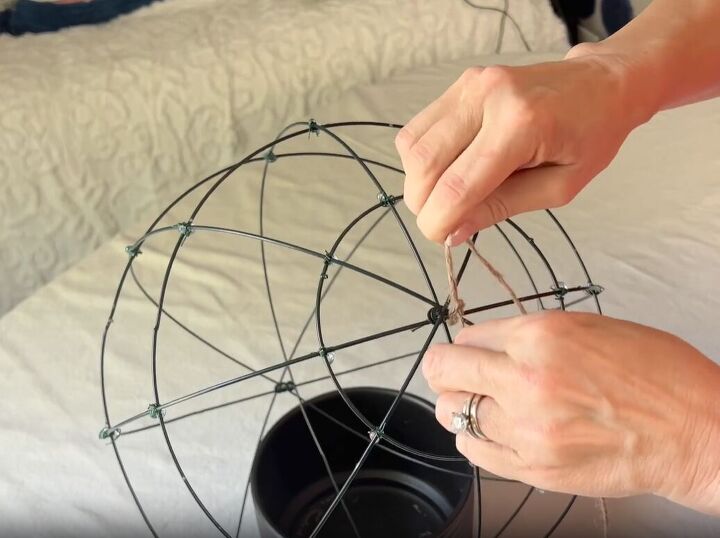
Let's dive into the intricacies of the weaving process. Start by knotting a piece of jute twine securely at the top of the globe.
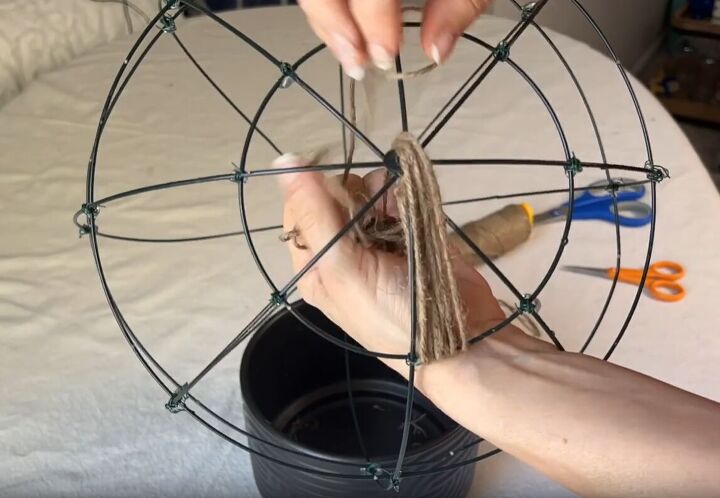
Start to loop and weave the jute twine over and under one section of the wire globe.
Once finished with this section, skip the section beside it and start to weave the jute in the next section in the same direction.
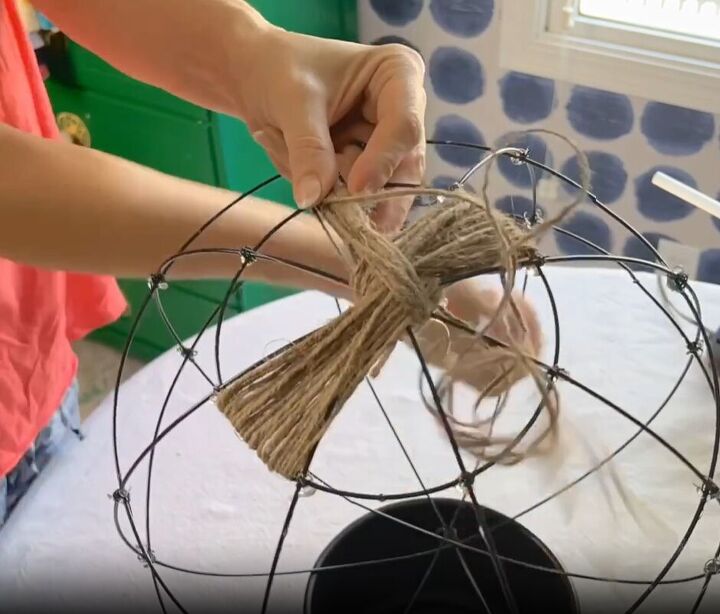
Work your way up the globe and weave the jute in every other section.
At this point, make sure you are still weaving in the same direction. I began my weaving horizontally.
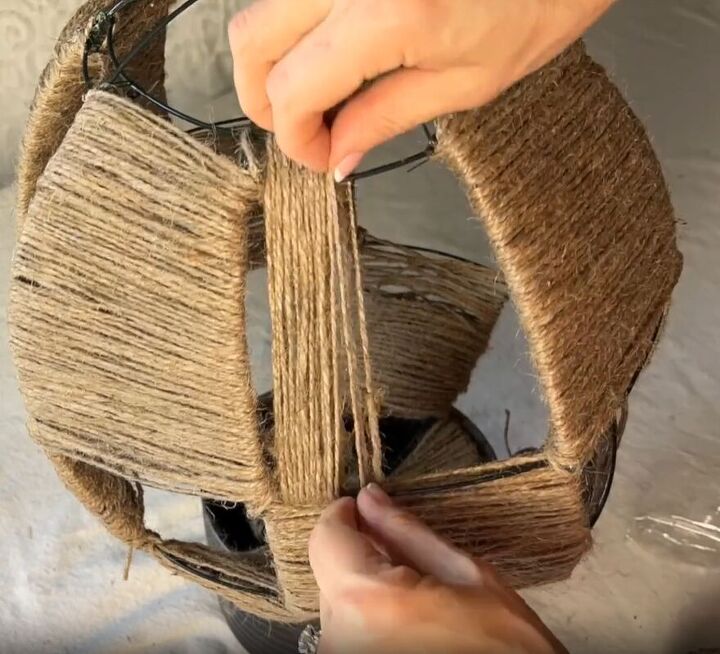
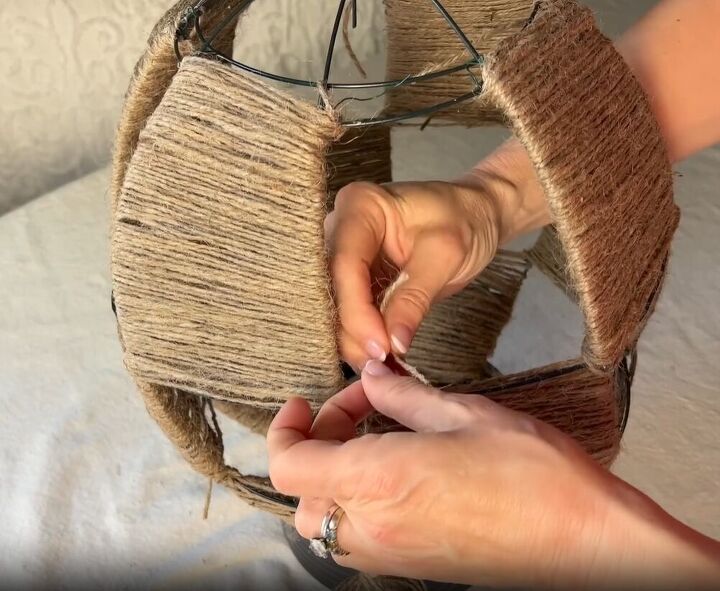
Once you have the horizontal sections complete, start to weave the alternate sections vertically.
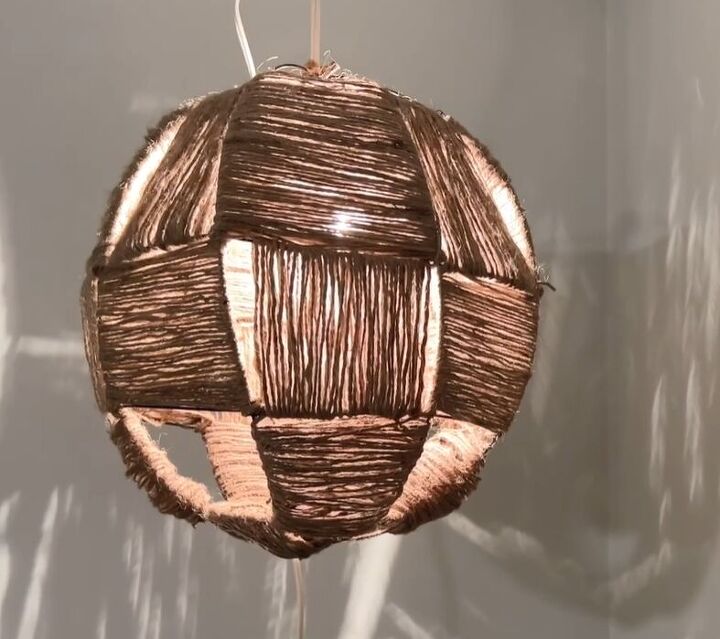
I completed the weaving throughout the middle of the globe and left openings at the top and bottom of the globe for visual interest.
4. Illuminating Your DIY Hanging Light
When you have completed all of your looping and weaving, take a light cord and attach it to the top of the globe with the bulb hanging in the center.
Use a very low-wattage bulb such as a nightlight bulb or an Led bulb that does not get hot.
Hang your woven jute light fixture from a hook on the ceiling.
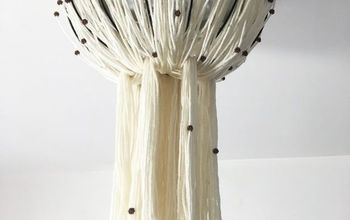
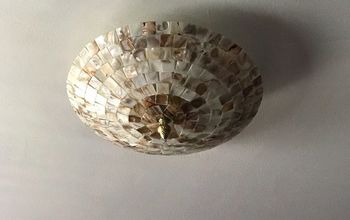
More Creative Pendant Lights
Creative DIY Ceiling Light Cover Tutorial
Whether it's for your living room, bedroom, or any other space, this unique pendant light is sure to captivate attention.
I can't wait for you to embark on this creative journey and make it your own. So, why wait? Get started on your very own woven light fixture and let your creativity shine!
Did this project light up your creative spark? Share your thoughts and experiences in the comments below! I'd love to hear how your DIY ceiling light cover turned out.


Frequently asked questions
Have a question about this project?