


Two for One Transformation

I just moved into my new home north of Houston about 8 months ago and used one of those metal shelving units to store all the miscellaneous stuff in my laundry room. I didn’t like the mess and wanted a more organized approach for storage. There happens to be an unused coat closet right next to the laundry room, so I decided to remove the shelf and hanging bar and build a storage area.
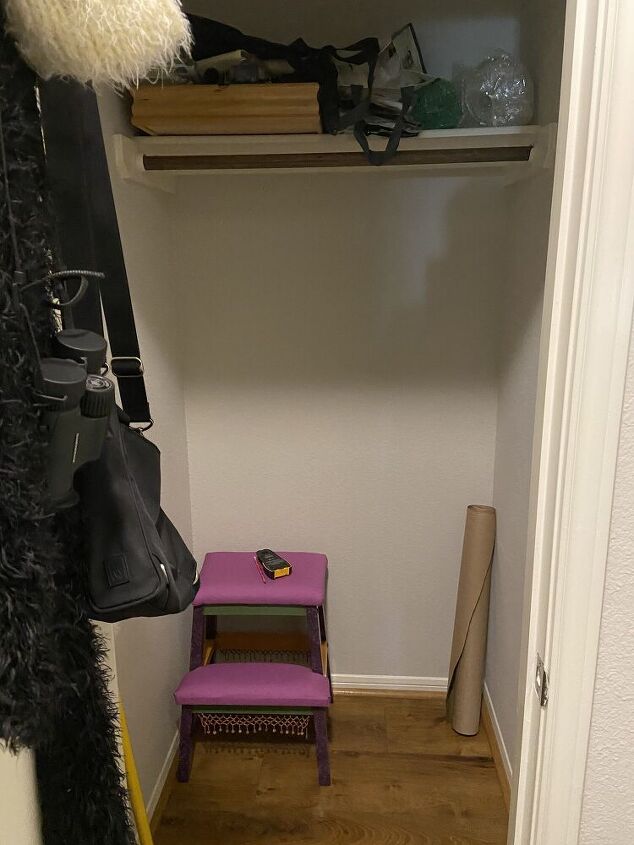
Living in the south we don’t have a lot of coats. I had a few things stored here, but little else.
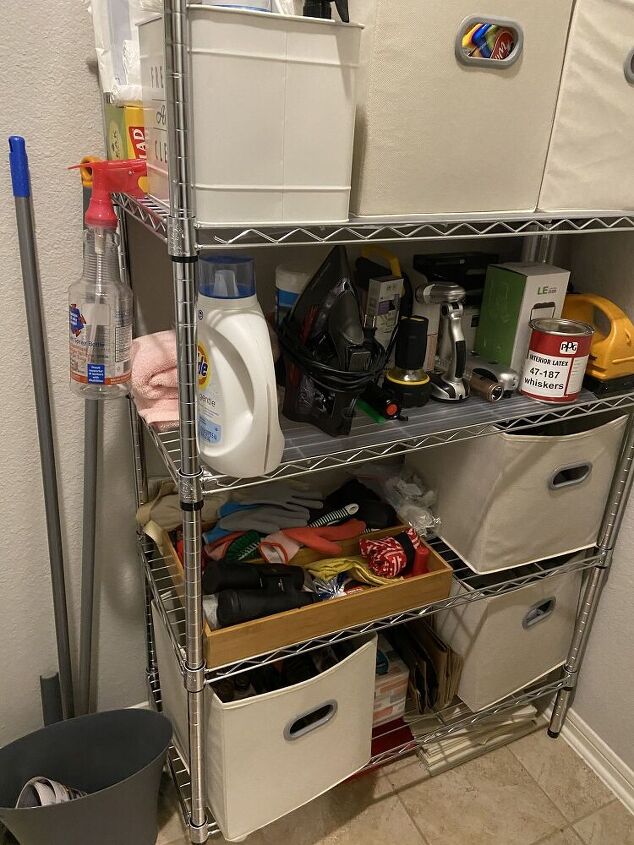
This was a quick interim solution to storage and it looked horrible. Plus, most of the stuff here had nothing to do with laundry room needs.
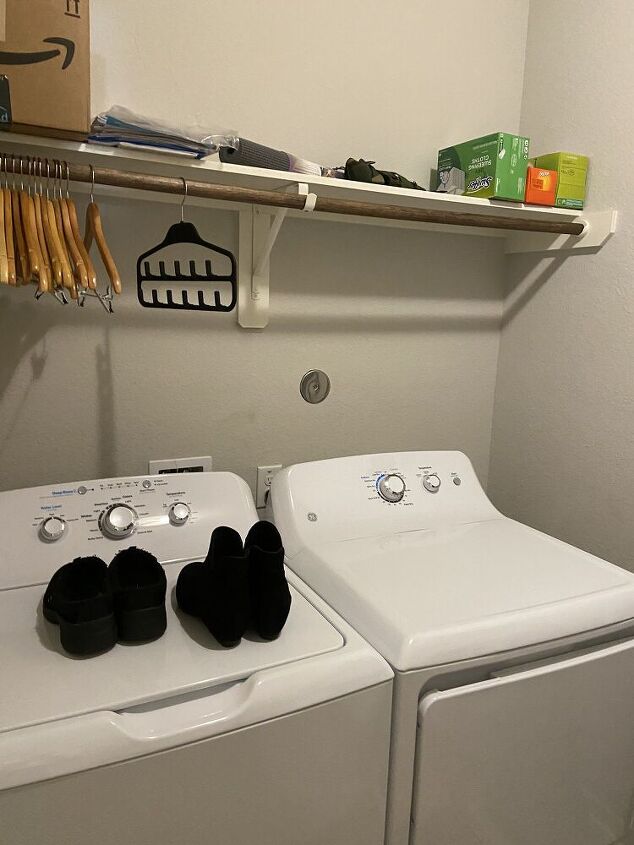
There is a shelf high above the washer and dryer and I needed to use a ladder to access it, so it was basically useless. The hanging bar was not a problem to reach.
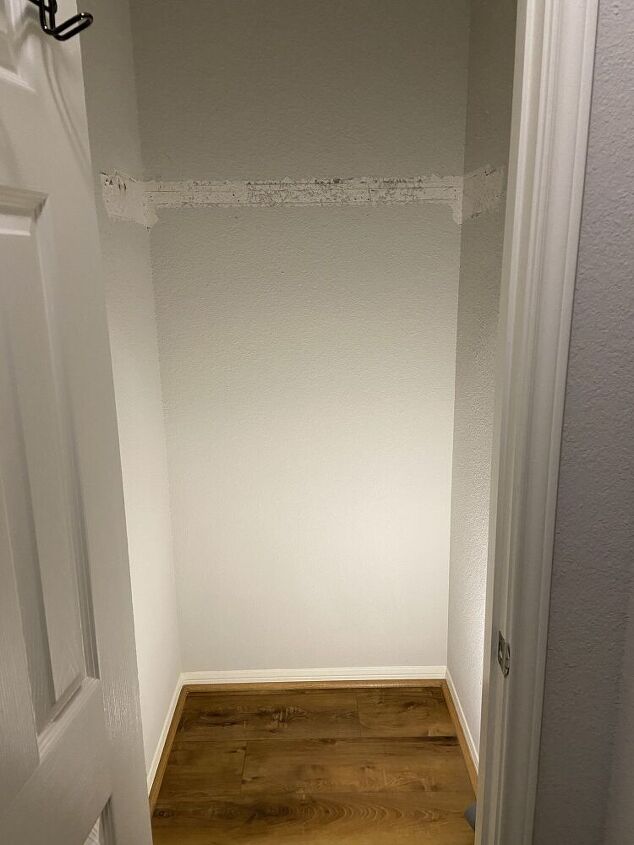
I removed the shelf and hanging bar as well as the few items being stored there.
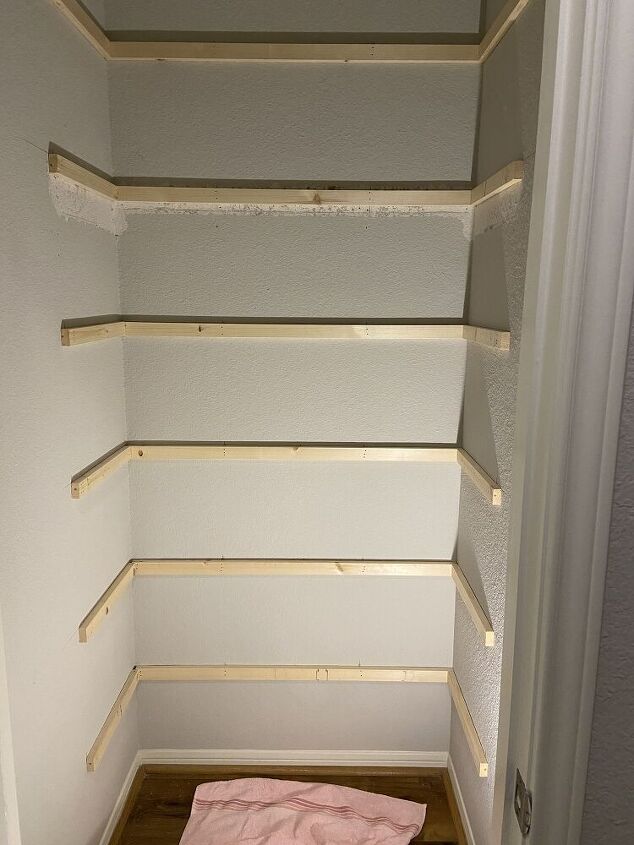
First I found and marked the studs. Then using my level drew lines where I wanted to add the supports for the shelves. The closet is 42” D X 39” W. I used 1” X 2” boards for the supports and cut and nailed them into the studs. The side supports were cut to 15 1/2” and back supports 42”.
At this point, I touched up the wall using the paint left over from construction.

Using a fence guide and battery powered circular saw, cut and installed the shelving. Then using my nail gun, nailed the shelves on all sides to the supports. I used 8’ X16” boards as I wanted deep shelving. I like a finished look to the shelving so I used the remaining 1” X 2” boards to face the front shelves and the two sides. It just makes it look more like a built in.
The last thing I did before priming and painting was to fill all the nail holes and a lot of caulking and sanding.

I primed, painted and sanded first coat. Then I added two more coats of paint, sanding in between coats. At last, I waited one week for the paint to cure before adding my storage bins. The paint takes a little longer to cure in south Texas heat and humidity. I was in no hurry. And I didn’t want the surface to have any sticky feel to it.

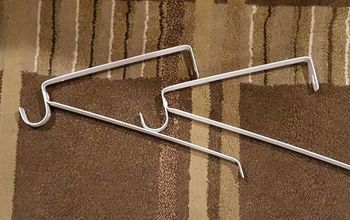
I already had the storage bins so I ordered the label holders from Amazon and labeled the bins contents. Amazon has amazing wall mounted storage holders for mops and brooms. I found one with both hooks and pop ins for handles without hanging holes. Now, mops, brooms and purses hang neatly on the wall.
Almost forgot, but I was having all my ceiling lights changed out and had the guys install an overhead light and wall switch. It sure makes a difference.
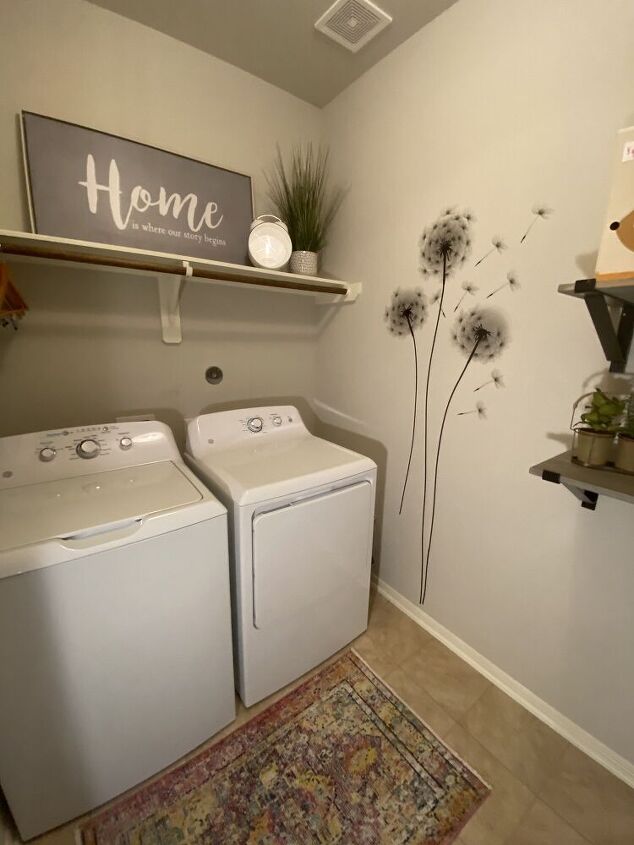
I really did not want to paint walls or go outrageous with updates. So, I simply ordered these removable wall decals from Amazon and put them up.
The reason I didn’t try to replace the shelf with cabinets is because there are gas pipes located there and didn’t want to take the chance of drilling into the pipes. And, I needed the hang bar for when I do laundry. Then I just added a clock and greenery that I already had and bought the decorative board from At Home.
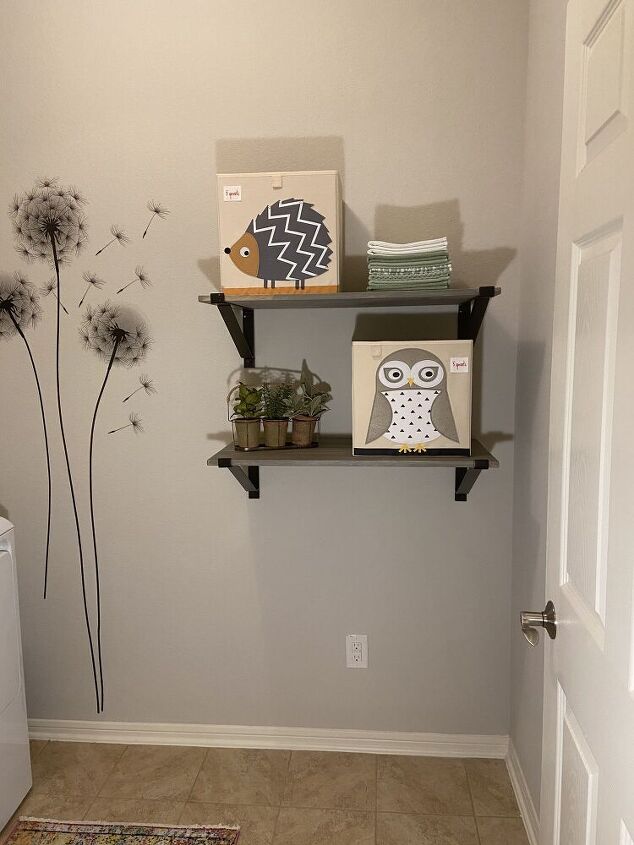
The only thing I needed in my laundry room was an iron, laundry detergent and ironing board. With the left over boards from the shelving, I cut and stained two 36” lengths and mounted them on brackets ordered from Amazon. The two really cute storage bins came from Target. My iron and detergent are stored here completely out of sight. The ironing board hangs on the back of the door and out of sight.
The cost of the laundry room make over was less than $30 and I’m pleased with the outcome. My hall storage has made life so much easier and I couldn’t be happier with the outcome.
Comments
Join the conversation
-
Came out great. Lots of storage and good use of space. Great share
-
Wow, you really created a lot of new organized storage space in your home. I love that you took the time to fill the holes in the boards and finish them so well. Your project has really motivated me! Thanks for sharing. Your laundry room is very attractive too.


Frequently asked questions
Have a question about this project?