


Couch Makeover
4 Materials
$80
4 Days
Medium
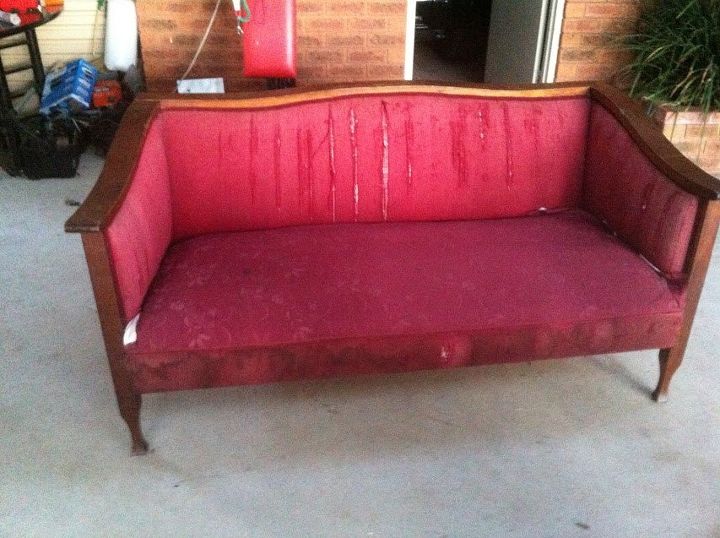
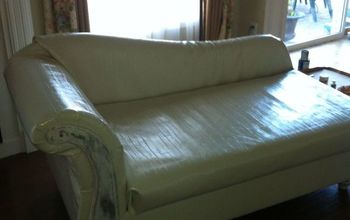
This couch was on its way to the tip. I asked the owner if I could take it and she was happy for it to be gone. Because it was free I thought it would be a good project for me to try and see if I could restore it and at the same time see how they are put together. I had never done a couch before so this was my test run.
Couch makeover
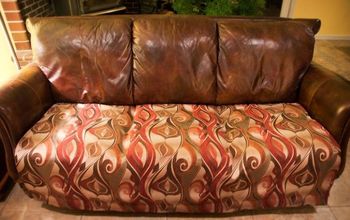
I have done a chair restoration in the past and it turned out awesome so I was hoping this would be the same. The fabric on this couch was so worn and threadbare there was no chance of saving it. So I started by stripping all the fabric off the couch. It was held on by lots of staples that were hidden by braided rope.
Couch Makeover
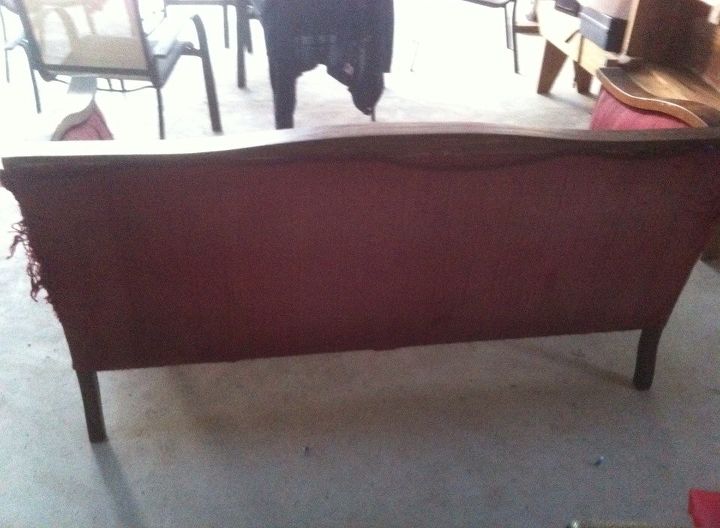
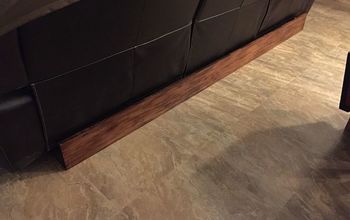
The back of the couch was one large piece of fabric which I removed and found that the padded inside was not to bad. The wood was in bad condition. I glued all the loose joins back together again and sanded down all the wood. I stained the wood using cedar stain and added 2 coats of polyurethane. The couch looked good so I went ahead and ordered some fabric to recover it with.
Couch Makeover
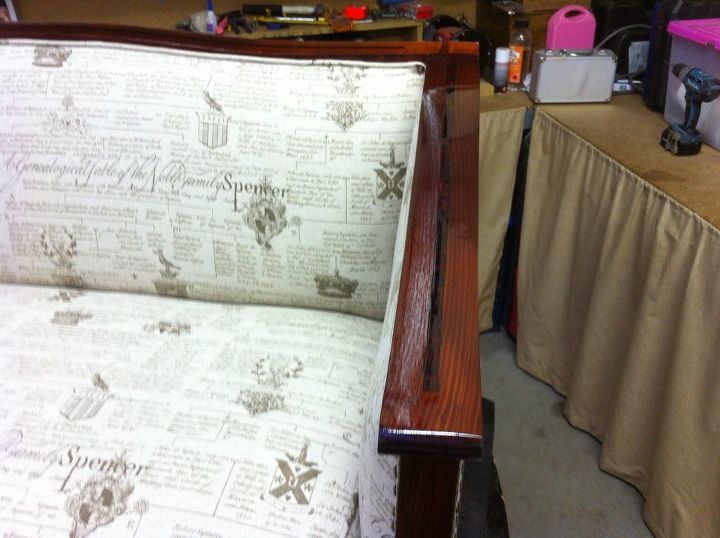
The arms had some very deep scratches that were so deep I was not able to remove them. To hide the scratches I used a wood router and routered out a groove and added an inlay.
Couch Makeover
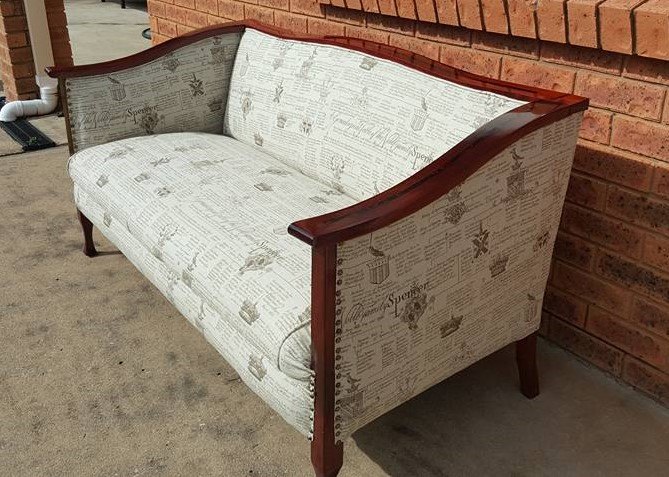
To add the fabric was surprisingly easy. All the fabric was just stapled in place and I added studs to hide the staples. The studs took longer to do than the whole makeover because each stud was added one at a time. They were also hard to keep straight. The fabric on the bottom was the only sewing that I had to do on this makeover. Because the fabric on the seat was a tiny bit to short I covered some string with matching fabric and made some piping to join the fabric so it looked like a seam. I have since discovered continious studs which are amazing. Check out more details on my site using the link at the bottom.

Couch Makeover
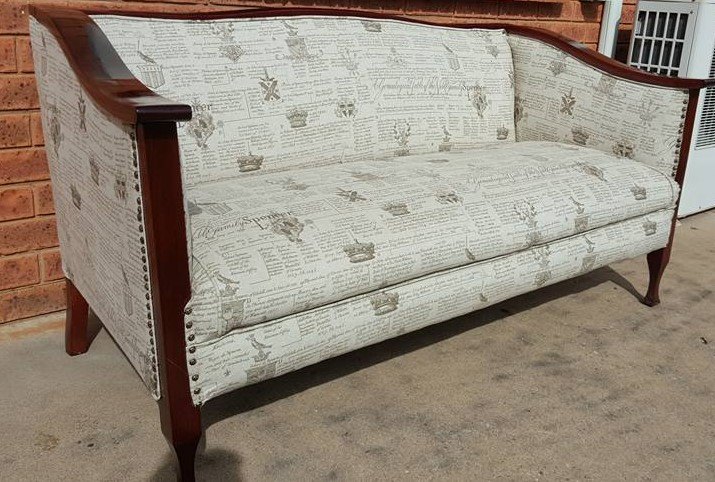
This couch looked so great in the end, I sold it on and the new owner loves it. If you are looking for a new unique idea for Christmas this year check out http://uniquecreationsbyanita.com/how-to-make-a-christmas-tree-shelf/

Want more details about this and other DIY projects? Check out my blog post!
Comments
Join the conversation
4 of 17 comments
-
Stunning!
-
I want to try this on my reclining chair


Frequently asked questions
Have a question about this project?
I sell a lot of stuff on Ebay. Considering selling furniture but not on Ebay. Where do you sell you furniture? Any tips?
What kind of fabric did you use? I am about to do some reupholstering on an antique rocker and a bench. I’m afraid to go too thick with the fabric, making it difficult to work with and pricey. However, the fabric I have is a sheet - a nice sheet, but a sheet. I’m wondering if it would work - if not, I’m thinking of adhering it to a fabric backing - you know the kind that makes fabric stronger: stiffer? Just some thoughts I don’t know the answers to. lol