


How to Install Shiplap on Fireplace Wall

We did it! My husband and I actually started and finished a DIY project in our home in one day. From getting the materials to painting the trim, the real shiplap above our fireplace mantle is 100% complete. Therefore, I want to share how to install shiplap on a fireplace wall, so you can do it too!
History of our Fireplace Mantle
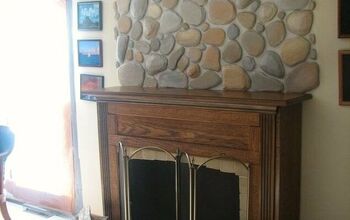
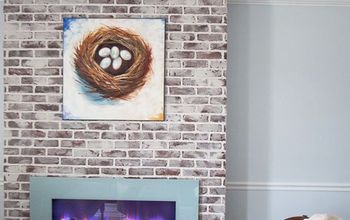
When we first moved into our home, my husband and I created a removable planked wall from 1×4 pine boards. It was a great way to add color and texture above the fireplace mantle without any permanency. However, it was built like a single sheet of wood laid against the wall, but only attached with a single hanging wire on a screw in the wall. Over the years, I painted it different colors, but ultimately removed it A few months ago, I applied peel and stick faux shiplap wallpaper above the fireplace. The wallpaper is a quick, affordable way to update a space. I loved the look, but wanted the texture of real shiplap boards. Therefore, we decided to knock out this project on a Sunday afternoon.
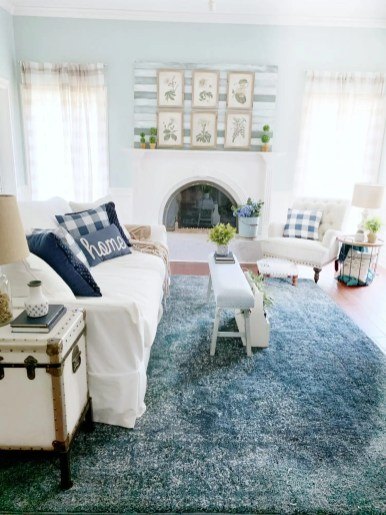
Removable wood plank wall
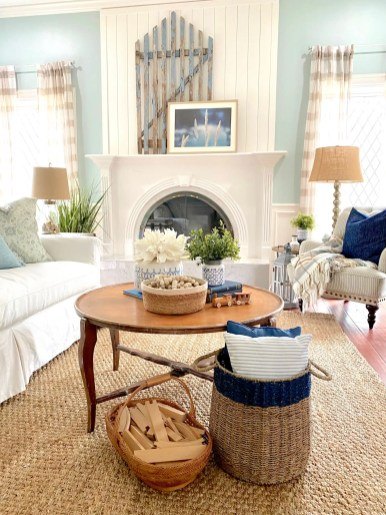
Peel and stick faux shiplap wallpaper.
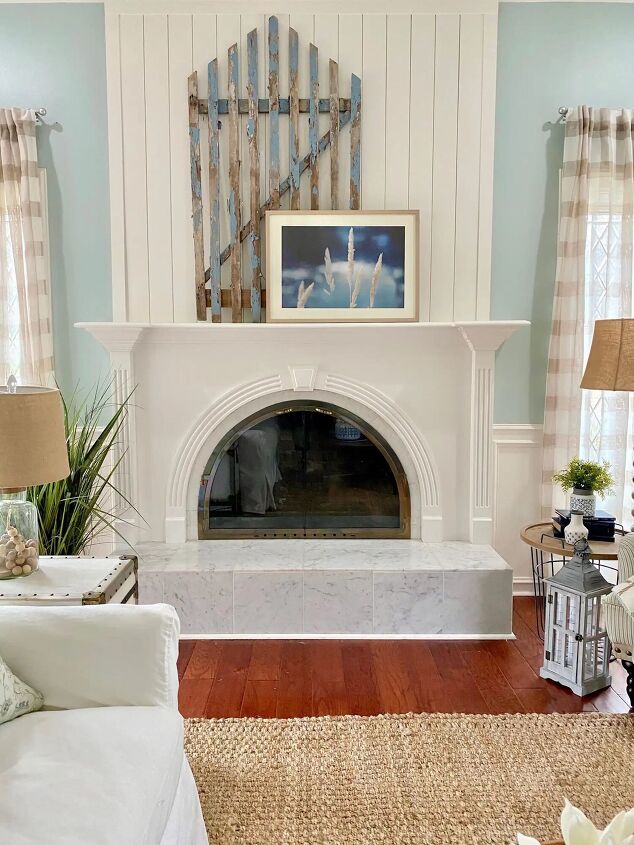
Real shiplap on fireplace mantle.
Materials to Install Shiplap
- Pine Nickel Gap Ship Lap Board, from Home Depot
- 3 1×3 pine boards for the top and two sides (6 feet boards worked for us)
- 16 gauge finish nailer tool (we use Ryobi cordless) and 2 in. x 16-Gauge finish nails
- Caulk gun and paintable acrylic latex caulk
- Oil base semi gloss enamel paint but latex will work, brush
Tip: These boards are already primed, so painting the boards white is easy. I like oil paint for my wood trim and mantle, so I chose to use oil paint on the shiplap, as well. However, latex paint will work too.
Just know if you choose to paint the boards a different color, like blue or black, use a paint sprayer to get in between the panels or paint boards prior to installing.
Tips to Install Shiplap above the Fireplace
- Measure the space between the fireplace mantle and ceiling or bottom of crown molding, if applicable. Then, measure the length of the fireplace to determine how many boards you will need. I prefer the shiplap wall to align with the columns of the fireplace mantle, so take the trim into consideration. Cut the boards the length necessary.
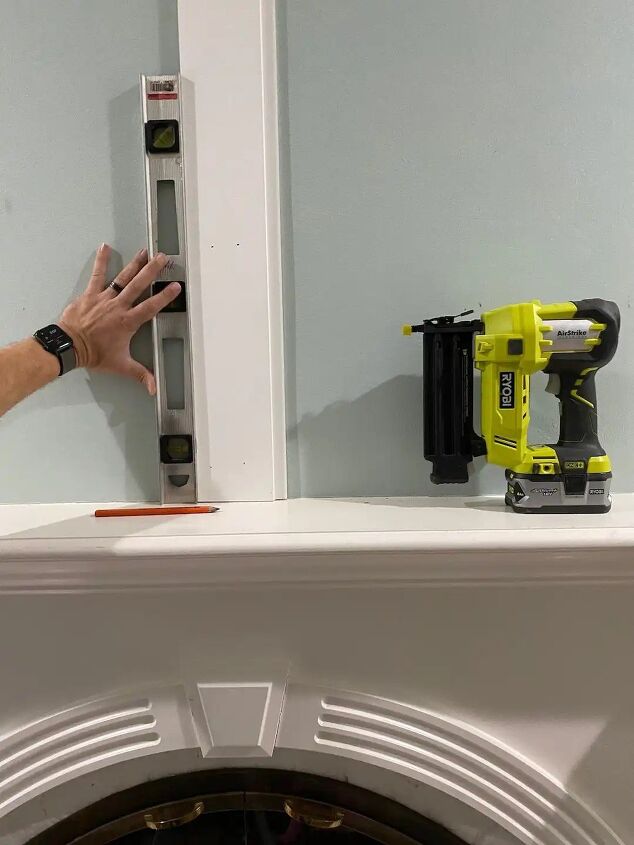
- Start in middle of the fireplace; always use a level to ensure the boards are straight. With a finish nailer (nail gun), add two nails near the middle, top and botton of the boards.
- Then, tap each shiplap board to lock in place before nailing. Continue to check with level after 3-4 boards.
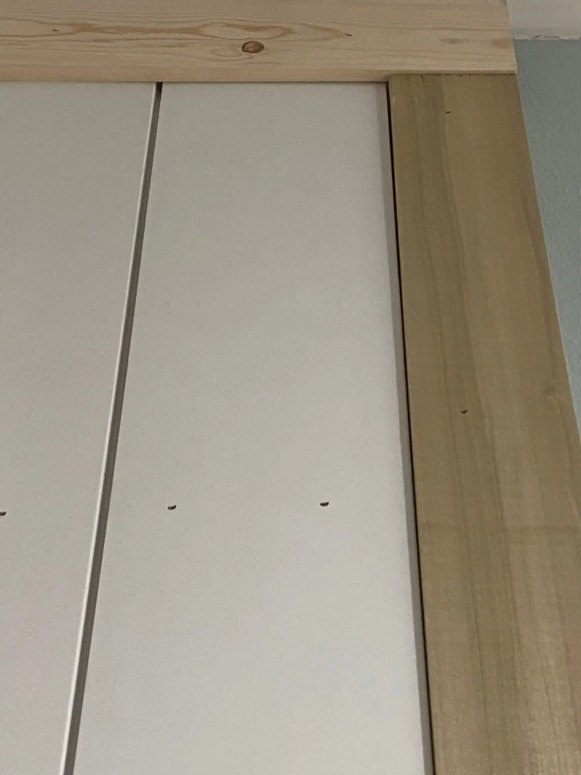
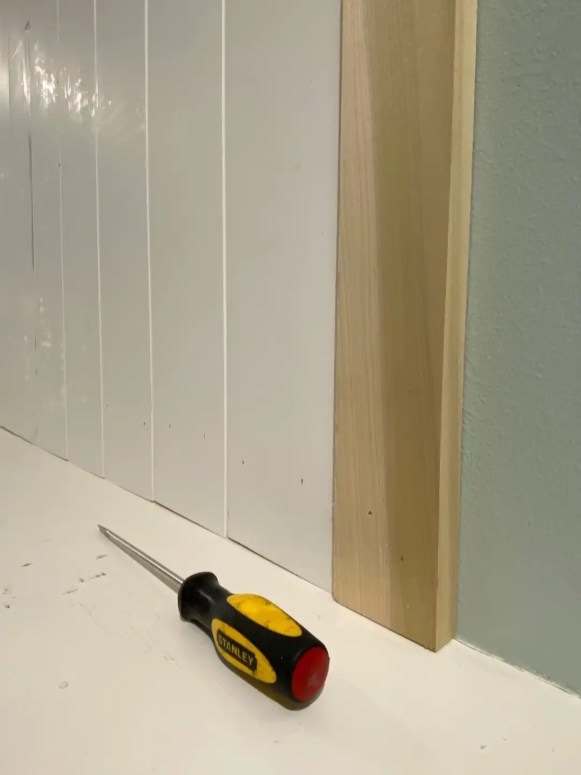
4. Once the shiplap wall is up, add the trim. First, measure the length of the shiplap wall, with two 1×3 boards on each side for the top piece. Then, split the board, because it will sit on top of the shiplap. Therefore, it needs to create a flush edge with the side pieces. Next, measure and cut the other two 1×3 boards (any trim you like) to fit on both sides of the wall.
5. Next, with paintable caulk, fill in the nail holes on shiplap boards and trim. I apply a dot of caulk or putty with my finger. Then, immediately wipe excess with a slightly damp cloth. Lastly, fill in the trim where the pine boards meet the shiplap and near the bottom where the shiplap rests on the mantle. Allow to dry 20- 30 minutes depending on caulk instructions.
6. The last step is to paint!!! Apply painters tape on the wall next to the wood trim. With oil based paint, I do one quick thin coat of paint. Then, I do a second thicker layer using longer brushstrokes. If you see dark spots through the wood or rough patches, use more paint. Oil paint likes to connect to create great coverage.
Tip: For smaller projects, I prefer to use a paintbrush, but a paint sprayer will produce a nice finish, too.
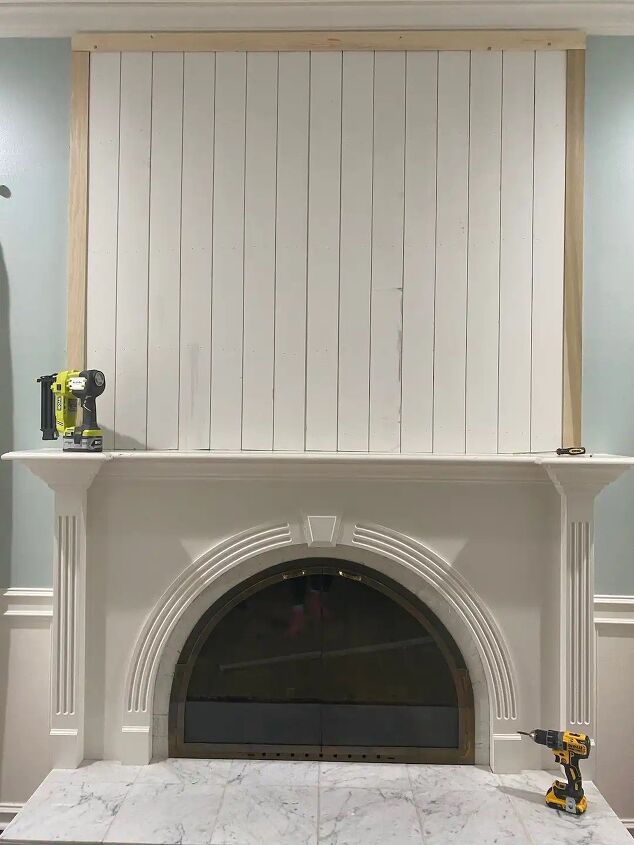
We chose to use real shiplap boards to provide a clean finished look above our fireplace mantle. I personally prefer the look of vertical shiplap over horizontal, because I feel it provides a more modern cottage than farmhouse feel. Since my house is a Tudor style home, which originates from English cottages, I want to continue the cottage style throughout our home. Our master bathroom has vertical shiplap, too. Read more, here.

Thanks for checking out today’s blog post, How to Install Shiplap on a Fireplace Wall. For more daily home decor DIYs, tips and ideas, follow me on Instagram at @CuterTudor. If you go to my instagram story highlights, you can see me painting while sitting on my husbands’ shoulders. He is a real team player!
Don’t forget, pin now! Do it later!
cottage living roomfireplace mantleliving roomliving room decorshiplapshiplap above fireplaceshiplap wall
Resources for this project:
See all materials


Comments
Join the conversation
-
Gorgeous!!!! Fantastic job, it would look even more lovely with a thick darker wood mantle on top ledge of the fireplace top,,, but it is beautiful as it is also!
-
This fireplace is incredible, and the vertical shiplap accentuates it so well. Beautiful Amy!


Frequently asked questions
Have a question about this project?