How To-Paint Pour: Furniture Piece

Have you ever wanted to try paint pours/fluid art on a furniture piece? I am going to show you how to achieve this technique with the least amount of "extra" materials. Sticking to the basics. I hope you enjoy. Don't be afraid to make mistakes, there are NEVER mistakes in life or art. Happy creating! Becci, The Daydreaming Unicorn 
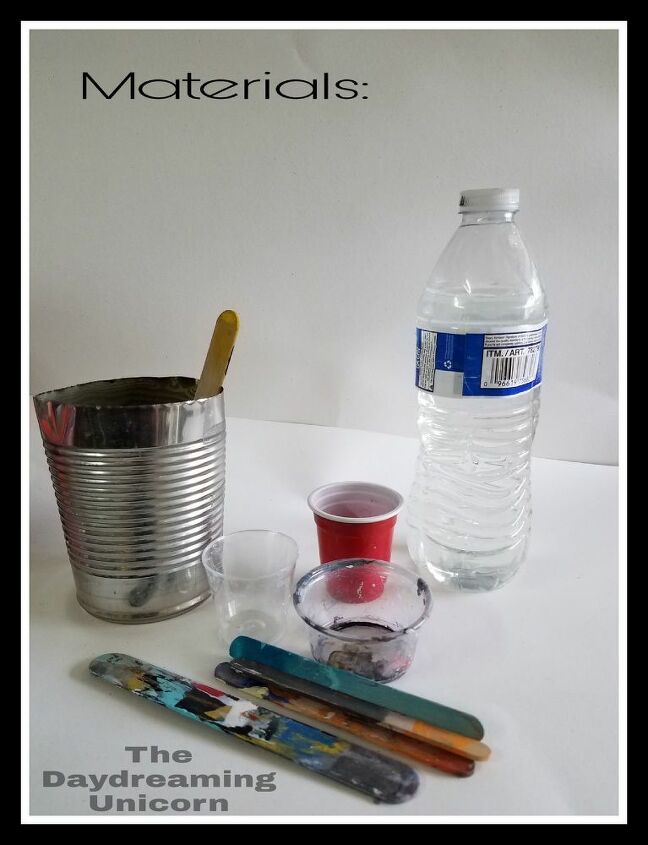
For you materials :
- Water (any kind)
- Pour container ( I use tin can because it is a good way to reuse and you can pinch end to make pour spout)
- Separate color mixing cups ( you can use any type cups) I used these smaller ones because I didn't need to mix a large amount of paint)
- Mixing tools ( I buy Popsicle sticks from dollar store to use as well as grabbing paint stir sticks from paint stores and keep lots on hand
When doing pours you paint consistency is the most important step!
- Distribute paint color in your separate cups
- Add water to dilute paint
- All brands are different and some are thicker than othersAdd water a little at a time and mixConsistency should be fluid like pancake or cake mix Make sure there is no clumps and paint is mixed well
- Once all your paint is mixed
- Add paint colors to your ONE pour container one by one, It doesn't matter in what order, you can re-layer and re-layer. You do not have to pour in the separate colors at once. Just keep layering in random order until you fill your pour container.
- Bigger areas require more paint
Always make sure you sand and clean before you are painting furniture pieces.
Since I am only doing the trim on this table top I have used Frogger paint table and have also taped and used paper to block under part of the table as I did not want paint drip on the feet or legs.
*I am pouring over the color part*
This video will show you mixing and offer information on how fluid painting works
Don't look at the messes everywhere 
A few notes about a pour :
- You use a lot of paint, Normally on a canvas or flat area you would just tilt and move a piece to remove excess paint, but since I did a trim only I lightly used Popsicle sticks to smooth out paint
- If you didn't make enough paint just add some more to your project.
- You have creative freedom to do whatever you want
- Allow 24 - 48 hours to dry
- Seal like normal (varnish. clear sealer)
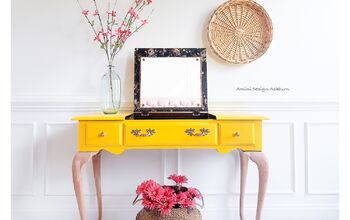
Here is the finished project !!
Close up:
I hope you love this as much as I do.
Enjoyed the project?
Resources for this project:
See all materialsComments
Join the conversation
-
 Jane Rousseau-Bormans
on Jun 16, 2019
Awesome finish. Great choices in colours.
-
-
 Carrie Easley
on Jun 16, 2019
Beautiful job! I discovered fluid art last year and have been having a ball with it. Now I'll have to paint my coffee table! Lol. Yours is beautiful!
-














Frequently asked questions
Have a question about this project?
What did you do after we see you pour out the streams onto the project? At the end, it looked like only a dark, almost-black paint was coming out, but when I look at the finished project, I see many bright, lighter colors. So did you tilt it back and forth or take a brush to it or what? (You may have answered this in the narration. I only watched to two videos).
I was also confused as to what happens next after you’re done pouring. Do you just let it sit?