


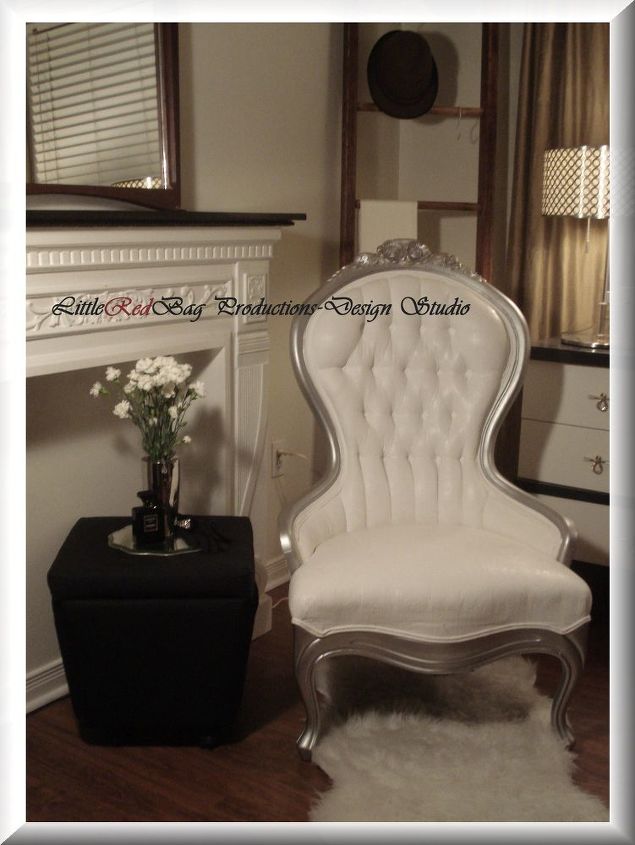
TUTORIAL - Victorian Ladies Rosewood Framed Saloon Chair, Circa 1890
Easy
A wonderful group Grillo Designs Home Décor inspired me to share my tutorial of my painted chair. So, from Little Red Bag Productions to the “Artistic Queen” in all of us, here she is...
This project takes a bit longer to complete than some but each task is really quick and easy!
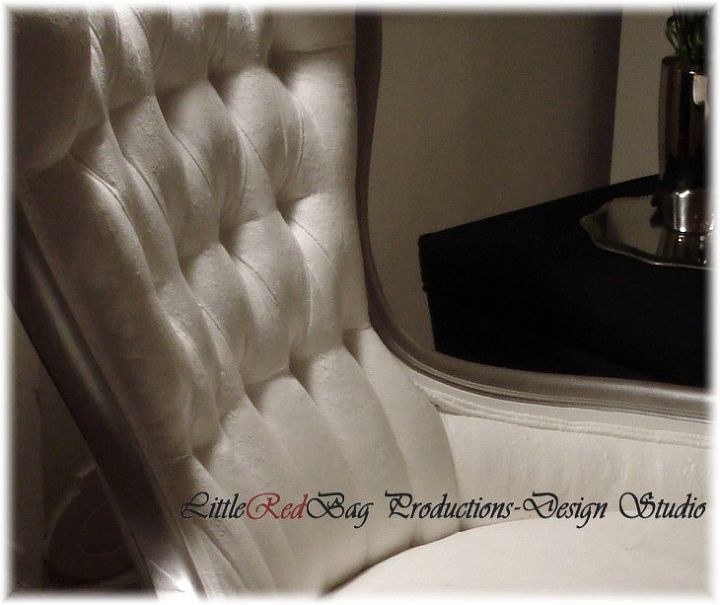
UPHOLSTERY
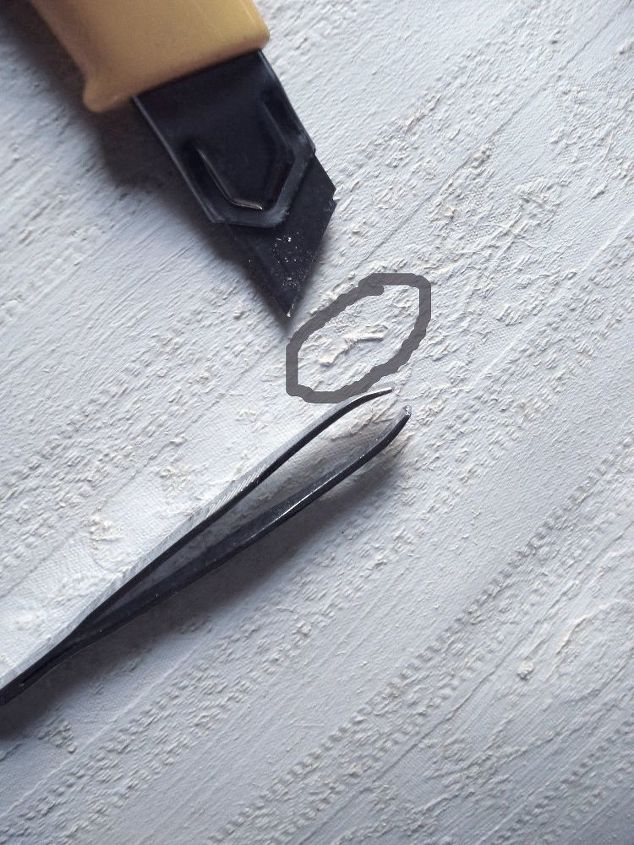
Once completely dry, you can rid of unwanted threads and nubs with a pair of tweezers and a blade. Gently lift the little invaders with the blade, hold with tweezers and cut them clean off (not OUT!) You can always dab a few drops of paint, a few times to the piece if you accidentally remove any.
-WAX-

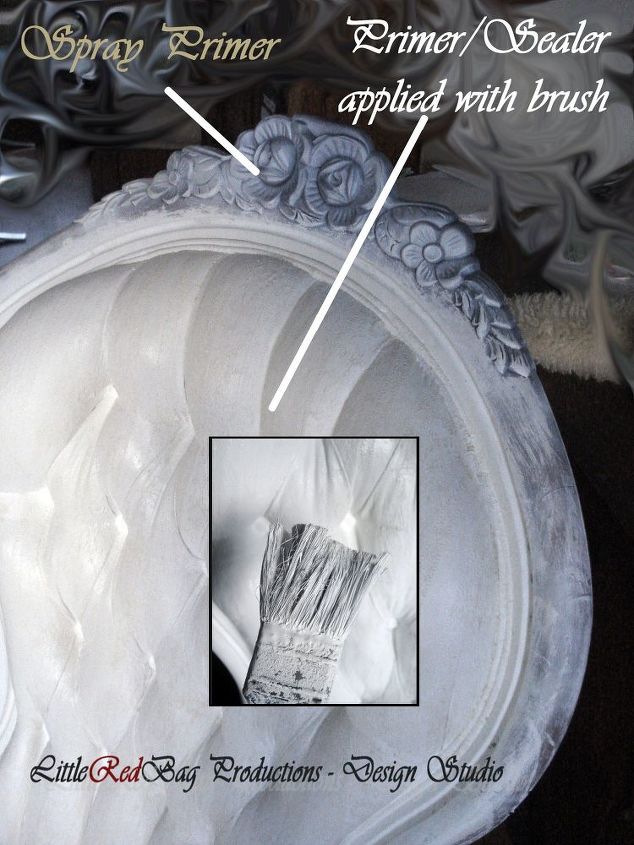
FRAME
Blend it nicely into the frame to prevent a distinguishable line between your detail and main applications.
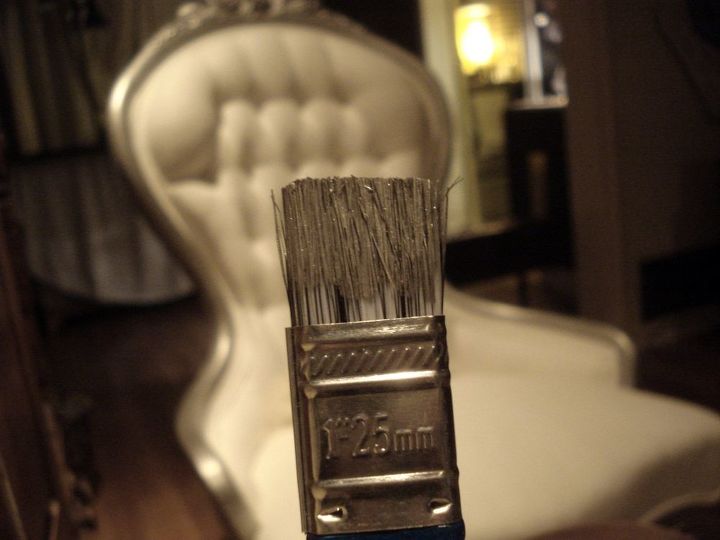
Apply as many coats as necessary to achieve the results you like.

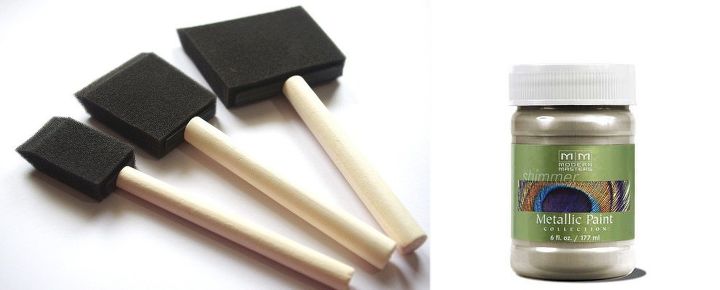
**If I had used regular paint as opposed to metallic, I would have applied 3 coats of PolyAcrylic and 2 coats wax after painting for maximum durability. With metallics, I find 2-3 coats of a hard wax does the trick. (MinWax Clear is my “go to”)
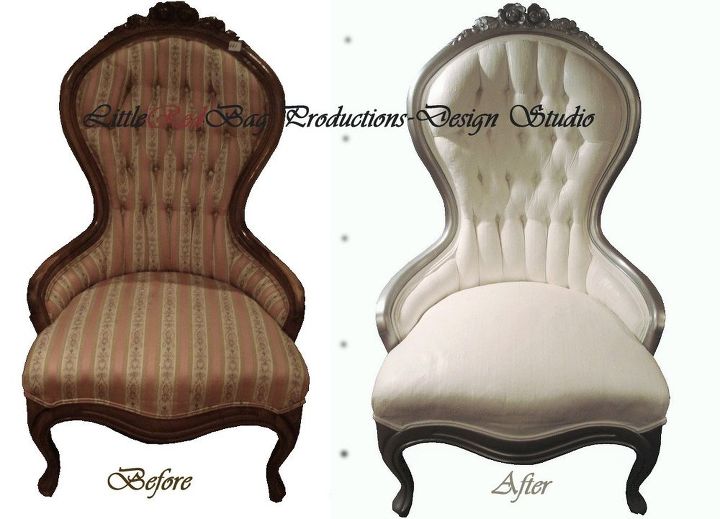
Although I tucked mine away in my dressing room, it has hosted many items and people and is relatively unscathed.

Want more details about this and other DIY projects? Check out my blog post!
Comments
Join the conversation
2 comments
-
how is this easy? maybe for an upholstery master but definitely an awesome diy I'm feeling inspired


Frequently asked questions
Have a question about this project?