


How I Work AND Park Inside a SINGLE Car Garage! Yup... Both!
Raise your hand if you too were blessed with a single car garage... with no space to park in. Heh.
Or perhaps you have a double garage with the same issue? I get you too!
During our last winter blast, I was SO DONE with scraping ice off my windshield. So I decided to challenge myself to see if I could come up with a clever way to house a fully set up woodworking workshop AND park in the same single car space.
Sounds impossible, doesn't it?
I thought so for 15 long years too. Until I just started.
And I'm here to tell ya, I did it! It took a month but here's how I got this amazing feat of both parking AND working in the same small space!
Plus... I even beat the next ice storm, so there's that! WHOOP!
Here's how I did it:

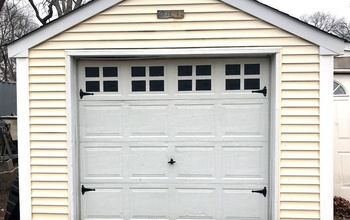
Welcome to my single car garage workshop. Isn't it lovely? Such an enticing place to create!
Yeah, no. But there's nothing like a deadline. The next ice storm was brewing and I was bound and determined to clean out this garage and park my truck inside.
So I just started.

I drew out a plan of what I absolutely needed to keep, then got rid of the rest or found new places to store it.
A big purge became necessary. I did this in winter so the only place to shove the excess was right into the back of my truck, then take it to the dump.
And I loved this worktable, but it had to go.
So instead, I designed a new area the miter saw would sit on permanently, gutted the space and shoved this table into its new location.
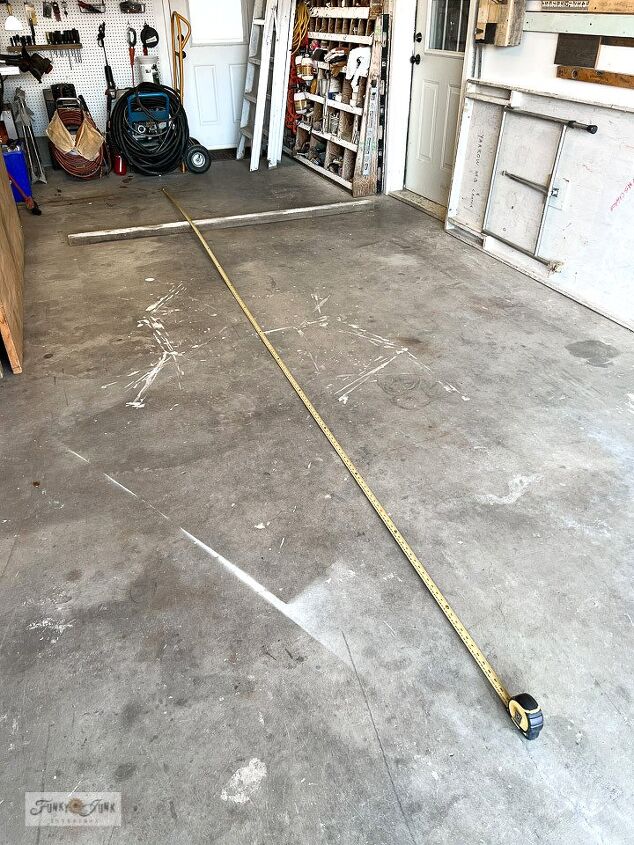
Part of the planning was to ensure there was enough room to park while opening the driver's door. There was. As long as one wall was left relatively flat.
So I measured how far I would need to back my truck in before I hit something, and placed a board on the floor I left so my truck would stop where I needed it to.
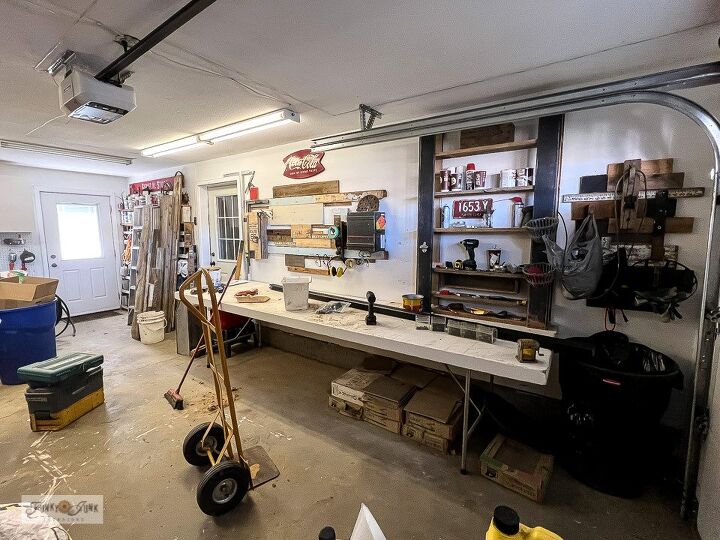
This is where my miter saw USE to sit. I adored this massive table and didn't want to get rid of it though! So...
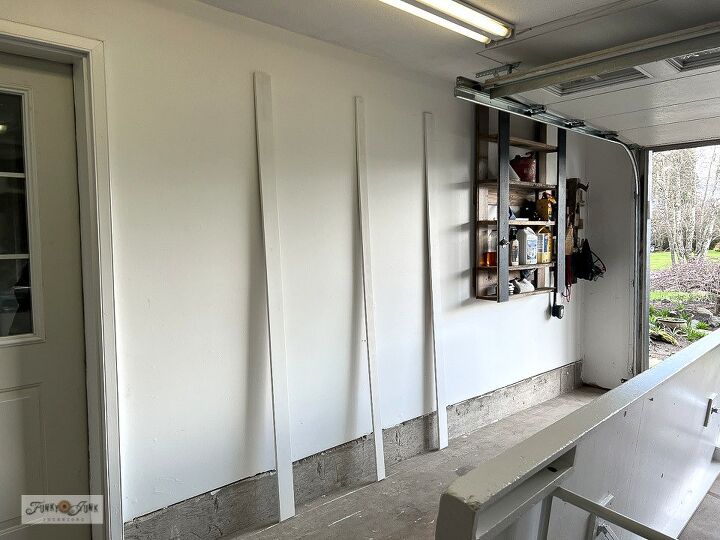
This would need to be my flat wall.
So I gutted the space, painted the walls bright white, then collapsed the table, attached it to the wall, then designed the rest of the wall around it.
Boards were screwed to the wall to help hang ladders. And shelves were attached to the wall missing the table but would be still there when I pulled the table out to use!

But my aluminum ladders were NOT going back up on a freshly painted white wall unless they were repainted first! Ha!
So I picked up some aluminum toned metal spray paint and got to work!
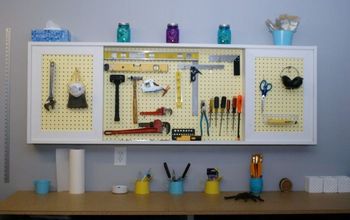
How to paint aluminum ladders
- wash down ladders well using a scrub brush
- allow to dry
- lightly spray the ladders from all angles until covered
Easy! And they turned out brand new! But also imagine all the fun colors you could choose from if desired!
And then the big day finally arrived...
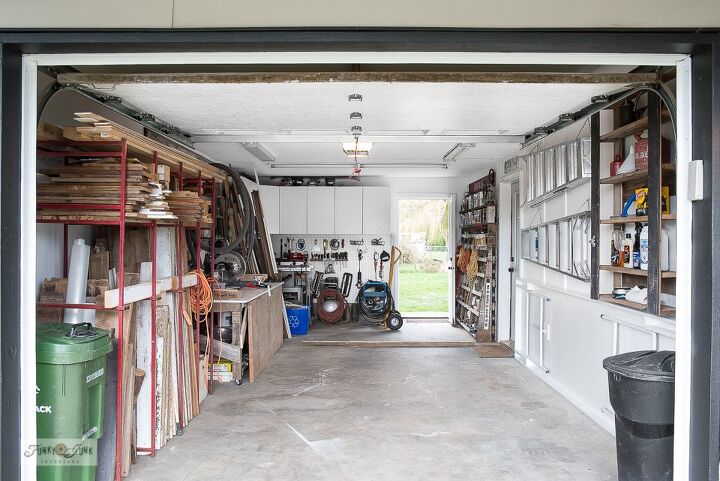
The completed garage workshop
Tadaaaaa! Flat wall to the right, and my fully functioning workshop to the left! With plenty of space to back up in.
So when I wish to work, I pull the truck out. Then clean up to get it back in. I have to now! And that's a good thing.
And here's the biggest bonus of all. I have MORE room to work that I ever have had before because of where I need to park!
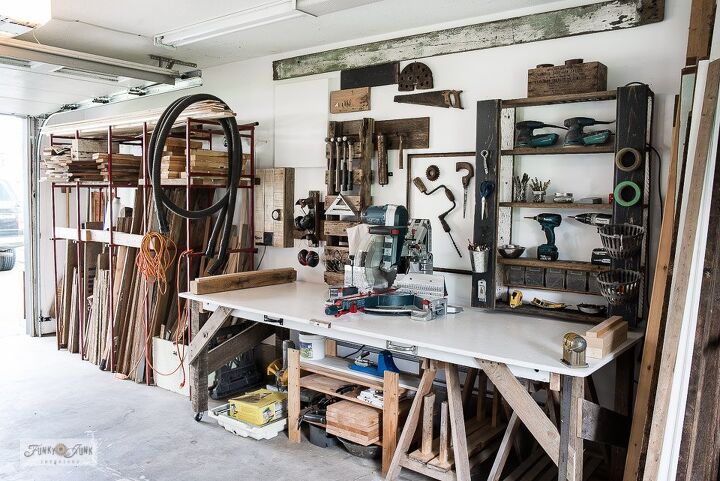
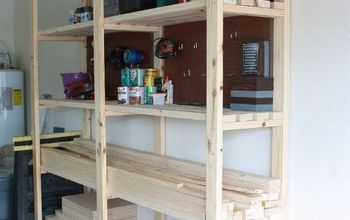
Fully functioning workshop side
Here's the fully functioning workshop side. Here's some of the added secrets:
- The table stays out with a miter saw ready to cut.
- The table is on wheels so it can be pulled forward to cut long pieces of wood.
- The shelving and storage is attached to the wall so just the table and miter saw moves forward.
- There's another hidden storage table in this scenario that can be seen in my series shared below.
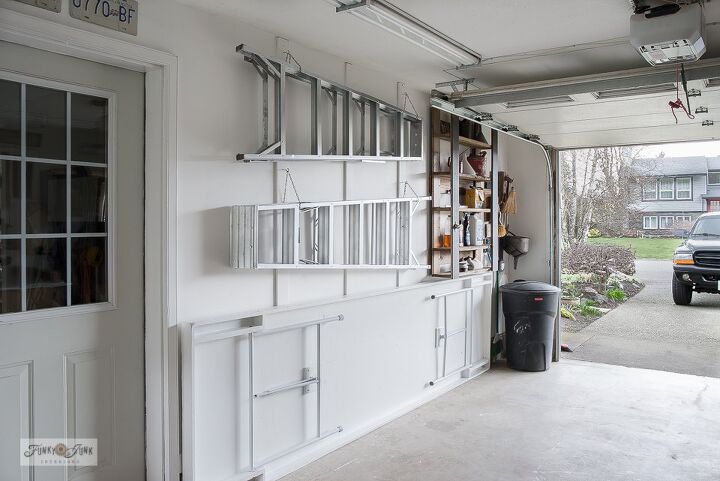
Open-driver's-door flat side
And here's the now much more beautiful flat side!
The underside of the able was painted white so it disappeared against the wall moreso. Pretty isn't it?
And the much prettier ladders were hung from the boards with small chains for cheap and efficient ladder hanging apparatus!
But see how all that apparatus works above the storage table? It's perfect.
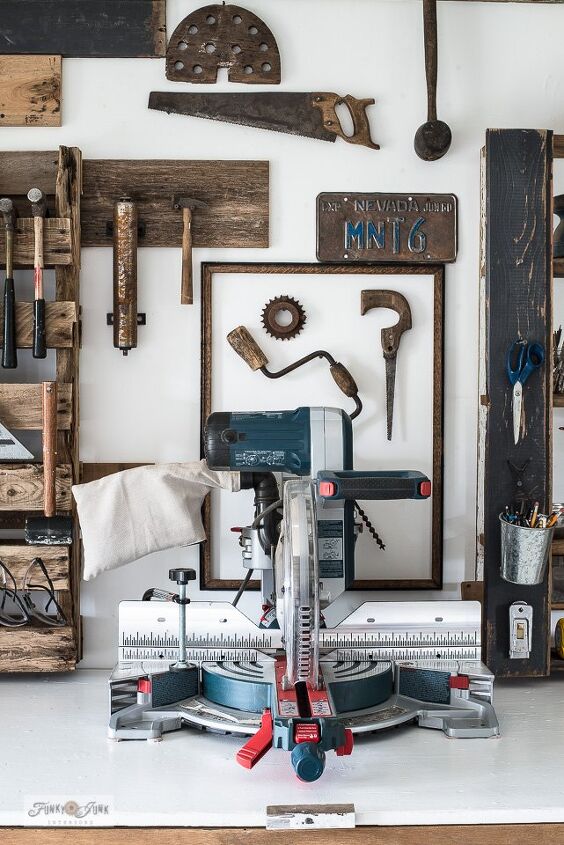
But as a special treat to myself, I also decorated the miter saw area (see it all HERE) up to the hilt with my collection of antique tools... which makes it a super productive and inspiring place to create!
This was a very large project that took just over a month. But I'm here to tell you, if you work at it a little at a time, you CAN and WILL do this!
If you'd like to see how I drew my plans, built free custom shelves, more on the ladder wall process, with MANY more pictures of the finished space, come on by and see it ALL!
But beware... this may inspire you to gut yours too...
Resources for this project:


Frequently asked questions
Have a question about this project?