


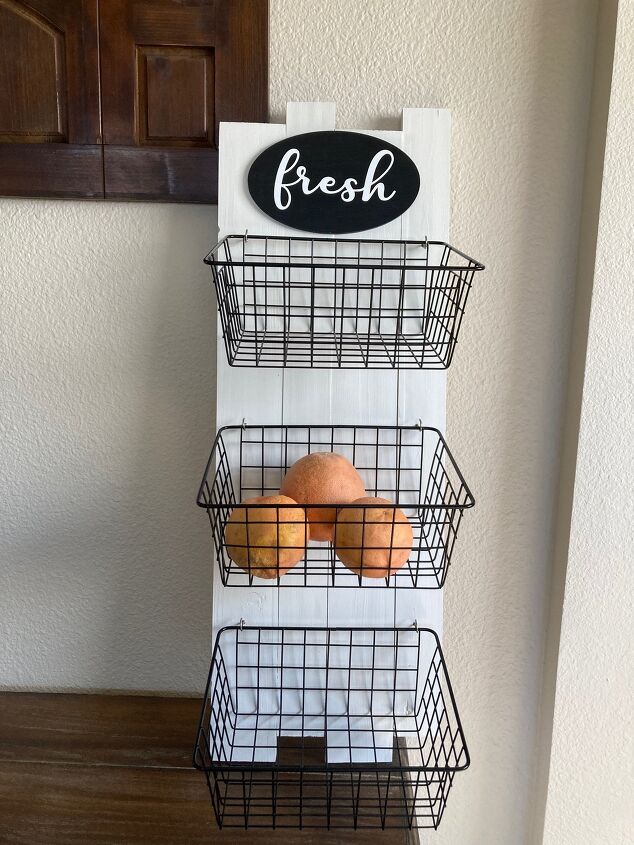
Fruit Stand

It's fruit season time! I wanted to make a cute fruit stand so that I can store my fruit. This is an easy to do project and it also helps to free up kitchen counter space.
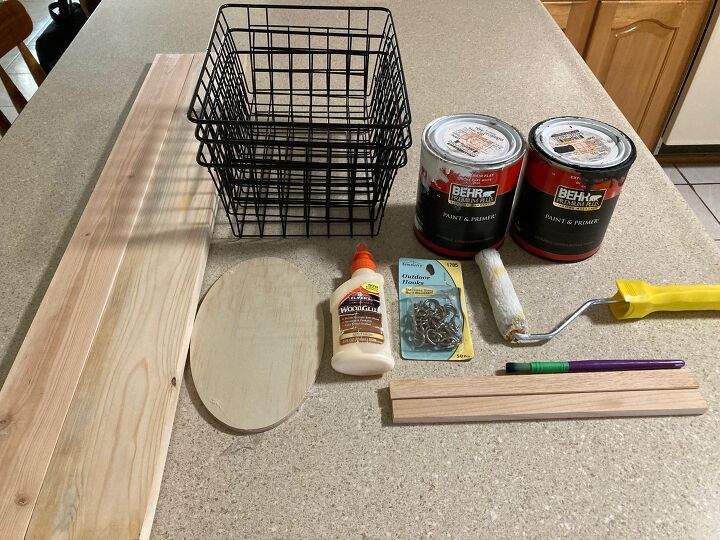
Materials Needed:
4 Pieces of wood, 1" x 3" x 32"
3 Pieces of wood, 1/2" x 1" x 10"
3 Wire baskets, 8" x 10 1/2" x 4 1/2"
1 MDF oval plaque, 8"
6. Hooks
"fresh" decal (not pictured)
White paint
Black paint
Wood glue
Paint roller
Paint brush
Polyurethane (Not pictured)
Staple gun (Not pictured)
Saw (Not pictured)
Drill (Not pictured)
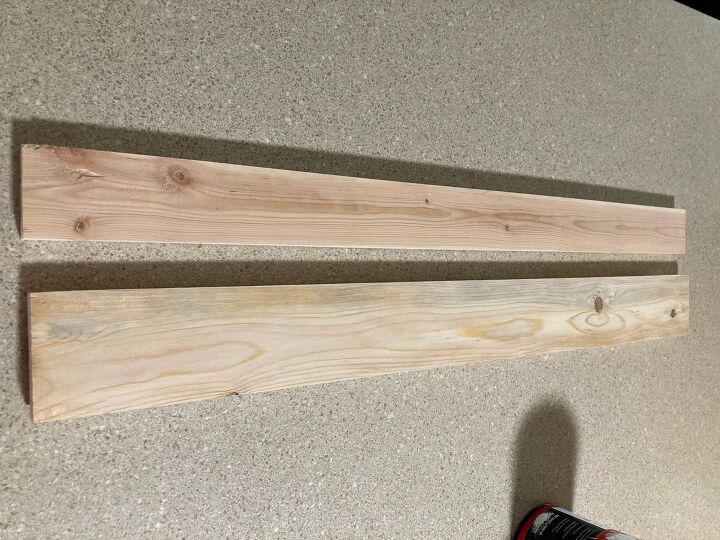
Step 1: Cut four pieces of wood, 1" x 3" x 32" and cut three pieces of wood, 1/2" x 1" x 10" to attach wood.

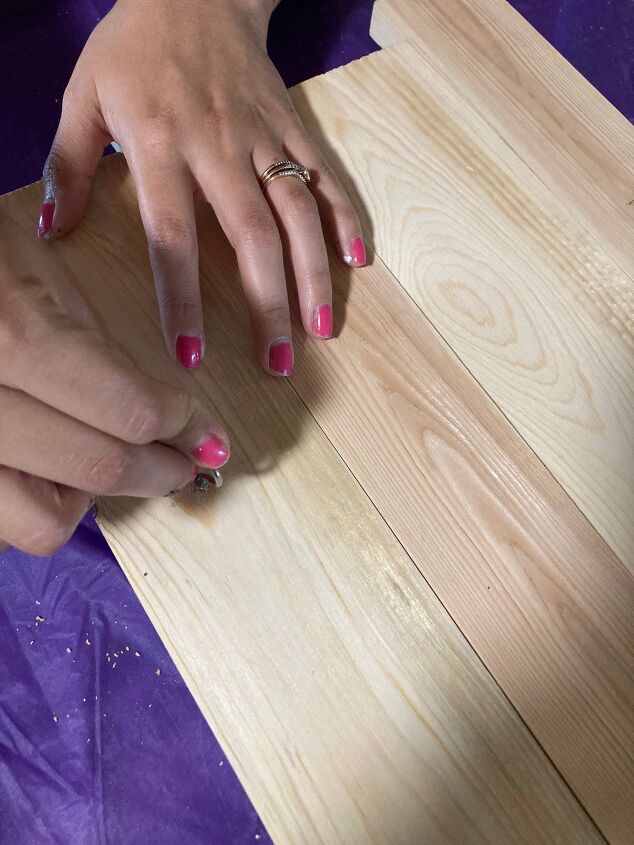
Step 2: Assemble the four pieces of wood. I staggered them because I prefer that look for this project, but they can also be evenly aligned.
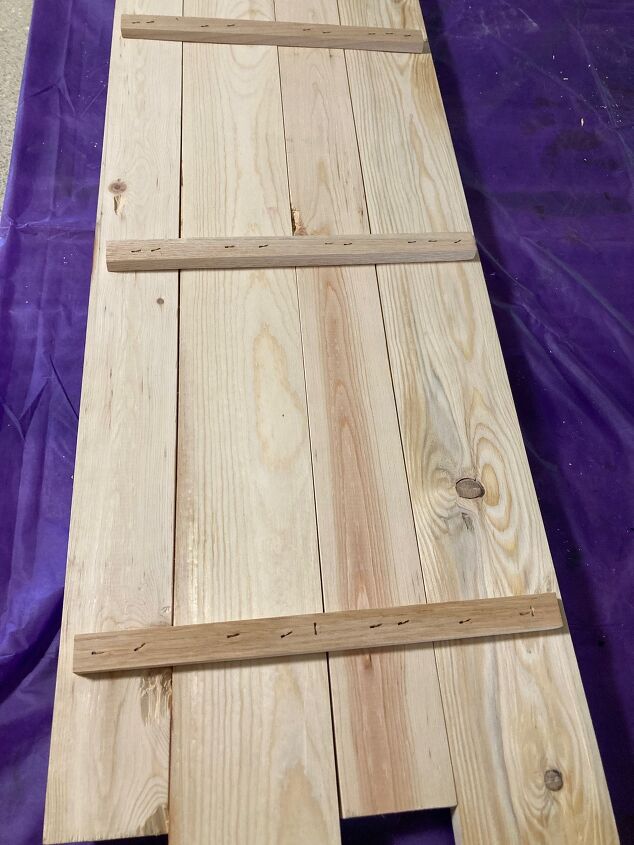
Step 3: I stapled the three, small pieces of wood to the back of the boards to attach them.
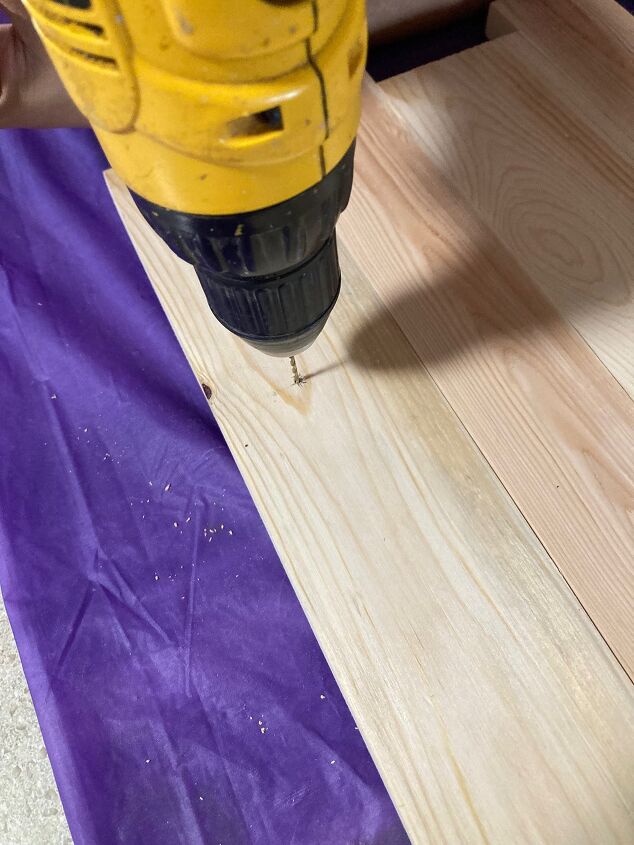
Step 4: I drilled six small holes to insert the hooks.
Step 5: Inserted the hooks.
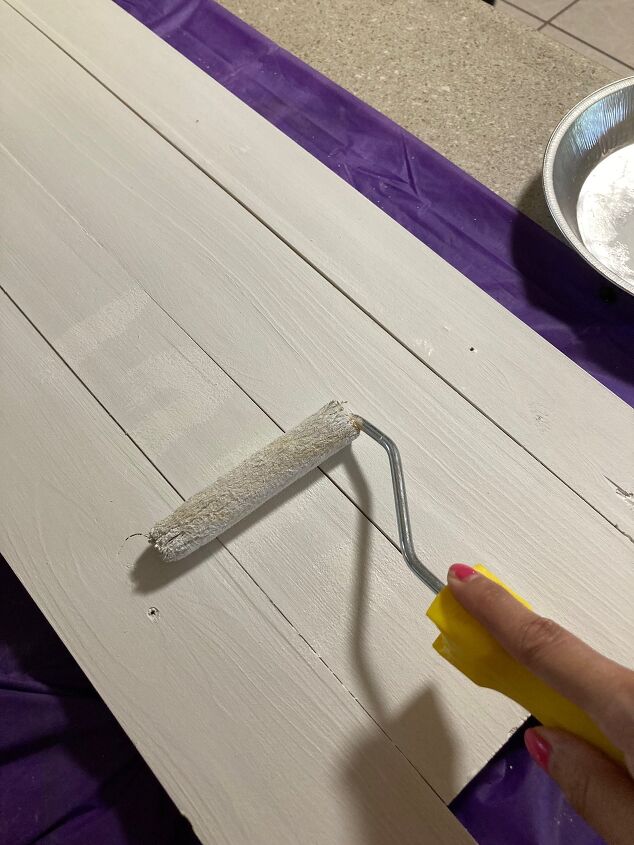
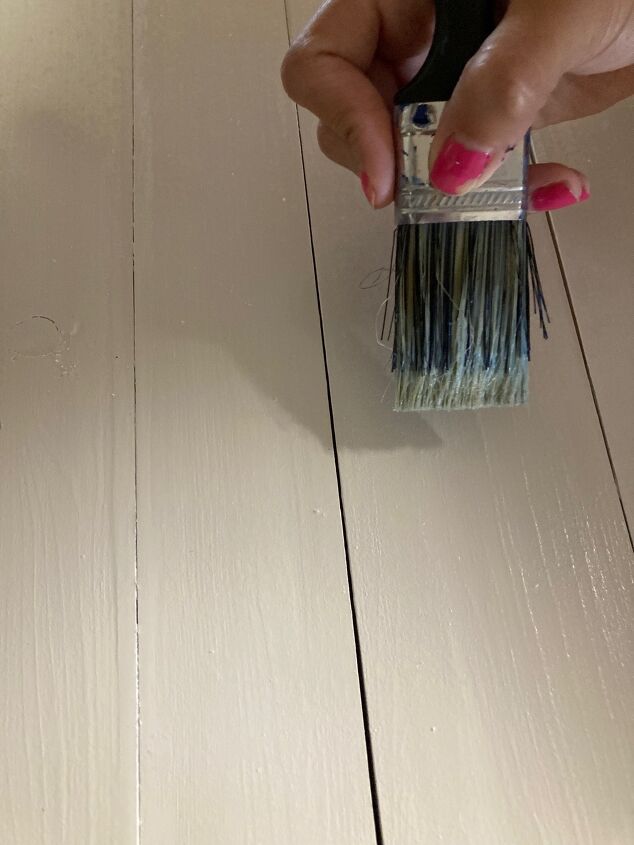
Step 6: I decided to remove the hooks before painting the boards white.
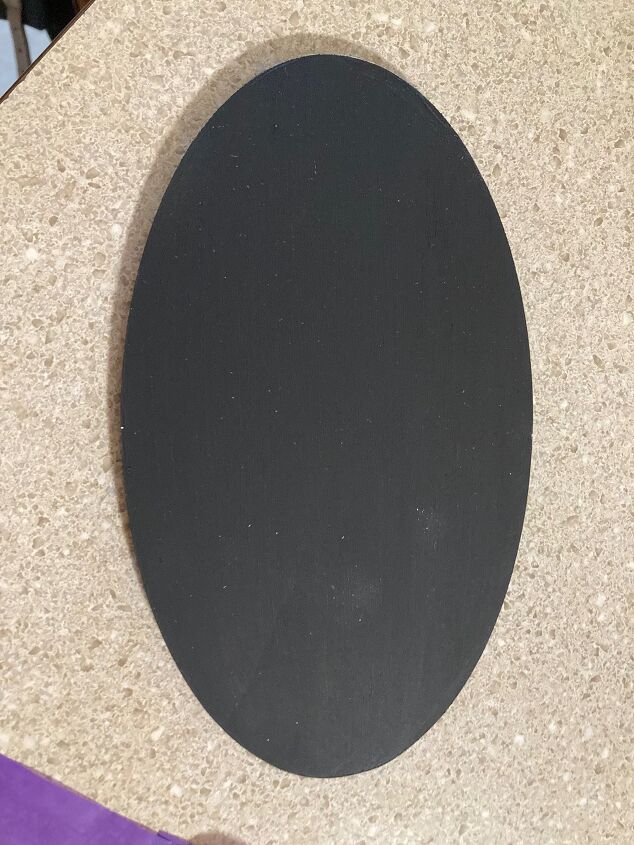
Step 7: I painted the oval plaque with black paint.
Step 8: Once the paint dried, I applied the polyurethane to the boards and the oval plaque.
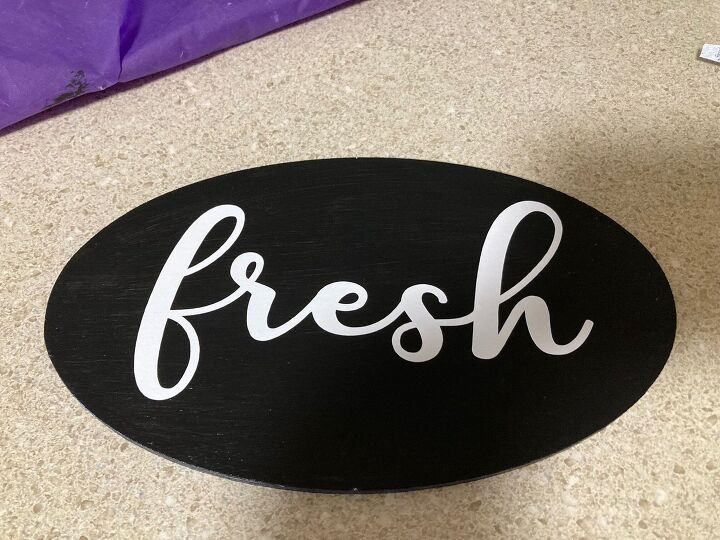
Step 9: Once polyurethane dried, I applied the "fresh" decal sign to the oval plaque.
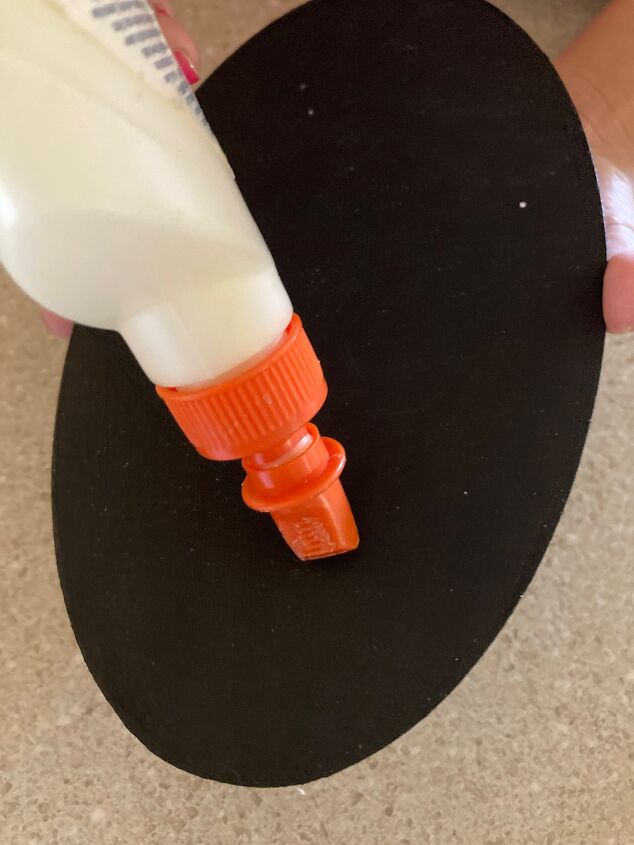
Step 10: I glued the oval plaque to the board.
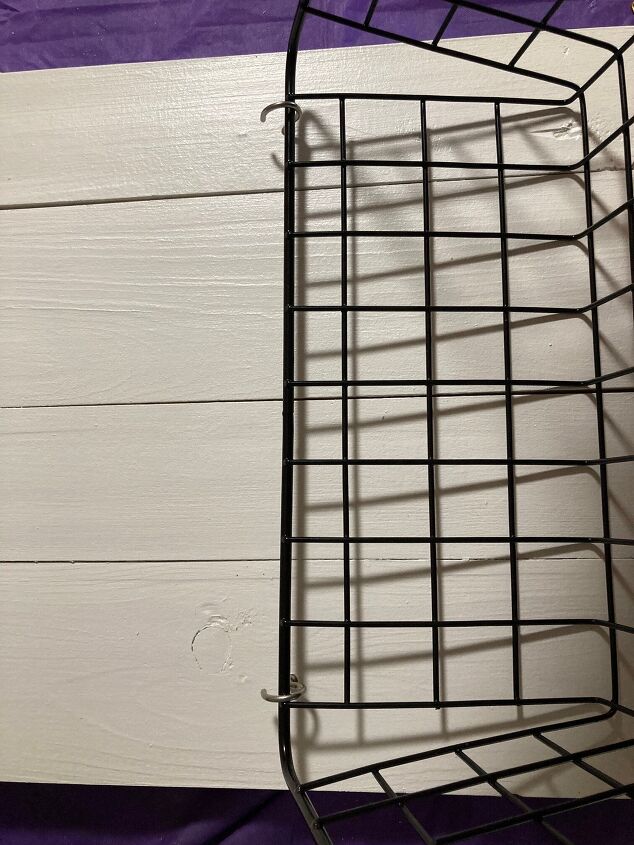
Step 11: I then attached the baskets to the boards.
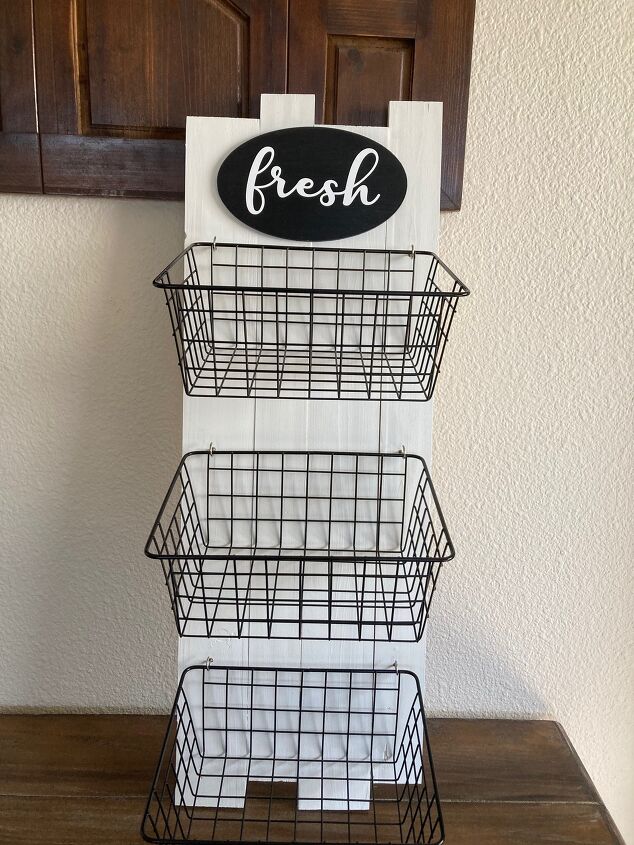
Step 12: This is what the final product looks like!
Resources for this project:
See all materials


Comments
Join the conversation
-
Thank you!
-
So smart and cute! I have three baskets just begging to be put to use. Thank you for this inspiration!!


Frequently asked questions
Have a question about this project?
How does it stand up?
Looks good but how does it stand up?