How to Make a Fountain for Under $50
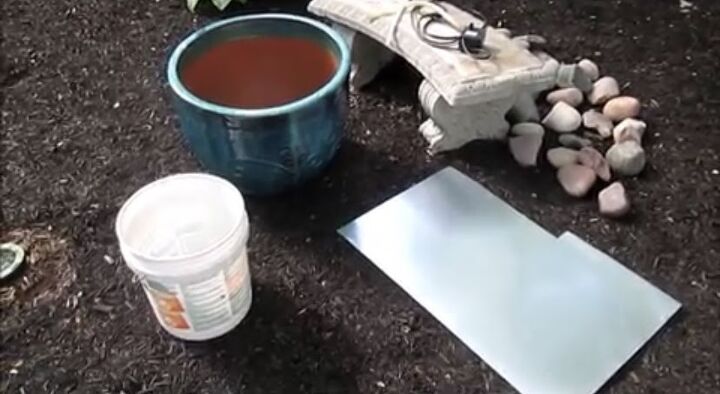
Outdoor fountains add style and serenity to any outdoor living area and can totally transform the entire atmosphere of any backyard space. Their beauty often comes with a high price tag but I’m going to share how to make a fountain for under $50! By using a pot and five-gallon bucket I already had on hand and buying a pump, tubing, and small amount of bagged river rock, I created a water fountain that adds classic beauty to the backyard seating area.
You will need:
- 5 Gallon Bucket
- Pot or Planter (wider and taller than a 5-gallon bucket)
- Large piece of Flexible Sheet Metal
- Electric Fountain Pump
- Plastic or vinyl tubing
- Rocks (bagged river rock and collected rocks)
- Black Spray Paint Suitable for Plastic and Metal
- Drill with ⅛ drill bit
- Metal Cutting Shears
The large empty pot I chose for the project held a five-gallon bucket perfectly but if you do not have one, look for a pot that is taller and wider than the approximately 14-inch tall bucket. I spent around $50 for a pump, tubing, and bagged river rock to create the same result as much more expensive outdoor fountains!
Step 1: Measure Pot
I used a tape measure to calculate the diameter of the pot and then divided that number in half. You will need to use this calculation in the following step.
Step 2: Create the Circular Funnel Base
I measured the distance equal to half the diameter of the pot from the bottom of the sheet and made a pen mark and then did the same from the side of the sheet. The marks create the center of your circular funnel that will act as the fountain basin.
Step 3: Draw Circle
I used a piece of wire cut to the same length of half the diameter of the pot and placed it on the center mark. Placing the marker at the end of the wire, I drew a circle all the way around the sheet metal. If you do not have a wire, you can use string. Just be sure to hold the string taut and circle around with your pen.
Step 4: Cut Out Circle and Make Hole in the Center
I used the metal cutting shears to cut out the circle shape from the sheet metal and then made the slit and the center opening to prepare to create the funnel.
I traced a straight line from the center to the edge of my circle and cut a slit in the metal along the line. I used a small Gatorade cap to trace and cut out a small hole in the center of the circle. You will eventually feed your tubing through this hole and it will act as the fountain.
Step 5: Squeeze Circle Together and Clamp
I squeezed the sheet metal together so that it created a funnel shape that was about 2 inches above the ground all the way around. I used a clamp to hold the shape together until I could fasten it with wire.
Step 6: Nail or Wire Circle in Place
I drilled small holes in the metal and wove wire through the holes to attach the sides of the circle together. Bend the wire that pokes through on the backside of the circle to secure. This was adequate to hold it together.
Step 7: Paint the Circle
I sprayed an even coat of glossy finish black spray paint on the surface of the circle. You could use any color spray paint but be sure to paint the funnel outdoors or in a very well-ventilated area. Allow the circle to dry completely.
Step 8: Test Circle
Once dry, I placed the painted circle on top of the bucket, inside the pot. Make sure that the funnel fits nicely into the space without large gaps on any side.
Step 9: Install Pump
I placed rubber tubing onto the pump and connected a longer piece of plastic tubing to the rubber tubing. I removed the circle and placed the pump into my water-filled bucket. You can camouflage the power cord with other decorative items and cover a long extension cord with mulch.
Step 10: Place the Funnel on Bucket
I covered the bucket and the pump with the painted metal funnel. The long piece of tubing will protrude and need to be trimmed to about 3 inches above the top of the funnel.
Step 11: Decorate with Rocks and Enjoy
I chose a large stone to sit directly next to the opening in the funnel to prevent other small rocks from falling through and then poured the remaining bags of river rock over the funnel surface. I then used larger rocks to the base of my pot and finish my diy water fountain.
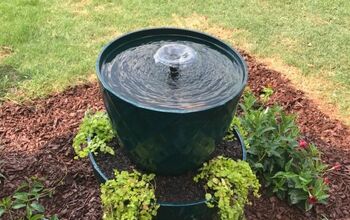
The height of the fountain water will depend on the pump you purchased. Turn on the fountain and enjoy the satisfaction from creating a DIY water fountain for a fraction of the price of similar backyard fountains!
This DIY water fountain project was simple, inexpensive, and made a huge decorative impact on my . Outdoor fountains are tranquil and charming, and mixing elements I had on hand with a few store-bought items made this project even more rewarding. Your backyard oasis awaits!
Have you been wondering how to make a fountain or do you have your own DIY fountain to share? Share this tutorial with a friend or create your own on Hometalk!
Enjoyed the project?
Resources for this project:
See all materialsComments
Join the conversation
-
-
 Aoa85879018
on Jul 12, 2023
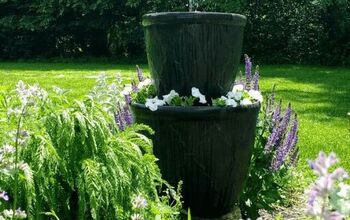
I just made a new fountain with a resin half wine barrel, and the brand of pump is TotalPump fountain pump it gives you 3 feet of pumping height, the barrel is 20 inches in diameter so it works perfectly together, and I purchased 3 small Terracotta plant pots
With holes in the bottom, bought 1/2
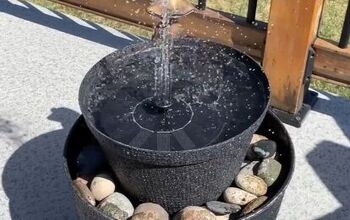
Clear plastic tubing hooked it to the pump turned the pots upside down ran the tubing through the holes in the pots it fit perfect! Left 3 inches at the top, I didn't want a straight stream of water coming up so I used a black piece of hard plastic tube from a previous old pump ran the clear tubing up through it and it fit perfect, the I took a 3 inch piece of clear tubing cut it lengthwise completely and put it around the tubing hooked to the pump put river rocks at the bottom of the barrel and few to cover the top pot, filled with water and it gave the water fountain the effect of two slightly opened Angel wings! It's pretty! I spent around $50 $20 for the wine barrel and $35 for the pump, I had the rocks and outdoor extension cord, I placed smaller sized flat rock around the bottom of the fountain for a finished look and put a couple comfy patio chairs a very small round table for drinks and some faux rock solar light and a couple old fashioned solar lights around the fountain area, I LOVE the sound of the water! Especially living in the desert! I let it run 24/7 and add a small amount of water at night, the pump is also energy saving!
Enjoy your fountains!!!!! :)
-




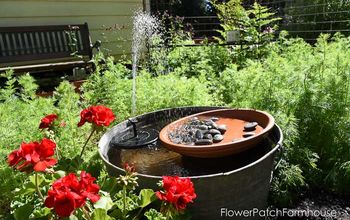
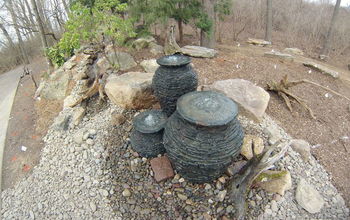
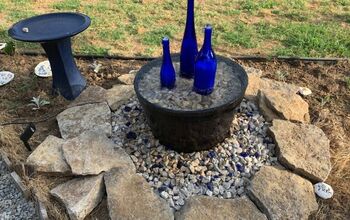
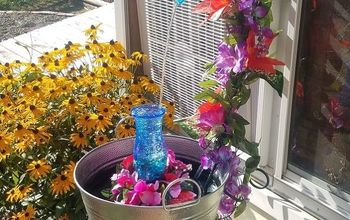




Frequently asked questions
Have a question about this project?
Can a solar pump be used ?
What brand and type specific pump did u use and where did you purchase it?
I have a well with a pump currently attached to a water feature, a frog that the water sprays from his mouth, and would rather create something like this. The frog sits on top of the covered well so if I had holes in the bottom of the planter then the water would drain back into the well right? Currently the water just makes a swampy mess in front of the well area which is a perfect breeding area for mosquitoes. Thank you!