


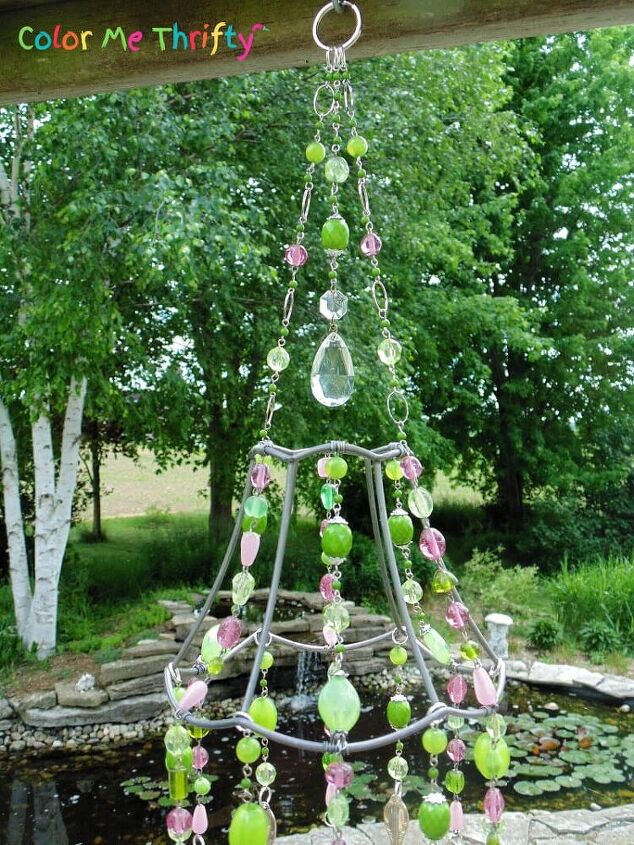
Repurposed Lampshade Wind Chime
I’ve always loved wind chimes and I’ve made quite a few over the years, but this time I wanted to do something completely different from all the wind chimes that I’ve created before.
I was packing up a large donation box for the thrift store recently and I found a small lampshade that I had put in the box a while back.
And I had a light bulb moment.
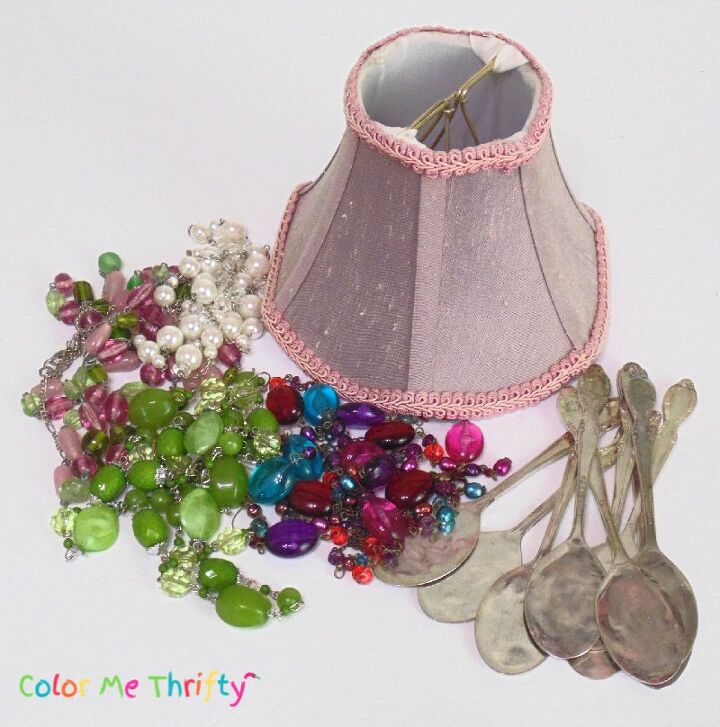
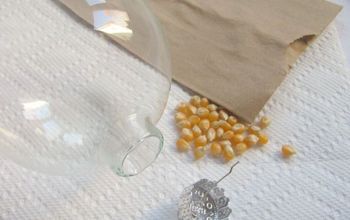
For this lampshade wind chime project I’m using the one dollar 5″ tall lampshade that I rescued from the thrift store donation box, $1 each misc necklace(s), and some silver plate spoons.
I never pay more than 25 cents each for silver plate spoons. If the cost is more, I don’t buy them. For this wind chime I need 12 spoons, so the cost is $3.
At this point I wasn’t sure what necklace(s) I would be using, so I chose a few candidates.
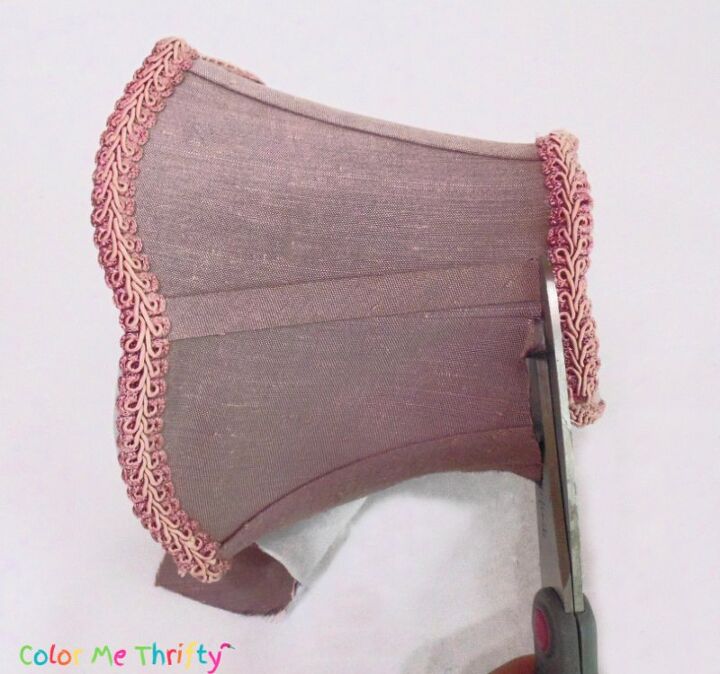
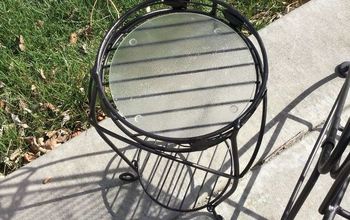
The mini lampshade has a lovely shape, but the fabric had to go.
This was very easy to do with just some scissors and a little strength.
After cutting into it in several places, you just pull it off. There was a little glue here and there, but not enough to make it difficult.
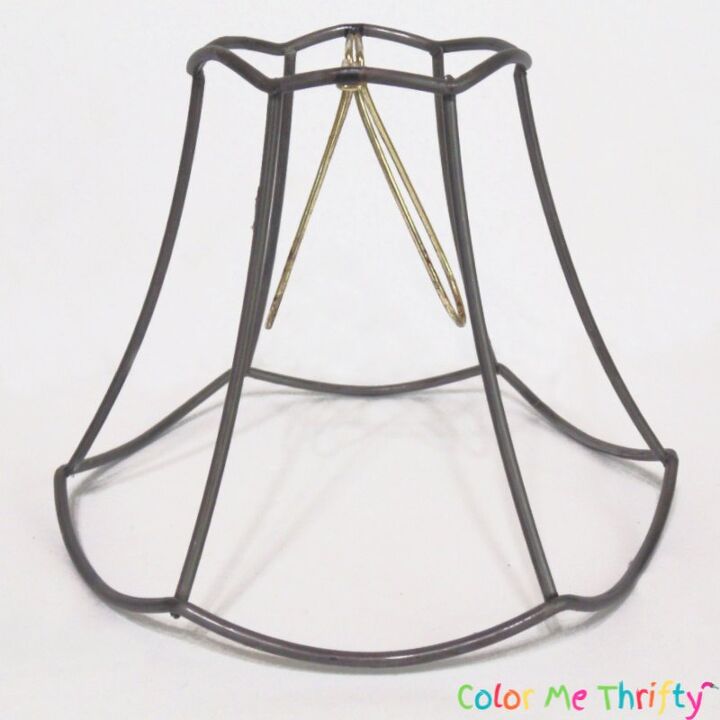
Here’s what the lampshade looked like after the fabric was removed.
The gold was probably used for the bulb clip because it would be visible, and the dark grey metal for the frame would be covered.
Personally I love the aged look of the frame more than the gold, and the bulb clip would just be in the way anyway
It was easily removed by bending it back and forth with pliers.
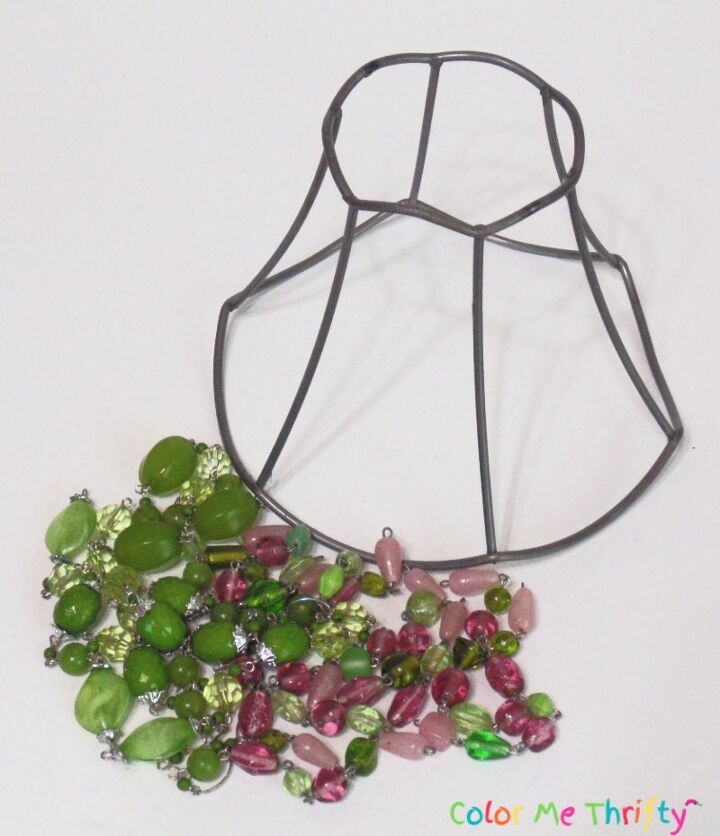
Once the lampshade frame was ready to go, I made my final decision on the necklaces.
When deciding what to use for hanging you have to take into consideration how many pieces of necklace/chain you need.
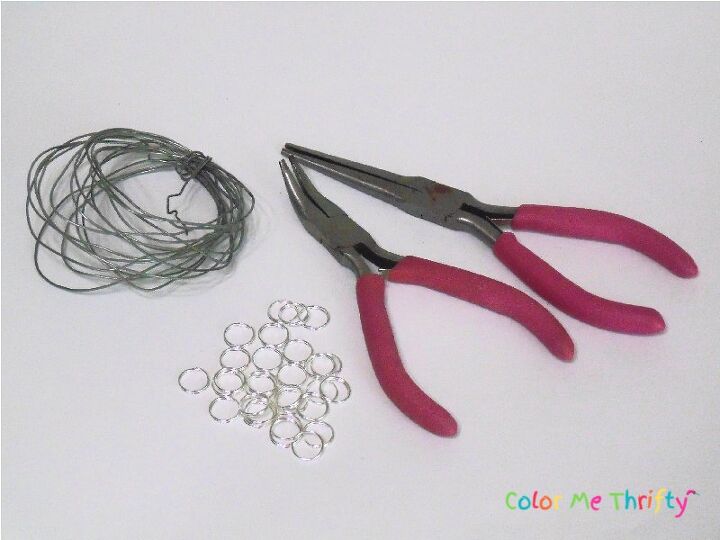
To put the lampshade wind chime together all you need are some pliers, some wire, and some half inch split rings.
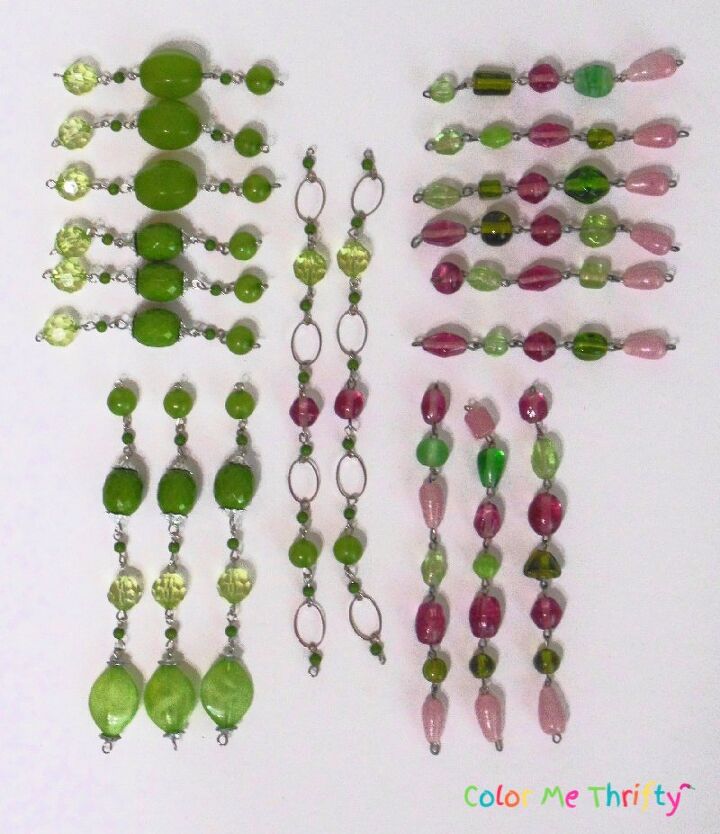
Then you do some math and figure out how many sections you need for the different parts of the chime.
The two long necklace sections in the middle are the main hangers of the wind chime, and you’ll see what the rest are for further down.
Now you need an easy way to attach the necklace sections to the lampshade frame so they won’t slide around.
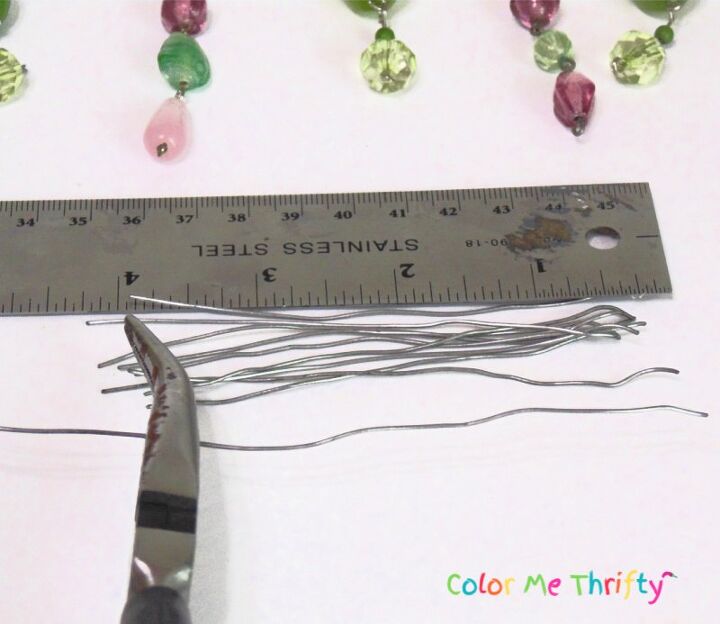
Cut 12 pieces of wire about four inches long. Whatever wire you use should be pliable enough to wrap around the lampshade frame.
The pieces do not have to be exact or identical in length. Close is good enough.
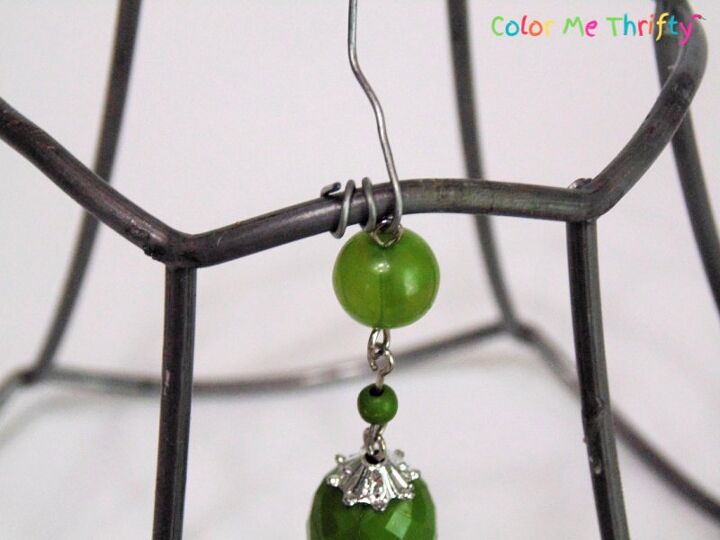
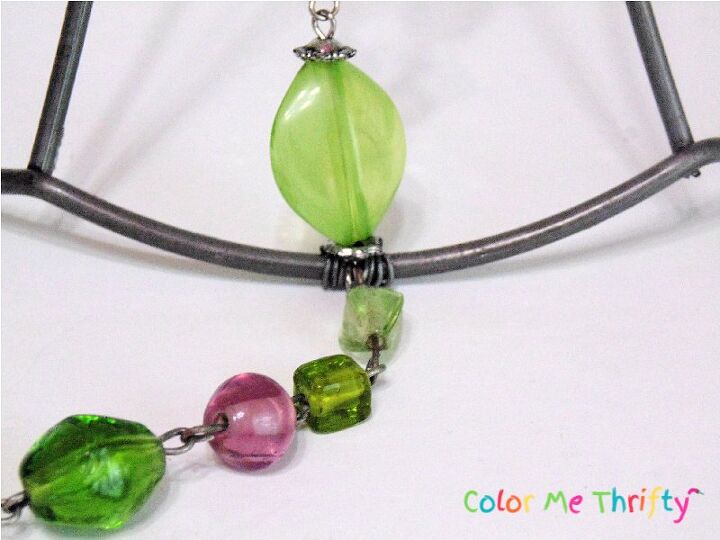
Then it’s just about wrapping the wire around a few times, slipping the necklace section over the wire, and then continuing to wrap the wire around.
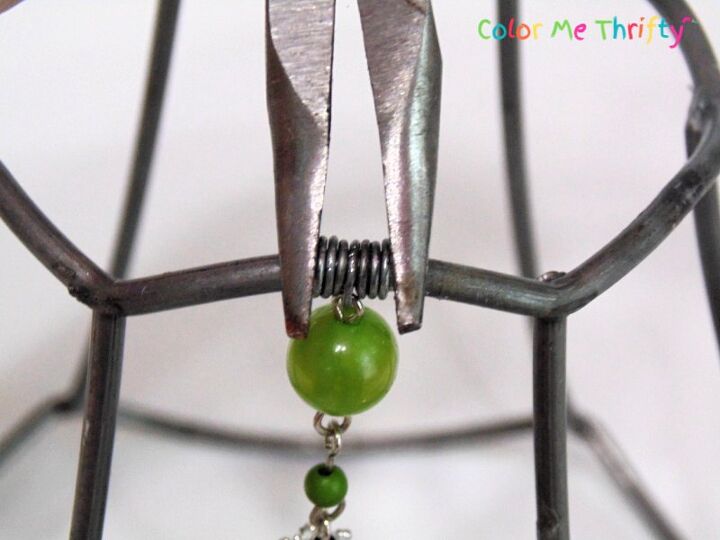
After you’ve used the pliers to squeeze the wire together, it should look something like this.
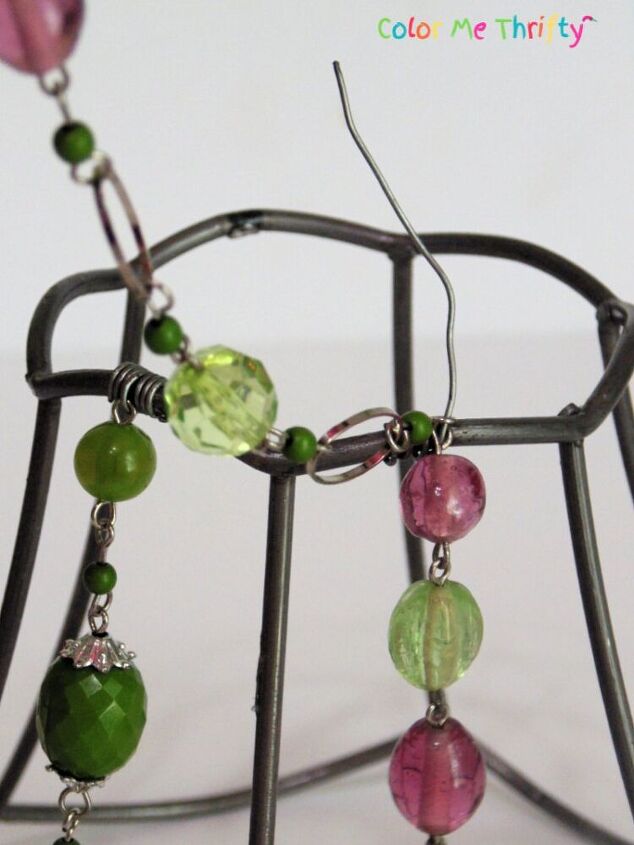
When attaching the two top main hangers you just slip those necklace sections over the wire with the two sections that are going down, and continue to wrap the wire around the frame.
Once you have the two hangers and all the decorative sections between the lampshade ribs attached, it should look something like this.
Leave the bottoms free at this point because the necklace sections that the spoon chimes will hang from have to be added at the same time .
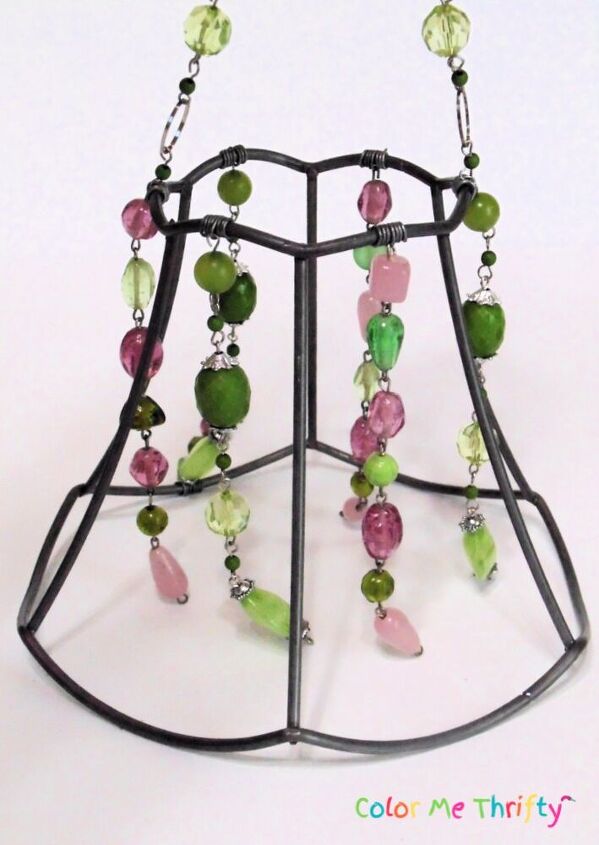
Like this.
Now it’s starting to look like a wind chime.
To attach the rest of the necklace sections, add split rings to the ribs.
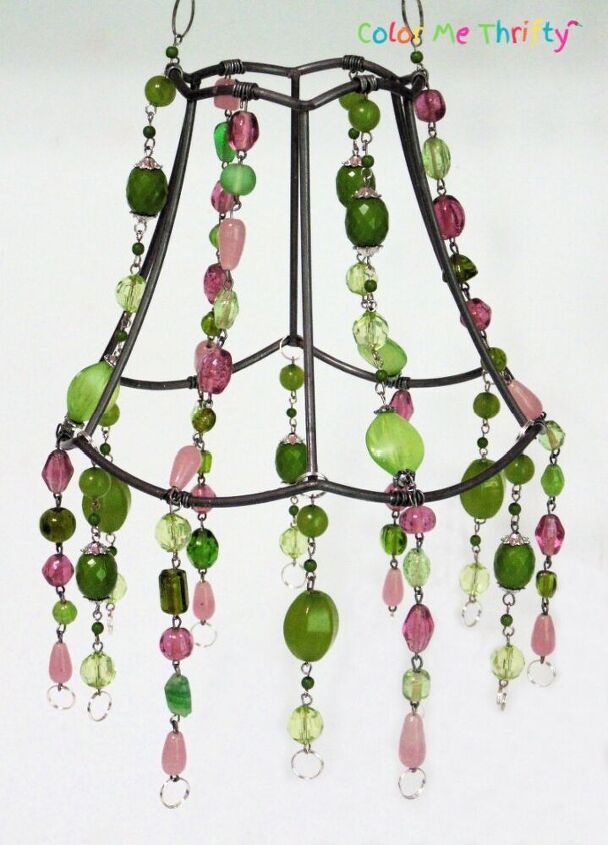
Then you add the remaining necklace sections onto those split rings.
At this point you also add split rings to the ends of all the hanging necklace sections. (You could do that before as well.)
And then you attach the spoons onto the split rings.

Like so.
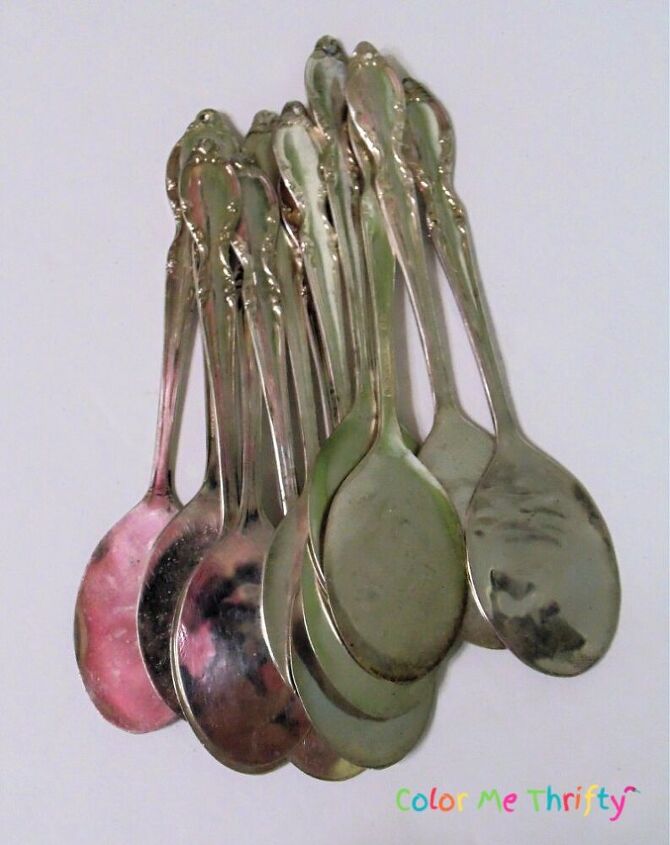
Here are the silver plate spoons I used.
To see how to flatten and drill silver plate spoons, check out my spoon bookmark tutorial here.
You can also use metal measuring spoons, which most often already have holes in their handles, and you won’t have to flatten those as they sound quite nice as is.
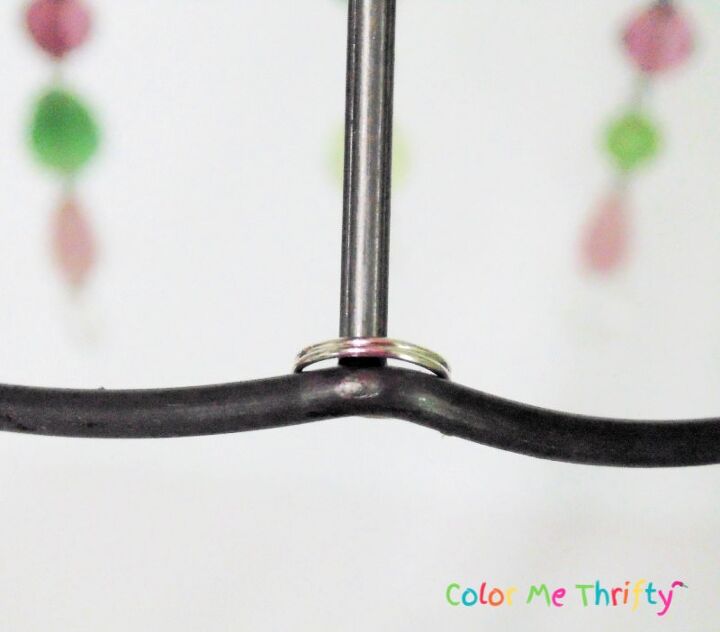
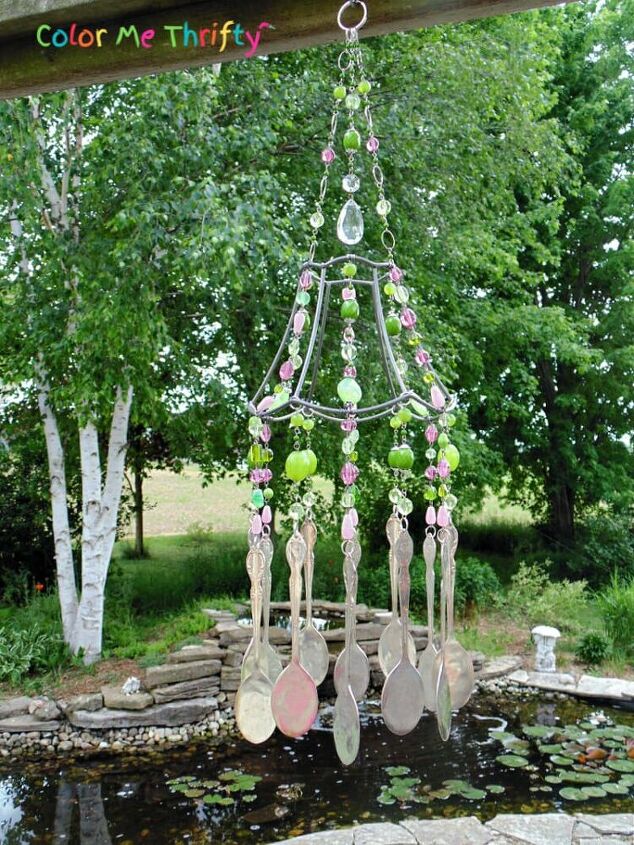
To hang the whole wind chime add the two top necklace sections onto a one inch key ring.
I added a chandelier crystal down the middle for some bling, but you could add whatever you like… or nothing at all.
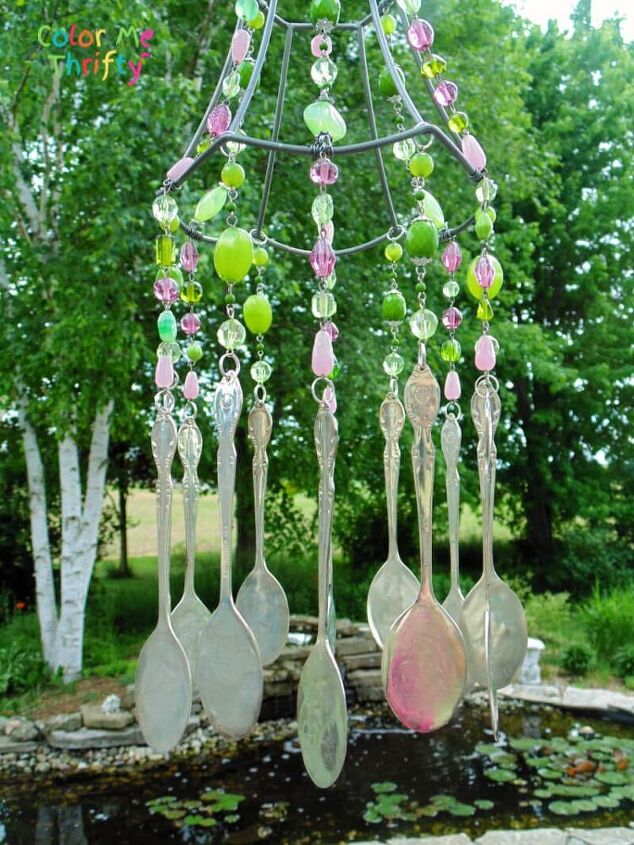
The silver plate spoons sound lovely when they chime.
I prefer to flatten the spoons because the tinkling sound is lighter but if you want to skip that step, the spoons will still sound very nice.
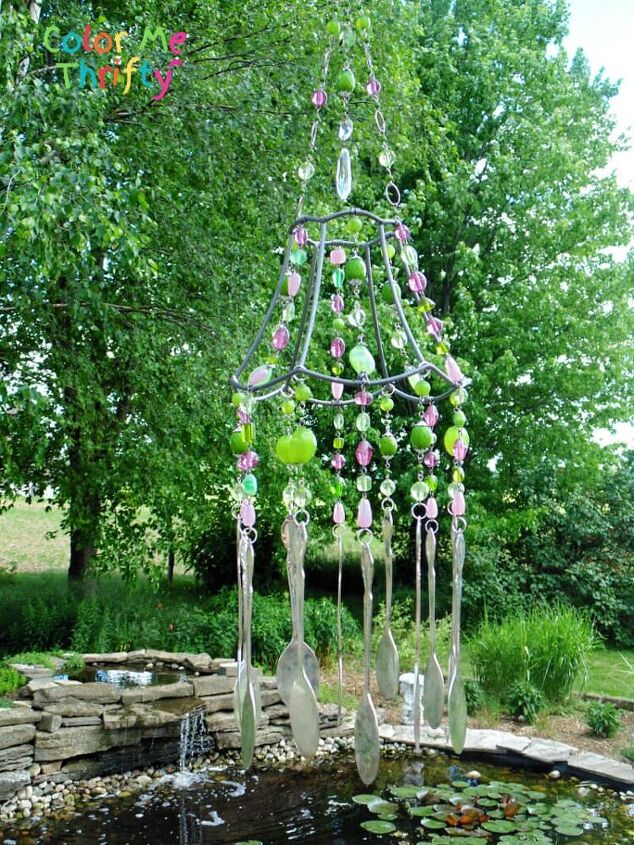
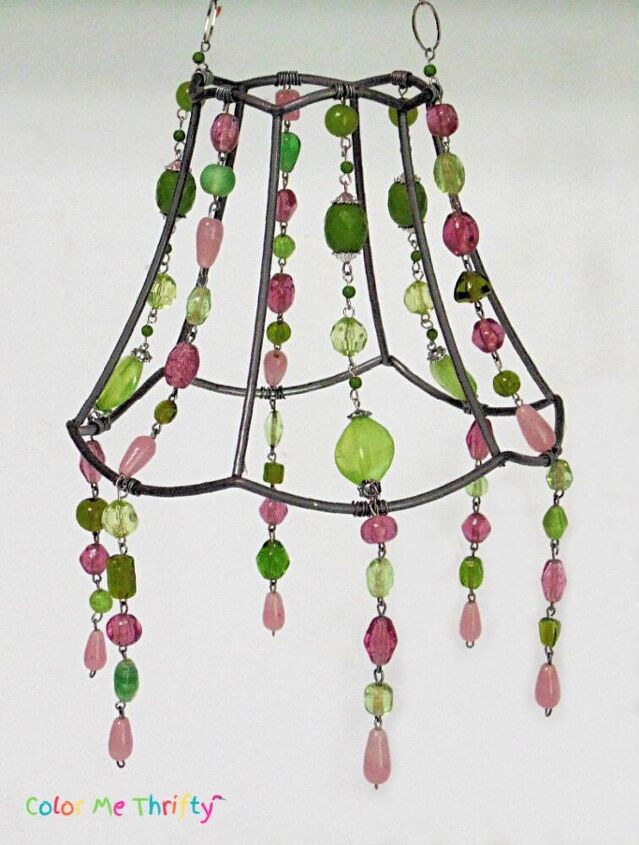
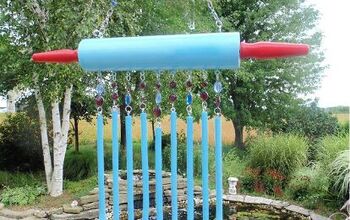
My finished lampshade wind chime is about 23″ long.
TIP: the longer your chimes hang the less of a breeze it will take for the spoons to chime. We have a breezy property, and I don’t want mine to chime constantly, so I made the necklace parts shorter so the spoons only chime when there’s a good wind. If your property isn’t very windy you may want to make your chains longer so your spoons will chime with just a little breeze.
I do love that you can see through the lampshade to see all the beading, but I would also like to see what it would look like with a solar light.
I tried to find one that would fit into the lampshade, but I had no luck. They were all too big.
I’m going to keep looking for a solar light that will fit, and when I do (thinking positive) I’ll post some new pics.
I hope this project has inspired you to create a lampshade wind chime. This was such a fun project, and the possibilities for different looks are pretty endless depending on what you use for hanging.
You can find more wind chimes projects on my blog here.
Resources for this project:
See all materials


Comments
Join the conversation
-
I just love it, you did a great job!!
-
Oh, I just love it!!!


Frequently asked questions
Have a question about this project?
This us one of the most beautiful things i have seen on hometalk thank you so much for sharing
How did you put a hole in the spoon handle?
What a fabulous creation 🤩. I now have something to do with my grandma’s costume jewelry from the 30’s- 40’s - 50’s. It has been in a box inside another box in a closet for yrs. . I will hang them inside by a window that always has a breeze. Thank you for your wonderful idea that you shared ! I love the name Tuula