


How to Make Floating Paper Lanterns
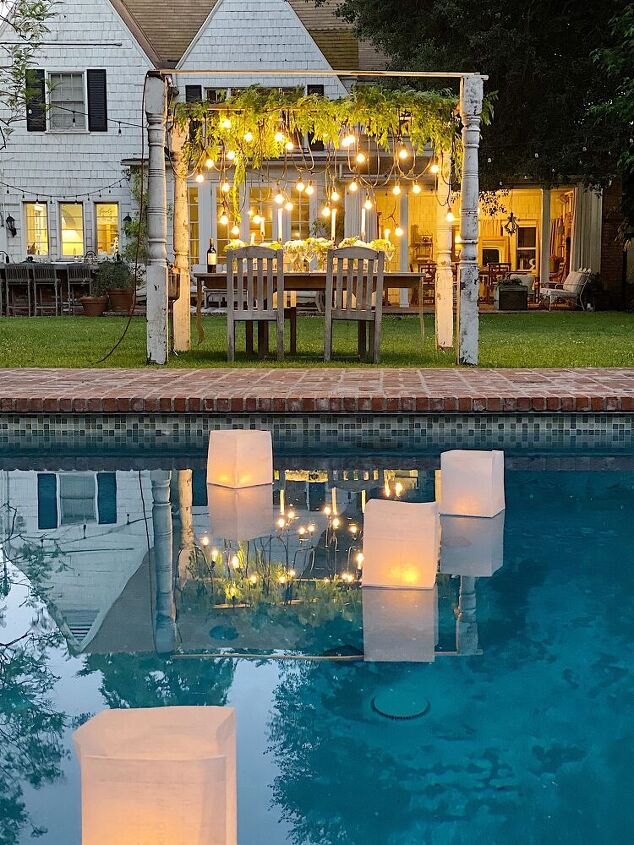
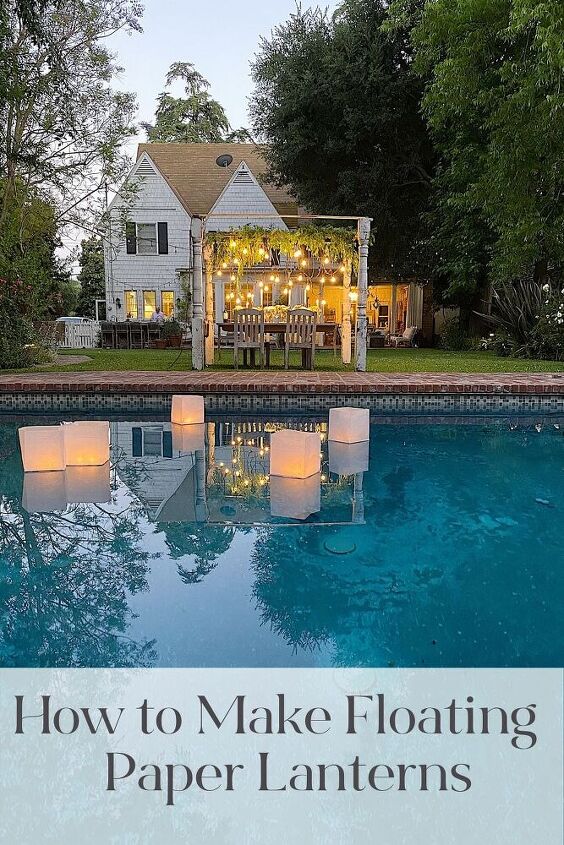
I think the most popular item I made for this dinner party was the floating lanterns and today I am excited to share with you how I made them. They came out great and are very easy to make.
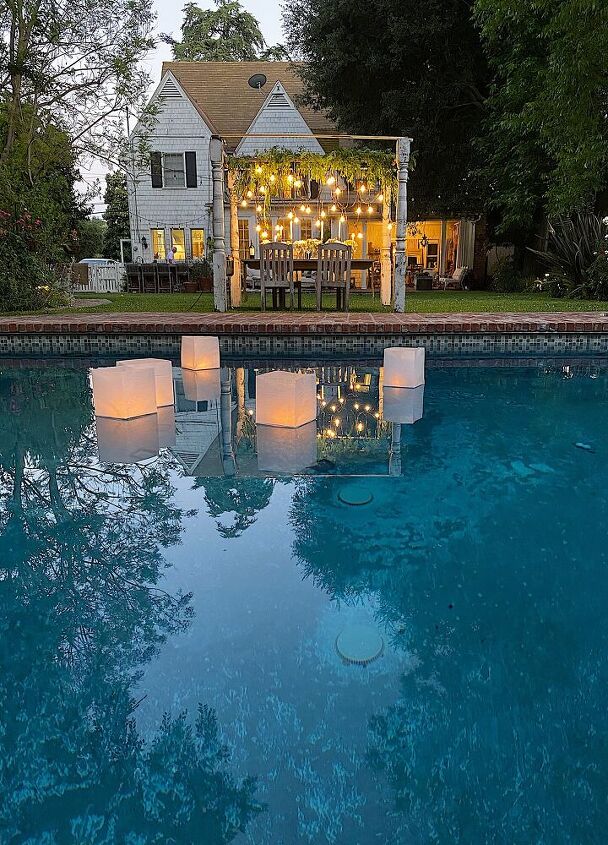
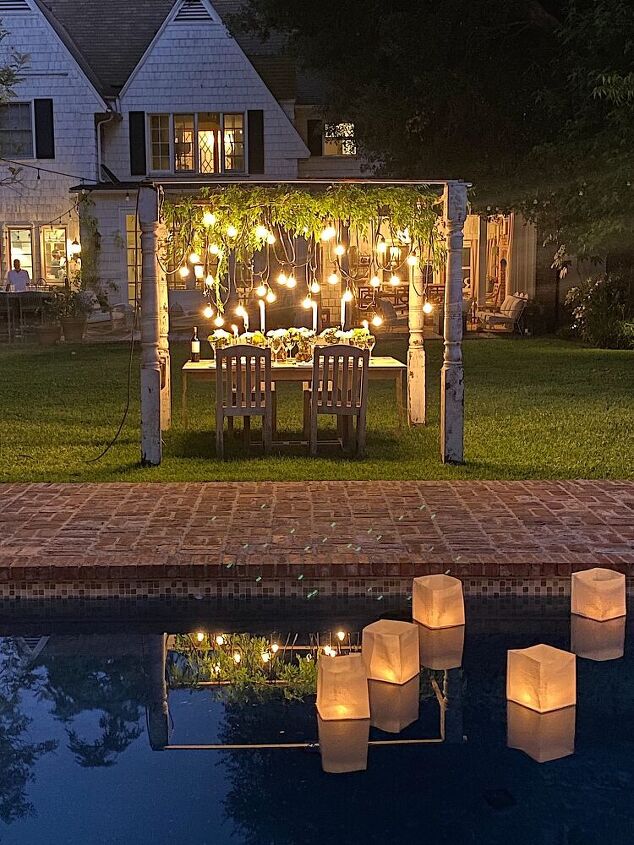
Whenever I throw a dinner party I usually have a vision. I created this outdoor dining room and also I knew I wanted to do something to highlight the pool. I just wasn’t sure what I should do until I figured out how to make floating lanterns.
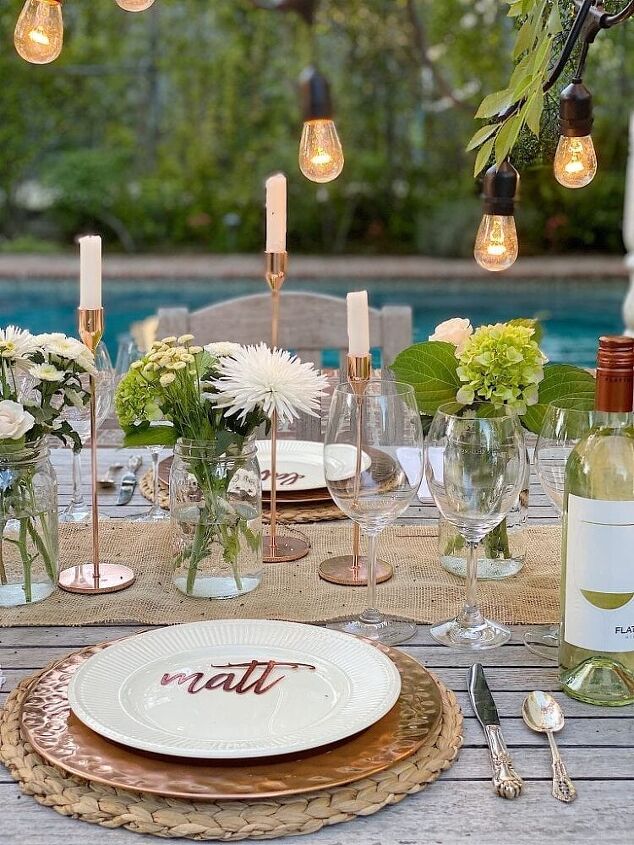
I love hosting parties in our backyard and this was one of my favorites. But I wanted to add something fun in our pool.
I have never owned or used floating lanterns before. Originally I went to Amazon to see what I could buy online. But then I realized, why buy them when I can make them?
I should probably also mention I needed them for the next night so I didn’t really have time to ship them.
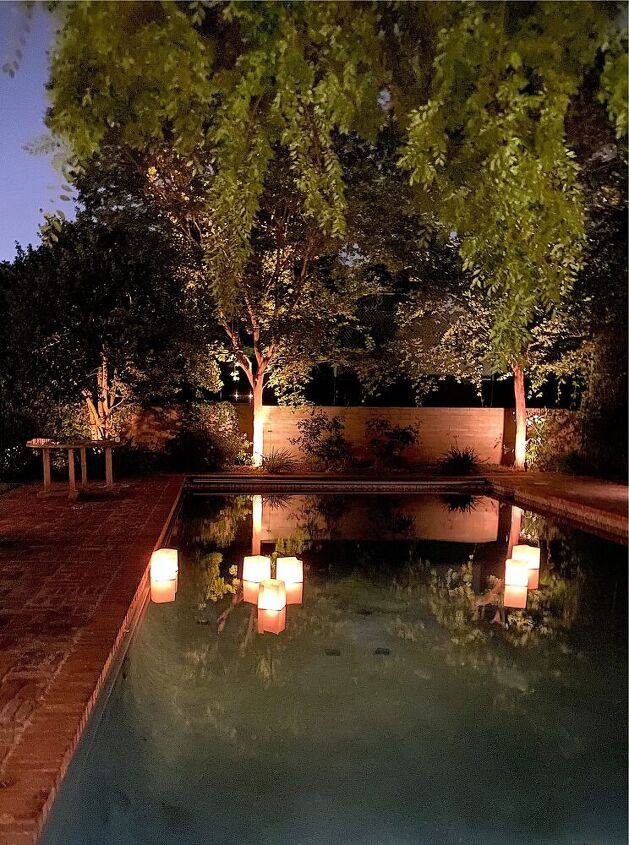
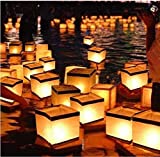
And can I just say how much I love how these floating lanterns came out? That is because they actually float!
If you want to see more of how I created this magical party for my family, go to these blog posts:
How to Plan a Backyard Dinner Party
If you are enjoying my blog, you can sign up to receive my blog updates here. .
How to Make Paper Floating Lanterns
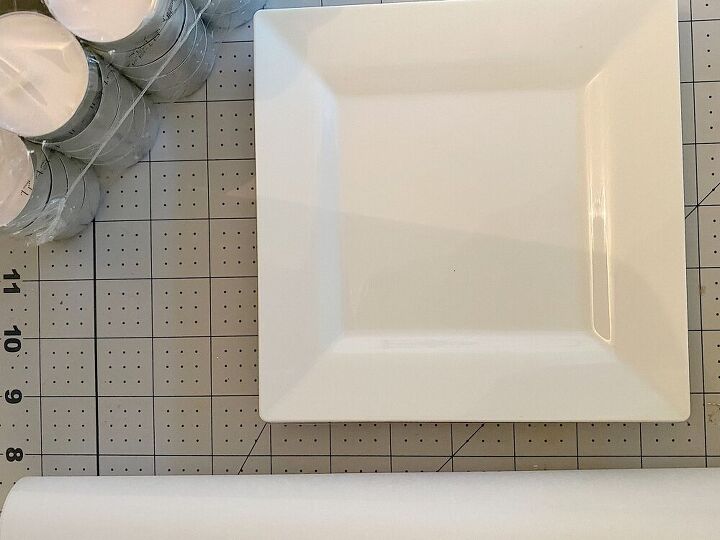
What You Need to Make Paper Floating Lanterns
Everything I used to make these lanterns I found at home! Here is what you need:
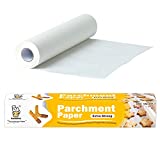
Parchment paper
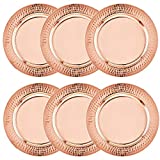
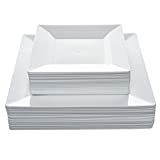
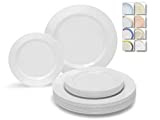
Plastic plates (I had square but you could also use round plates.)
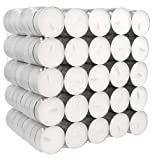
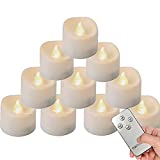
Tea Lights
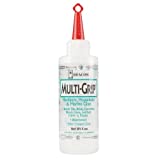
Glue – Beacon Quick Grip or Beacon Multi-Grip (This is important because practically nothing sticks to parchment paper! Trust me, I know!)
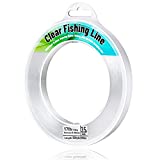
Fishing line or Thin string
Something to use as a pool weight
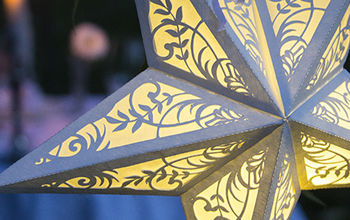
Steps to Make a Paper Lantern
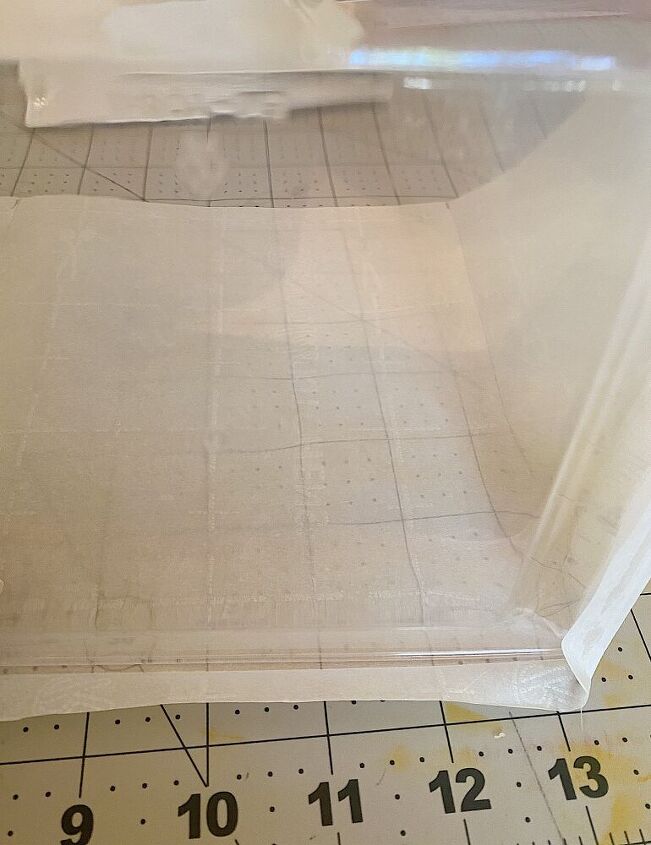
- Measure all of the way around your plastic plate. Add 1″ for seams and that is the length you need to cut for your paper lantern.
- Determine the height of your lantern. I made my lanterns 7″ tall and added 1/2 inch to use as the seam to go around the bottom of the plate. This is where the glue is placed to attach the parchment paper to the plate.
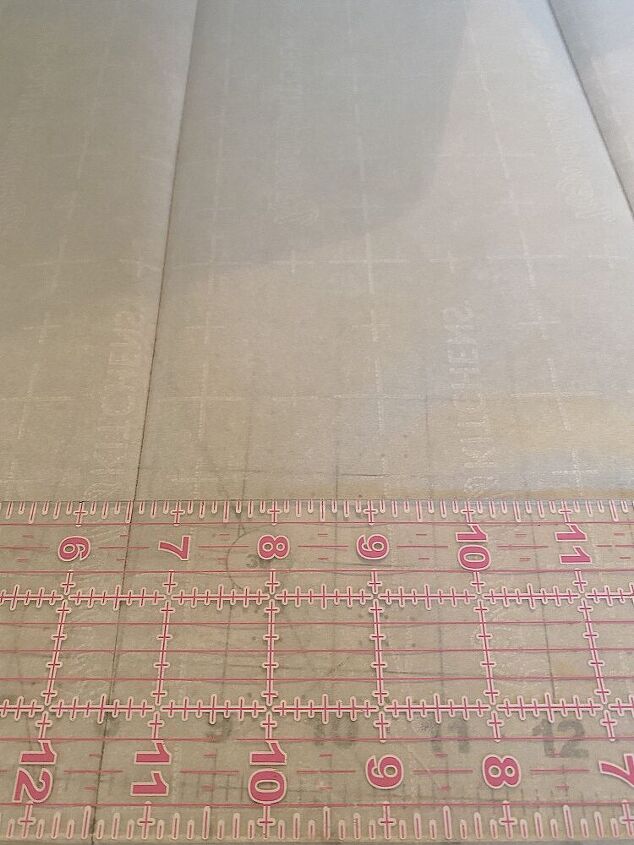
3. Cut your paper to size, just don’t forget to add the seam allowance.
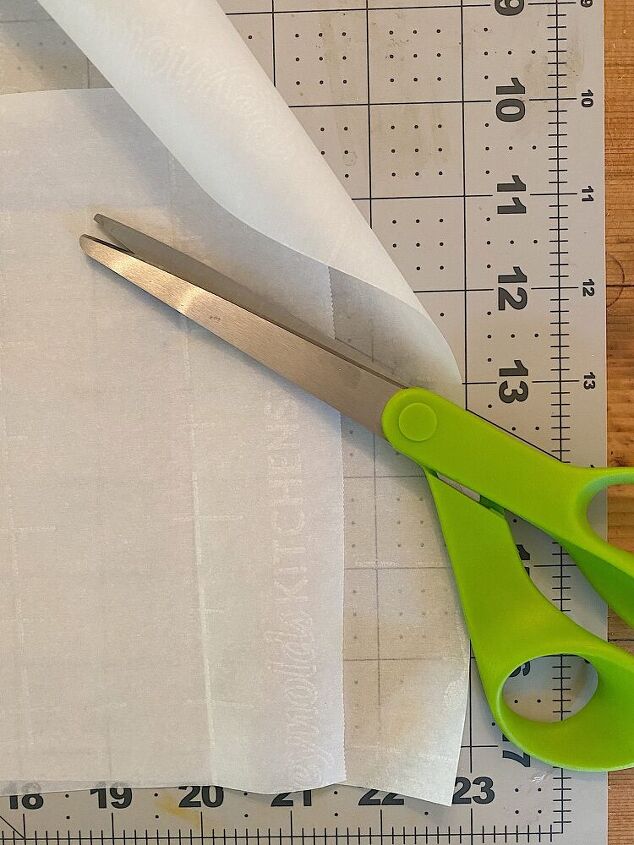
4. Fold 1/2″ along the bottom edge of the parchment paper.
5. Place glue along one edge and adhere the parchment paper to the bottom of the plastic plate.
OK, this is where I need to talk about the glue. I tried six different kinds of tape and my glue gun and just so you know, NOTHING sticks to parchment paper. I thought packing tape or painter’s tape or medical tape would work. I also thought a glue gun would work and that didn’t either.
I was lucky to have met an amazing gal at the ALT Conference a few years ago from Beacon Adhesives. She sent me an assortment of glue and I tried two kinds, the Multi-Grip, and the Quick-Grip. Both of these glues worked perfectly! Which was amazing since I spent two hours trying to stick the parchment paper and the plates together.
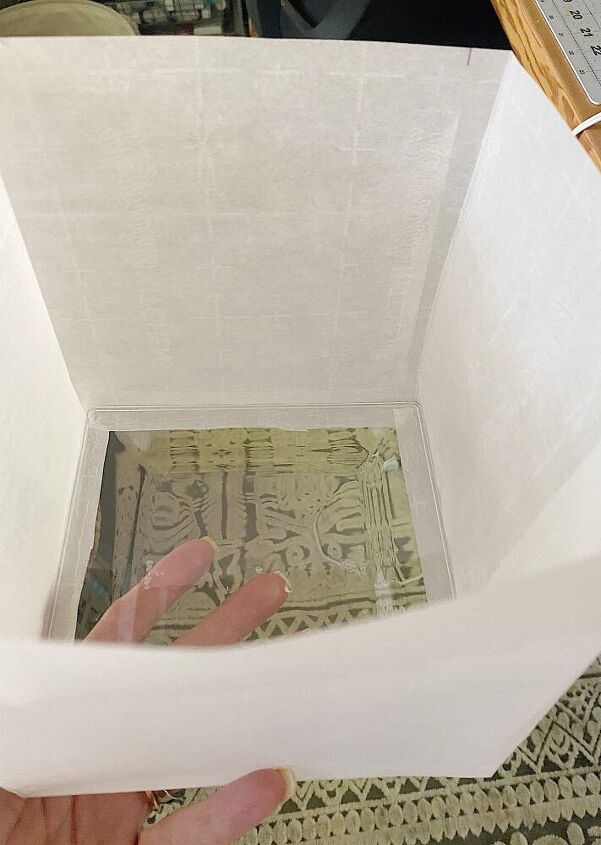
6. Glue along the side edge to close the lantern.

Crease the edges to create a square. That is all you need to do!
The last step is placing the tea lights onto the plate and floating the candles in the pool. You should weigh them down so the lights don’t all float to the same place. We attached fishing line to a metal lid and then taped it to the bottom of the plastic plate. Just make sure the “weights” are strong enough to hold the lanterns in place. Also, the fishing line should be long enough so that the lantern isn’t pulled underwater.
Matt and Michael placed the floating lanterns in the pool. They also figured out that tea lights float in the pool. that was a nice surprise.
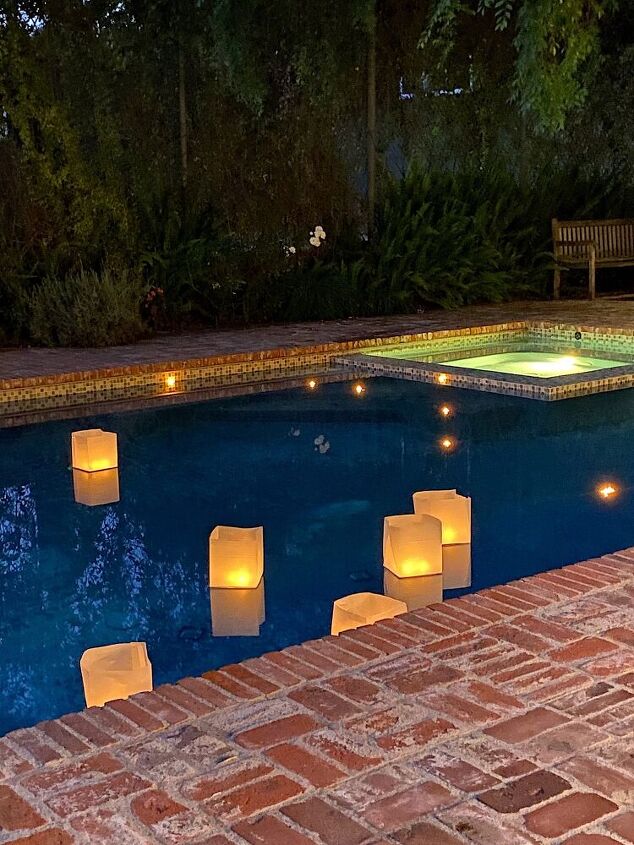
These were so easy to make and made such a dramatic impact on the overall look and feel of the party.
Links to Items Similar to What is Seen in This Post
Pin the image below to your Entertaining or Partydecor boards on Pinterest (just click the Pin button in the top left corner). You can also follow along with me on Pinterest!
For more real-time updates, follow me on Instagram @My100YearOldHome

ABOUT LESLIE
Welcome to My 100 Year Old Home. I started my blog so I could share my passion for entertaining, décor, cooking, and crafts. You will find all this and more right here. Read more…
DIY home decor using recycled paper
Resources for this project:
See all materials


Comments
Join the conversation
-
Your home is beautiful-reminds me of upstate NY. The trellis is so cozy & inviting... Lovely job on the lanterns!!
-
Such a great idea! We just went to a graduation party that had something similar in the pool, but I like yours much better! I've gotta try this Leslie!


Frequently asked questions
Have a question about this project?
Will definitely be making these! ❤️
what did you use for the top of your trellis?
How do you keep the bugs away from the hanging lights?