


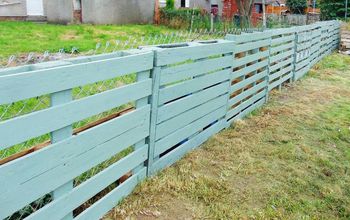
New Picket Fence
We had to replace a rotting picket fence. Luckily the 4 x 4s cemented into the ground were still very much in tact and so that definitely made it easier to put up the new fence sections.
Plan ahead measure and decide how many fence sections you will need to order.
Step 1: Remove and discard old fence panels
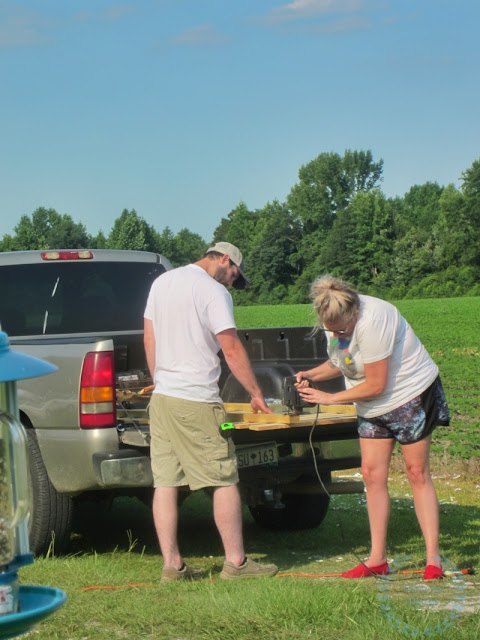
Step 2: Unload measure and cut sections if there is a need for it. There was for us a few cuts to fit the panels in.
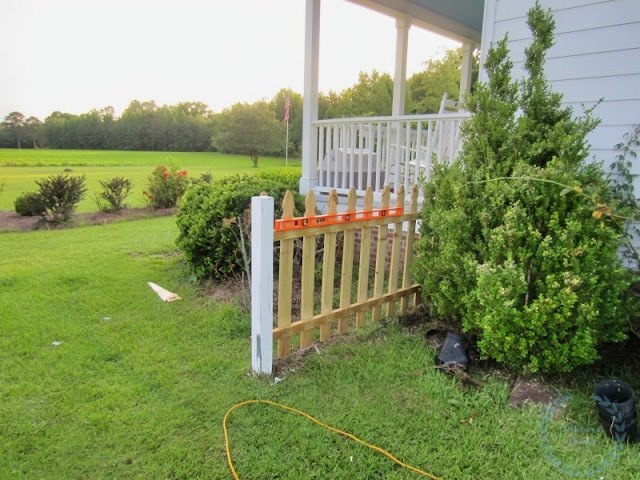
Step 3: Screw panel sections onto the posts
Step 4: Let the fence panels dry as the treated wood will need to be dry in order to paint.
Step 5: Paint the fence panels

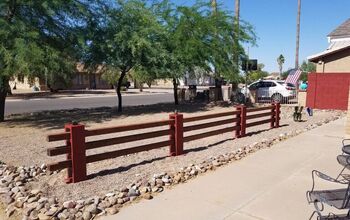
Hey, y'all! I was so happy to have the picket fence sections replaced. Yes, I know we must be rich right? The cost of lumber these days makes one jump not step back! But, this has been a long time coming. We had to make a decision about the thing. Were we going to let it fall down one picket at a time or were we finally going to replace it?
This was done in July. We are letting it dry out before priming and painting. I can't wait to see the finished project. For now, it is a work in progress.
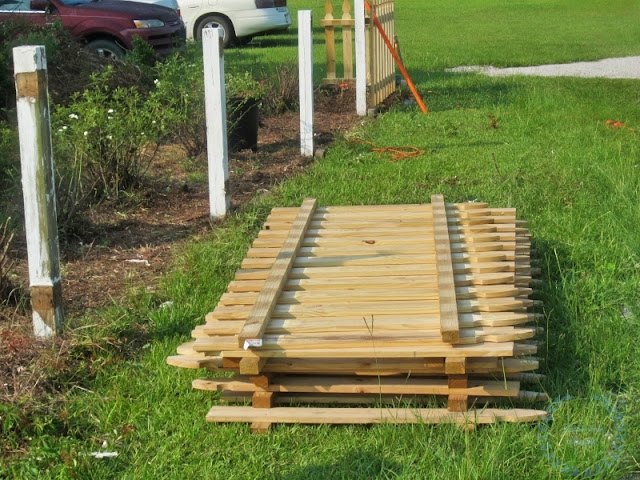
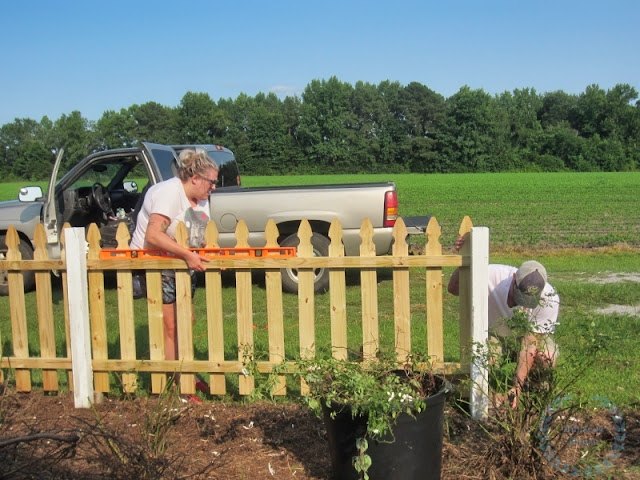
It is amazing just what you can do from the comfort of your own home. I ordered the fence panels from Lowes and these two picked it up.
We've been doing lots of things from home for the last year and a half. I've always been a homebody, guess I get that from my daddy, but lately, it has become more apparent. Guess that trait comes in handy these days!
We left the 4 x 4s in the ground of course they are fine and makes sense to reuse them.
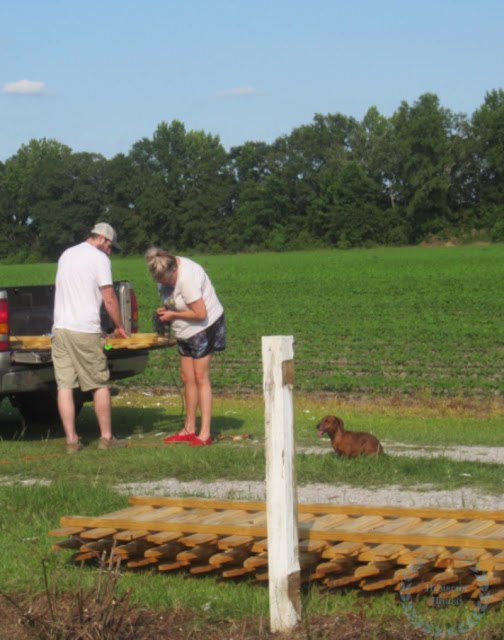
These three are hard at work
The panels are different in size than the older ones we are replacing. They had to measure and cut them to fit the posts.
I'm thankful to have these two to do this!
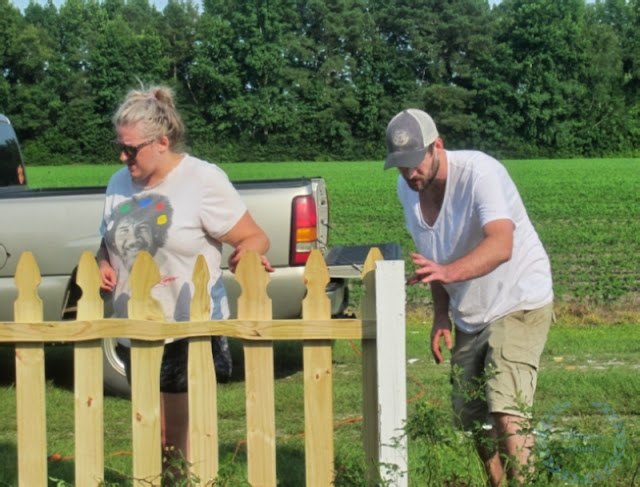
Getting the panels up and going on around the old fence posts that will still function for years. If you are installing new fencing you will have to put down posts to hold the panels in place.
Making progress.
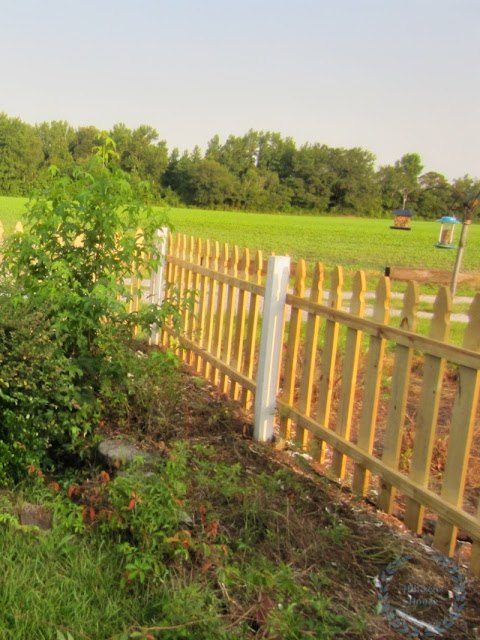
This is the white rose garden although at this moment it sure doesn't look like it
I'm going to love this look at the view!
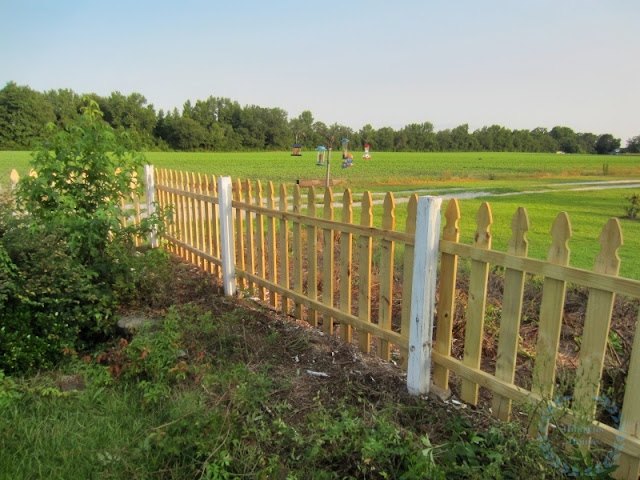
I'll have to update after painting but that is all there is to replacing. We had an easier job although these two did work pretty hard and I'm thankful.

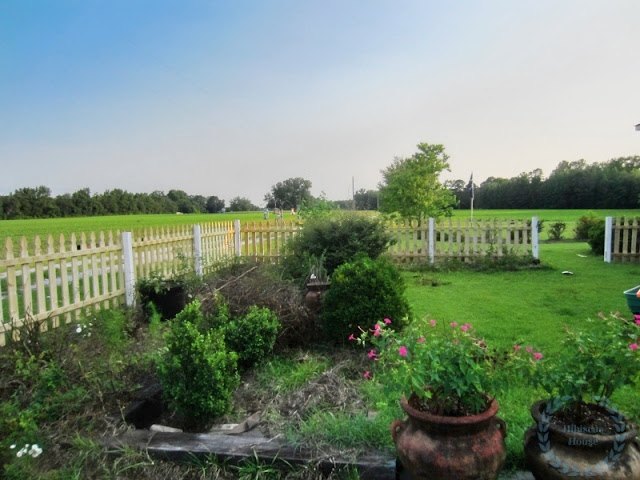
The area immediately looks larger with the fence up!

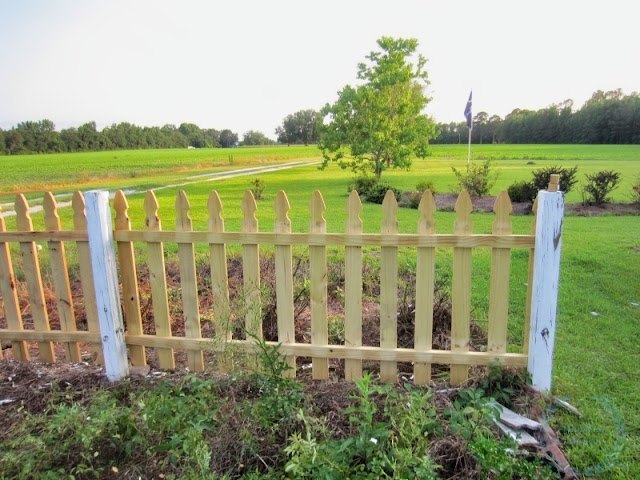
Thanks to Doug and Catie for all the hard work on such a hot day
It Looks Good Y'all!


Comments
Join the conversation
-
I recently had to replace a picket fence because a tree had fallen on my old one. I had to keep my two chi babies safe, but found that the pickets are too far apart to keep them in. I plan on putting 1/1 strips in between the pickets to do this, but it will have to wait till spring now.
-
I love it, looks so pretty and where you live its perfect you don't have to worry about neighbors, so that works great for you


Frequently asked questions
Have a question about this project?