


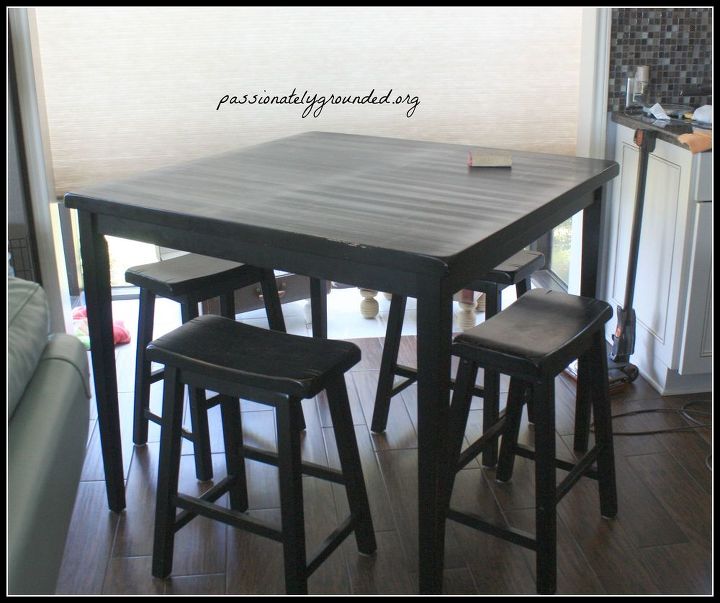
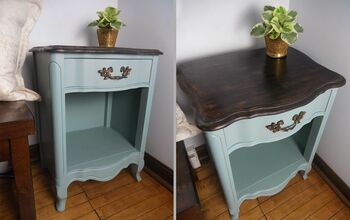
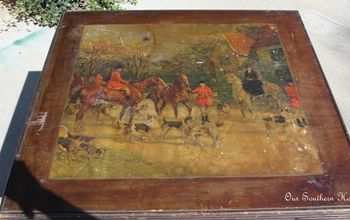
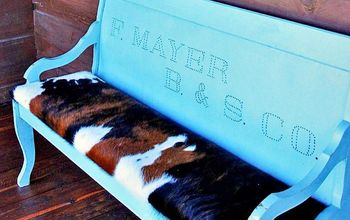
Black Pub Table Makeover With Milk Paint
We bought this table before our new cabinets went in. At that time I had painted our then smaller island in a distressed black, while the main cabinets were painted cream. So this table fit in perfectly with that color scheme. In my dream world - the garden window would become a bay window with a booth inside.... but until then I'm making over this black table!
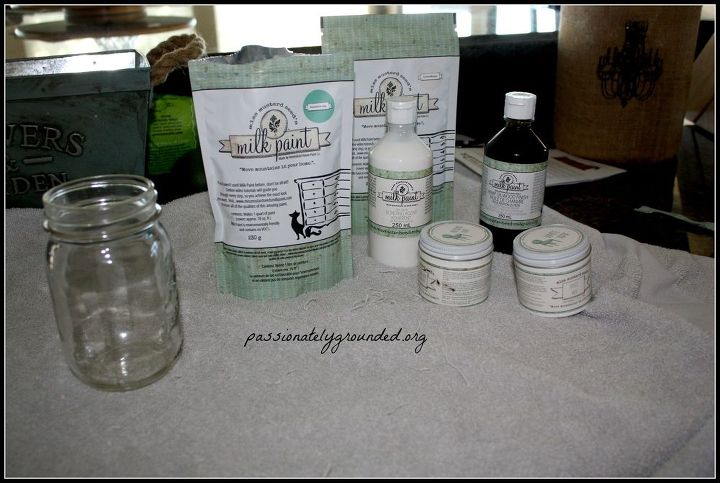
As of late, I've been a chalk paint girl. If you can paint it - chalk paint it is! I switched it up with fabric~ and as of last week, studied a new technique
I had replaced some recliners in our family room with a greenish/blue leather earlier in the year. It seemed like it would be the perfect accent color to add to the table. Of course - that makes me rethink the wall paint I have in the the kitchen and the family room~ and that my friends.... is the story of my life.
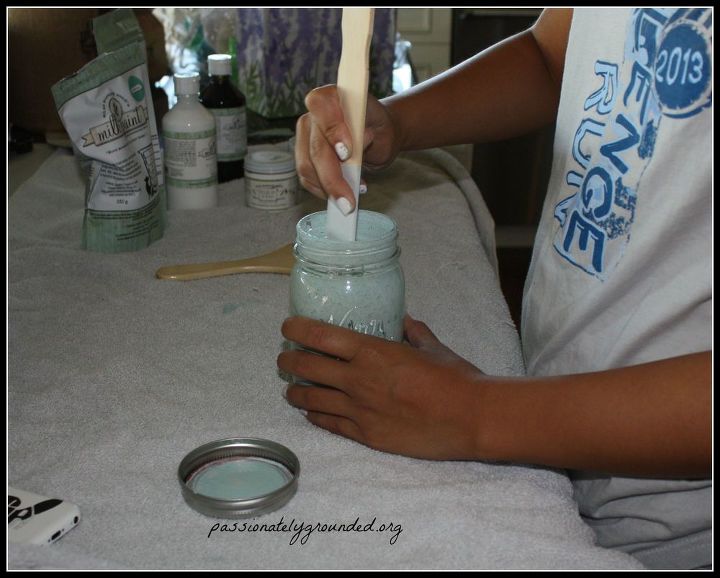
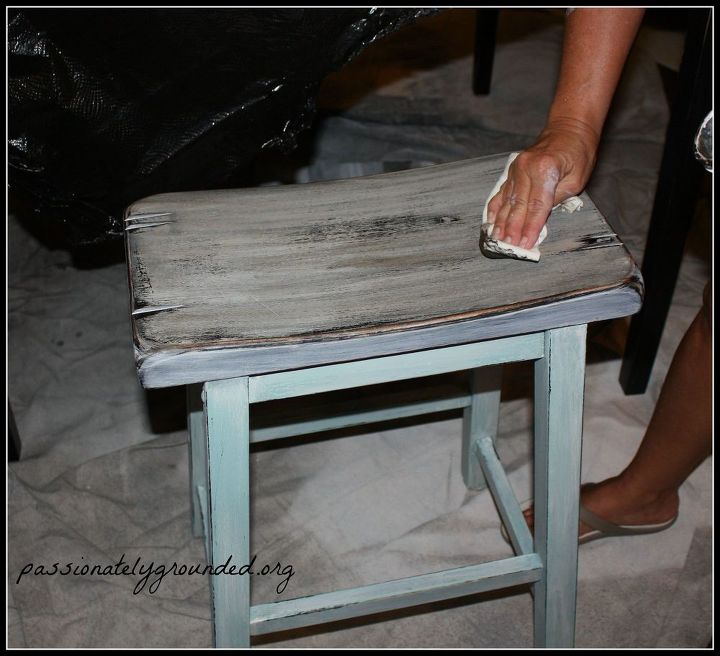
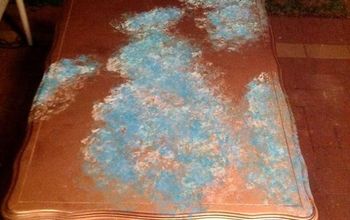
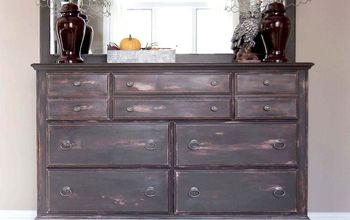
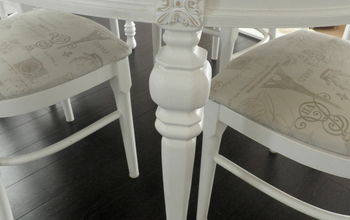
This was one of those projects that the plan would be ~we will see how it goes, since it was new to me. We started with the chair legs. Deciding to do 2 coats. It doesn't take long to dry. My daughter and I both did 2 chairs, then mixed up the Ironstone color (creamy white) for the top.
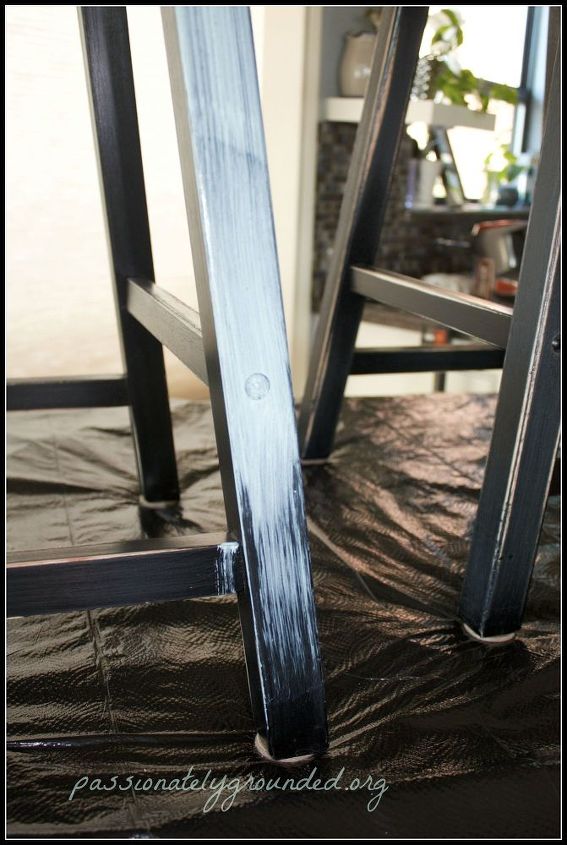
Originally thinking we would cover the black completely, we did 2 coats of the ironstone as well. I studied it for a short period.... letting some of the black show through seemed to be the best way to go. This would require more sanding!
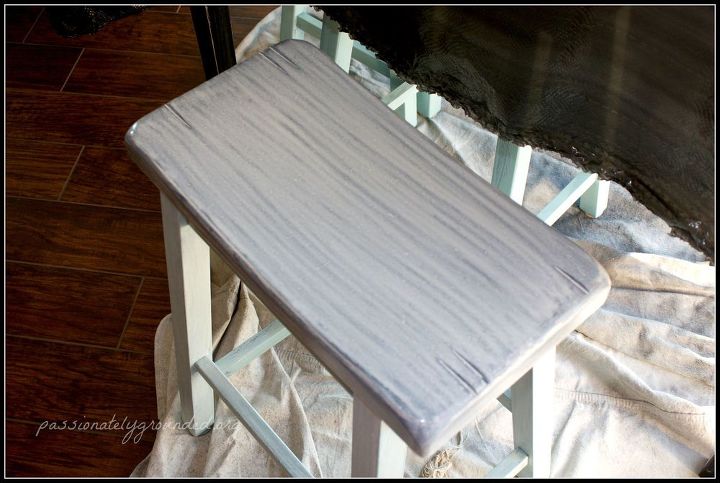
After what I thought would be enough sanding I did a coat of the Antiquing Wax.
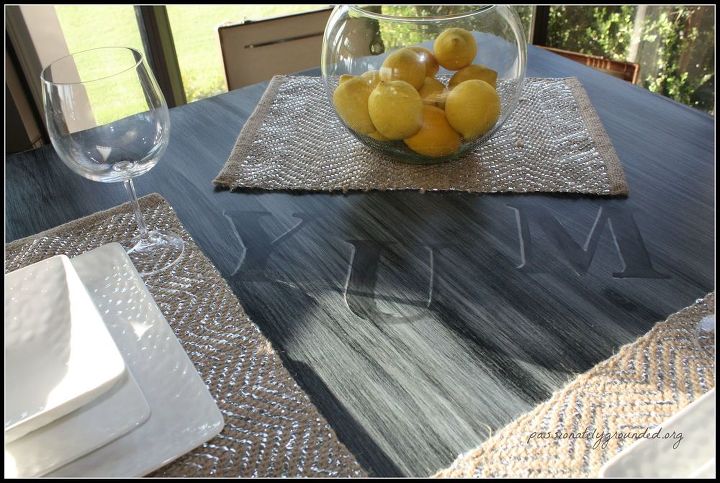
Because this is one of the most detailed blogs I've done, I'm going to give you a glimpse of the finished product and ask you to please click on my blog to get more detailed information and pictures. Thank you for visiting!


Want more details about this and other DIY projects? Check out my blog post!


Frequently asked questions
Have a question about this project?