


Updating a Nightstand With Milk Paint

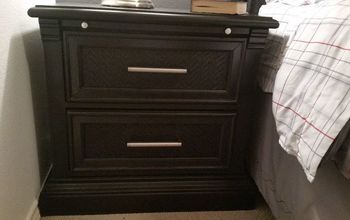
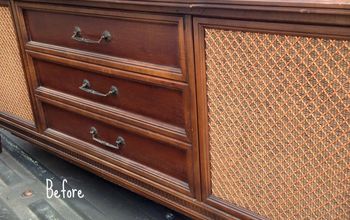
I got this old nightstand for free! It was clearly I rough shape - layers of dirt and spiderwebs, scratches, peeling paint, old stickers. Yuck. I had recently purchased some Rustoleum Milk Paint for the first time (it was on sale!). I thought this would be a perfect opportunity to see how well Rustoleum's milk paint worked on old furniture.
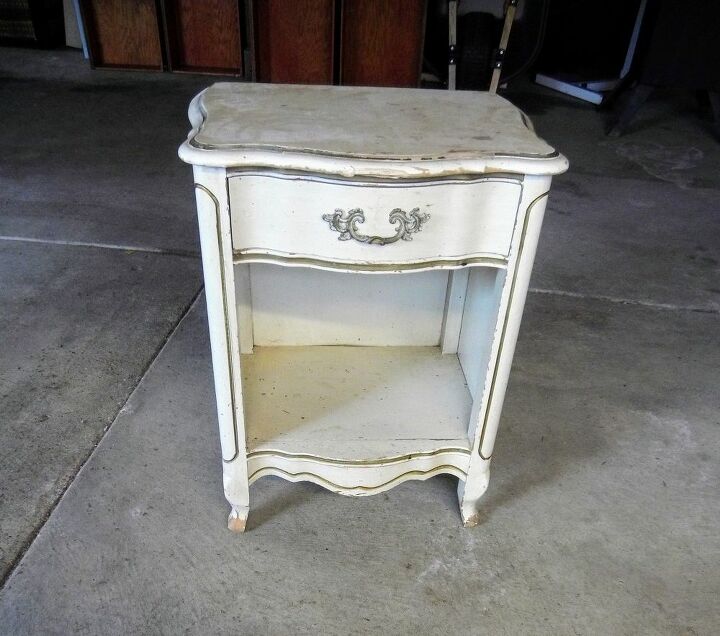
This is where the makeover began. This old nightstand had chipping paint, stickers that wouldn't come off, and stains in the drawer. Obviously, the first step was cleaning!
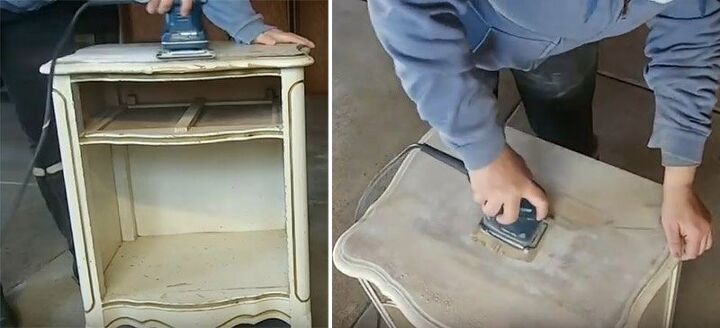
I wanted to stain the top so I did a thorough sanding - first with 80 grit, to get all the paint off and then I went over it a second time with 120 grit sandpaper. The second sanding really cleared off anything that remained and smoothed it out nicely. I wasn't worried about seeing the wood grain in the rest of the nightstand so I just did a quick sand with 120.

The first coat of the Rustoleum milk paint goes on fairly thin so I new immediately that I was going to need two coats. The finish is matte and textured with brush strokes. If you wanted the old chipped paint, vintage look, a little sanding would definitely get you the look you desire. I wanted a full coverage, matte, textured look so this product worked great for this nightstand.
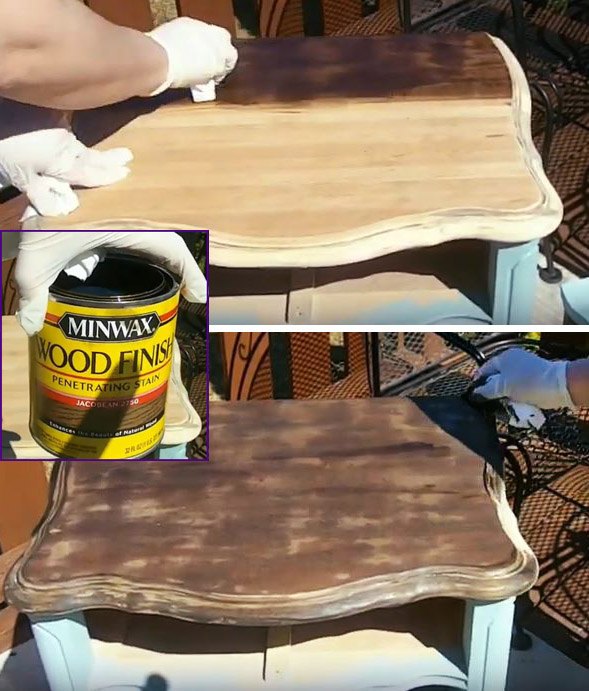
I covered the top with Minwax Jacobean stain - I've used this stain many times and I absolutely love the color. After the first coat completely dried, I added a second coat to darken the color. The second coat also help hide any blemishes.
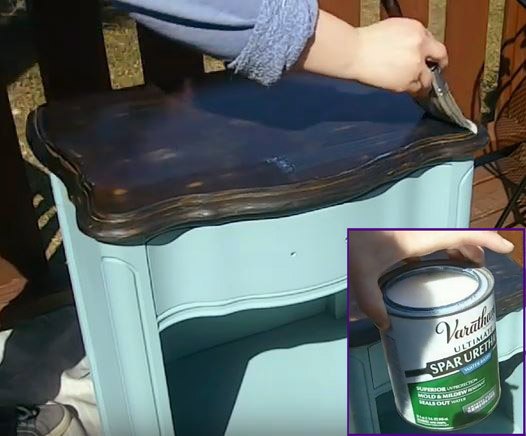
When the second coat of stain was dry, I protected the top with Varathane semi-gloss polyurethane. I did two coats with for extra protection and shine.
Sidenote: I bought this for another project that is for outdoor use so this polyurethane is for exterior projects, but it really gave this nightstand a great shine.
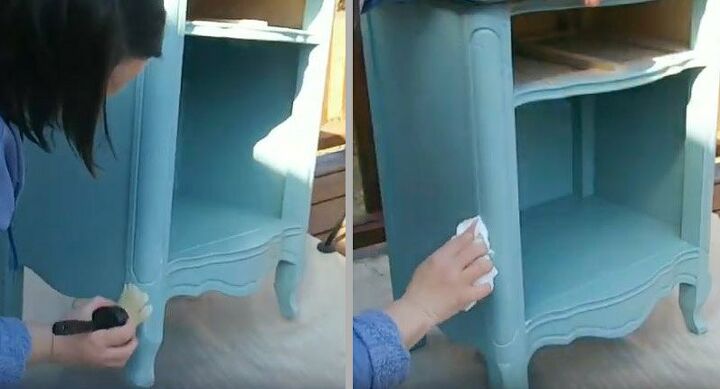
I sealed the rest of the nightstand with a furniture wax from Michael's. I would brush on the wax and wipe off any excess with a clean rag. Once the whole piece was covered, I let the wax cure for 24 hours and then gently buffed everything with a clean, soft cloth.
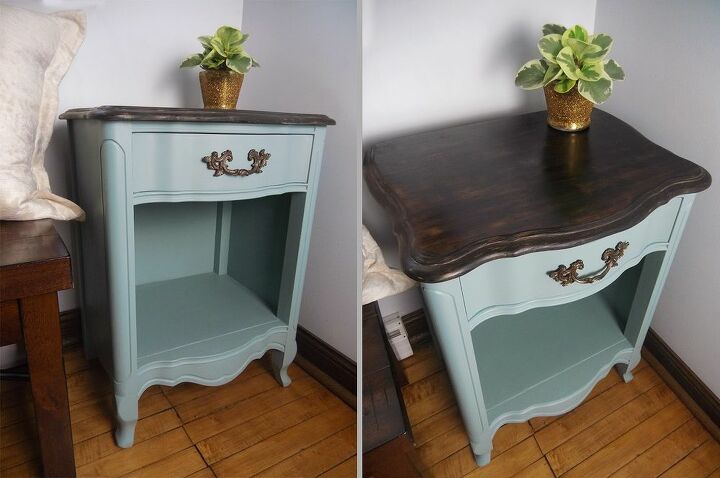
I also scrubbed and painted the drawer handle with a Rustoleum hammered spray paint in the color Chestnut.
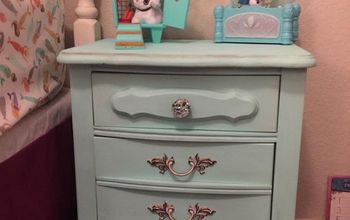
And here is the final look!
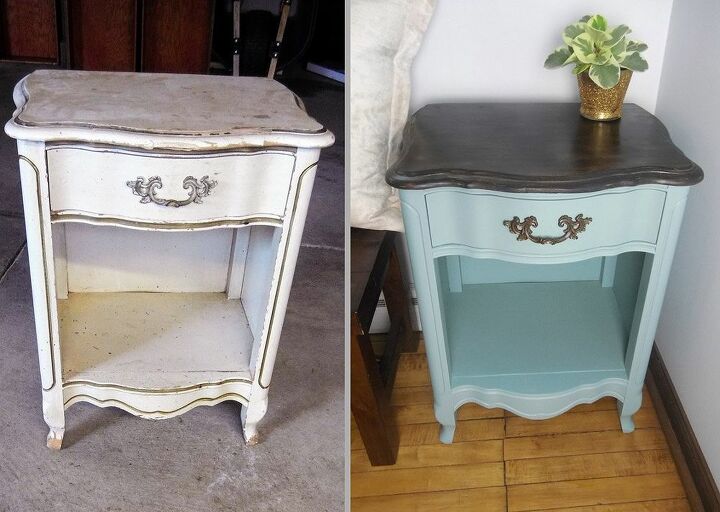
Before and After
Resources for this project:
See all materials


Comments
Join the conversation
-
I love what you did but it can be easier. There are mineral paints now that have a chalk like look but the primer, paint and finish are in the paint. I use heirloom traditions but there are others: Dixie Belle and Fusion. These are sold on various web sites or also Amazon. These are amazing paints and people are doing their cabinets, countertop, stenciling floors, etc. It not cheap but a little goes a long way...check out the sites and tutorials. Heirloom Traditions paint has a great Facebook page. Sounds too good to be true. That’s what I thought. Thanks for sharing.
-
WOW! What a beautiful change. I especially like painting the hardware, and in such a beautiful color. Genius!


Frequently asked questions
Have a question about this project?
Great job. I love and the color.
Hi, what color is the milk paint? I love the colors! Nice job! Thanks!