


Restoration of an Antique Bed - It's Really Not Hard

2 Materials
$20
8 Hours
Easy
I like old furnitures. Apart from a old style, which I like, they are durable, made from good quality elements and.. very cheap to buy. I want to show You how easy is to make a renovation of an old furniture - the antique bed.
v
{
"id": "4676864",
"alt": "",
"title": "",
"video_link": "https://www.youtube.com/embed/gxMZW3Y3nl4",
"youtube_video_id": "gxMZW3Y3nl4"
}
{
"width": 634,
"height": 357,
"showRelated": true
}
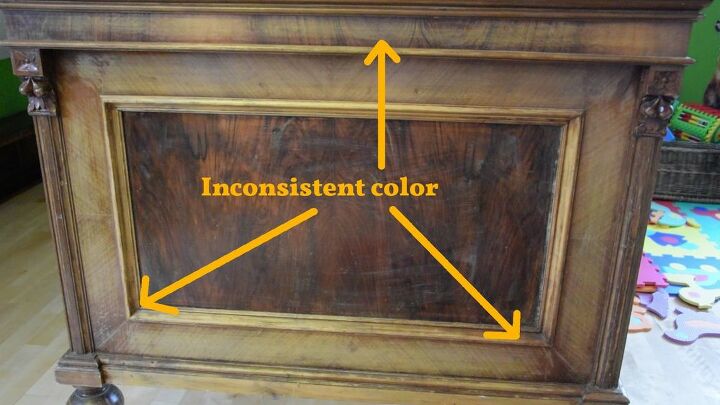
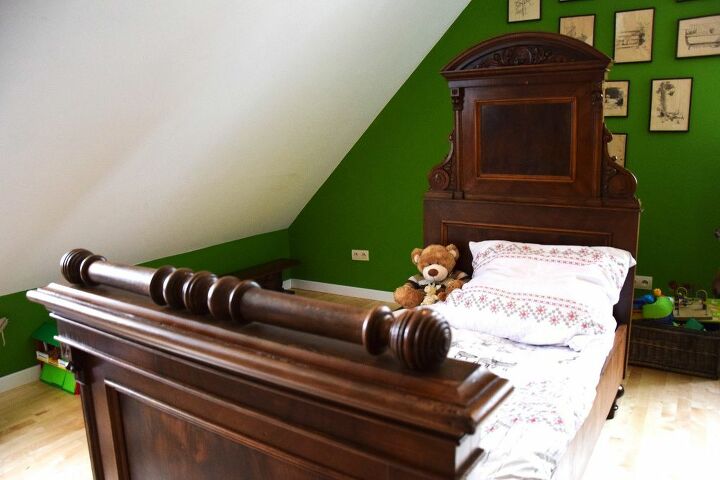
My wife bought the bed which wasn't looking very good, but it was in good condition for renovation proces:
- it has not very deep scratches
- it has some lacks of veneer, but not to many
- it has some bugs and wormholes, but it can be fixed
- it was wobble
- it was without the bottom
Important thing when You considering if some antique is good for easy renovation process is to check is it made vrom solid wood or from pine wood only covered with the veneer.
In the case of the solid wood - the renovation is easier, You won't have to replace broken venner.
If the furniture is covered with veneer - the renovation would be complicated. You have to be carefull during sanding, and probably You would have to replace broken venner.
First step in restoration process is always cleaning the furniture. I used soap and water for that. Then I dissasemble the bed and start to remove the old broken surfaces of laquer and stain.
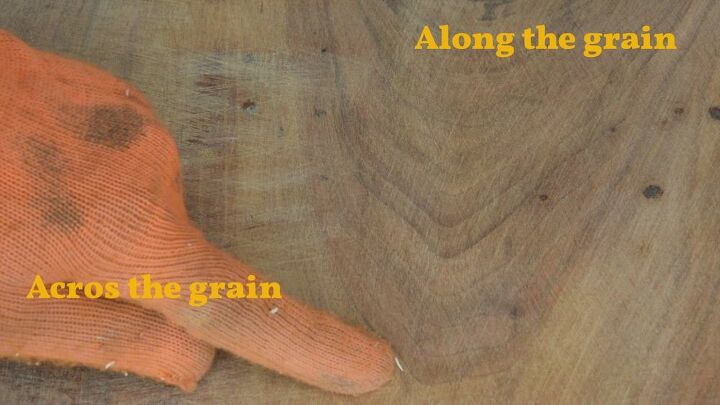
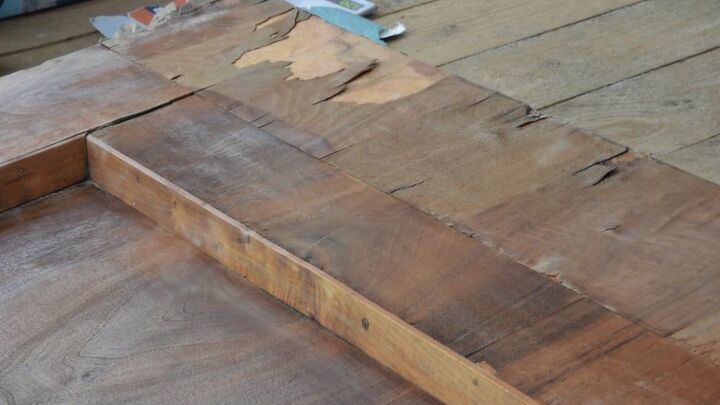
I recommend to use a rotary sander for that purpose, because it won't leave the scratches. Unfortunately, on some parts I had to use belt sander, because the laquer was not orginal and very, very thick. On picture above I'm showing that You have to sand along the wood grain not acros it to have smooth surface.
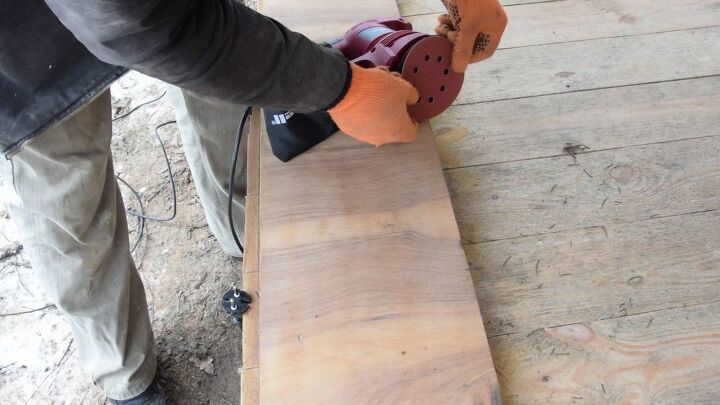
My bed was made from/covereth with the dense and hard wood-oak, and nut, so to get nice, smooth surface I had to use the sandpaper from 80 up to 300 grit.
If the bed would be for example from pine, I would have to end with efen finer sandpaper like 360 or 400 grit.
Fancy parts like ornaments or decors have to be cleaned by hand and yes it is pretty boring work ;-)
Fortunately there is special type of a adapter for some electric sanders which allow You to clean smaller parts. I used it for the difficult parts to remove laquer and stain (You can see it on the video)
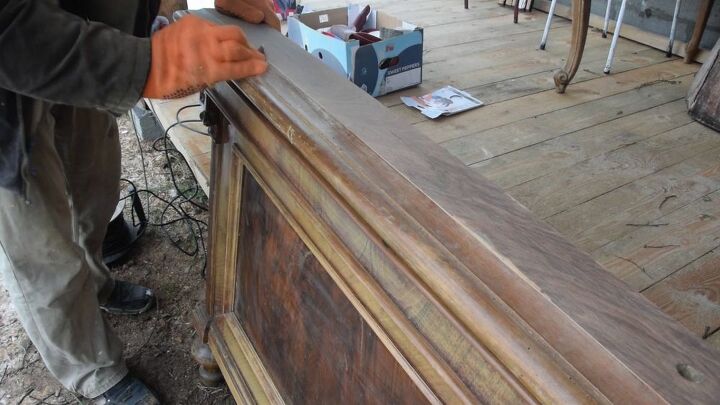
In one place my bad has pretty much broken veneer. Normally I would replace it, but I didn't have same veneer for replacement.
I decided then to remove it completely, then sand the surface and stain it to look like other parts of the bed.
The results of such treatmentt were really good.
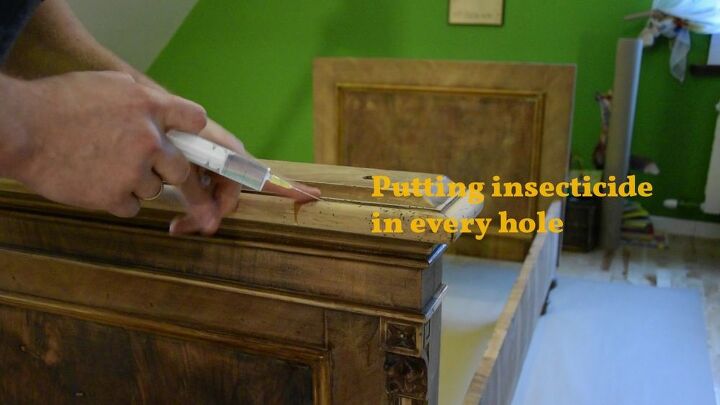
After sanding of all parts, I clean them with wet cloth form the dust and then I kill all worms in every wormhole.
I left the holes to be visible - i like it that way.
Of course they could be hidden by putting the putty on them.
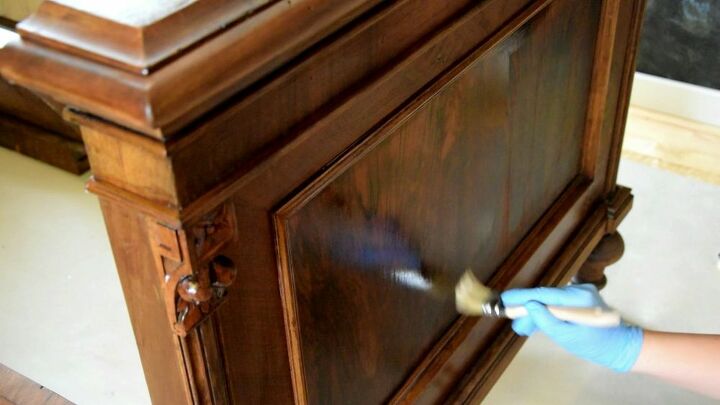
Next step was painting with 2 layers of oil based stain (very easy to use with a brush and correct mistakes-I recommend such paint)
Then I add two layers of acrylic laquer with sanding with steel wool between them.
I recommend acrylic laquer, because it is easy to apply with a brush (does not give any smudges) and it is very safe (certified even for childrens toys)
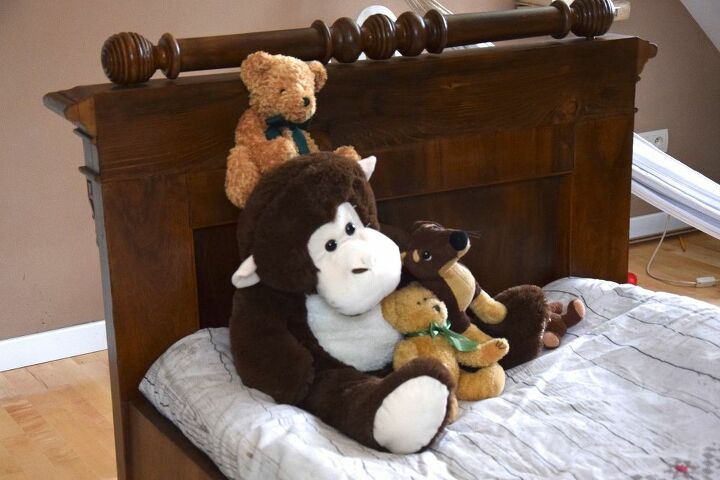
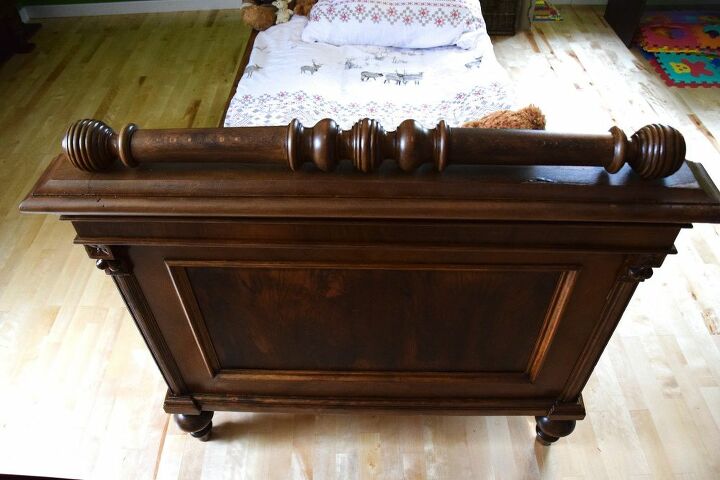
After assembling the whole parts, the bed was almost ready to use. I made the bottom from raw boards and viola! That was all of my renovation.
The look for the whole bed
So that's all.
It was very cheap bed to buy, and now it is cool looking, antique furniture in my house.
I encourage You to do the same - buy, rescu and use an old furniture.


Frequently asked questions
Have a question about this project?