


How to Add Decorative Trim and Raised Stencil to Furniture

by
Pamela Field
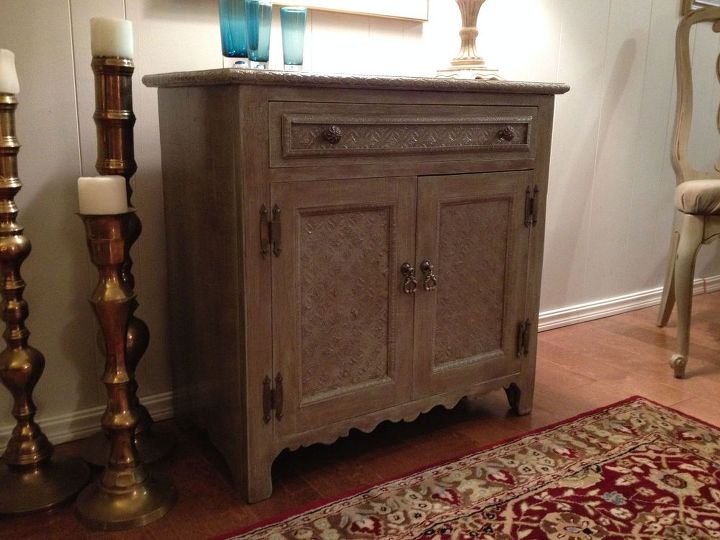
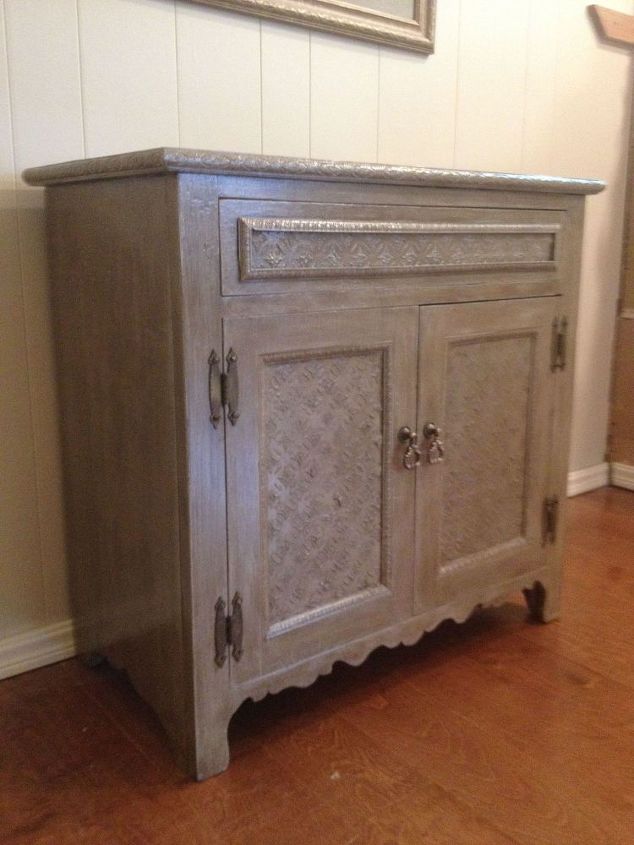
I took a plain little cabinet and added a raised stencil and decorative trim to give it an updated look.
Started with this drab, outdated little cabinet.
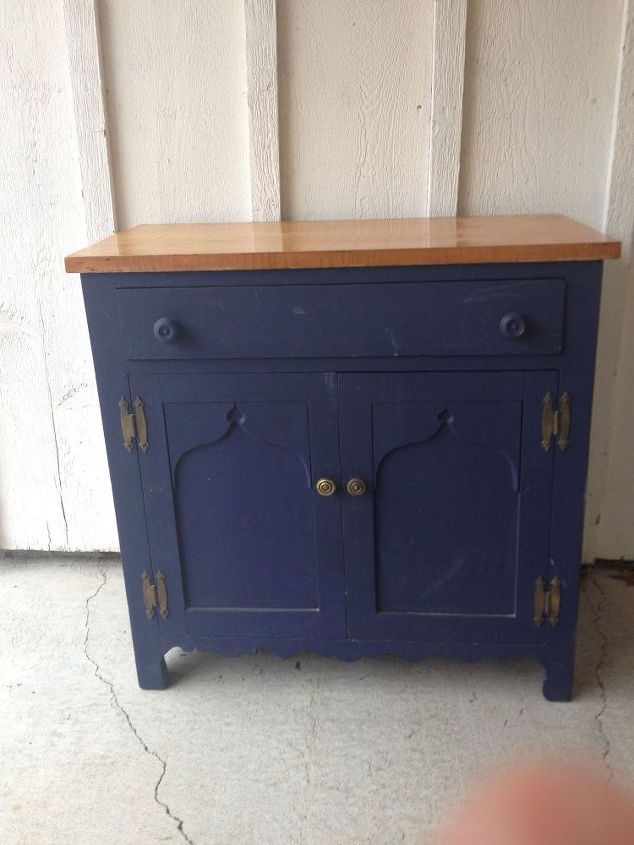
1st step was I cleaned and took the doors off and removed the scalloped trim on door fronts

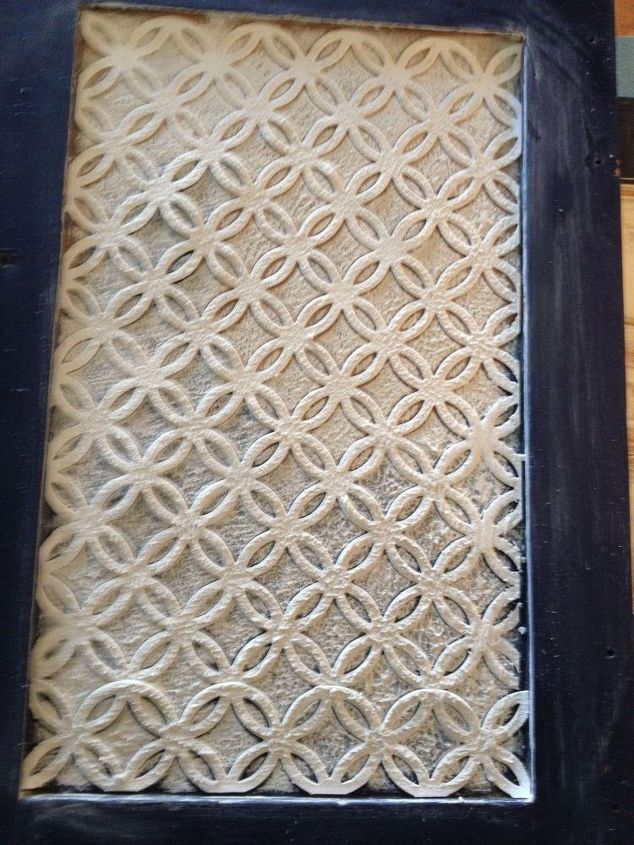
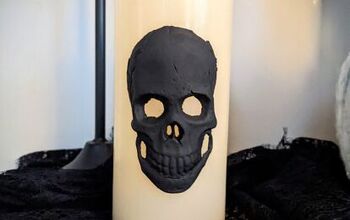
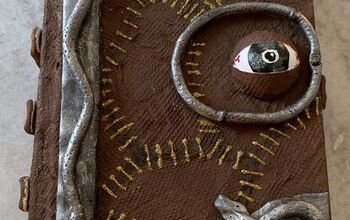
In this case I used scrapbook paper as the stencil and used spackling to create the texture in the door panels.
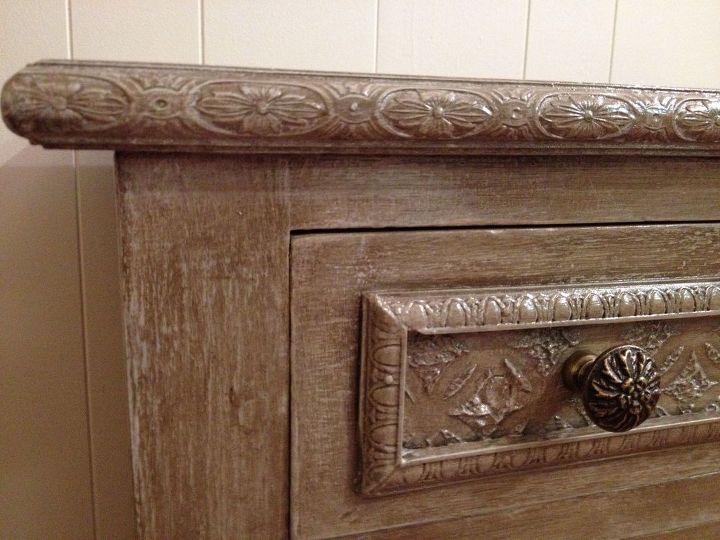
I painted a base coat of gray chalk paint. Craft store decorative trim was added to the panels. On the drawer front I taped it off and added the raised stencil before the decorative trim just because it was easier to work on a flat surface. I built the trim around it.
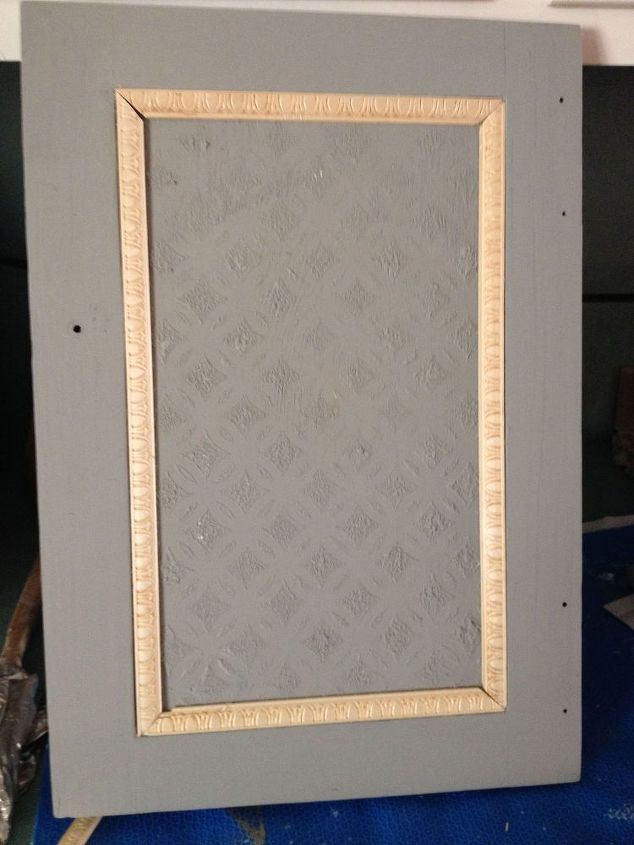
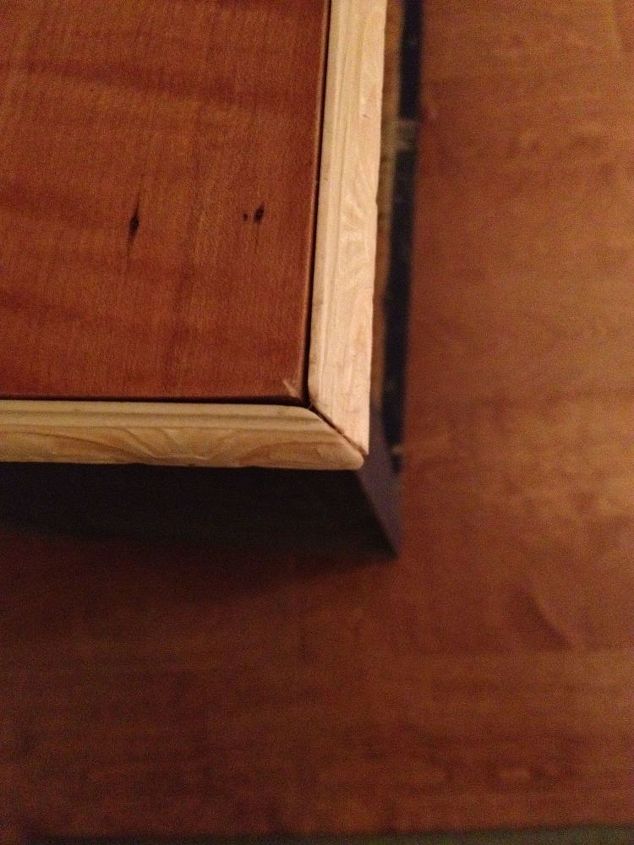
This was my 1st attempt at mitered corners. I little wood filler to compensate for my inexperience. :P
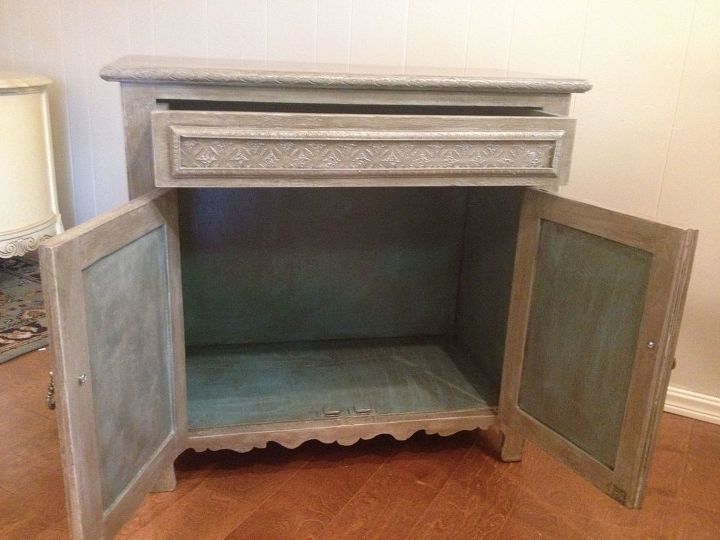
I painted the exterior in gray with a brown glaze. I finished it with a wash in antique white and top coat of polyacrylic. The interior was painted a turquoise with the same brown glaze and a wash of antique white.
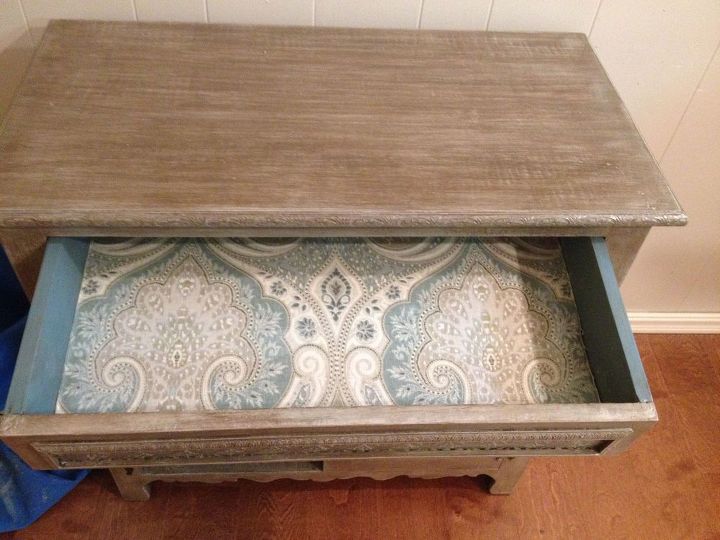
Painted the drawers with the same turquoise and used decoupage to add coordinating fabric to the drawer.
New hardware on the drawers.
tada! Here she is!
Comments
Join the conversation
2 of 4 comments
-
Beautiful update!
-
Love this!


Frequently asked questions
Have a question about this project?