


How to Layer Color With a Putty Knife Like The Turquoise Iris

by
Debi Beard
2 Materials
$60
4 Hours
Medium
Have you ever tried a DIY and failed? Have you tried again only to fail again? I tried to get this finish created by Dionne of The Turquoise Iris several times and almost gave up, I probably would have given up If a BIG TV producer had not called me and asked me to fail again for their show! Find out the rest of the story here in my video...
{
"id": "4446756",
"alt": "",
"title": "",
"video_link": "https://www.youtube.com/embed/zTYT8thu7rg",
"youtube_video_id": "zTYT8thu7rg"
}
{
"width": 634,
"height": 357,
"showRelated": true
}
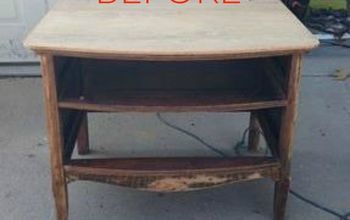
I started this project first by finding a piece that had never been painted before, I know some argue that vintage furniture should not be painted. I look at furniture as a canvas to create on. To say that you should only paint on furniture thats made of pressed wood is like saying that a painter should only be allowed to paint on scrap paper.
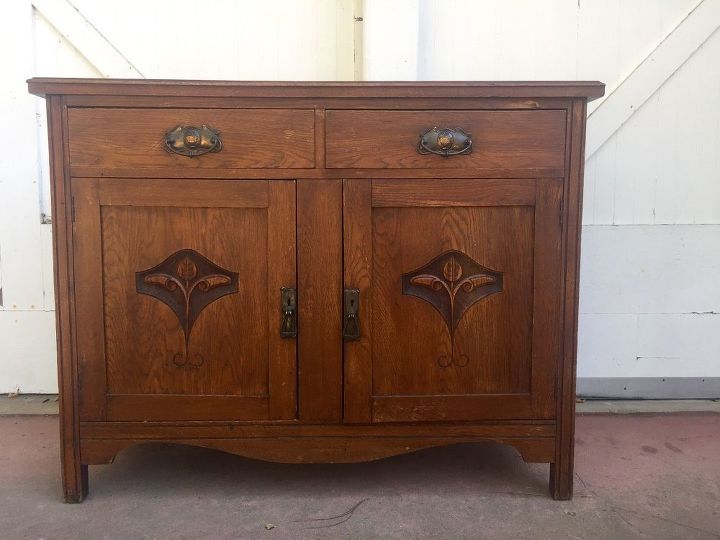
I found this at a thrift store, it has a crack on the top and hole drilled into it. I believe imperfections like this are perfect for distressed paint finishes.
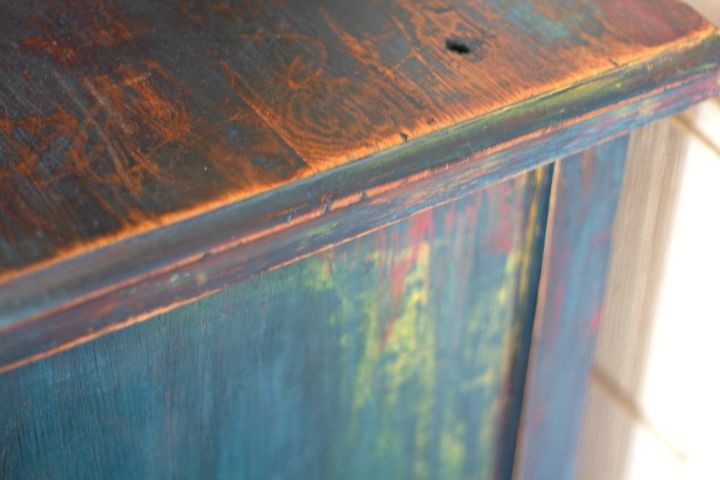
You can see the hole and cracks here... and what looks like layers of paint that happened over time. I finally was able to get this finish but I had to call dionne from The Turquoise Iris and get her help. She gives me step by step instructions in the video.
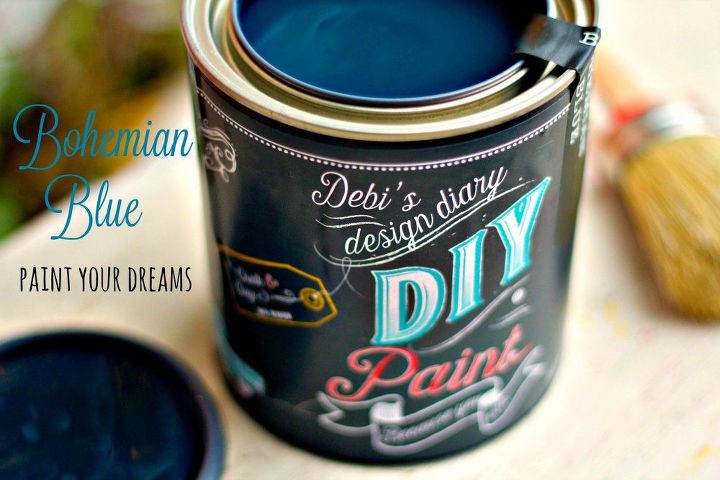
I stared by covering the entire piece with a layer of DIY Paint in the color Bohemian using a smooth roller not a paint brush....as seen in the video.
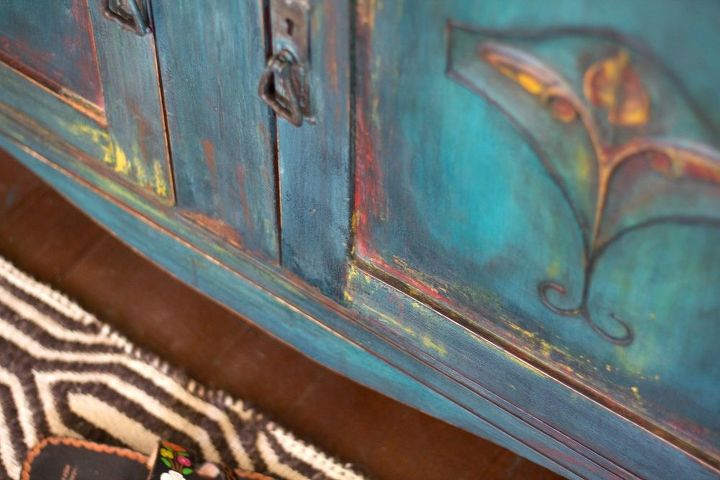
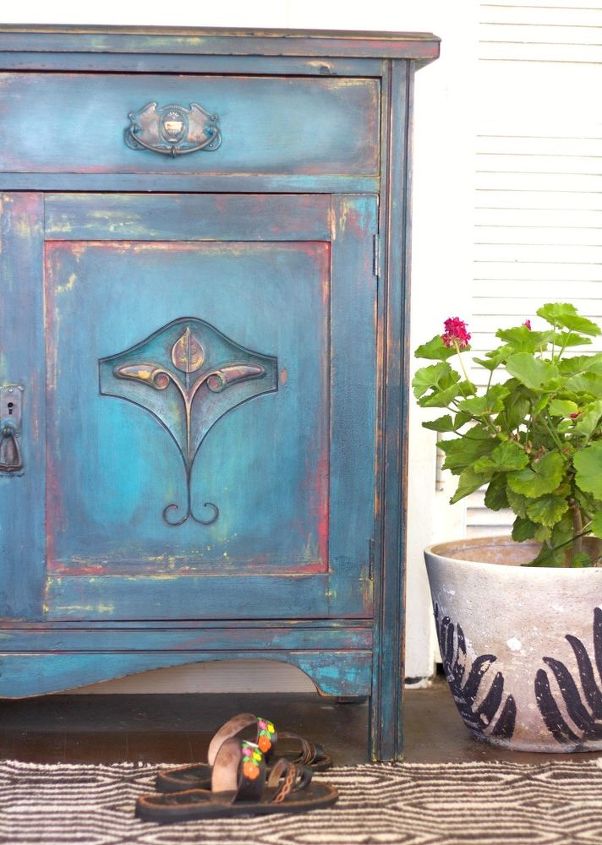
Then I used DIY Paint in the color Mermaid Tale for the highlighted areas, where the light would naturally hit like the center of the doors. I blended the colors together like eyeshadow using a spray bottle full of water.
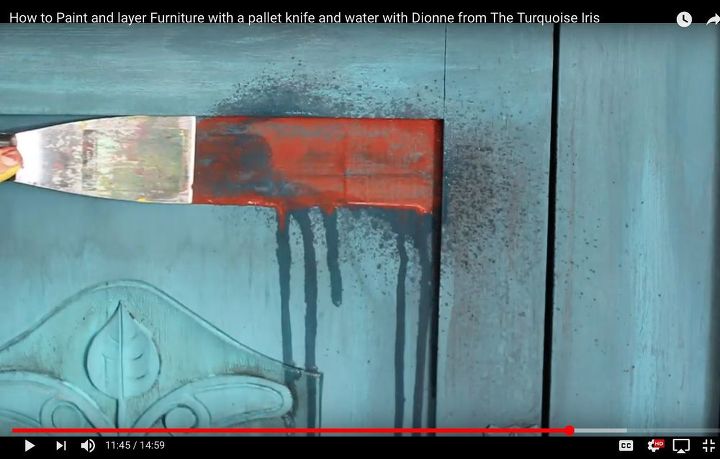
next I used the secret weapon... a putty knife to apply layers of paint color ( DIY Paint, Marquee, Queen Bee and Mermaid Tale) dragging and pulling the paint with the knife and the water bottle.
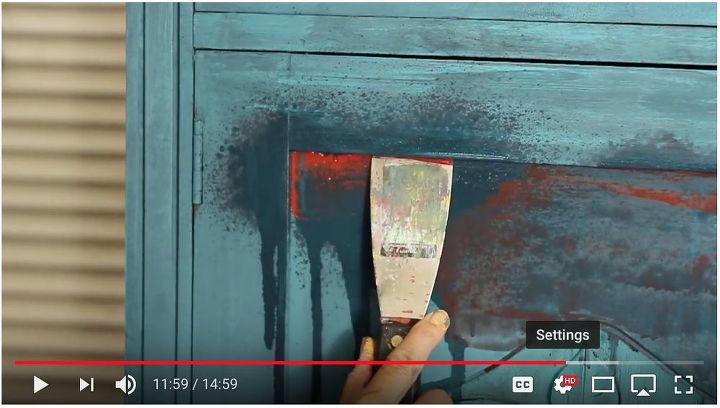
I added the colors in the groves and detailed areas, spraying water in between.
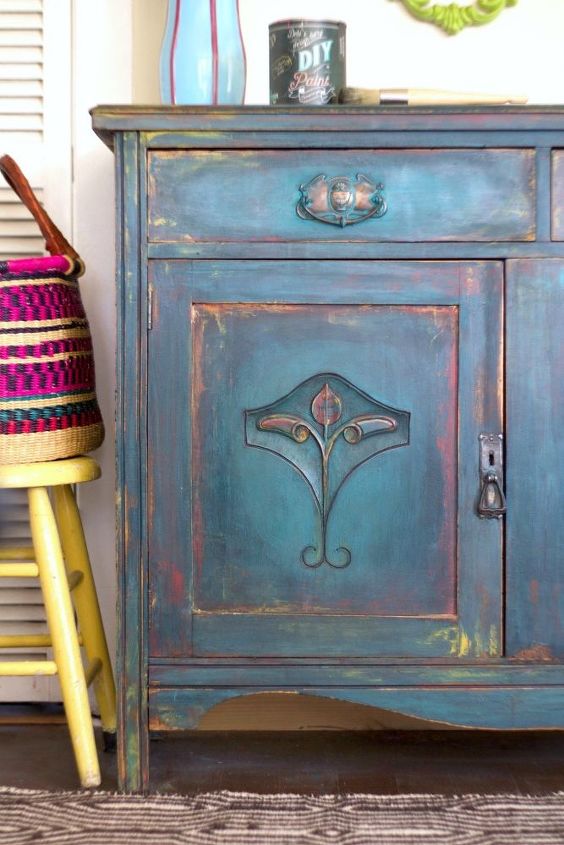
I kept adding color until I had a multi layer effect with high lights and shadowed areas.
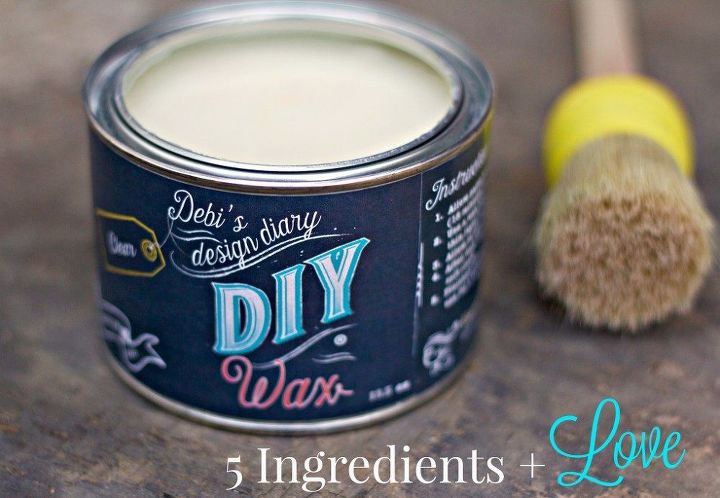
the final step was adding clear wax and dark wax to seal the finish and add more age and patina.
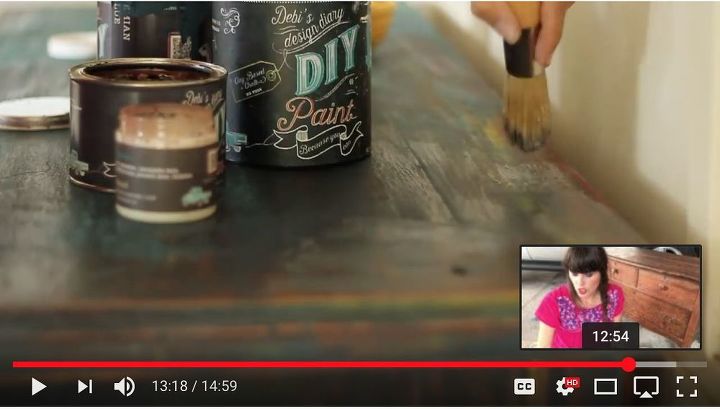
the wax deepens the color when you first apply, after it dries it lightens and then shines up to a buttery finish when you buff it.
for lots more details on this project please visit my blog and The turquoise Iris website. https://debisdesigndiary.com/a-story-about-almost-getting-on-a-big-big-tv-show-and-how-to-paint-with-a-putty-knife/ http://theturquoiseiris.blogspot.com
Want more details about this and other DIY projects? Check out my blog post!
Comments
Join the conversation
2 of 37 comments
-
Absolutely beautiful!! looks amazing , I hope I can attempt this project too!!!
-
I think I will try this on a small knitting table that I thrifted!


Frequently asked questions
Have a question about this project?
can I use other paints and get the same results? Love, love the dresser!
I got the dark and decrepit but it is a liquid patina- not a wax....so how do I apply the patina with the clear wax?
I am using all the DIY paint supplies listed for this project but noticed the difference between the dark wax and the dark and decrepit patina.
LOVE This,wish I had seen This before I started on a antique chest I'm working on. Going for the coastal look. I make my chalk paints, etc myself using acrylics. I have My piece painted working on Blending ( Alot of work sanding etc. Trying to decide on wax to use Clear or Antique dark Wax. Any suggestions?? Tips? Greatly appreciated