


How to Refinish a Vintage Dresser

Have you ever shopped second-hand for vintage furniture? Learn how to refinish a vintage dresser - and make it modern!
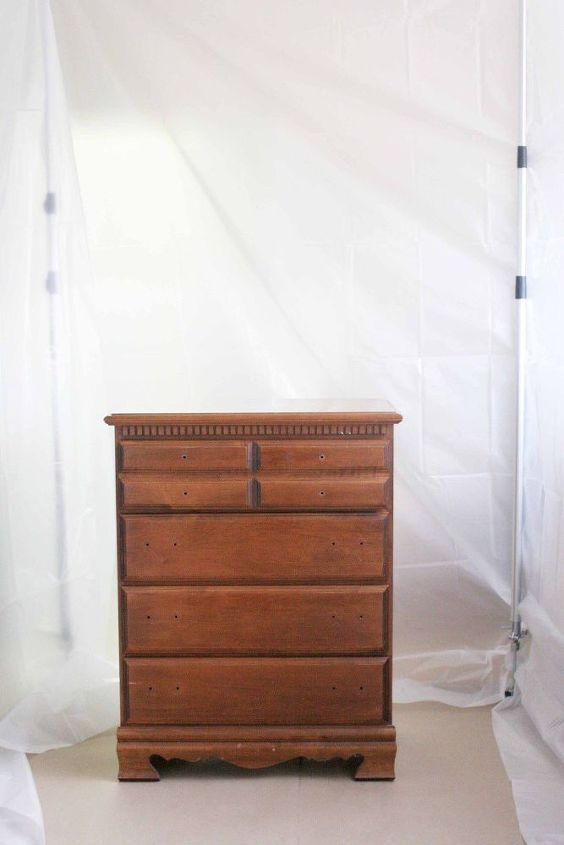
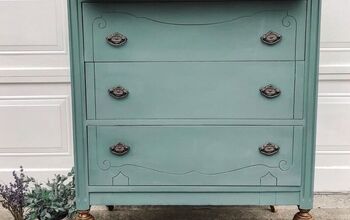
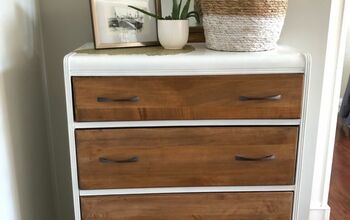
When it comes to dressers, I rarely buy new. The sturdy, solid wood that is found in vintage furniture is such a better value than buying new. This 4-drawer chest was originally in a child's room, but we knew it would make a great TV stand (with plenty of storage to boot!).
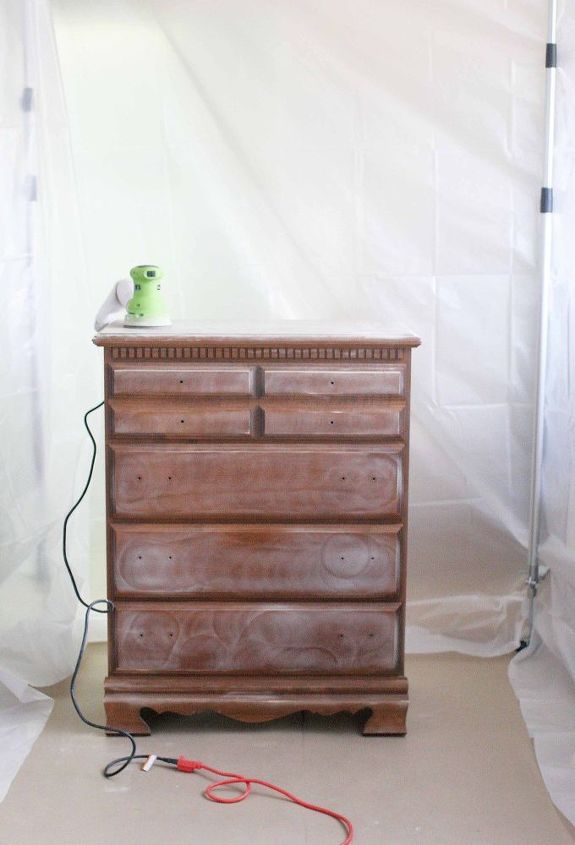
First, make sure to give the dresser an all-over sanding. I like to keep it quick and easy by using an orbital sander, but hand sanding works great, too.
Next, wipe down the dresser to remove the sanding dust.

A spray painter is a great investment if you have several pieces of furniture to refinish. Since I often refinish furniture, we have a simple DIY paint booth that can be set up in our garage. Once it is in place, it's easy (and mess-free!) to give the furniture several coats of spray paint.
If you don't have a DIY paint booth, you can spray paint outside. Brush painting is also an option, especially if you will only be refinishing a single piece of furniture.
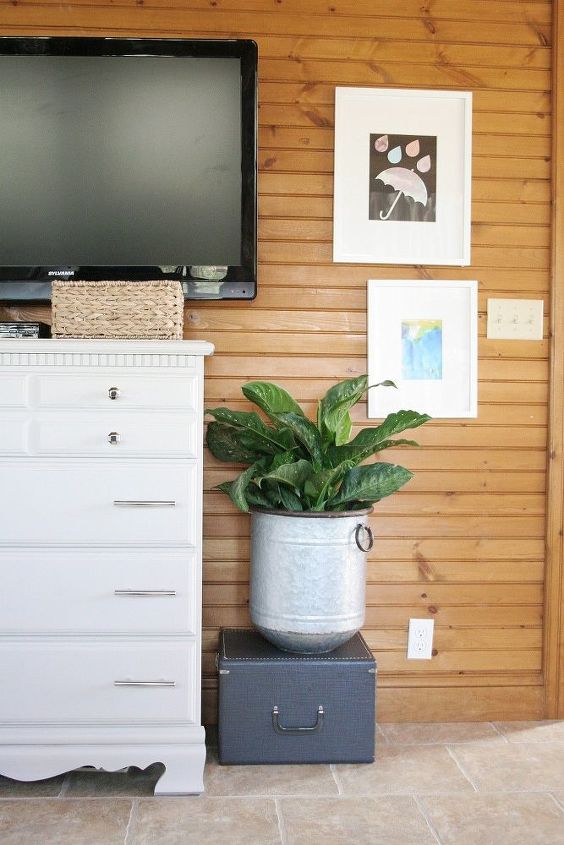
Finally, finish off your project with a coat of wax or sealer and install a set of modern hardware.
For only the cost of paint and hardware, you can have a new, stylish -- and solid wood -- updated vintage dresser!
Get the full details on this refinished dresser, including the supply list and paint colors, on my blog.


Frequently asked questions
Have a question about this project?