


IKEA Bekvam Kitchen Trolley Update
How to transform your IKEA Bekvam Kitchen Trolley into your own stylish Butcher's Block style mini Kitchen Island!
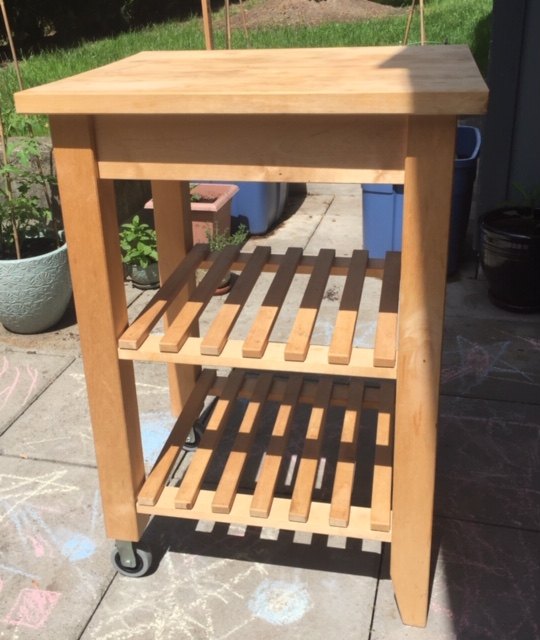
I decided to update our plain IKEA Bekvam Kitchen Trolley after it spent a sad year living outdoors on a patio. I decided I wanted the butcher’s block look with a stained wooden top and white painted legs.
Before I started sanding I cleaned the kitchen trolley thoroughly with a cloth and soap and then dried it off throughly.
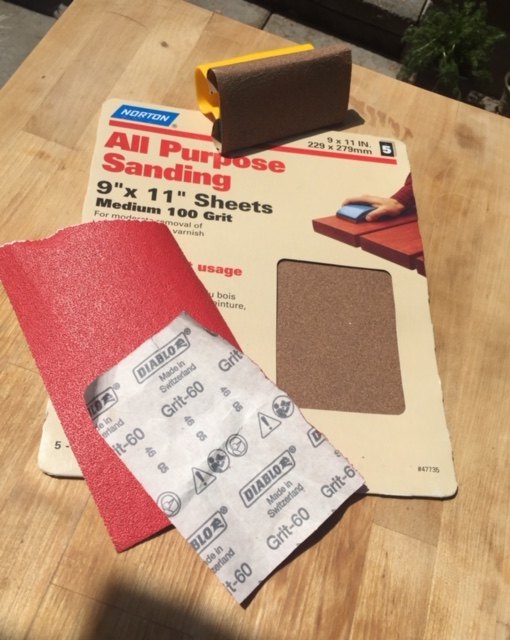
I used a small hand sander because I already had one, but for a small project you can easily just go at it with the sandpaper alone. 100 grit should work fine for most projects, I used some heavy 60 grit for some of the really bad stains and thick dirt areas, this will likely scratch up your wood so be careful! In my case I had no choice because of the state it was in, but if your trolley has lived indoors (as intended!), you shouldn’t have this problem.
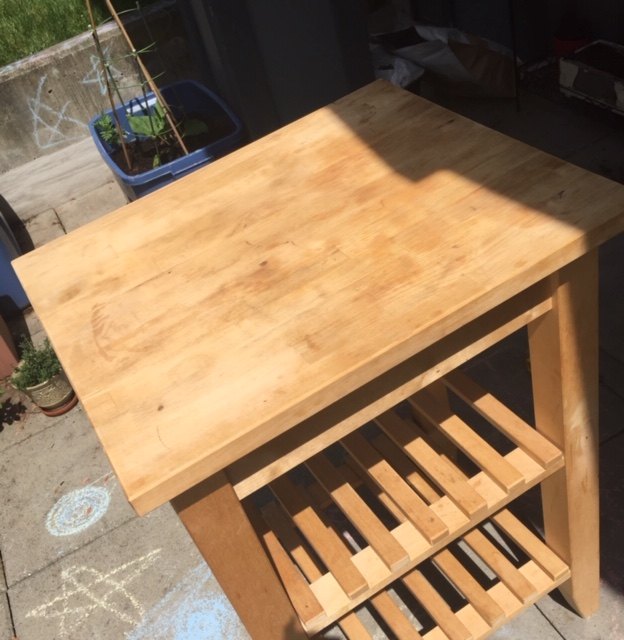
After a good sanding, the top of my table still had some stains showing through, I decided to embrace them as part of the woods character, however if you wanted a perfectly clean look a power sander would definitely work those out.
Before you start painting, make sure you give the paint can and the stain a good stir. The amount of coats of stain you use will depend on how dark or coloured you want the top to be, I wanted more red undertones so I put on 3-4 coats, rubbing it in to the grain with a cloth. I used a Red Mahogany coloured stain.
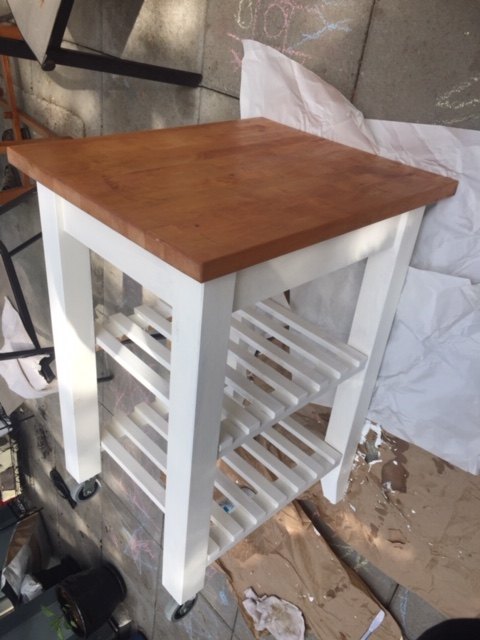
I alternated putting a coat of stain on the butcher’s block style top with painting parts of the legs and trays white.
The bottom of the trolley only needed 2 coats of paint. Make sure you put a drop cloth or covering to protect your floor! I also recommend doing this work outdoors due to the fumes, especially when you use the polyurethane spray later.
Both the stain and the paint dries quickly, so I didn’t have to wait long between coats. Alternating between painting and staining also helped make this a pretty quick project.
The polyurethane spray unfortunately needs two hours of drying between coats. I did 3 coats as per the bottles instructions. I purchased polyurethane spray which made applying super quick, but you can get it as a brush on varnish, it doesn’t have to be a spray.
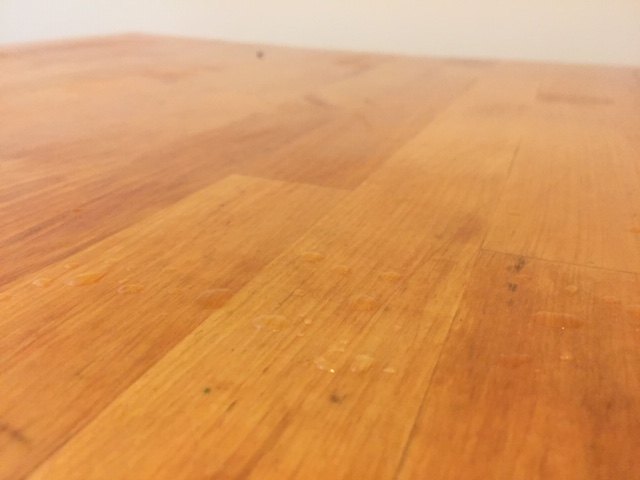
Make sure not to get any polyurethane on the painted areas as it will turn them yellow (I learned that the hard way!) The polyurethane is essential if you are using this in the kitchen as it makes for an easily cleanable surface. When it gets wet the water actually beads on the surface.
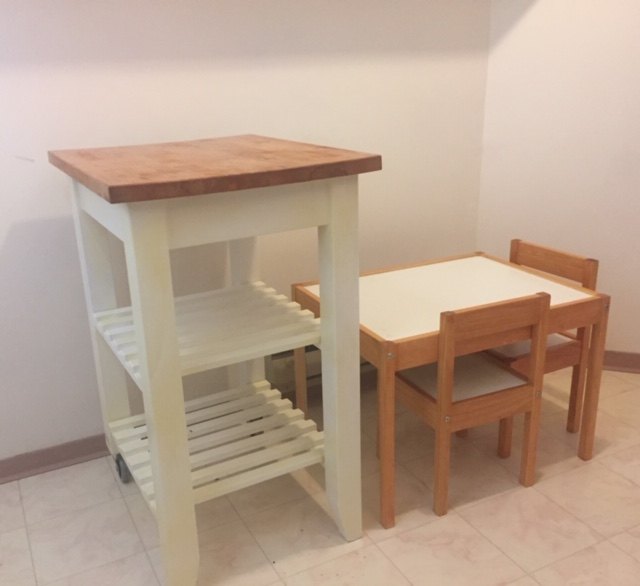
I decided to stain my kids snack table (also IKEA) to match the island…. oh yes, IKEA may call it a kitchen trolley, but now that I have upcycled it, I’m calling it my Kitchen Island!

The Kitchen Trolley Before & After.
For more great upcycling transformations visit Upcycle My Stuff - www.upcyclemystuff.com


Comments
Join the conversation
-
Very nice, and simple!! I think there are clear finishes that don't yellow, and you could embellish with draw pulls or knobs. It's funny how I see wooden objects and think, "that could be painted and look so much better". Lol!!


Frequently asked questions
Have a question about this project?